DIY Plastic Easter Egg Flower Pots — Quick, Colorful Spring Centerpieces
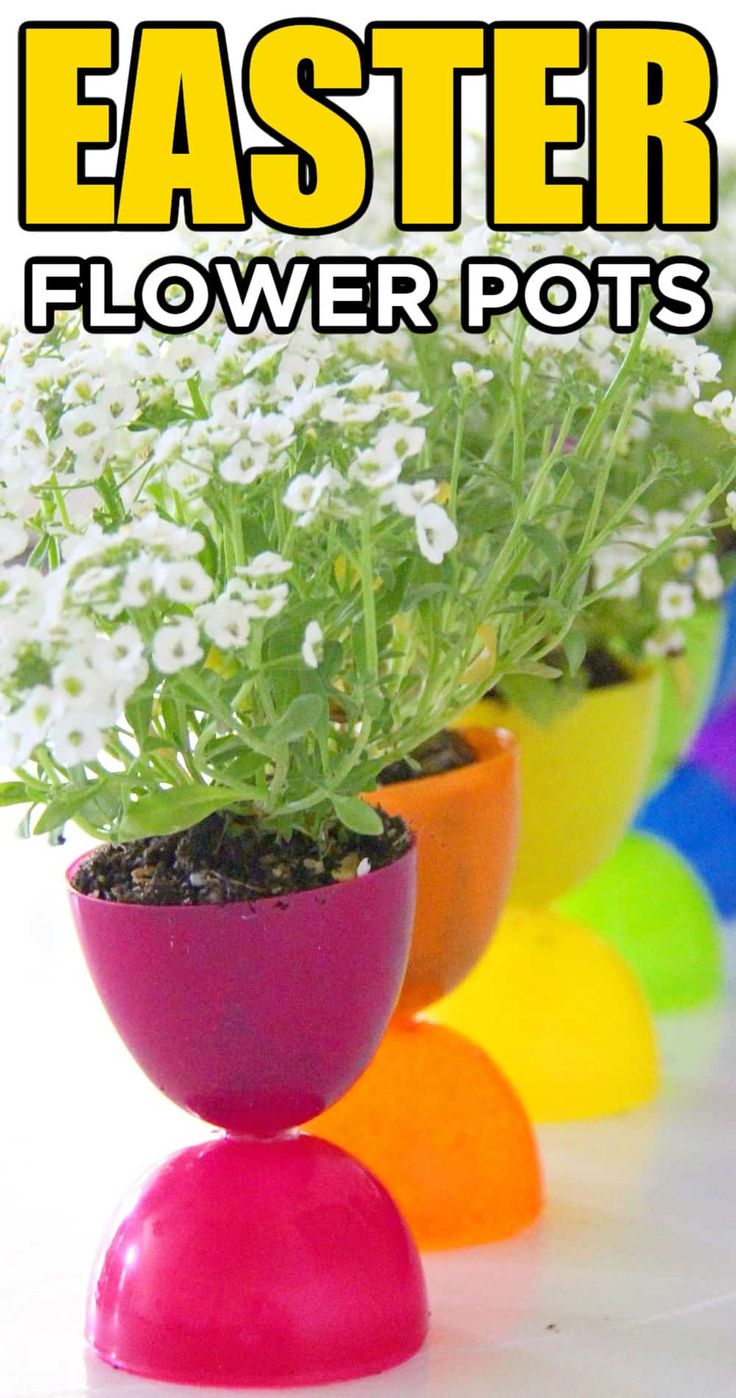
Turn ordinary plastic Easter eggs into cheerful mini flower pots for a quick spring centerpiece or table accent. This simple craft is perfect for Easter decorations, gift accents, or an Easter egg hunt prize — and it only requires a few basic supplies.
Looking for the perfect addition to your Easter decorations? Look no further than plastic Easter flower pots! These colorful and versatile pots are not only adorable but also practical for displaying your favorite spring blooms or filling them with Easter treats. Whether you're hosting an Easter egg hunt or just want to add a touch of spring to your home, these flower pots are a charming choice. Pick a variety of colors and sizes to create a vibrant Easter display that will surely put a smile on everyone's face!
Supplies:
- Plastic Easter Eggs
- Scissors
- Hot Glue
- Flowers
Directions
If Easter Eggs are attached, cut to separate the top and bottom of the egg.
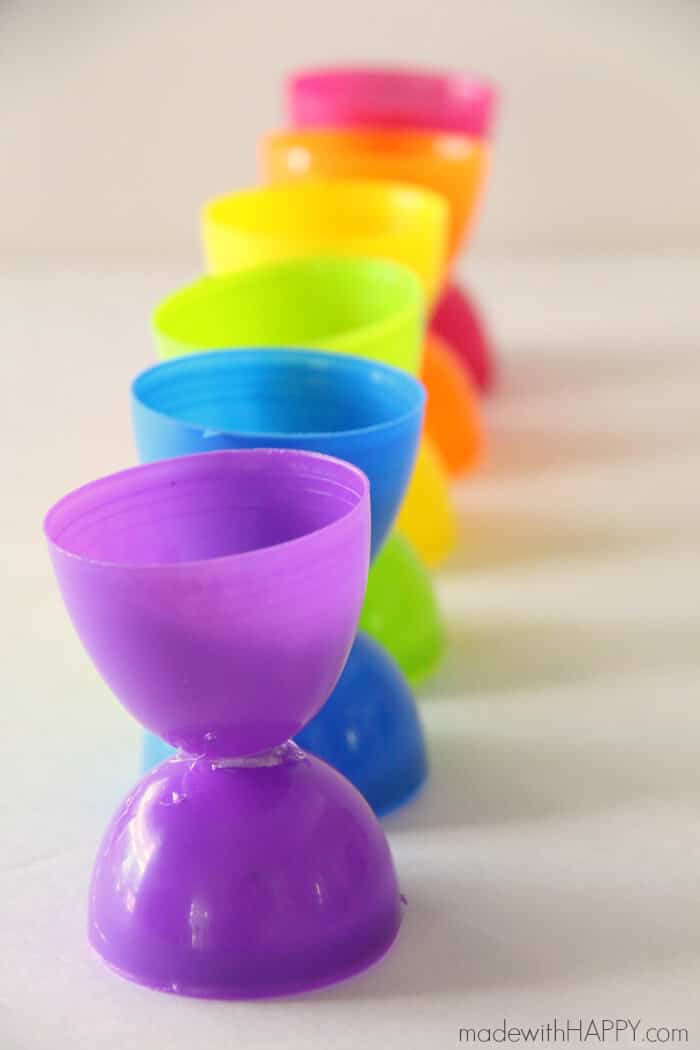
Using the hot glue, glue the ends of the colored egg together.
Add Flowers and you have made yourself an Easter egg bouquet.
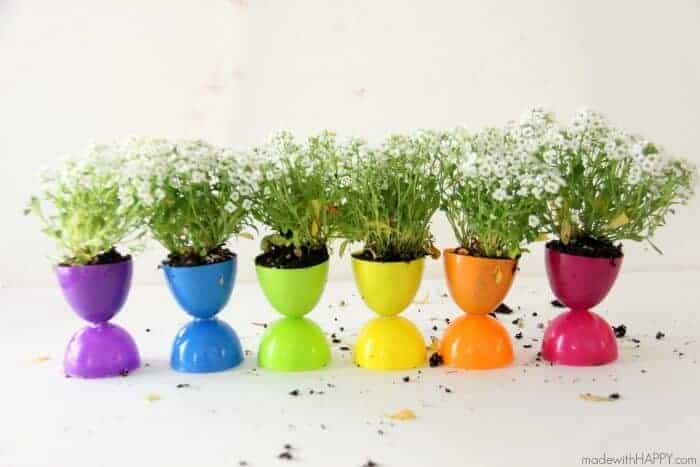
You may need to remove part of the root ball of the flower to make it fit.
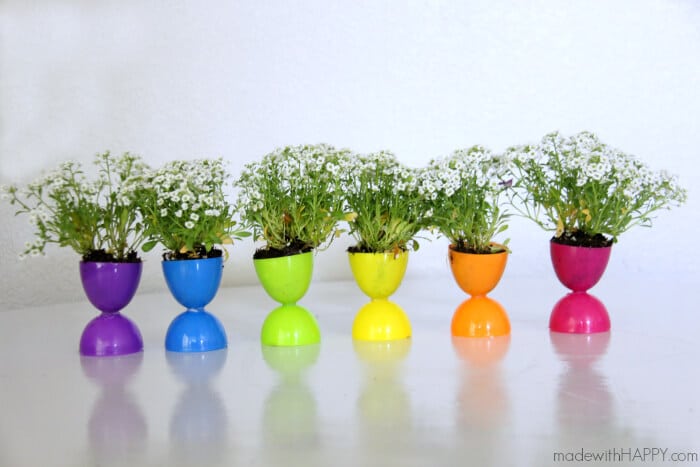
Congratulations! You are done.
Tips: if using living plants, choose small bedding plants or cuttings and be careful with water — a small amount goes a long way in these tiny pots. Use caution with scissors and hot glue; supervise children during the craft.