DIY Compliments Candy Bars: Easy Custom Wrapped Candy Bar Gift Tutorial
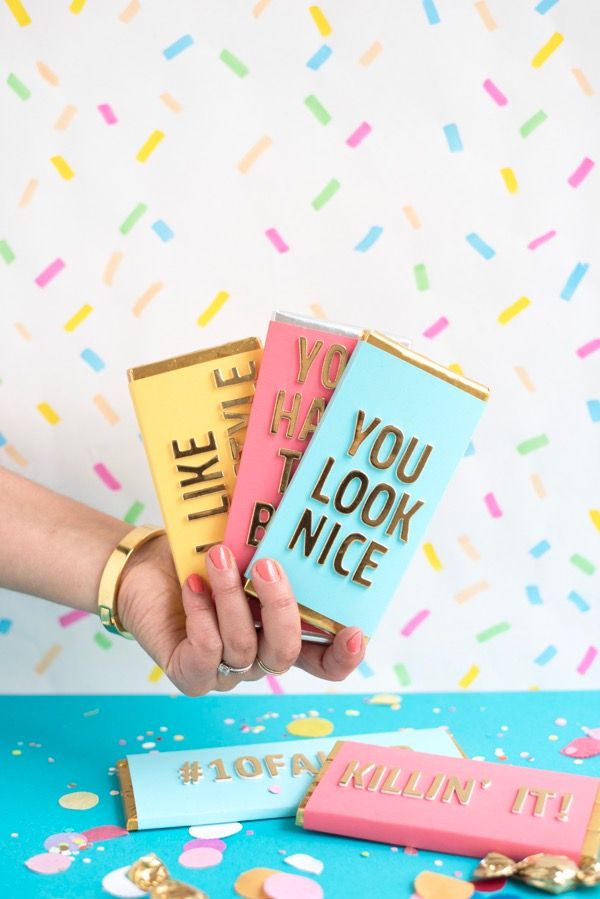
Customize ordinary candy bars into charming, gift-ready "Compliments" candy bars with just a few supplies. This quick, beginner-friendly DIY shows how to replace a factory wrapper with card stock and gold letter stickers for a polished look perfect for party favors, teacher gifts or a small thoughtful treat.
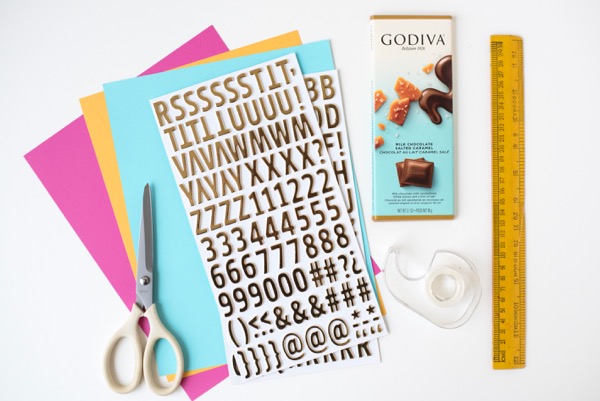
Materials needed: any candy bar with a foil wrapper, card stock, scissors, tape, ruler (optional), gold letter “thickers”
Step 1: Remove the outer foil or paper wrapper from the candy bar so you have a clean foil-wrapped candy to re-cover.
Step 2: Cut card stock about 1/2" shorter than the candy bar's length and long enough to wrap around the back. Center the paper on the bar and fold the sides over, using a ruler or bone folder for a crisp edge. Secure the card stock on the backside with a small piece of tape so the front stays smooth.
Step 3: Arrange and stick the gold letter stickers on the front, taking care to center and align the letters for a neat finished look.
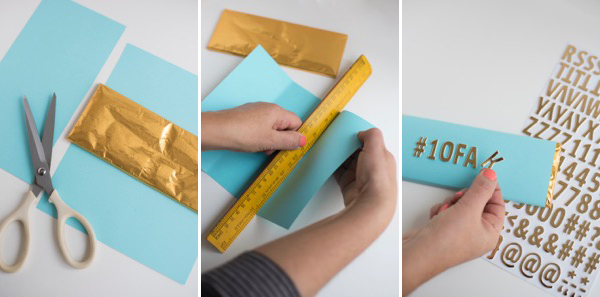
Quick tips: work on a clean flat surface, test the paper width by wrapping once before trimming, and use small pieces of tape on the inside/back to keep the front seamless. If letters aren't perfectly even, place them on a scrap strip first to preview spacing.
Variations and gifting ideas: use patterned card stock, add washi tape or a ribbon band, or handwrite a short message on the back. Group several wrapped bars in a small cellophane bag or box to make a simple party favor or thank-you gift.
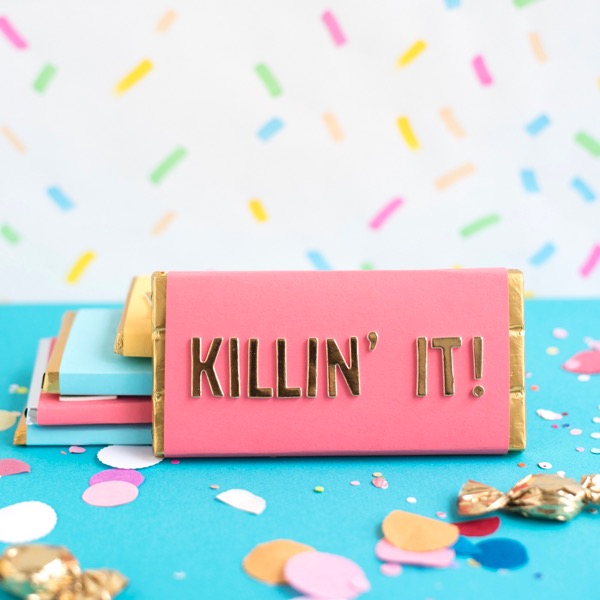
These homemade Compliments candy bars are a fast, customizable way to elevate a simple treat into a thoughtful present.