Easy DIY Easter Carrot Garland — Cardstock & Tissue Paper Craft
Make a cheerful, family-friendly Easter decoration with just cardstock, tissue paper and twine. This simple DIY creates a colorful carrot garland you can hang across a mantel, doorway or window. Great for crafting with kids — follow the steps below to turn orange cardstock into cone-shaped carrots and finish them with fringed green tissue paper tops.
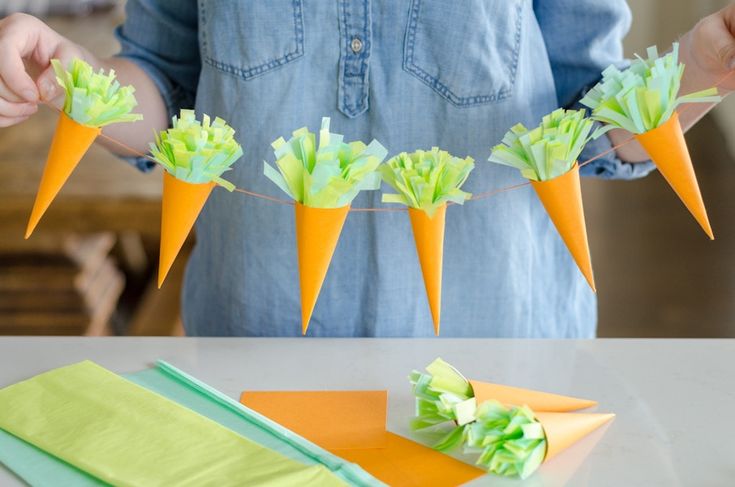
What you’ll need:
- Orange cardstock or paper
- Green tissue paper
- Twine or string
- Scotch tape
- Hole punch
- Scissors
Directions
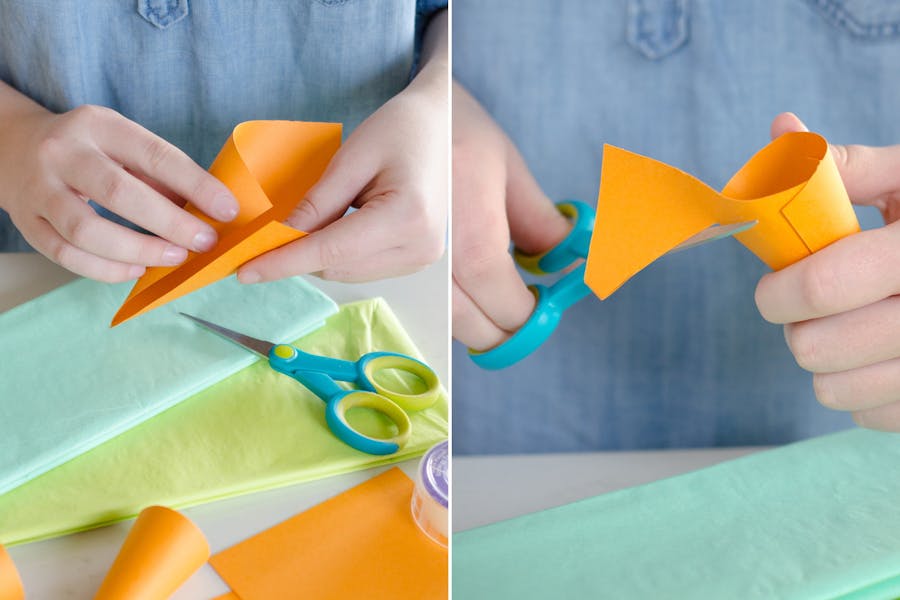
- Cut the cardstock or paper into four (or more) squares, depending on how long you want your garland.
- Curl each square into a cone shape and secure the seam with tape or glue. Trim any excess paper at the open end so the cone looks like a carrot.
- Punch a hole on opposite sides near the open end of each cone so you can thread the twine through.
- Cut a length of twine and string the carrot cones onto it, spacing them evenly.
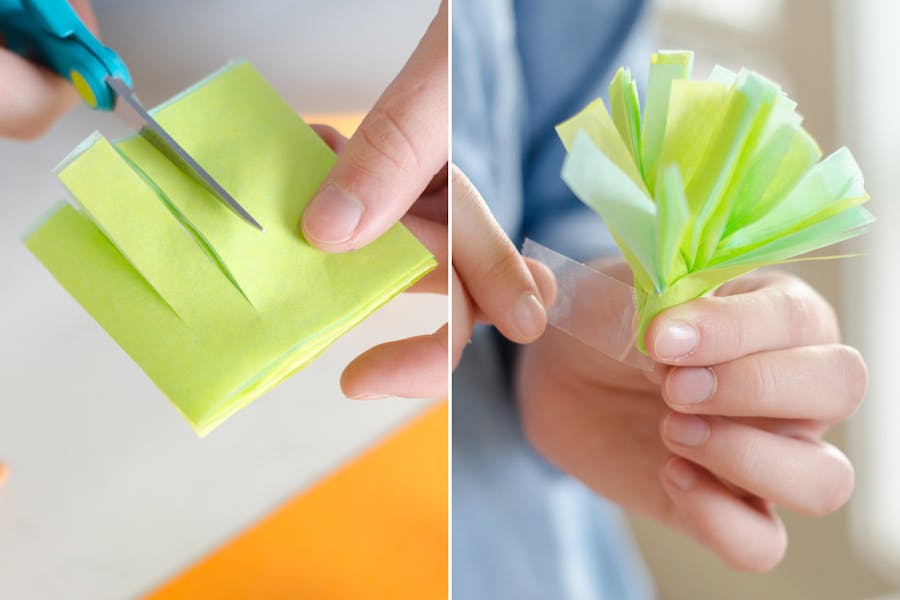
- For the carrot tops: stack several sheets of green tissue paper, then cut thin fringe strips across the paper without cutting all the way through the uncut edge.
- Gather the uncut edge of the fringe, twist and bunch it together to form the leafy top. Tape the gathered end to the inside of each pre-strung carrot so the fringe peeks out like greenery.
Tips: Vary the sizes of the squares for a more whimsical garland. If you want a sturdier decoration for outdoor use, use heavier cardstock and waterproof tape. Get kids involved with cutting the fringe and stringing the carrots for a quick, festive craft session.
No comments
Write a comment