Wildly Cute DIY Animal-Print Easter Eggs — Easy Sharpie Patterns for Spring
Looking to add a creative twist to your Easter egg decorating this year? Try making DIY animal-print Easter eggs with just a few Sharpies and hard-boiled eggs. These playful patterns — cheetah, zebra, tiger, snake, giraffe and more — are simple to draw and look great as holiday decor or for an Easter egg hunt. Below are supplies, step-by-step instructions for each pattern, and small tips to get clean, consistent results.
What you'll need:
- Sharpies — the tutorial uses brown, black, and green
- Hard-boiled eggs (brown and white)
General tips before you start: work on a protected surface, test designs on paper first, and allow marker ink to dry before handling. If you plan to keep the eggs as decorations rather than eat them, you can optionally apply a clear, food-safe sealer for longer-lasting color (skip any sealants if the eggs will be consumed).
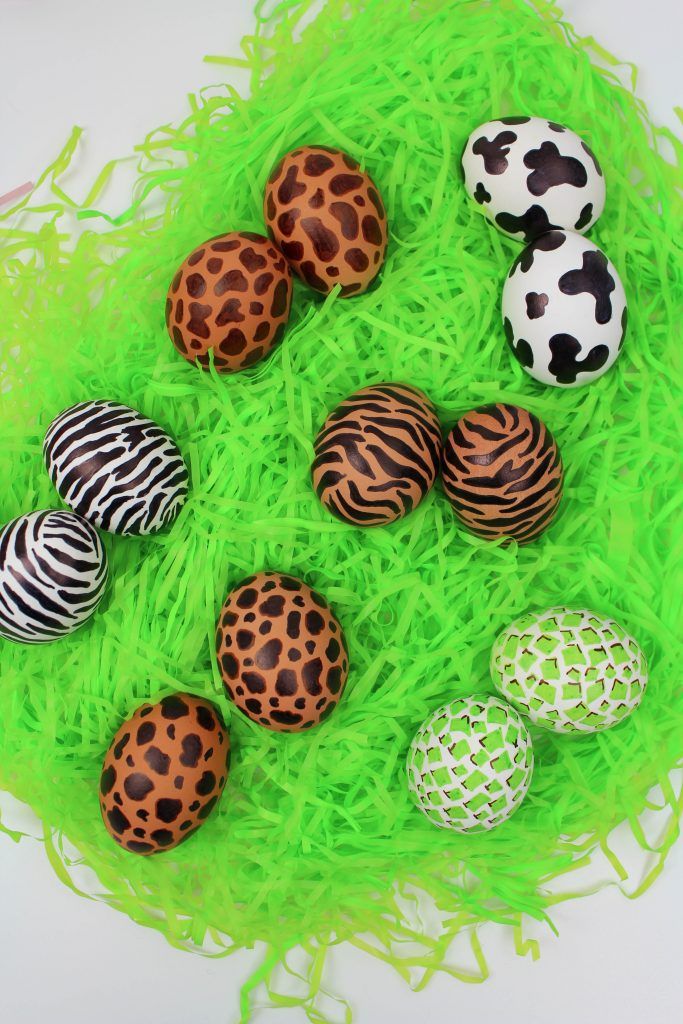
Caption: A colorful collection of animal-print Easter eggs ready for display — a fun mix of patterns for spring decor.
Each pattern uses a slightly different technique, but they are all accessible and quick once you get the hang of the shapes and spacing. Below are step-by-step descriptions that match the photos.
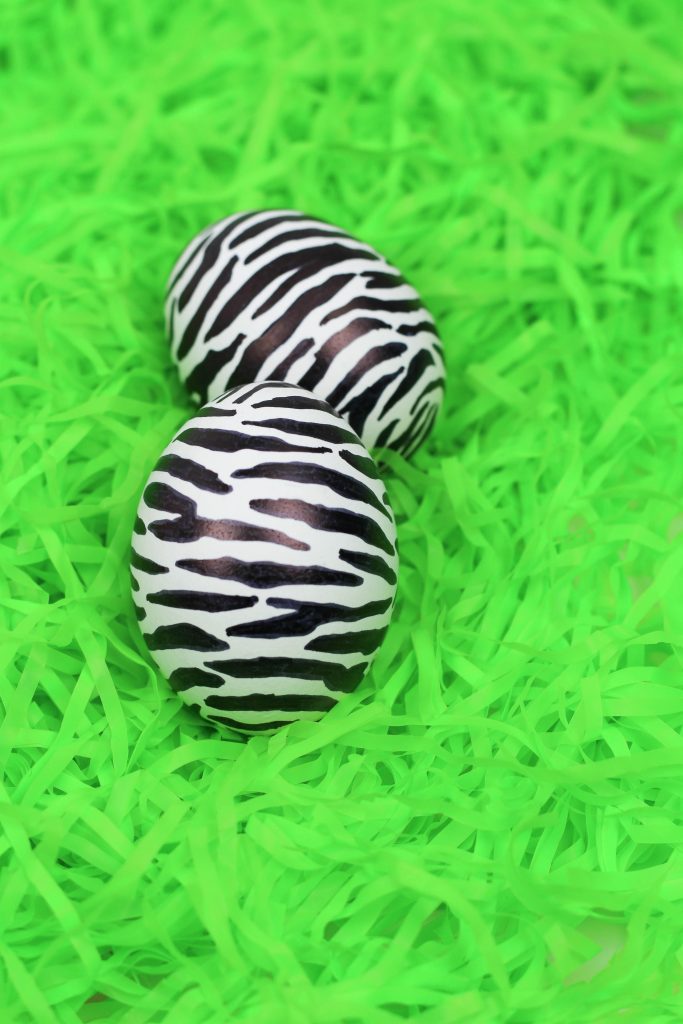
Caption: Zebra-style print egg — long semi-squiggly black lines create a bold striped look.
Zebra (Print) Eggs
Using a black Sharpie, draw long, semi-squiggly lines across a white egg. Add some lines that branch slightly at the ends and vary the thickness and direction for a natural look. Fill in sections or leave narrow gaps for contrast — the photo shows fully colored stripes for a dramatic effect.
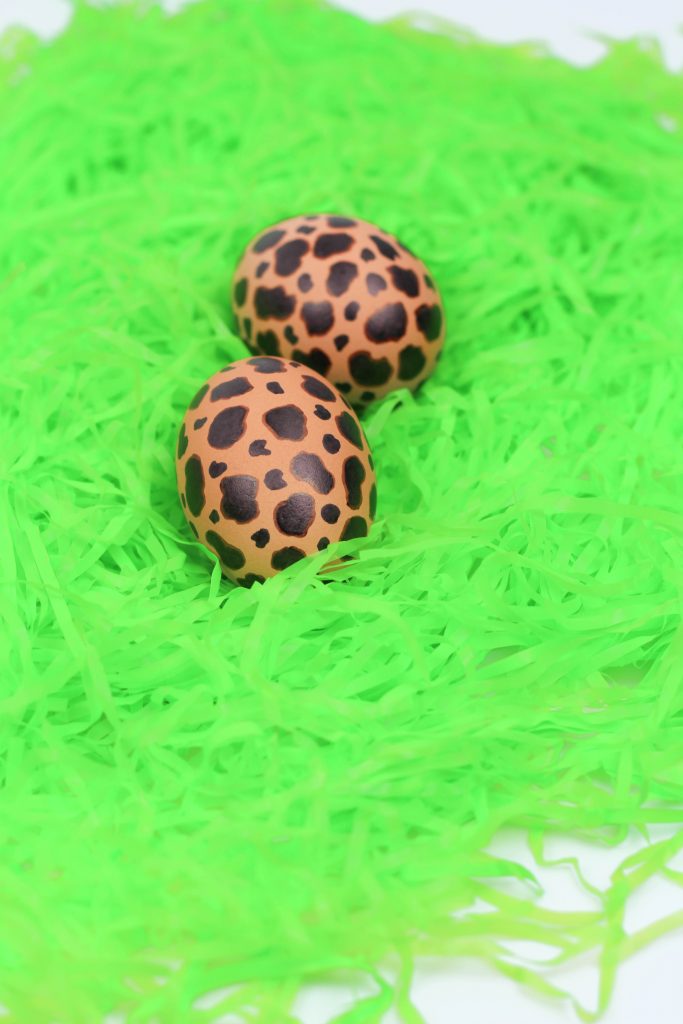
Caption: Cheetah-print eggs — clusters of black spots with brown outlines for a classic cheetah look.
Cheetah Print Eggs
With a black Sharpie, draw irregular-shaped spots and fill them in. Add smaller, plain black spots around the larger ones. Once covered, use a brown Sharpie to loosely outline the larger spots only, leaving the smaller spots plain for a layered, realistic cheetah effect.
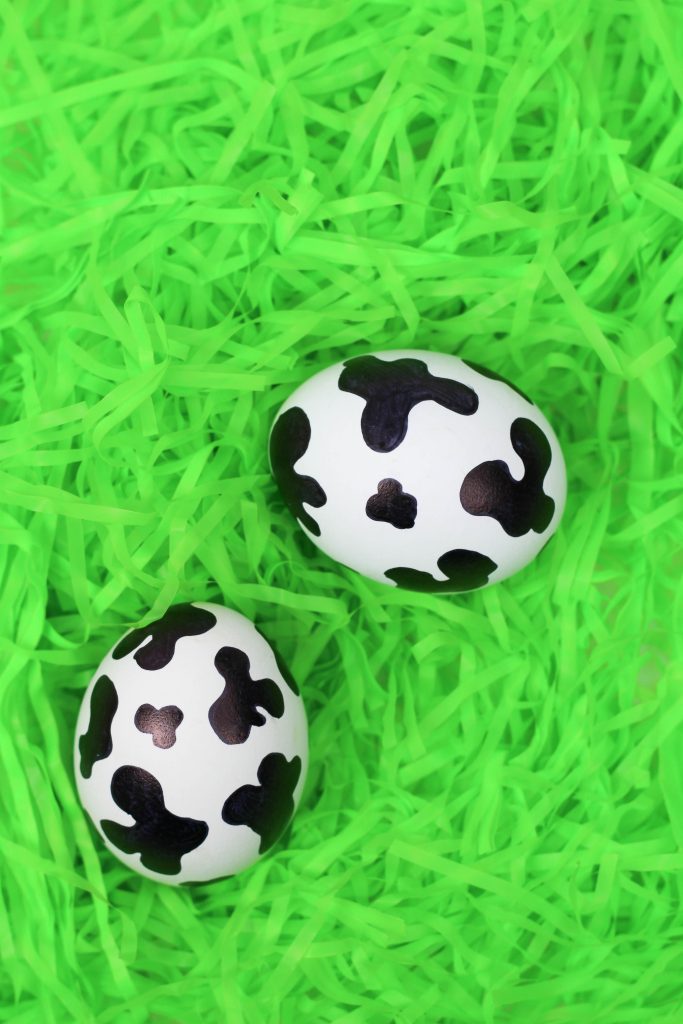
Caption: Bold blob-pattern egg — an all-over look using filled black shapes for dramatic contrast.
Blob/Print Eggs
Create “blob” shapes of varying sizes with a black Sharpie on a white egg. Fill each blob completely and alternate larger and smaller shapes so the pattern feels organic. This style is a versatile, bold option that reads as an abstract animal print.
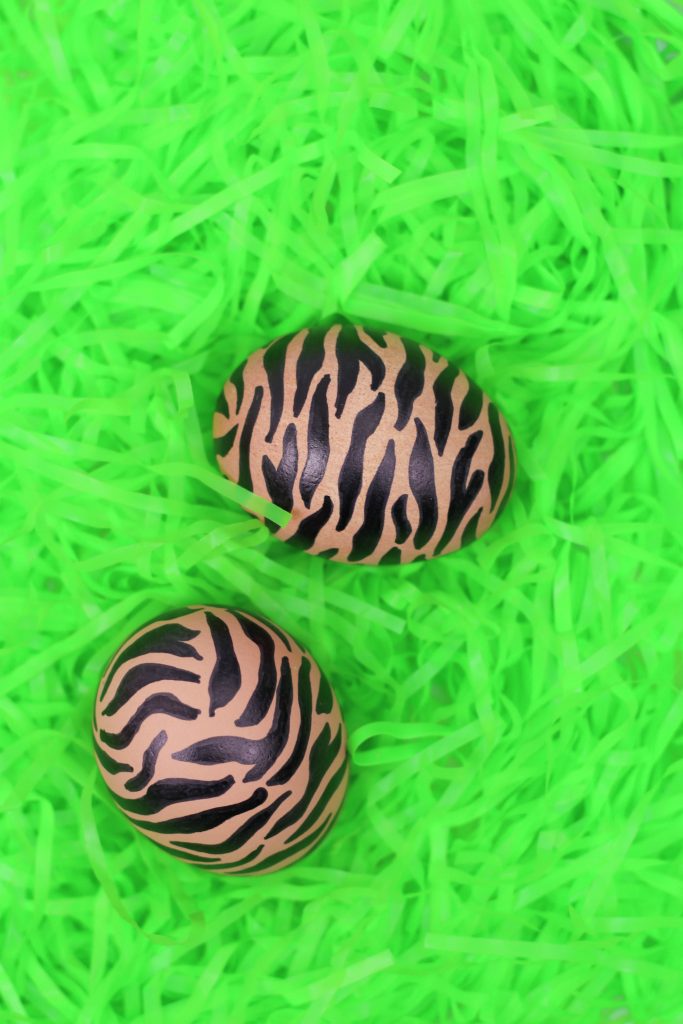
Caption: Tiger-style egg — dark squiggly stripes on a brown background mimic tiger markings.
Tiger Eggs
On a brown egg, use a black Sharpie to draw long, squiggly lines and stripes. Include some branching at the ends and vary line thickness and direction. Fill in or darken lines as desired to achieve the bold, stripy tiger look.
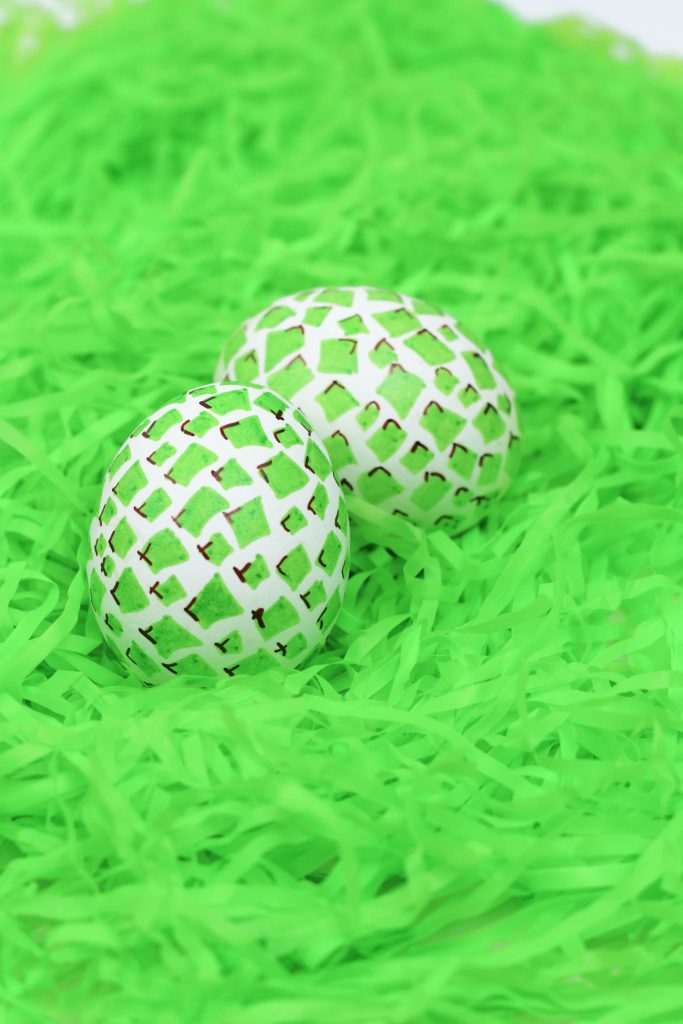
Caption: Snake-print egg — green diamond shapes with brown corner accents create a scaled effect.
Snake Eggs
Snake print can be more intricate. On a white egg, draw diamond shapes in green so the points run up and down the egg. Keep shapes slightly varied but consistently oriented. Fill each diamond, then add a small brown outline or accent on one corner of each diamond to create depth and a scaled appearance.
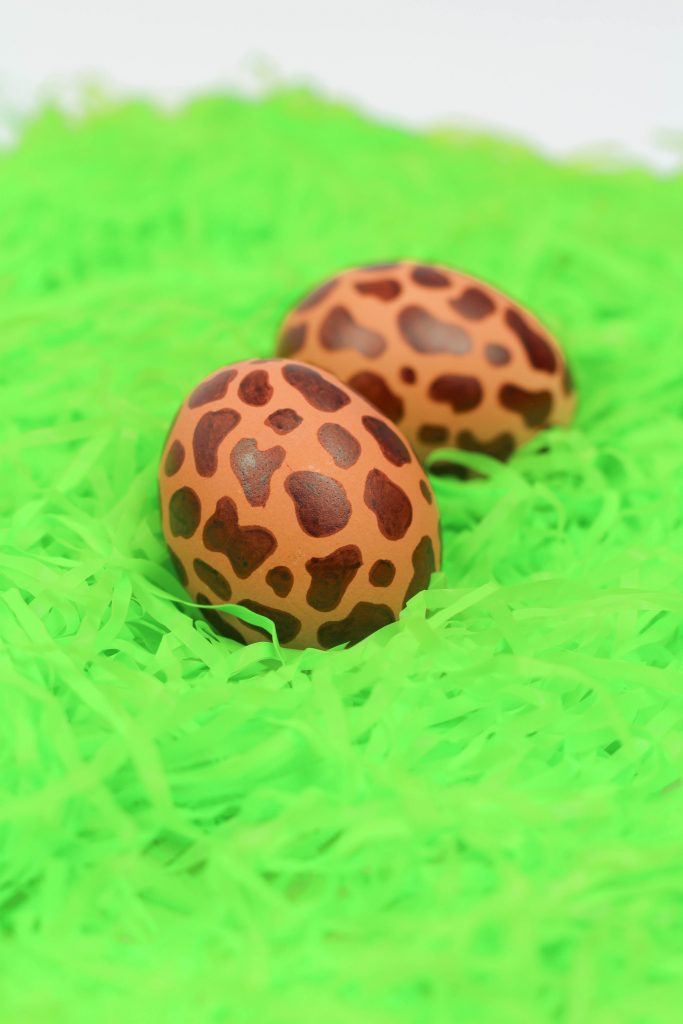
Caption: Giraffe-print egg — small, irregular brown blobs spaced evenly on a brown egg for a subtle giraffe effect.
Giraffe Print Eggs
On a brown egg, draw small, irregular blob shapes with a brown Sharpie. Keep the shapes softer and less defined than cow spots, and try for even spacing around the egg. Fill each blob completely for a warm, natural giraffe pattern.
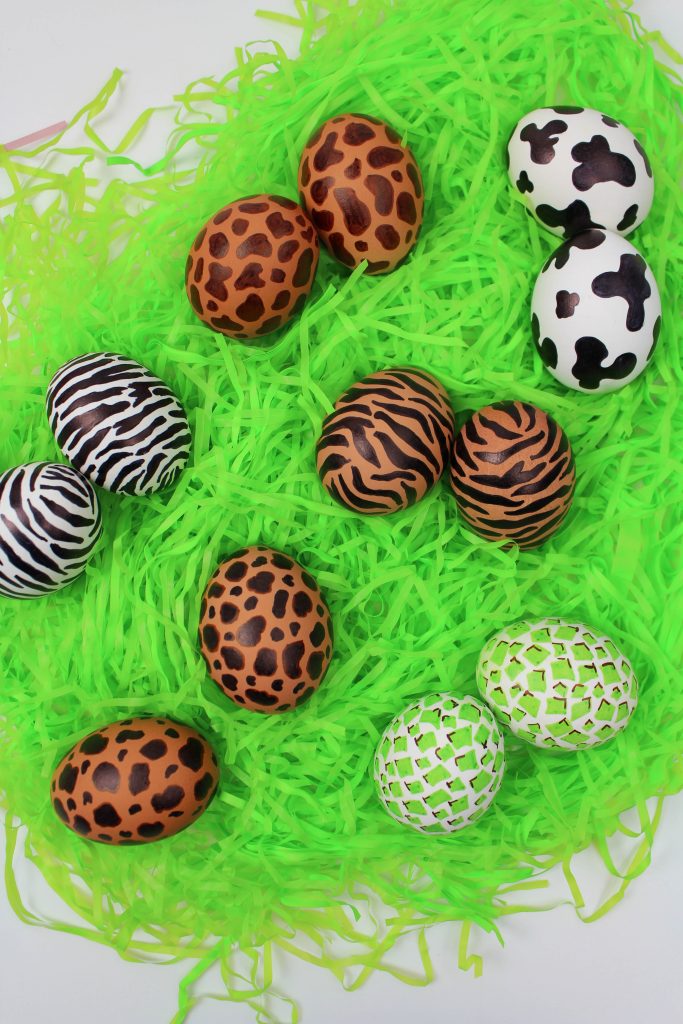
Caption: Close-up details of the animal-print eggs showing marker lines, blobs, and color contrasts.
Final notes: experiment with color combinations and marker pressures to vary the look. These Sharpie-decorated eggs are quick to make and let you mix and match patterns to suit your Easter palette. Have fun and enjoy the wild results!