How to Make Pastel and Gold Easter Eggs in 30 Minutes (Easy Spray-Paint Tutorial)
Give your Easter decor a quick upgrade with DIY Pastel and Gold Easter Eggs — a simple, family-friendly project that combines soft pastel hues with chic gold accents. This tutorial uses store-bought pastel eggs, masking tape to create geometric shapes, and a can of gold spray paint for fast, striking results. The whole project takes about 30 minutes plus drying time.
Looking to add a creative touch to your Easter decorations? Why not try making DIY Pastel and Gold Easter Eggs! This fun and easy craft involves using pastel-colored dye to achieve soft, dreamy hues on the eggs and adding a touch of gold for a hint of glamour. Whether you prefer a subtle pastel palette or a bold pop of color, these eggs will surely stand out in any Easter egg hunt. Get the whole family involved in this delightful Easter activity and enjoy the festive spirit together!
Pastel-dyed eggs ready for masking and gold accents.
For this project you will need:
- Pastel eggs (get them at Walmart)
- Masking tape + scissors
- Gold spray paint
- Hot glue gun & wooden skewers
Basic supplies: masking tape, skewers, hot glue and spray paint.
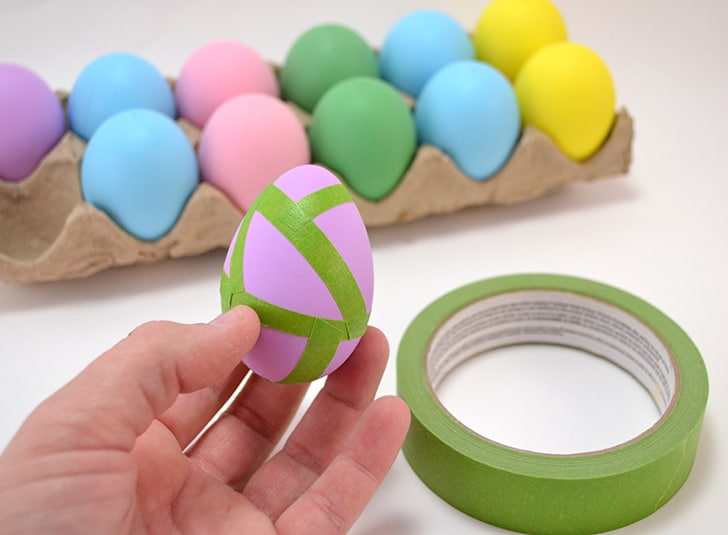
Cut thin strips out of your regular masking tape and press down onto the egg one piece at a time to make your geometric pattern. Be sure to push each piece of tape down cleanly before moving on. You want no gaps between the tape and the egg.
Apply thin strips of masking tape to create crisp geometric patterns.
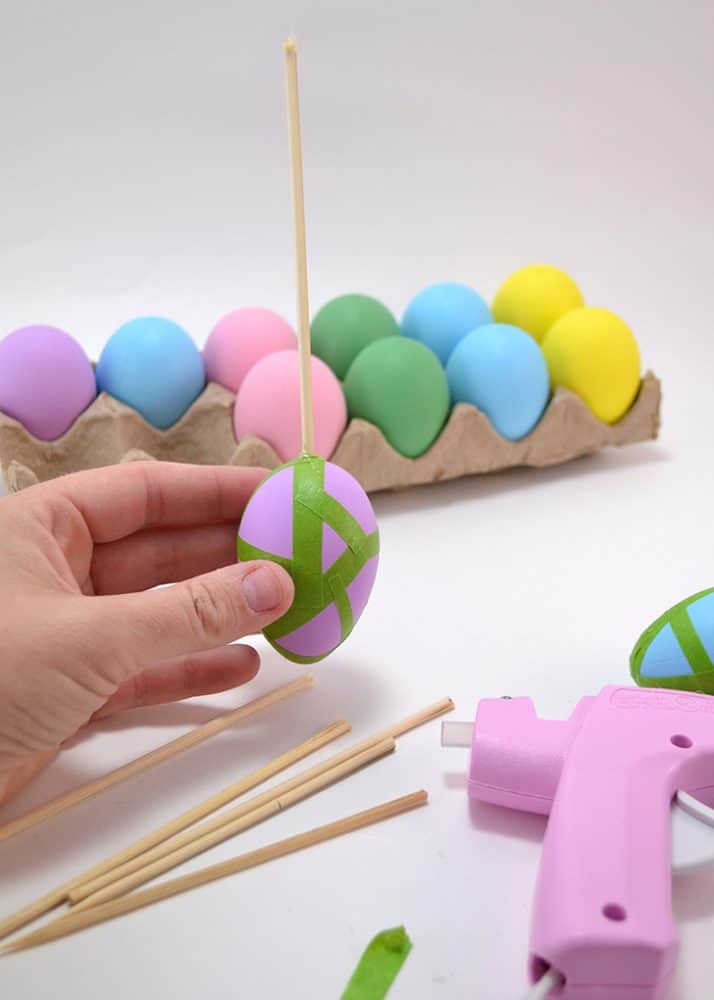
Place a dab of hot glue onto the masking tape and attach a wooden skewer. I cut mine in half.
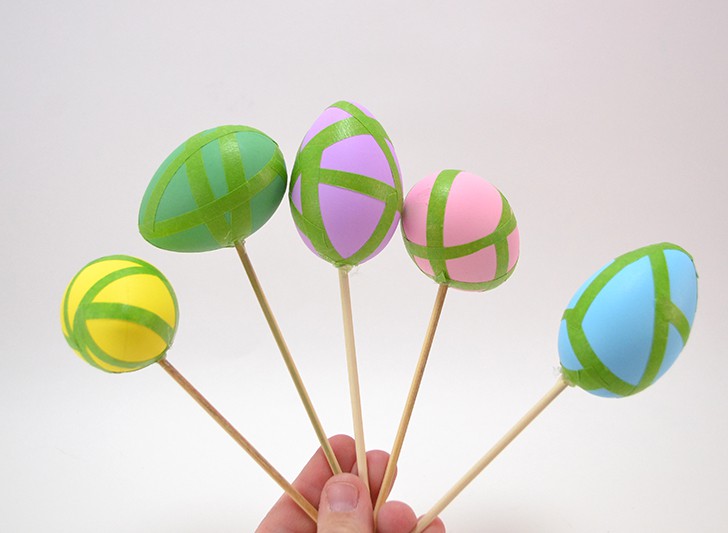
Attach each egg to a skewer for easy handling while spray painting.
Boom! Look at how much easier these suckers are going to be to spray paint now!
Lightly spray paint 2-3 coats on the eggs and allow to dry between each coat. I used the skewer and jammed my eggs into the ground in between coats to dry.
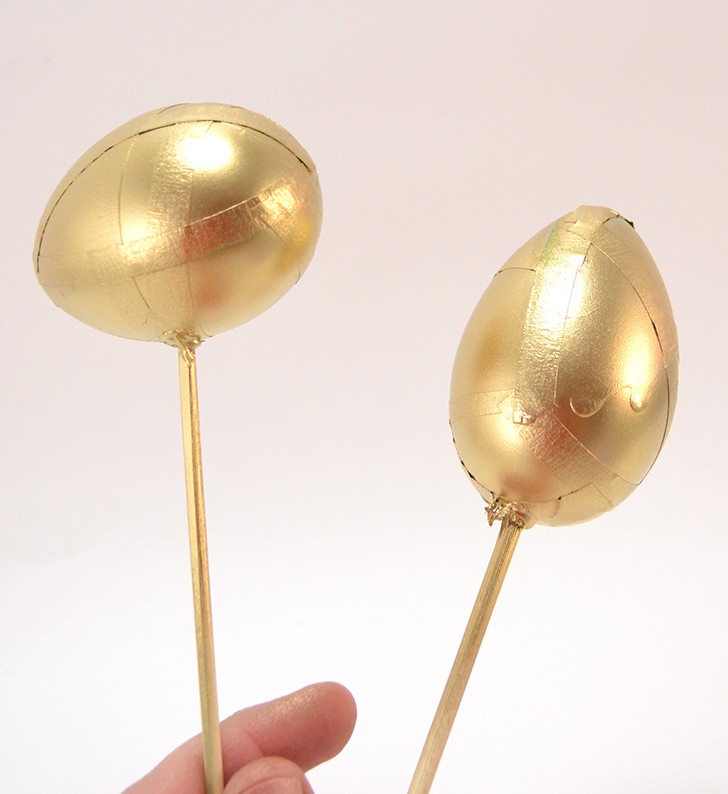
Hold the egg on a skewer and apply 2–3 light coats of spray paint, allowing drying between coats.
Now the egg on the left I pushed the tape down pretty well and did 3 light coats. The egg on the right I didn’t really put that much care into the tape and then I did one super heavy coat instead of 3 light ones.
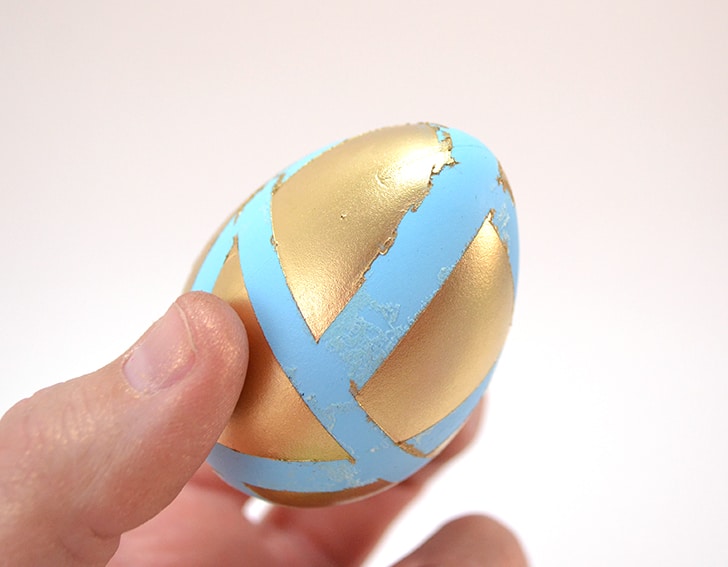
Compare careful tape application and light coats (left) versus heavy coat mistakes that can bubble (right).
The egg on the right turned out to be a DISASTER! See how the paint is bubbled beneath? What a waste!
Now you can also see the adhesive left behind from the tape but that’s no big deal. Once your eggs are very dry you can rub this adhesive away if you use a good quality tape (I used Frog Tape).
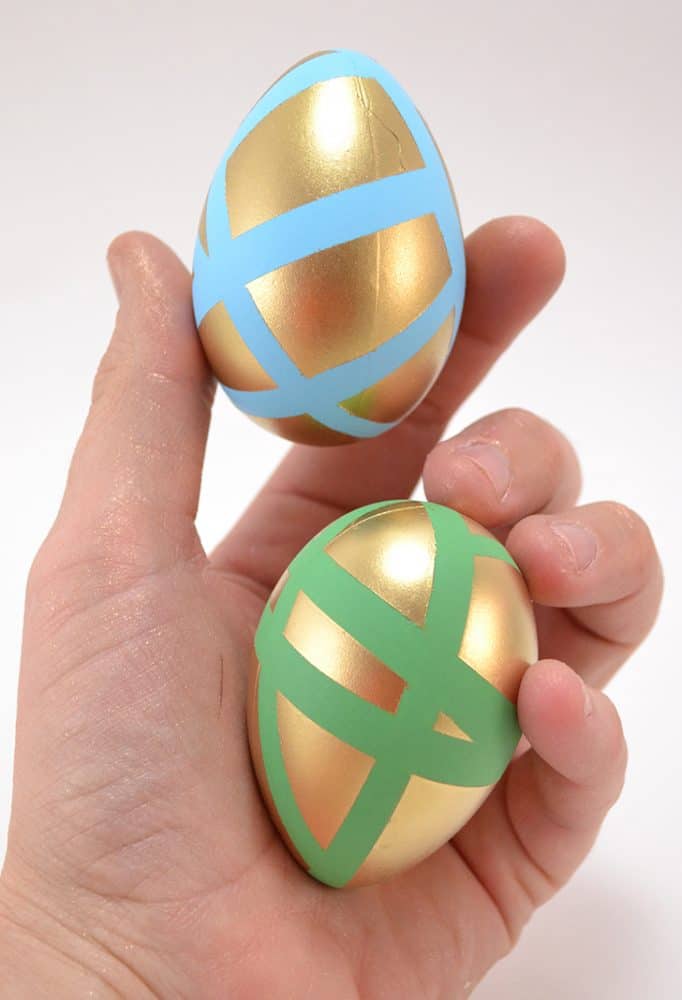
Redone blue egg joined the ranks of the other pastel eggs after redoing the paint.
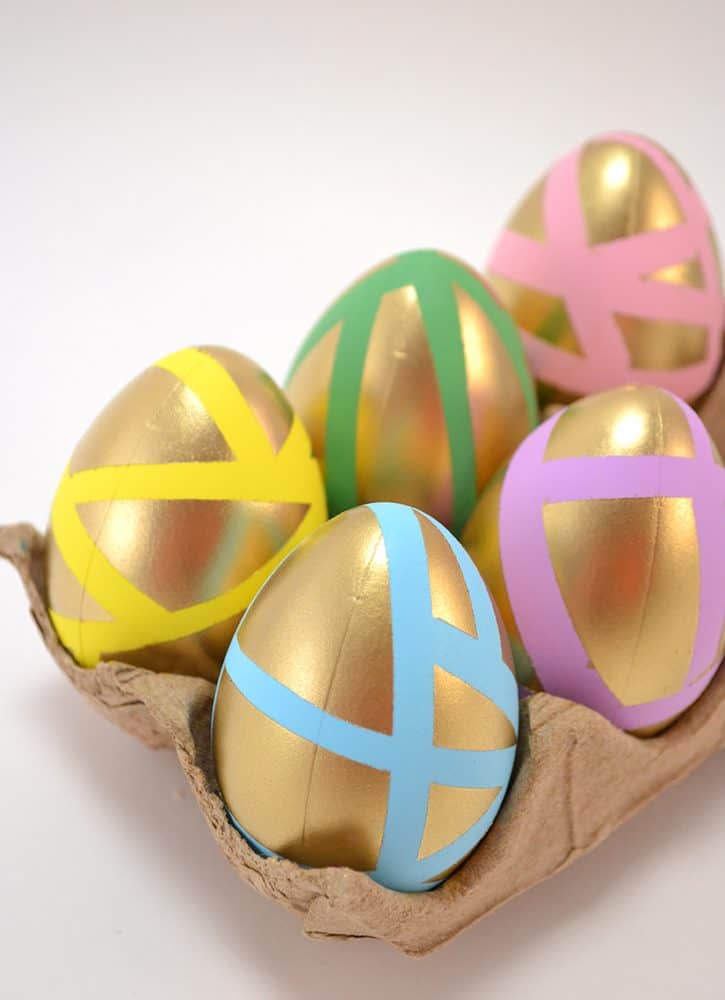
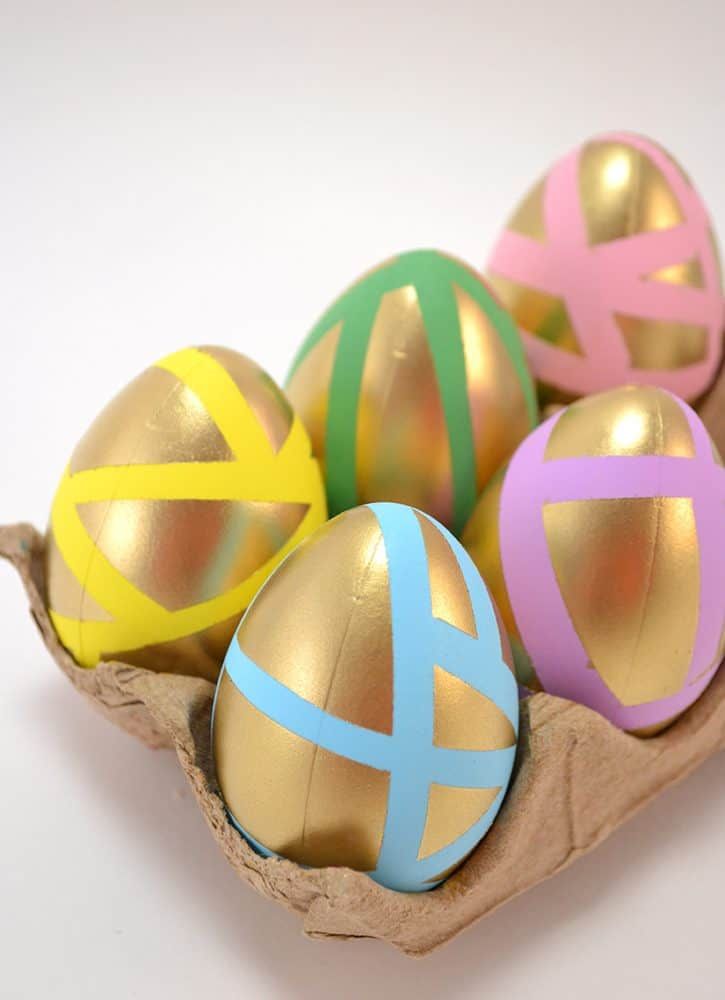
The gold accents really pop against matte pastel colors.
It’s amazing how much the gold pops against the matte pastel colors.
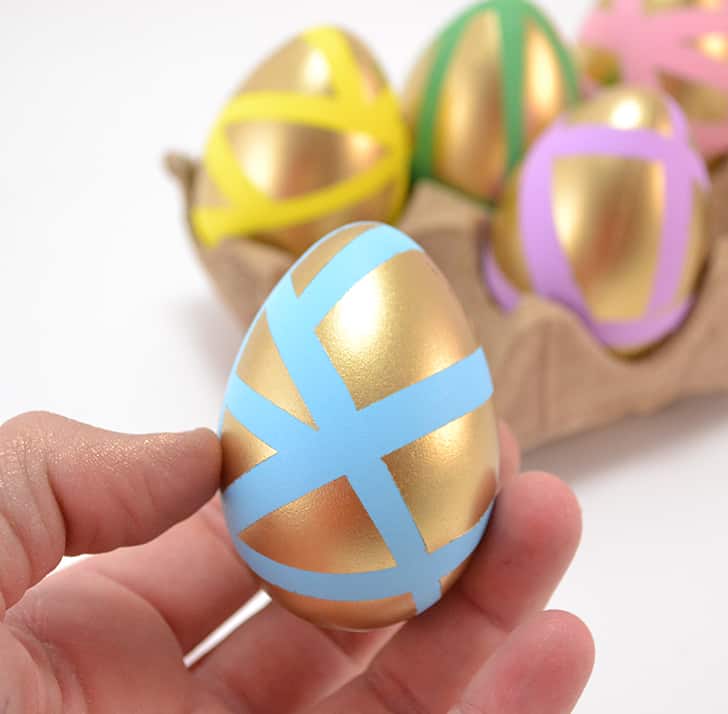
Finished set of pastel and gold Easter eggs — quick, stylish, and festive.
And in all, this project took about 30 minutes with dry time. How’s that for fast and fabulous?
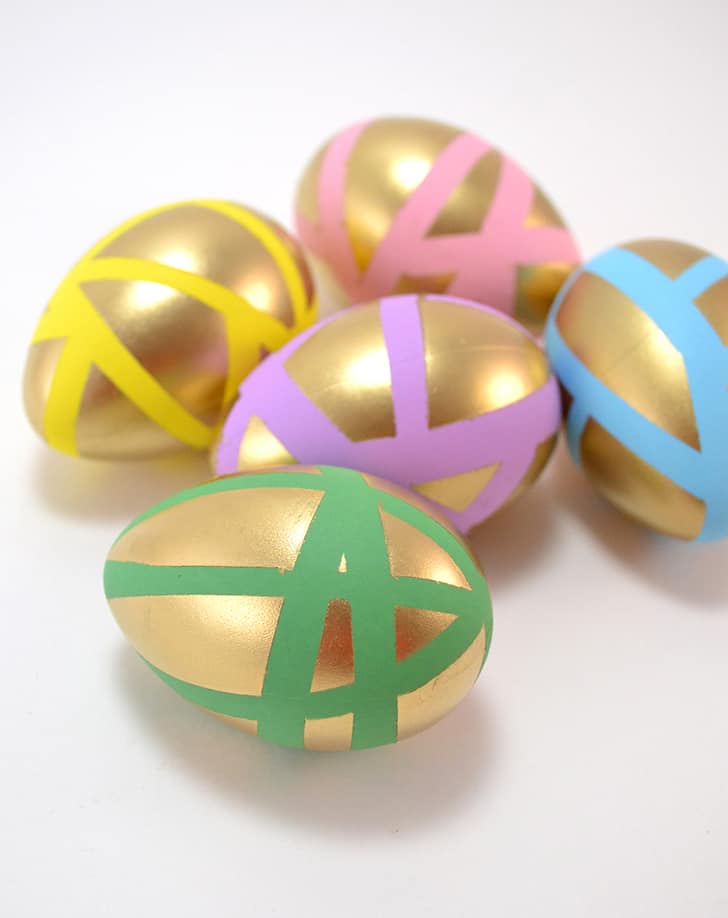
With a can of spray paint and some pastel eggs, you can make some of the prettiest Easter eggs around.
Quick tips: use thin tape strips and press them down firmly to avoid paint bleed; apply several light coats instead of one heavy coat to prevent bubbling; allow eggs to dry fully before removing tape and rubbing away any leftover adhesive.