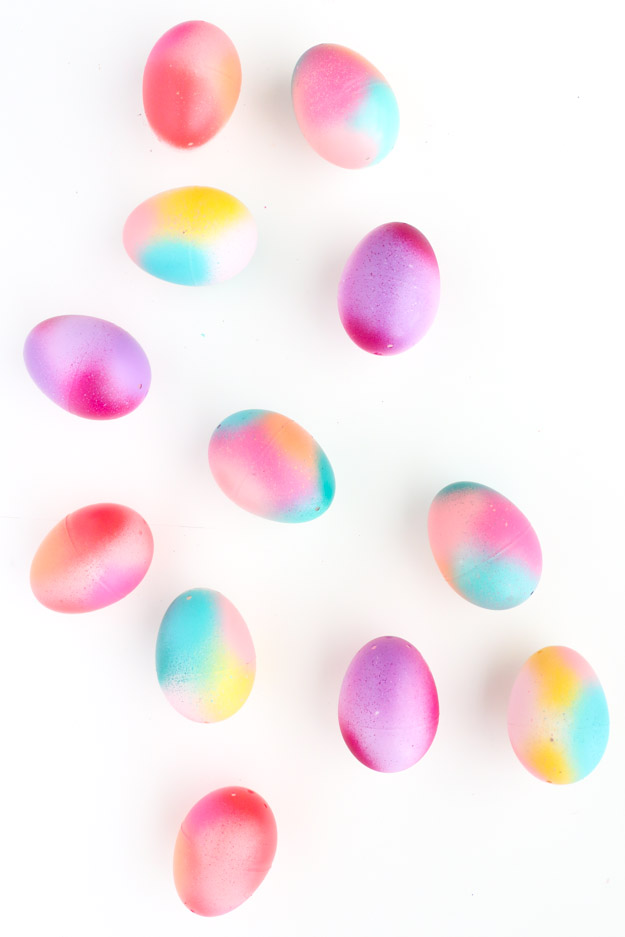
DIY Gradient Easter Eggs: Easy Spray-Paint Ombre Tutorial for Vibrant Easter Decor
Give your Easter eggs a modern, eye-catching twist with simple spray-paint gradients. This quick tutorial shows how to build soft ombre effects and bold multi-color blends on plastic (or paper mache) eggs using spray paint. No advanced skills required—just layer color bursts and let them blend into pretty gradients.
Gradient Easter Eggs are a super fun way to add a modern twist to your Easter celebrations. By blending different shades of vibrant colors together, you can create stunning and unique eggs that will definitely stand out in any Easter egg hunt. Whether you're aiming for a soft pastel gradient or a bold rainbow effect, the possibilities are endless. Just grab some dye, get creative, and enjoy making your Easter eggs pop with a lovely gradient touch!

Materials for DIY Gradient Easter Eggs:
- Spray paint in at least 3 colors (the original used Montana Gold spray paint in shades like malachite light, yellow submarine, lychee, pink pink, viola, crocus, cherry blossom, shrimp, strawberry, malachite, and frozen strawberry)
- Plastic Easter eggs (or paper mache / foam eggs)
- Spray primer such as Zinsser Bulls Eye 1-2-3 (optional for plastic eggs; skip if using paper mache or foam)
- Protective gloves, a drop cloth or newspaper, and a well-ventilated workspace or outdoor area
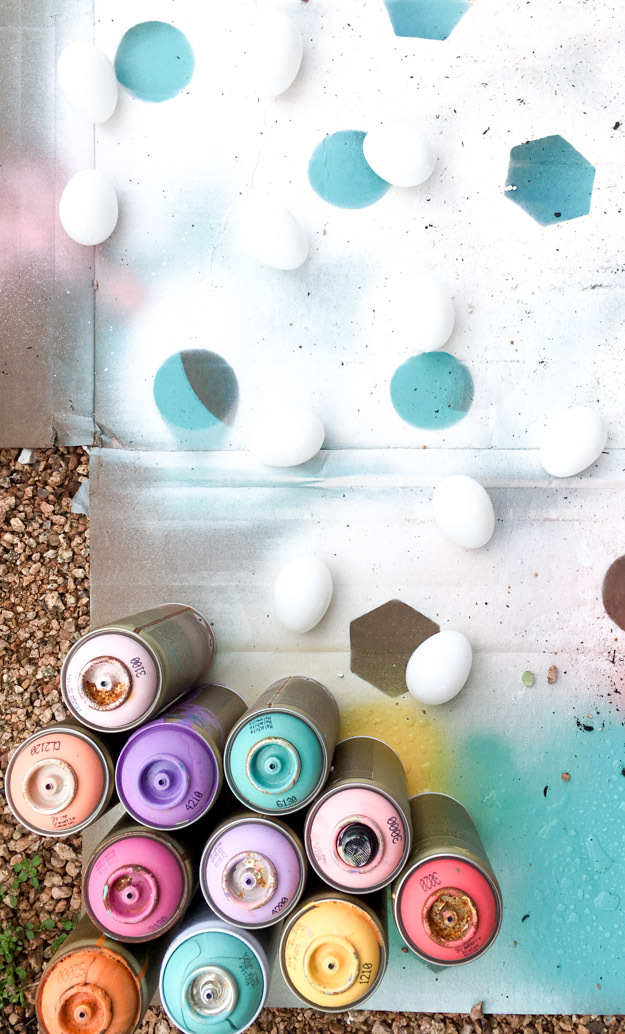
Basic steps:
1. Prep: If using plastic eggs, apply a light coat of spray primer and let it dry. This helps the paint adhere and provides a consistent base. For paper mache or foam eggs you can usually skip primer.
2. Layer color: Hold the can several inches away and spray short bursts of color onto one area of the egg. Move the can and add another color nearby so the edges overlap slightly—this creates the gradient blend. Let the top side dry fully, then flip the egg and repeat on the other side.
3. Build up the effect: Keep adding thin layers and alternate colors until you achieve the desired intensity. Light, frequent bursts work better than heavy single coats to avoid drips and maintain soft transitions.
4. Finish and display: Once dry, fill plastic eggs with treats or display them in bowls. Small bits of sticky tack or adhesive putty can help eggs sit upright on shelves or mantels for display.
Tips and safety:
- Work outdoors or in a well-ventilated area and protect your work surface with a drop cloth or cardboard.
- Wear gloves and a mask to avoid inhaling fumes and getting paint on your hands.
- Practice on a test egg to experiment with distances and burst timing before finishing a full set.
With just a few cans of spray paint and some patience layering color, you can create a range of looks from soft pastels to bold, vibrant ombre eggs—perfect for decorating, gifting, or hiding in an egg hunt.