Easy Easter Pinch Pot Tutorial: Make Adorable Clay Chicks & Egg Decorations
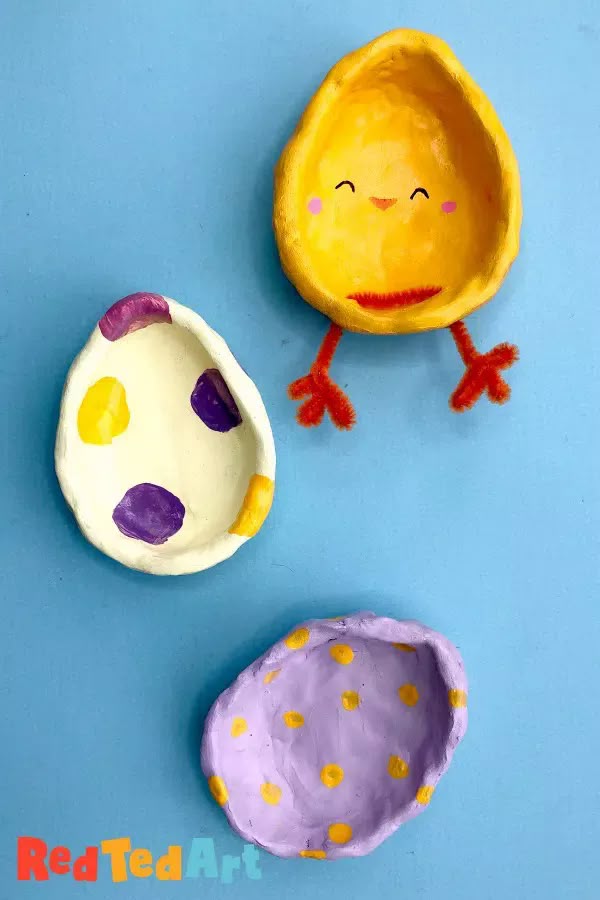
Make cute Easter decorations with a simple pinch pot technique — perfect for beginners and kids. In this step-by-step guide you'll learn how to form egg-shaped pinch pots from air-dry clay, turn some into little chicks, and paint them for a festive display.
Materials you will need:
- Air-dry clay
- Acrylic paints (gloss enamels recommended)
- Glitter and paint pens (optional)
- Chopstick or skewer (optional — for making holes)
- Pipe-cleaners (optional — for chick legs)
Tips before you start: condition your clay by kneading it until smooth; if it’s hard, soften it a little at a time with water and, if needed, let it rest overnight to become more workable.
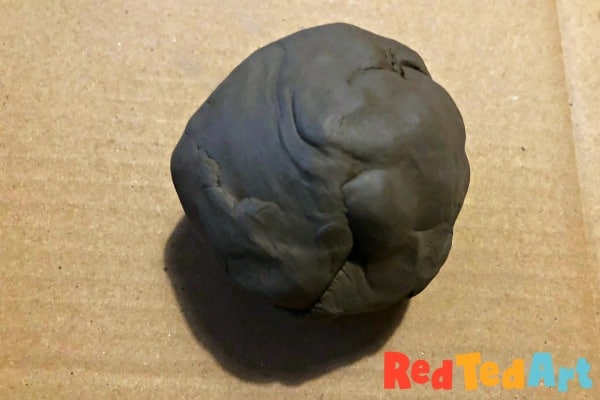
Start with a smooth ball of clay for each pinch pot.
Begin shaping the pinch pot:
1. Roll the clay into a smooth ball that fits comfortably in your palm.
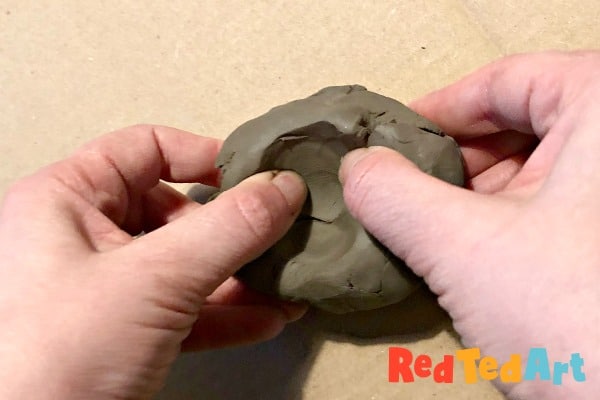
2. Using both thumbs, press into the center of the ball to create a bowl. Use your thumb and index finger to gently pinch and raise the walls, smoothing any cracks with a little water as you work.
3. To make the shape more egg-like, gently pinch one end of the bowl to create an oval profile.
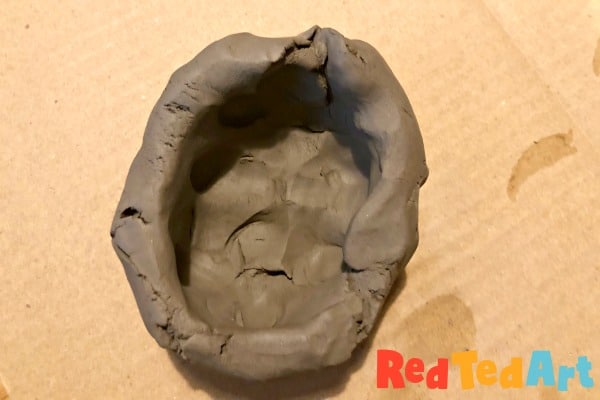
4. Spend a few minutes smoothing the inside and outside walls with water or a soft tool for a clean finish. If you plan to add pipe-cleaner legs to make chicks, use a chopstick or skewer to make two small holes in the bottom now.
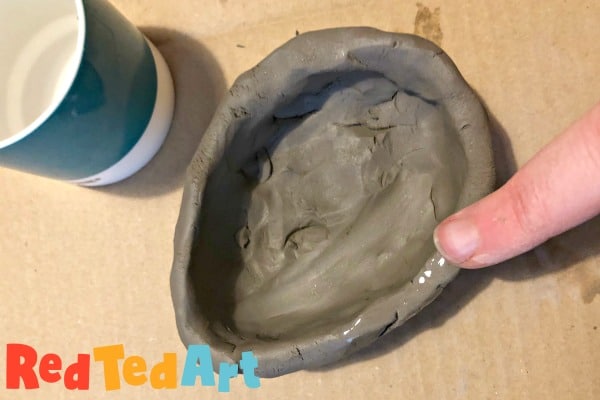
5. Allow your pinch pots to dry completely — this can take a few days depending on temperature and humidity.
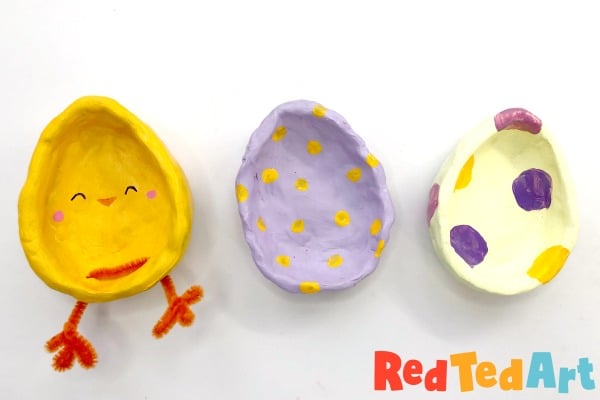
6. Once dry, paint with acrylics. Add details like beaks, eyes and little feet (use pipe-cleaners inserted through the holes) to turn some eggs into chicks. Finish with a gloss enamel or sealer if you want extra shine and durability.
Have fun experimenting with colors and finishes — these pinch-pot chicks and eggs make charming homemade Easter decorations or gifts.