Sweet Crochet Baby Girl Flower Hat — Easy Step-by-Step Pattern
This sweet crochet baby girl flower hat pattern creates a cozy, textured beanie with a decorative layered flower — a perfect finishing touch for a newborn or infant outfit. The instructions below list materials and round-by-round steps to build the hat's crown, body, textured pattern and border. Use the provided photos for visual reference and adjust hook/yarn to achieve the desired size and drape.
The crochet baby girl flower hat is an adorable accessory that will surely make your little one look even more precious! With its delicate design and beautiful floral embellishment, this hat is perfect for adding a touch of sweetness to any outfit. Not only is it charming and stylish, but it also keeps your baby's head warm and cozy. Your little girl will definitely steal hearts everywhere she goes wearing this cute and lovely hat!
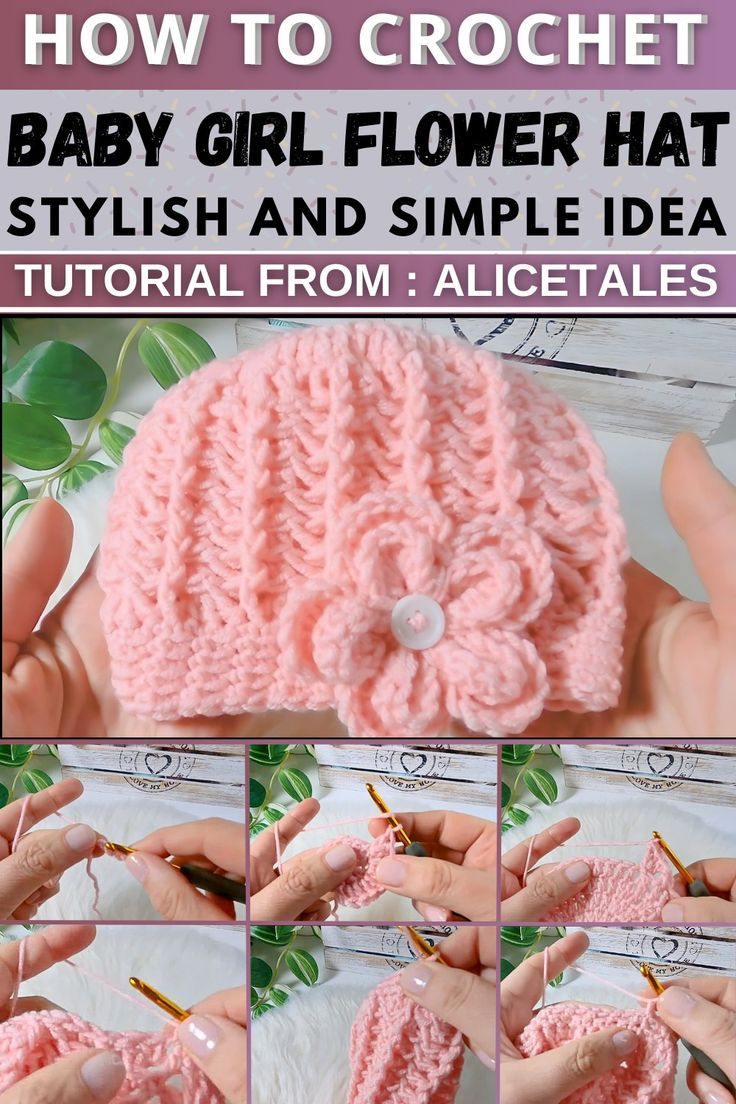
Finished crochet baby girl flower hat with layered flower embellishment.
Materials Needed
Yarn: Acrylic and bamboo blend
Crochet Hook: 4.5 mm
Scissors
Yarn Needle
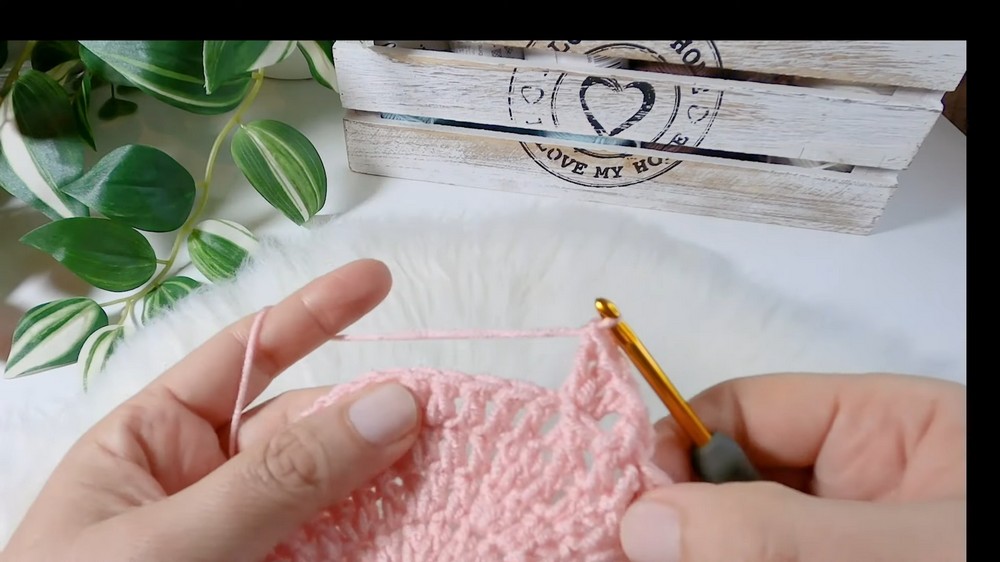
Close-up of the layered crochet flower used to embellish the hat.
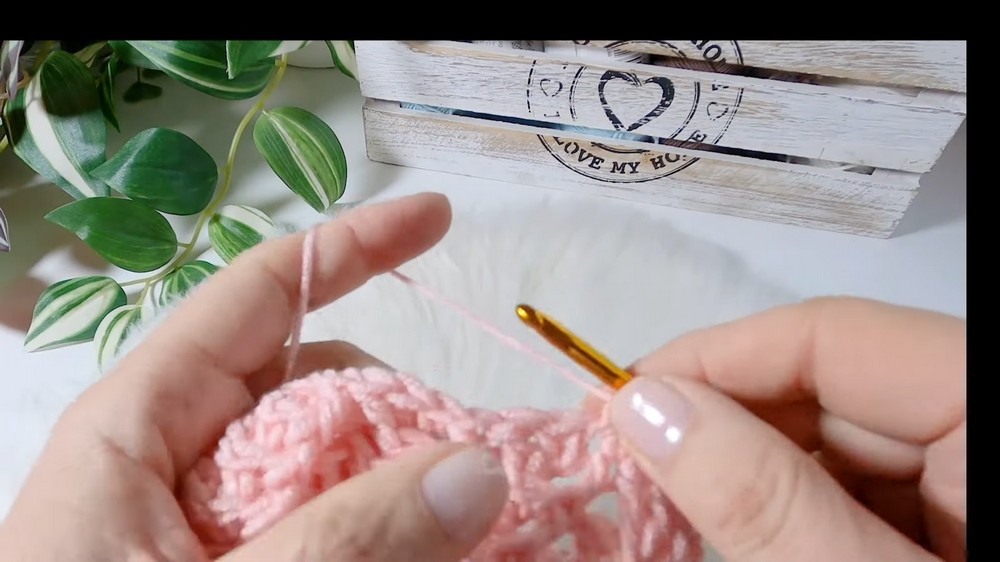
Detail showing the textured stitch pattern around the hat body.
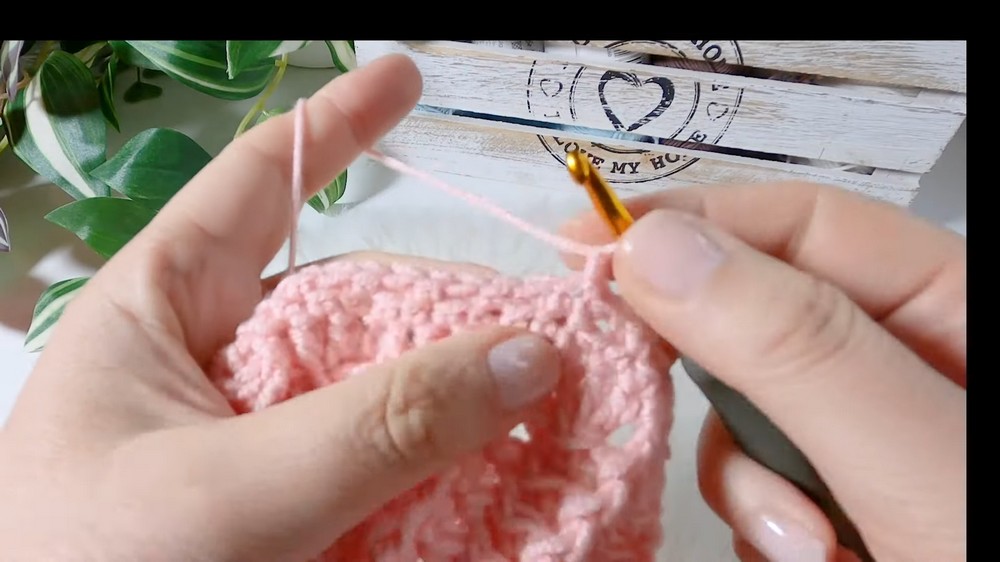
View of the finished border and alternating single-crochet rounds for a neat edge.
Steps
Foundation Circle:
- Make a slip knot.
- Chain 4 and join to form a circle.
- Chain 2 and work 12 double crochets into the circle.
- Join with a slip stitch to complete the first round.
Round 2:
- Chain 2.
- Work 2 double crochets in each stitch around for a total of 24 double crochets.
- Join with a slip stitch to complete the round.
Round 3:
- Chain 2.
- Work 1 double crochet in the first stitch, then 2 double crochets in the next. Repeat until the end of the round for a total of 36 double crochets.
- Join with a slip stitch.
Round 4:
- Chain 2.
- Work 1 double crochet in the first two stitches, then 2 double crochets in the next stitch. Repeat across for 48 double crochets.
- Join with a slip stitch.
Round 5:
- Chain 2 and work simple double crochets around without any increases.
- Join with a slip stitch.
Round 6 (Pattern Repeat Begins):
- Chain 2.
- Work 1 front post double crochet in the first stitch, skip one stitch, then work 3 back post double crochets. Repeat this pattern around.
- Join with a slip stitch.
Round 7:
- Chain 2 (not counted as a stitch).
- Work 1 front post double crochet in each front post double crochet from the previous round. Then work 3 back post double crochets in the middle stitch of each 3-back post group. Repeat until the end of the round.
- Join with a slip stitch.
Rounds 8-12:
- Repeat the instructions for Round 7.
Border:
- Chain 1 and work 1 single crochet in each stitch around.
- Join with a slip stitch.
Rounds 13-15:
- Chain 1.
- Alternate between 1 single crochet in the entire stitch and 1 single crochet through the back loop only. Repeat this pattern around.
- Repeat this step for the remaining rounds.
Tips and Finishing Suggestions:
- Sew the layered flower on securely with a yarn needle and matching yarn. Consider adding a small satin stitch or button center if desired.
- Use a stitch marker to mark the beginning of rounds and keep track of increases.
- Lightly block or steam the finished hat to even out stitches if needed; test a small area first to be sure of the yarn's reaction to heat.