Transform Plastic Dishes into Rustic Rope Trays — Easy DIY Jute Tray & Planter
Give plain plastic dishes a charming, rustic makeover by wrapping them in jute rope. These DIY rope trays and planters are inexpensive, quick to make, and perfect for organizing small items, serving snacks, or adding a cozy accent to your home. The technique is simple: glue dishes together in a shape you like, then coil and glue rope around and into the form until it’s completely covered.
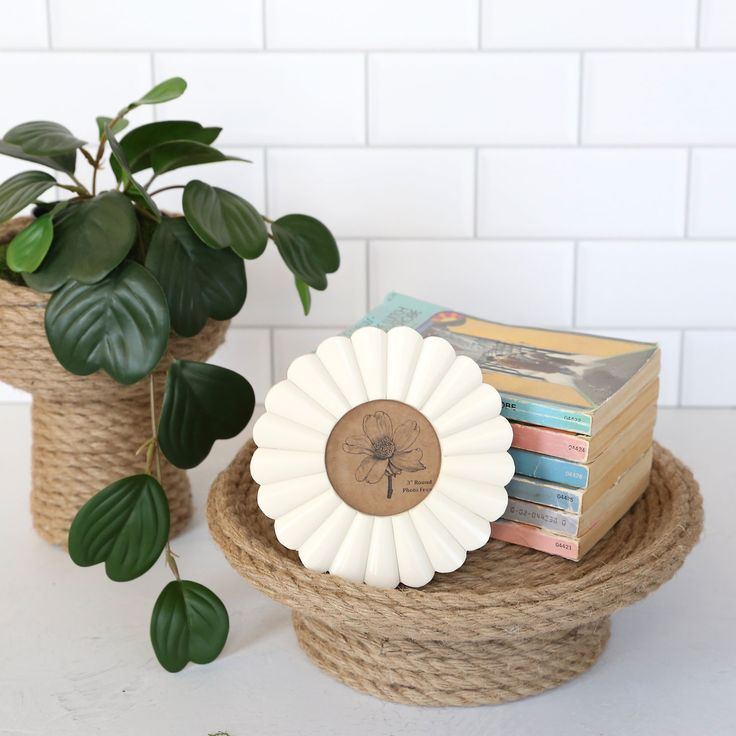
Supplies
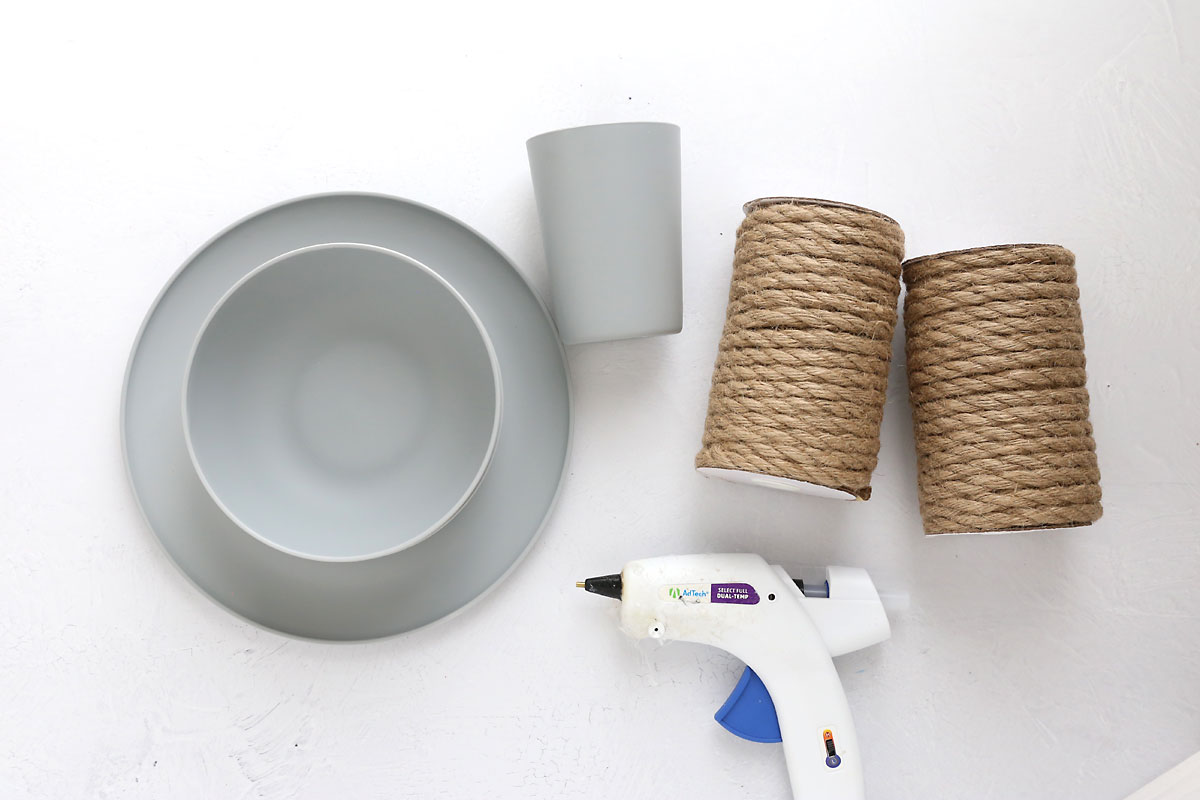
Here’s what you’ll need to make these rope home decor trays:
- Plastic dishes — lightweight reusable plates, bowls or cups (the author used inexpensive pieces from Walmart; use any shapes you prefer).
- Jute rope — 8mm jute rope was used; the project in this post used about 100 ft to cover two pieces.
- High-temp hot glue gun and plenty of hot glue sticks.
Tip: How Much Rope Will I Need?
Rope required depends on dish size and how tightly you wrap. For reference, the author used 8mm jute rope and about 100 ft to cover two pieces (a plate + bowl tray and a bowl + cup planter). If you use larger dishes or wrap more loosely, plan on extra rope.
Instructions
Overview: glue your chosen dishes together, then coil jute rope around the exterior and interior, securing with hot glue, until the piece is fully covered.
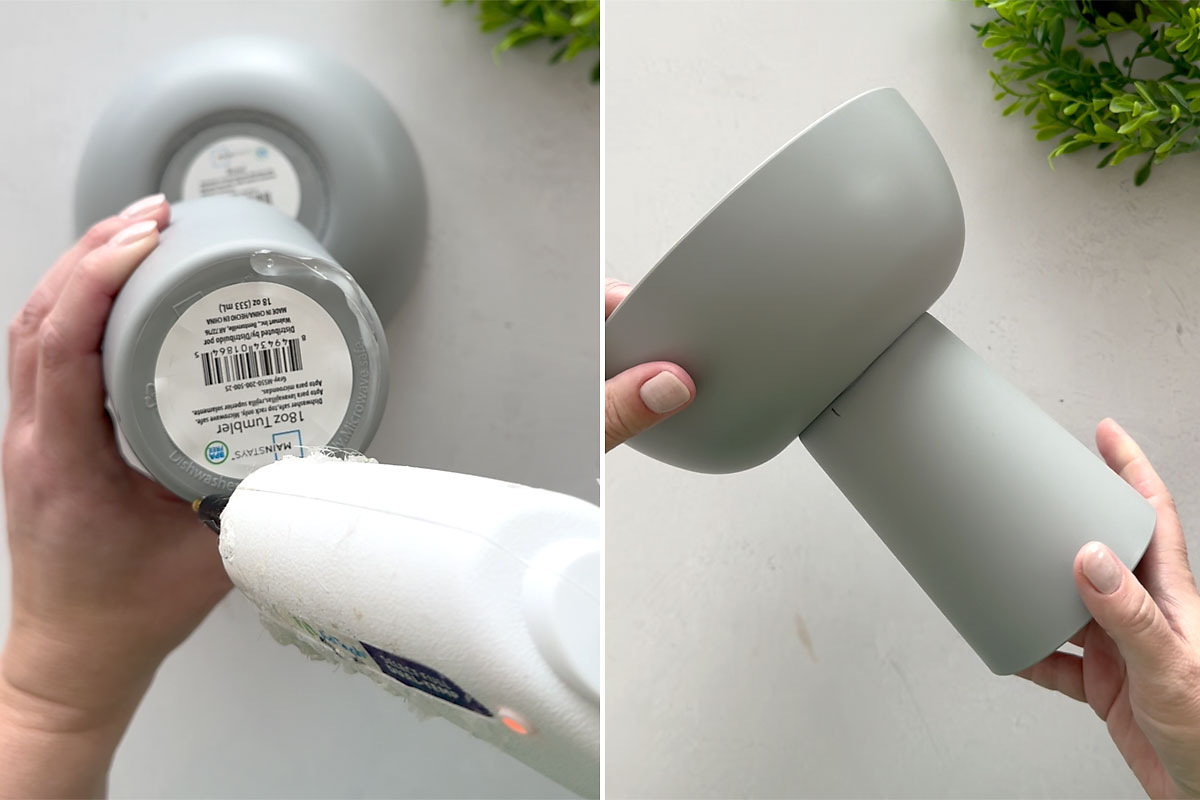
1. Glue dishes together
Choose a combination that creates the shape you want (for example, a bowl on top of an inverted cup for a planter, or a plate on top of an inverted bowl for a tray). Use plenty of hot glue to center and firmly attach the pieces.
2. Begin attaching the rope
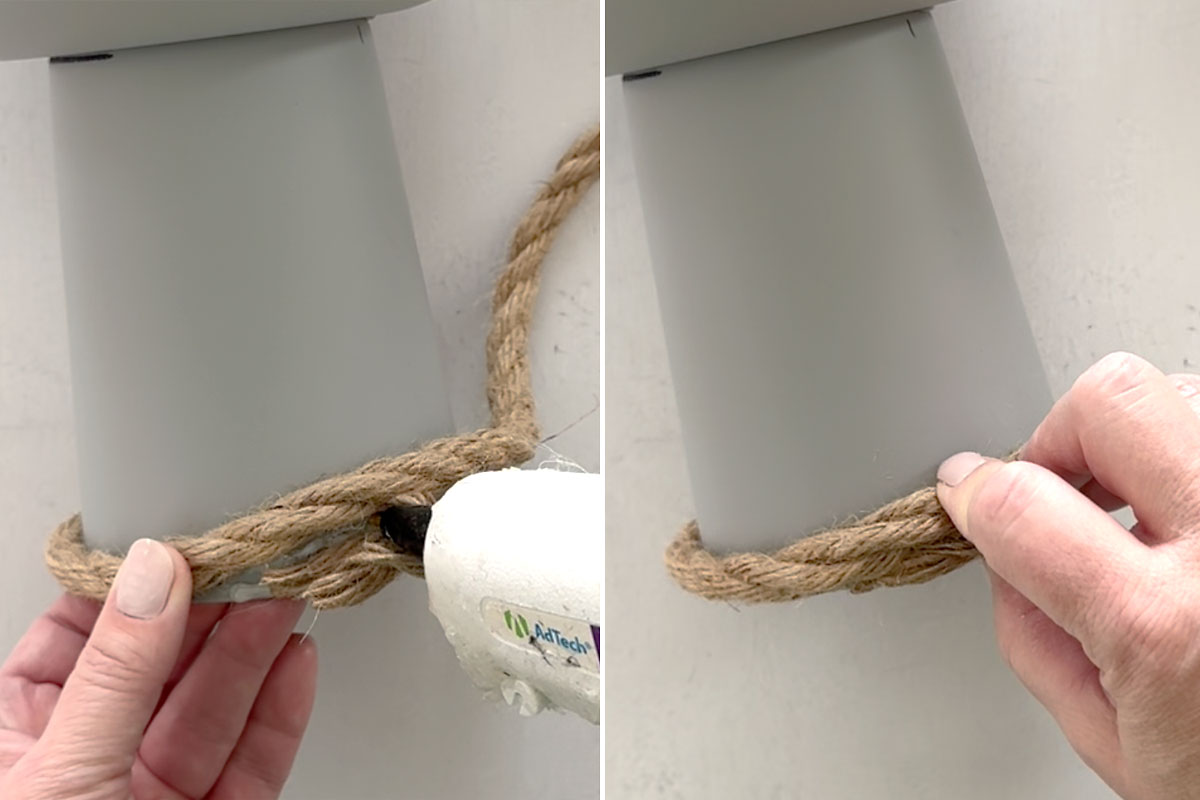
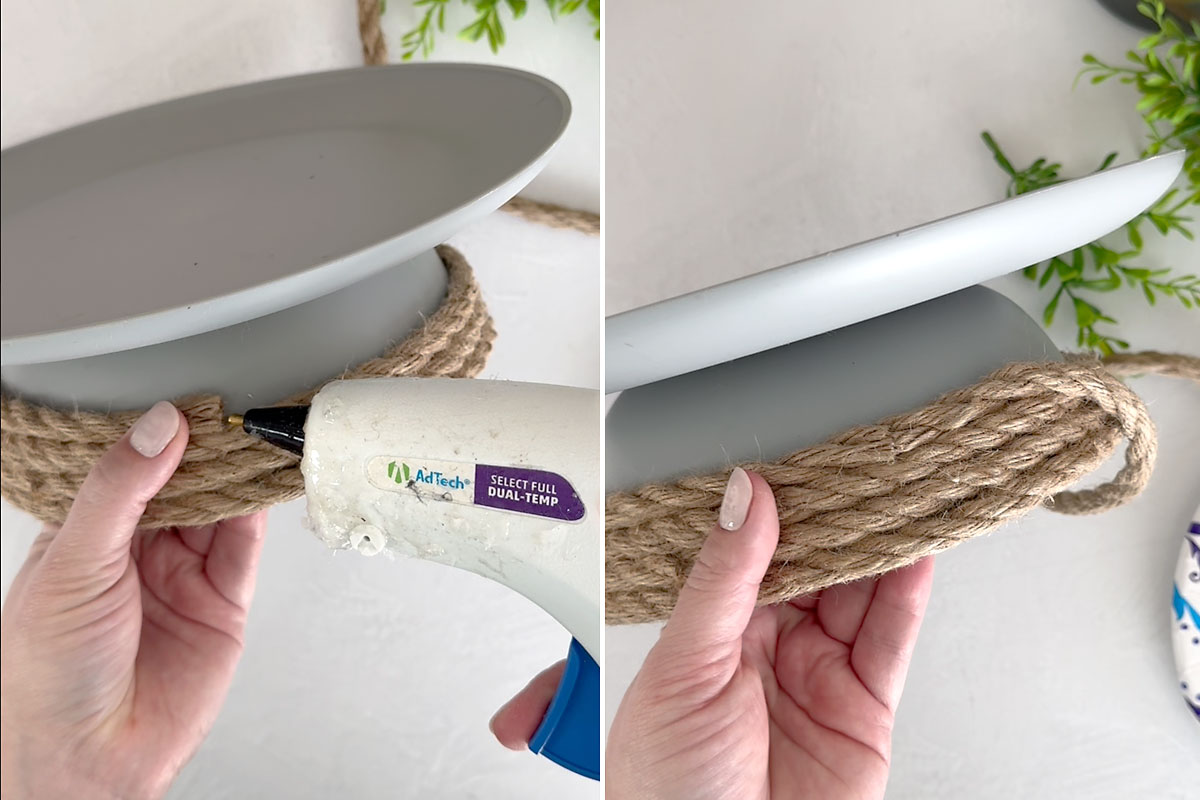
Cut the rope end at an angle. Apply hot glue to the bottom edge of the base and press the rope into the glue for several seconds until it holds. Add a short bead of glue just ahead of the rope and press the rope into it to start wrapping around the base.
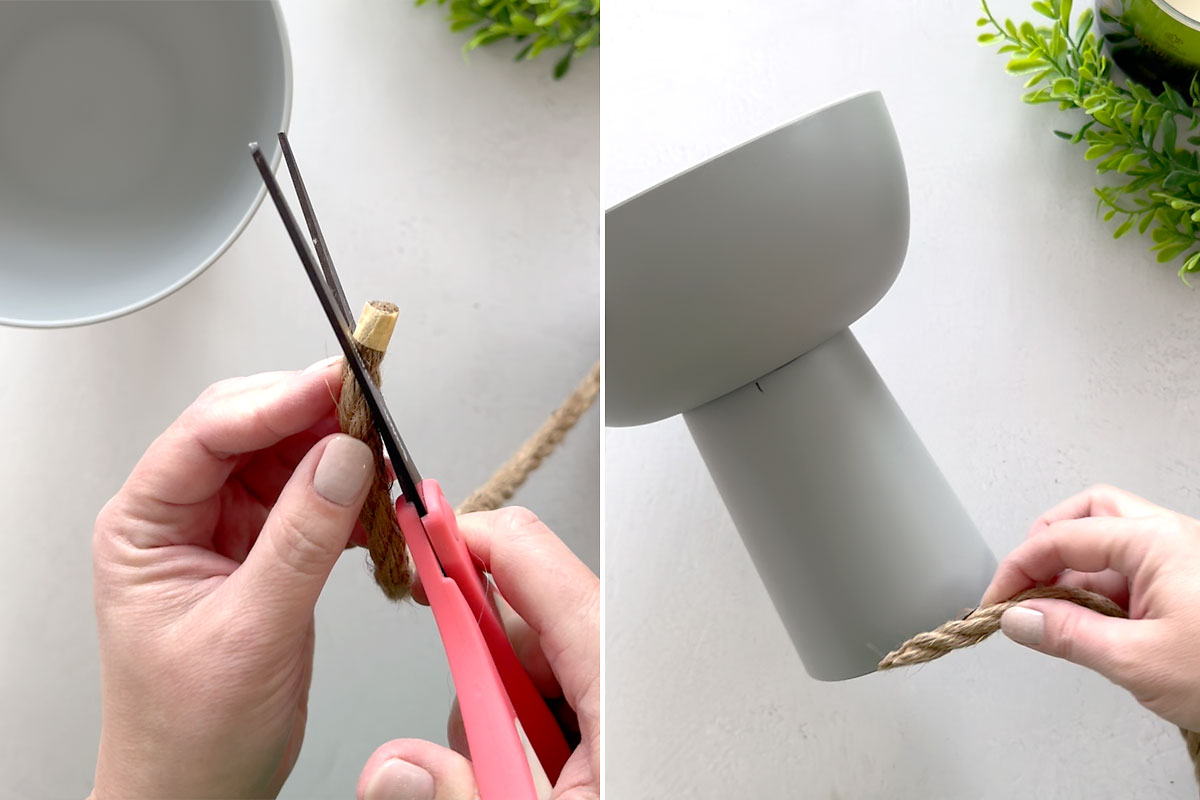
Cover the starting tail of the rope as you complete the first wrap so the end is hidden, then continue adding glue and wrapping in tight, even coils working your way up the piece.
3. Continue wrapping and gluing
Keep applying lines of hot glue and pressing the rope down. Wrap around the joined seam between dishes and proceed up the sides. If it becomes awkward, flip the piece to make wrapping easier.
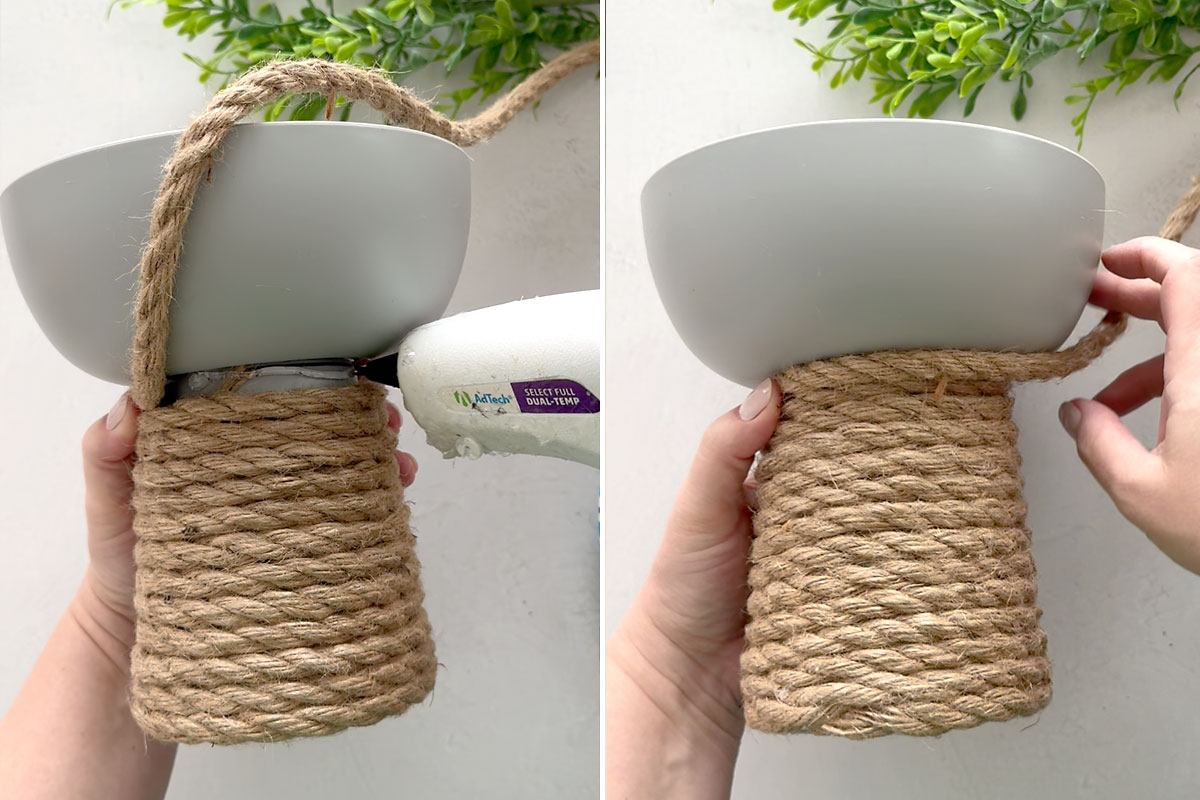
When you reach the top edge, glue the rope along the rim and continue wrapping into the inside of the bowl or plate to fully cover both exterior and interior surfaces if desired.
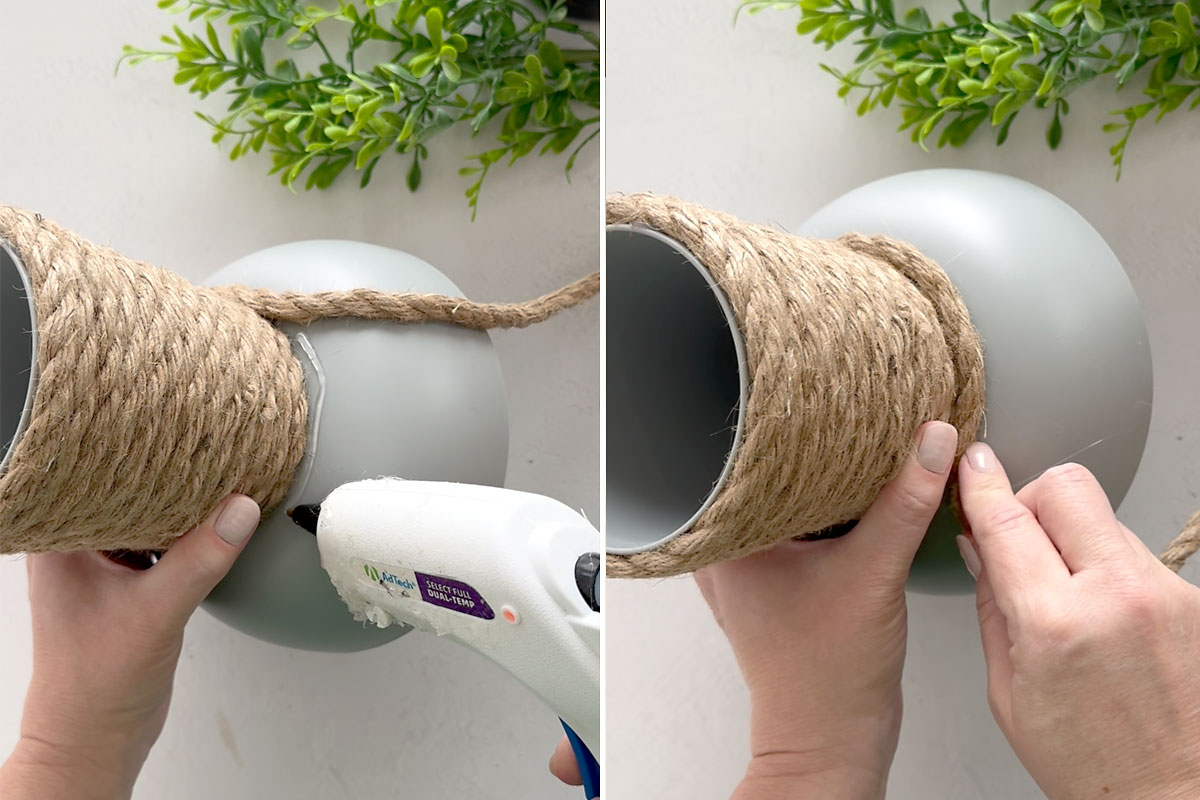
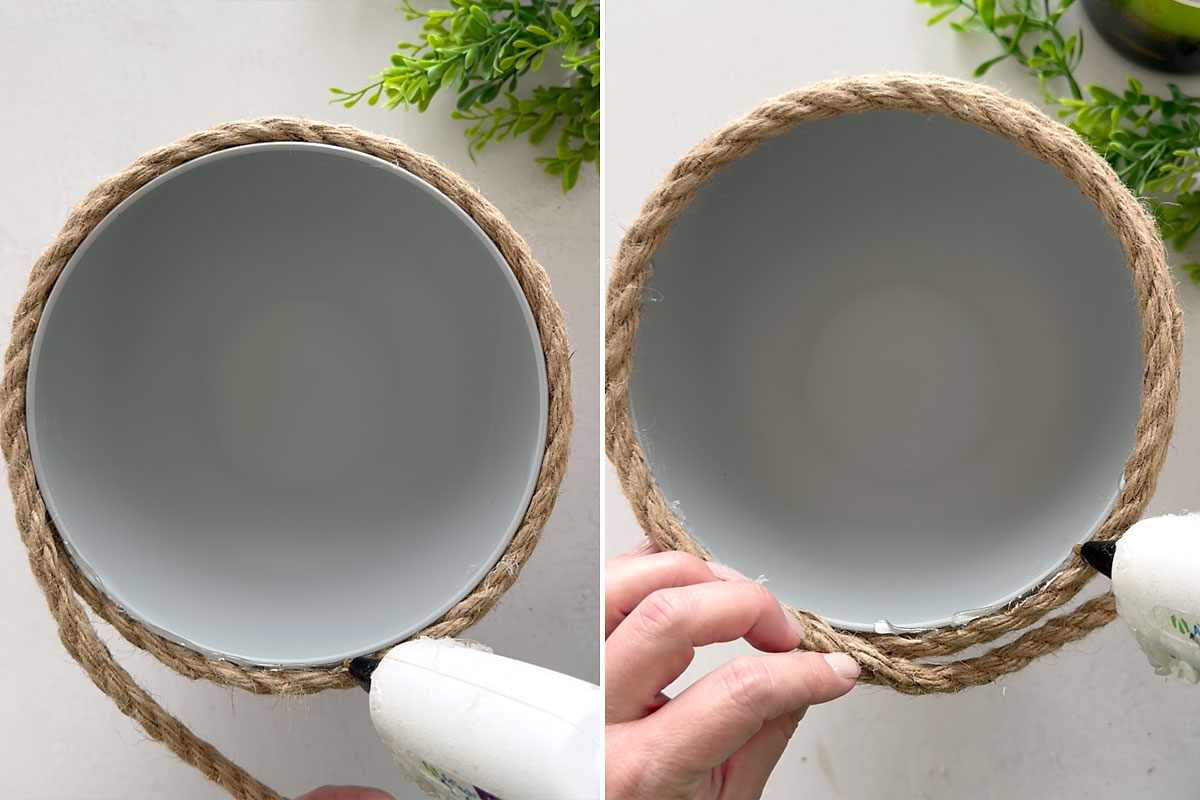
Work until the entire outside (and inside, if you’re covering it) is wrapped. Leave a small gap of rope for finishing.
4. Finish the center
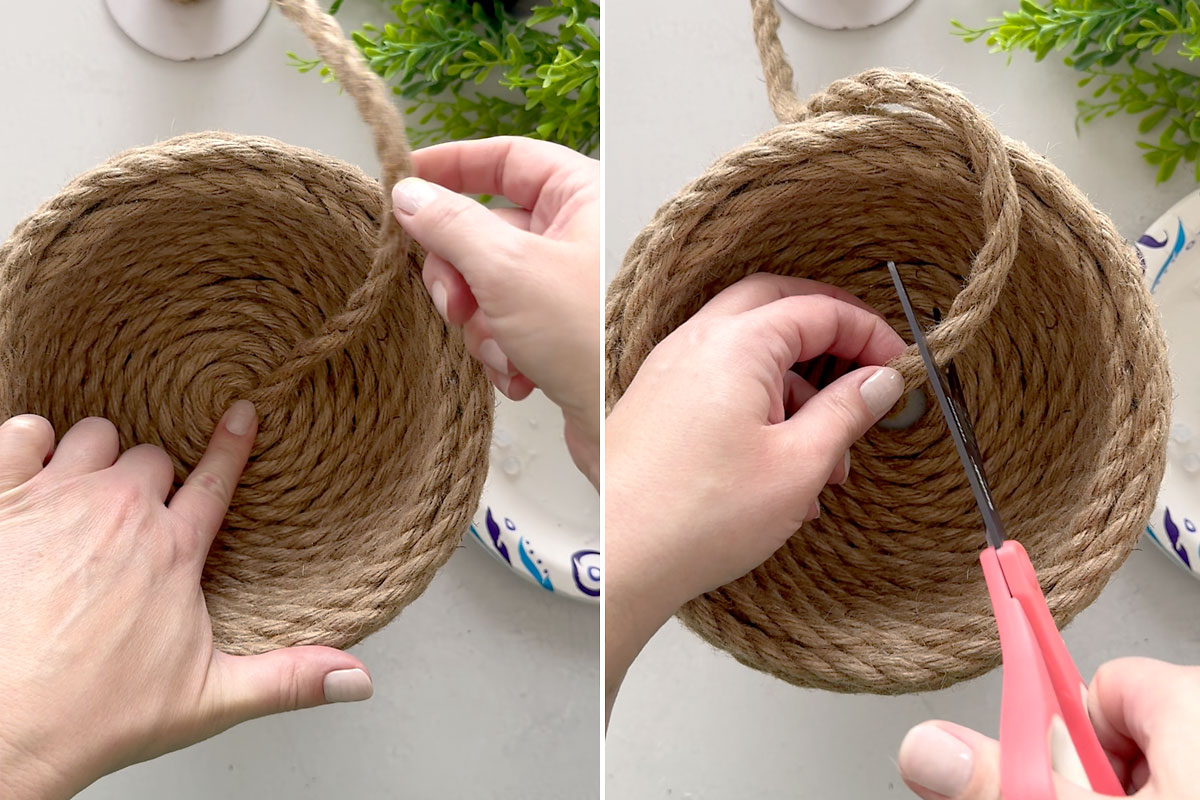
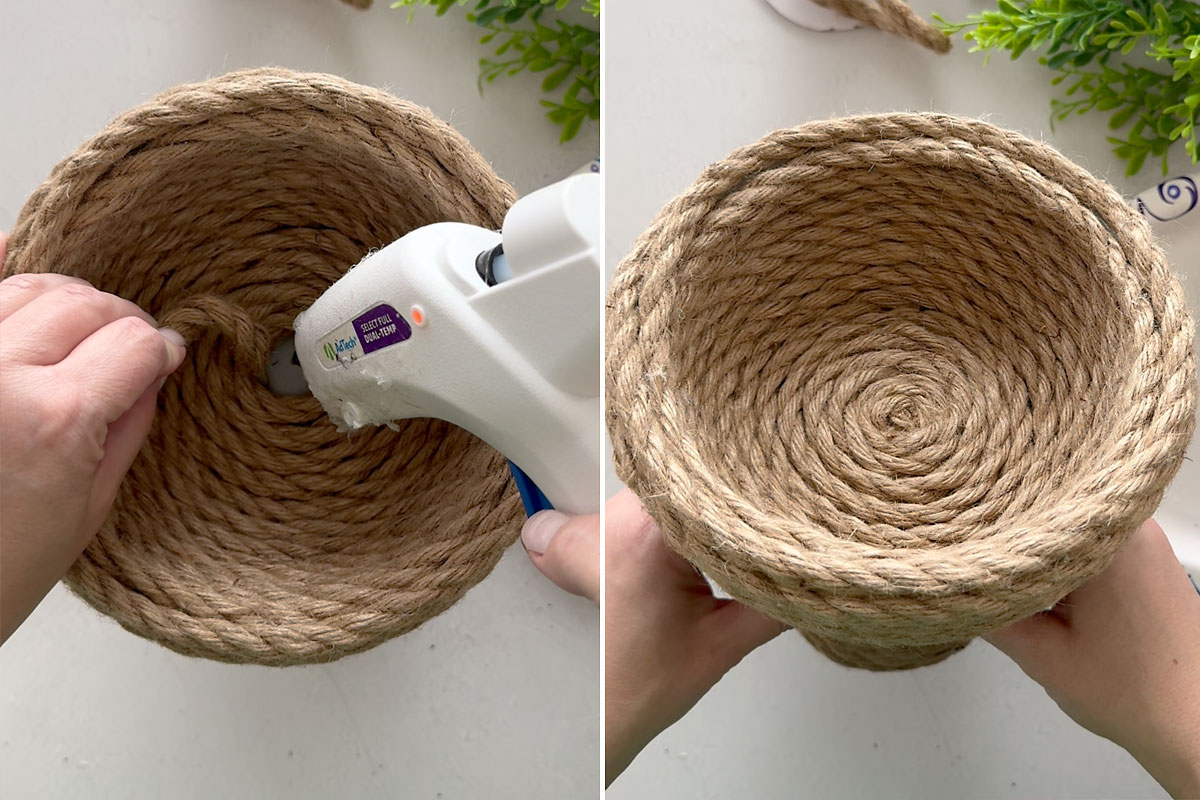
Twist the rope into a small circle about the size of a quarter to determine the final length needed and trim. Add plenty of hot glue inside that circle, then press the trimmed end of the rope into the glue to secure it. Use a tool (not your fingers) if needed to avoid burns.
5. Adding a new rope spool
When you run out of rope, trim the old end cleanly and glue it down. Trim the new rope end, add hot glue to both the piece and the new rope end, then continue wrapping. Once finished, the seam will be nearly invisible.
Finishing tips & safety
- Work in short sections so the glue is tacky but not fully cooled when you press the rope down.
- Use a high-temp glue gun for a stronger bond but take care to avoid burns — use tools to push rope into hot glue for tight spots.
- Seal the finished piece with a clear matte spray sealer if you want added durability or slight water resistance.
- Customize by dyeing the rope, adding painted accents, or using different rope types for varied textures.
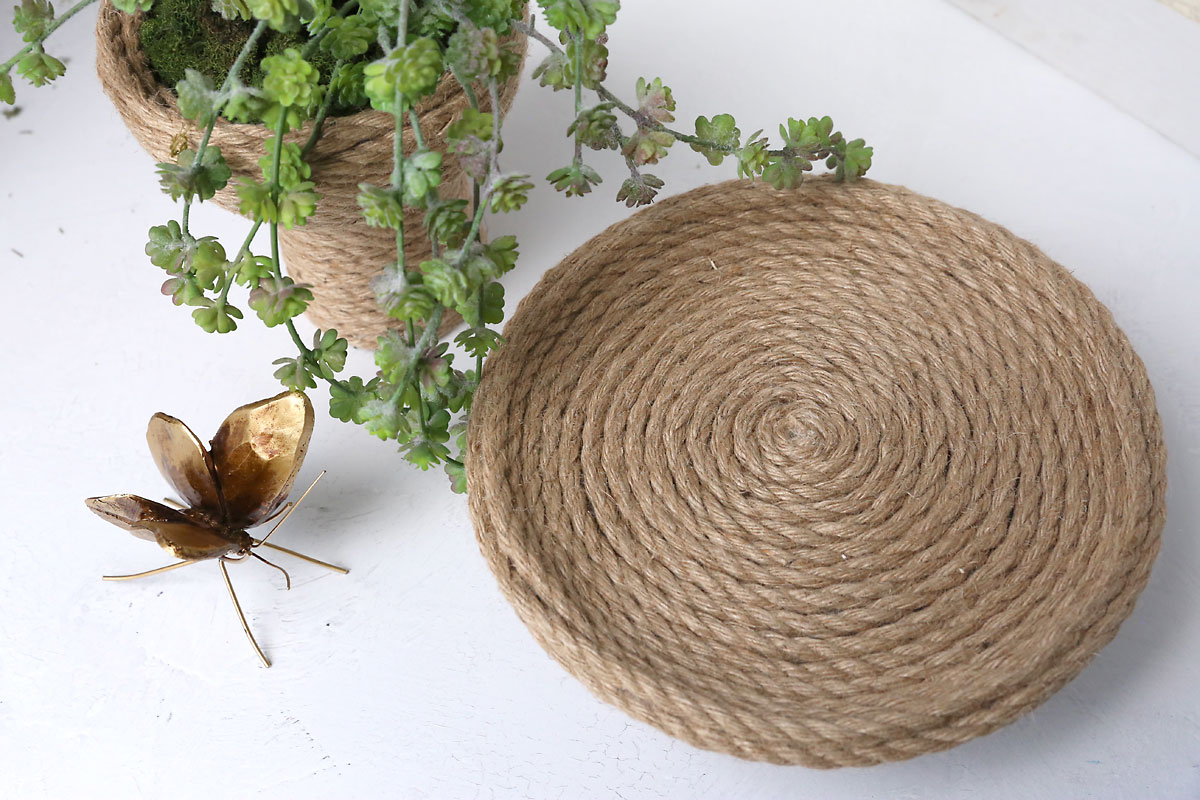
With a little time and glue, you’ll have charming, functional rope trays and planters that look much pricier than they are. Enjoy crafting!