Transform a Dollar Tree Bunny into a Rustic Jute Twine Easter Decoration
Give a simple hanging Easter bunny from Dollar Tree a cozy, farmhouse look by wrapping it in jute twine. This easy, budget-friendly DIY delivers a rustic, handmade decoration you can customize with faux flowers or a twine hanger. Read on for step-by-step instructions and helpful tips to complete the project.

Supplies Needed:
- Hanging Easter bunny face (Dollar Tree)
- Jute twine (I used a 1 lb roll from Hampton Art found at Walmart; Dollar Tree twine also works but you may need multiple packs)
- Hot glue gun and glue sticks
- Scissors
- Pliers (optional, to remove the hanging loop)
- Faux flowers (optional)
- Finger protectors or silicone caps (recommended for hot glue work)
Step 1: Unwrap and Prep
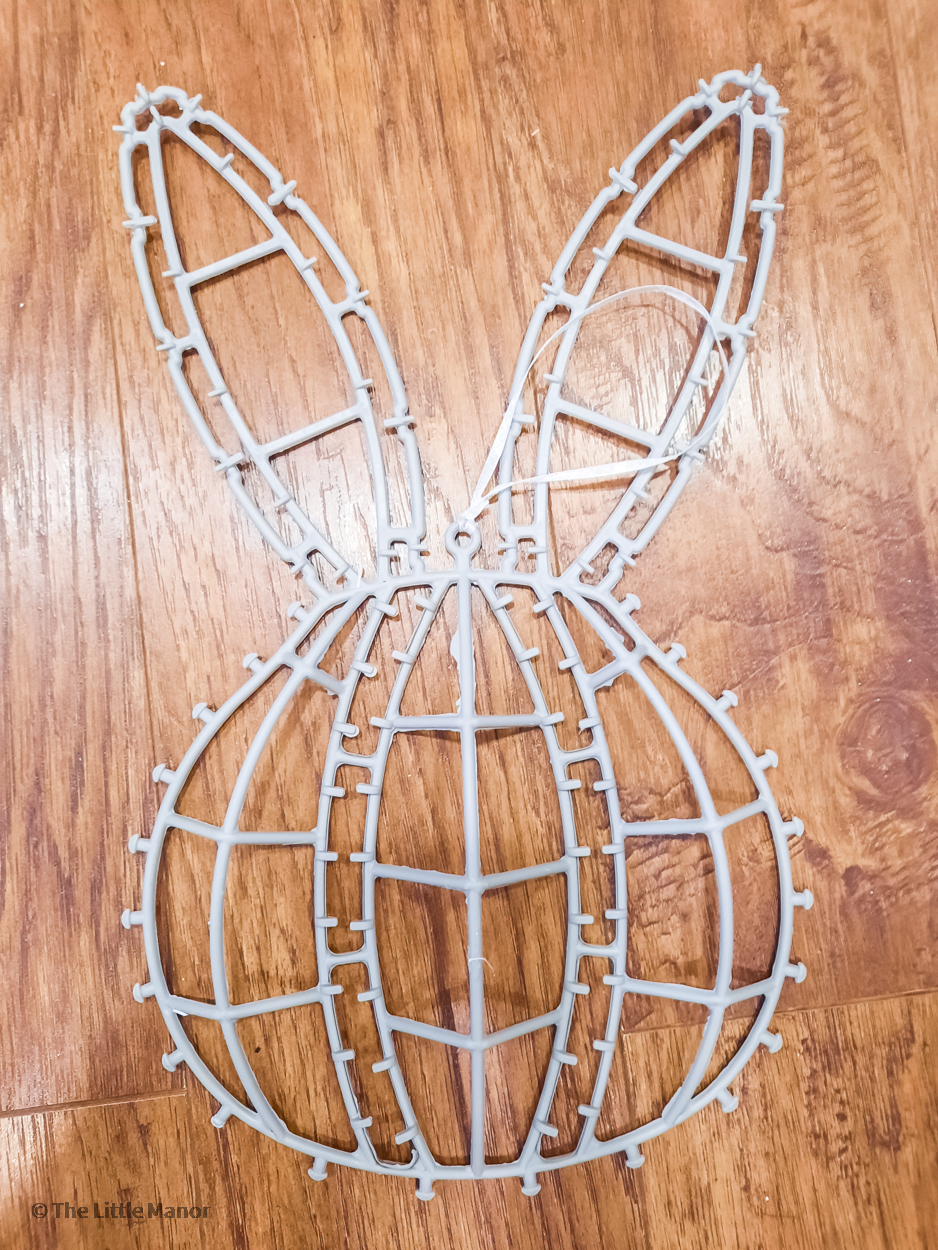
Start by removing the plastic wrapper from the hanging Easter bunny face. Find a loose edge and pull the plastic off. Next, trim the small plastic tabs that stick out from the bunny using scissors—this makes it easier to hide them as you glue the twine down.
Here’s what it looks like before trimming:
And it’ll look like this once you’re finished:
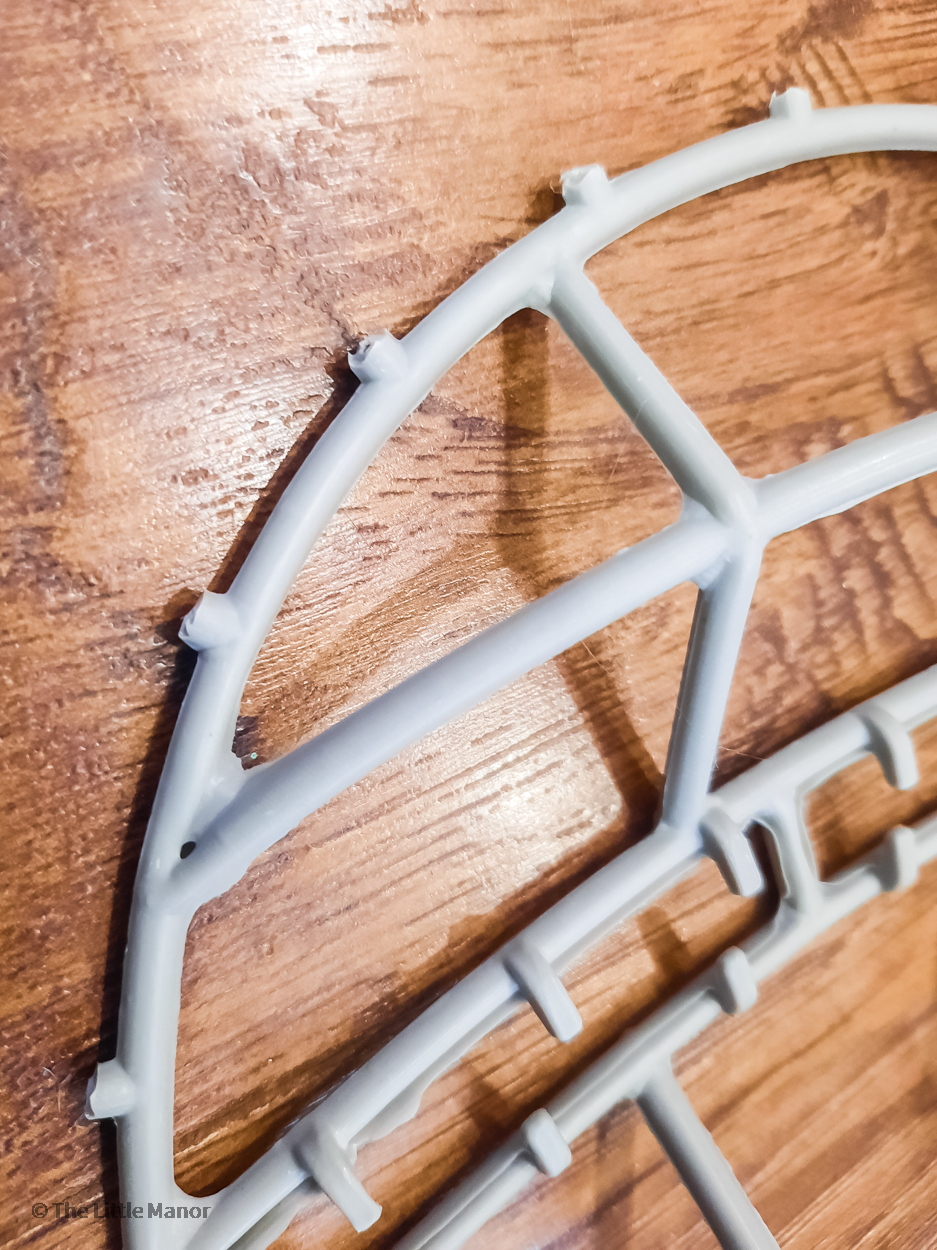
Trimming those little pieces will help the twine lie flat and give a cleaner finished look.
Step 2: Glue Twine (Face)
Tip: consider using silicone finger protectors to avoid hot glue burns. Dollar Tree often carries a small pack in the craft section.
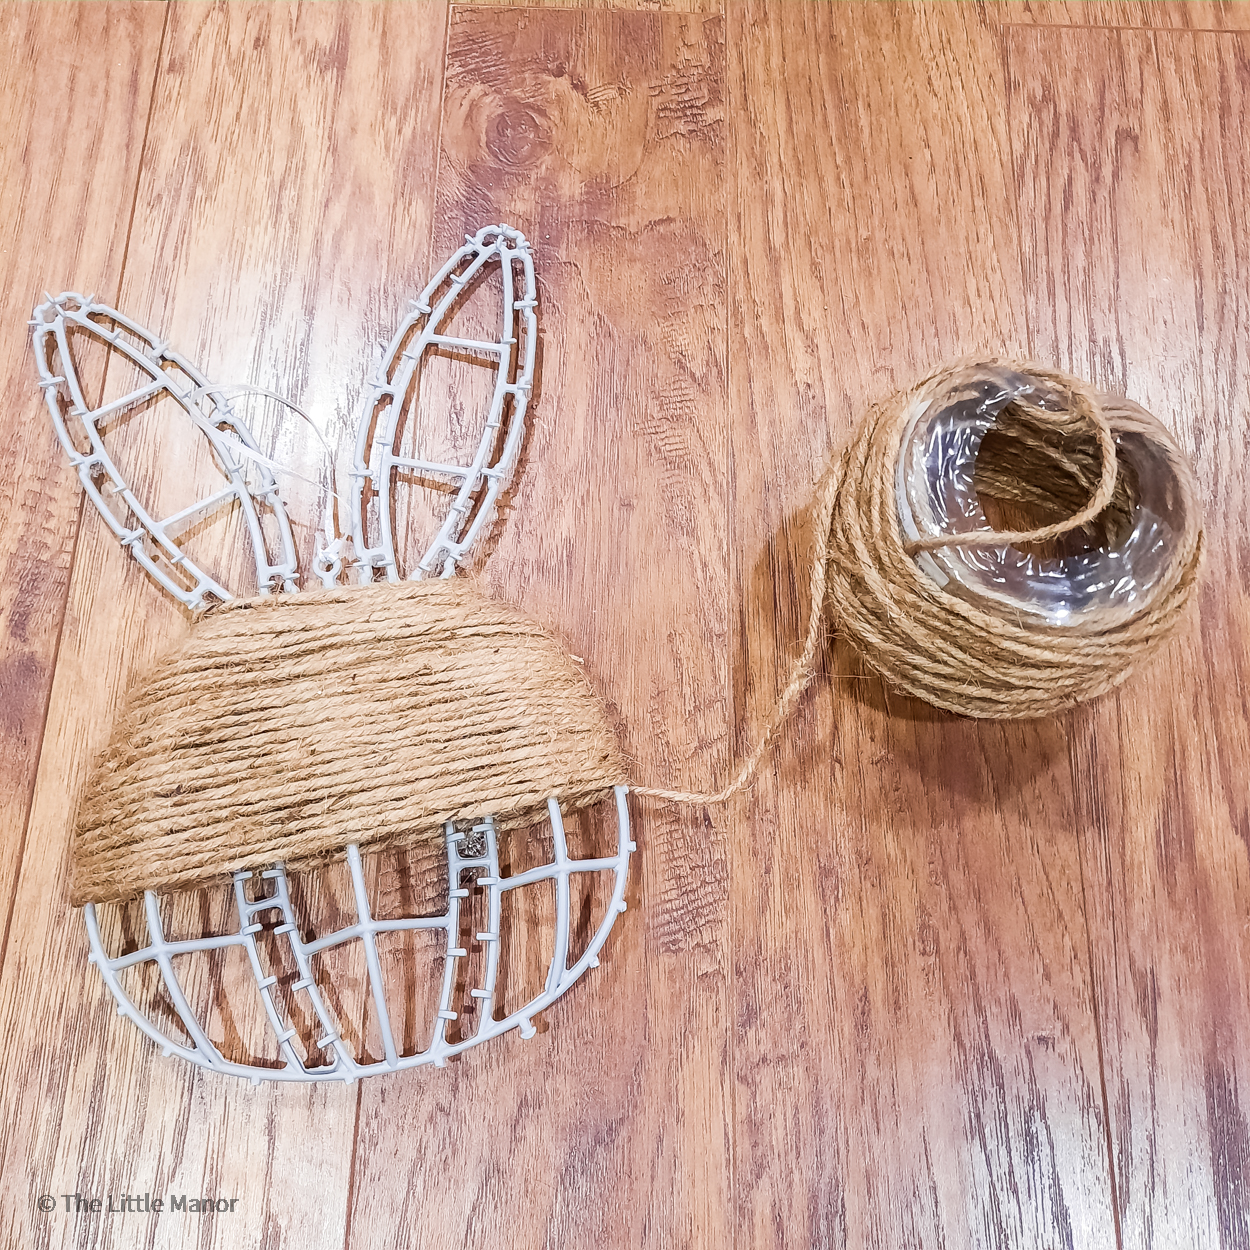
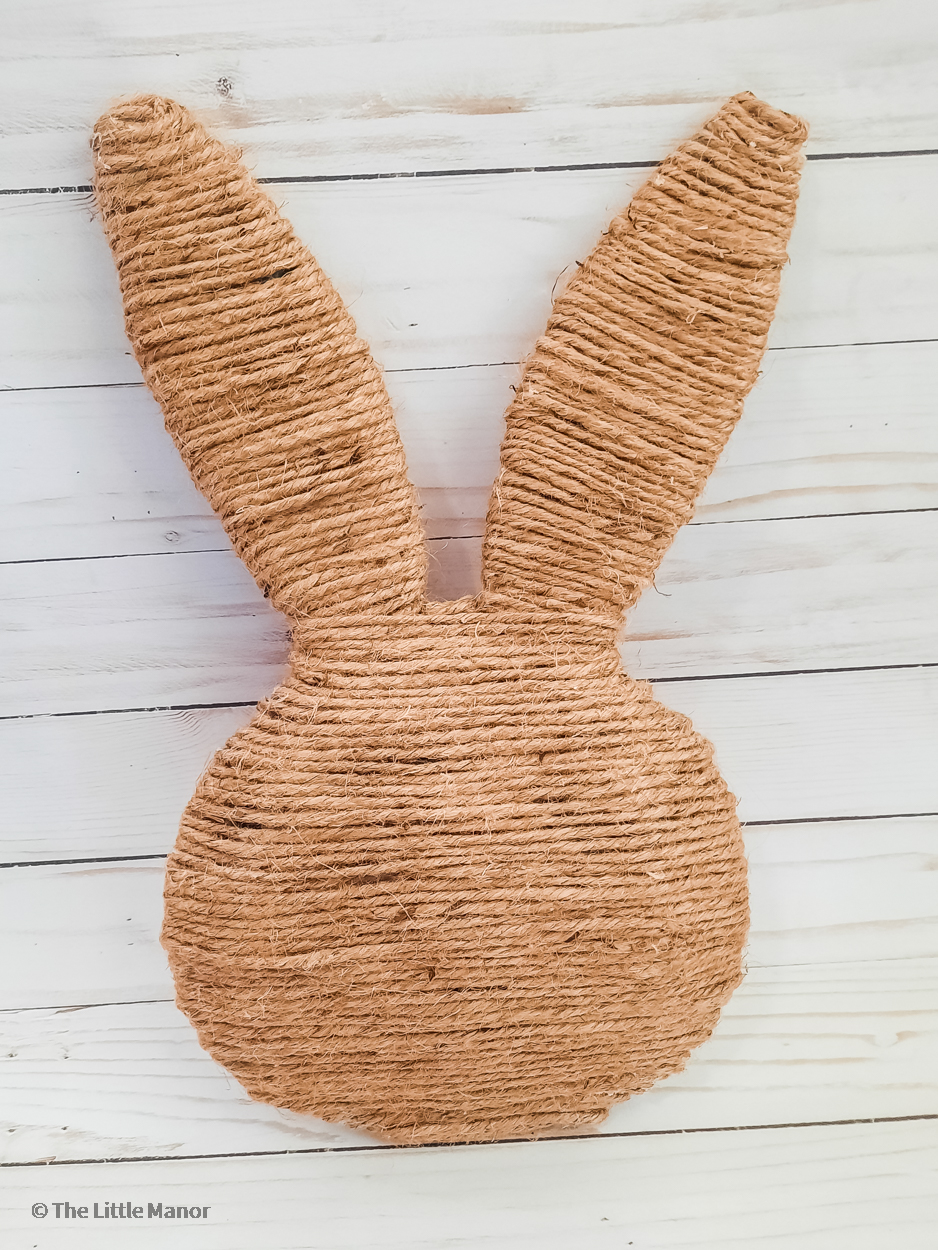
Glue the end of the jute twine to the top or bottom of the bunny, then begin wrapping horizontally across the face. You can wrap neatly with each row pushed tightly against the previous one for a uniform look, or leave small gaps for a more textured appearance.
Apply hot glue every few wraps (or every wrap for extra sturdiness) to secure the twine to the plastic base. When the face is fully covered, cut and glue down the end securely.
If the small built-in hanging loop at the top is not needed, you can remove it (see next step) and cover the area with twine so the plastic isn't visible.
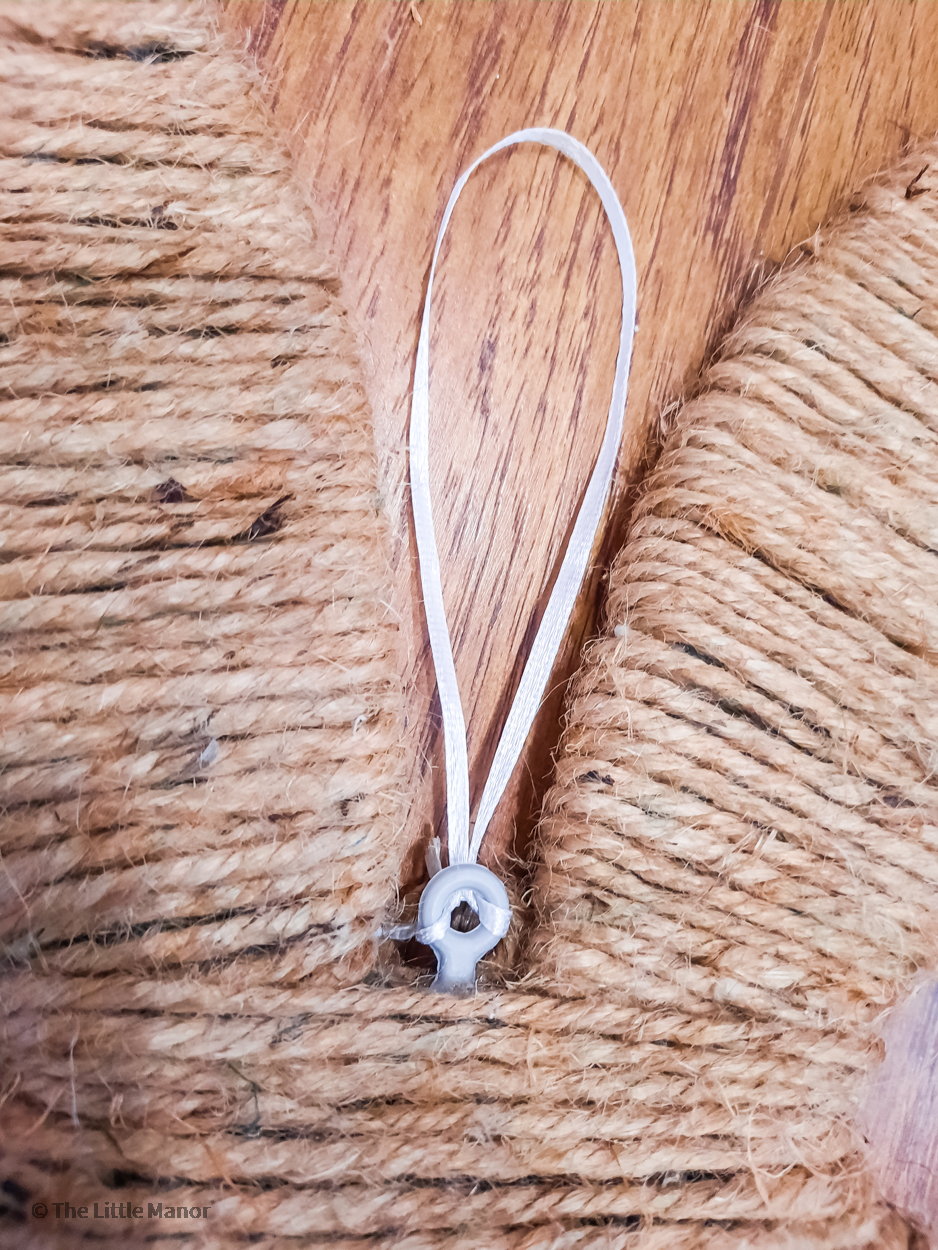
I used pliers to break off the loop—it came off easily.
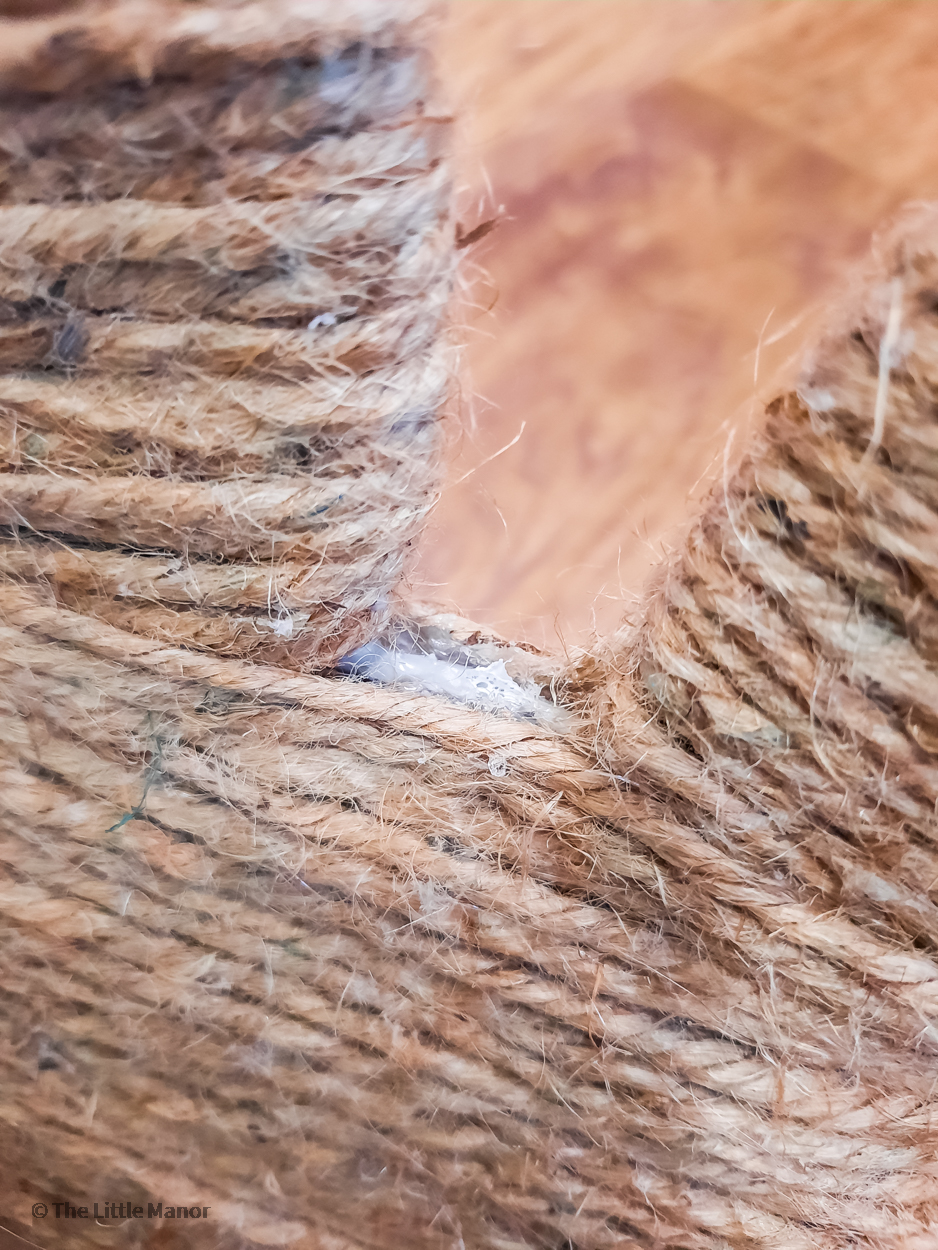
Then glue twine over that spot to blend it into the surrounding wrapped surface.
Step 3: Glue Twine (Ears)
Repeat the same wrapping method for each ear. Start at the base of the ear, glue the twine end down, and wrap toward the tip. Cut and glue the end when finished. Repeat on the second ear. If you removed the original hanging loop and want to hang the bunny, glue a small loop of twine to the back now.
Step 4: Accessories (Optional)
For a decorative touch, add faux flowers, a small bow, or other embellishments. Trim flower stems and hot glue the blossoms onto the face or near one ear until you’re happy with the arrangement.
I cut faux flowers from their stems and hot glued them in place.
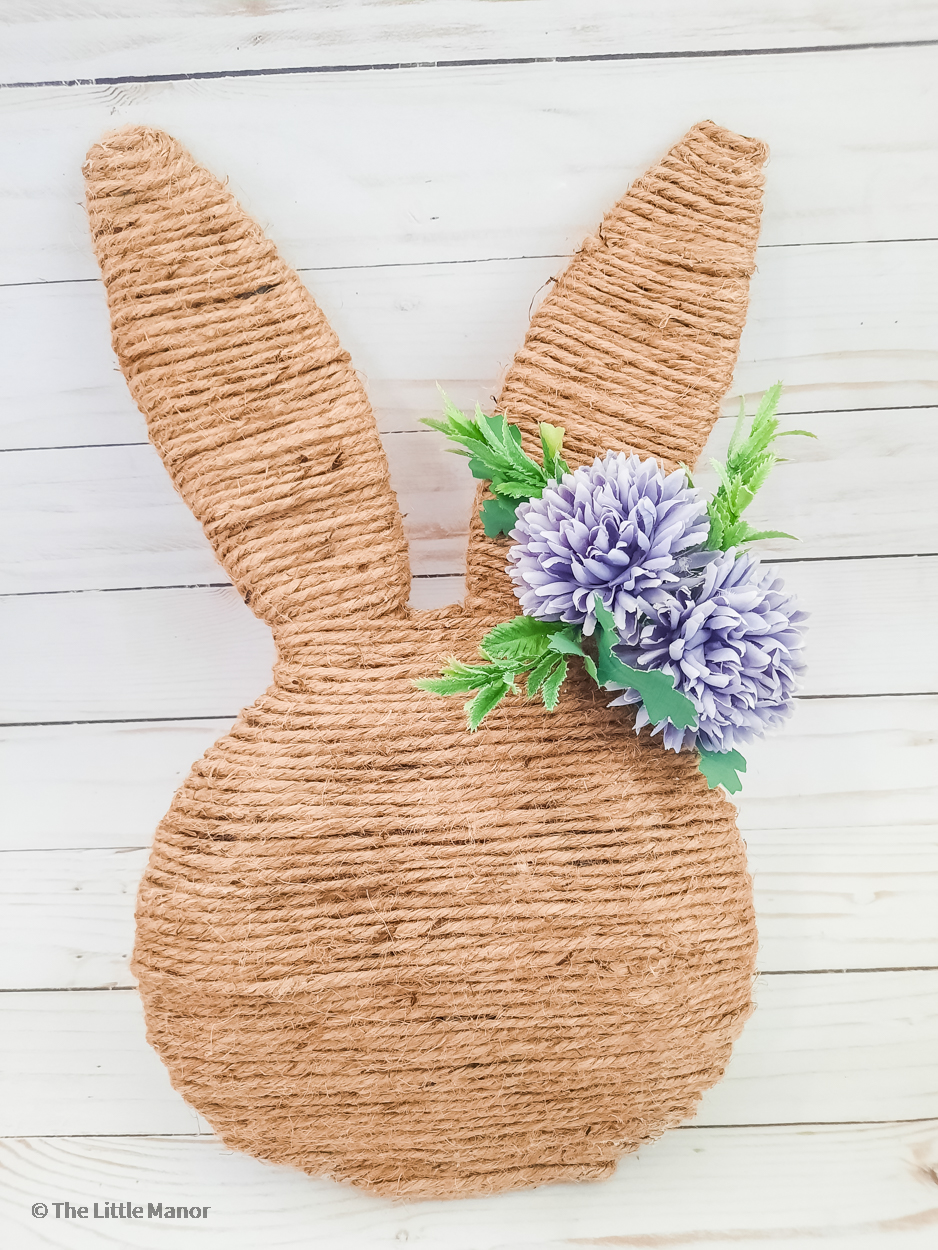
When finished, you’ll have a charming, rustic jute twine bunny perfect for hanging or propping on a shelf as part of your Easter decor.