DIY Floating Succulent Candle Vase with Water Beads — 8 Easy Steps to a Stunning Centerpiece
Make an eye-catching centerpiece with succulents, clear water beads and a floating candle. This easy DIY produces a modern, low-maintenance display that works for holidays or everyday decor — simply change the vase filler colors or shapes to match your theme.
Typical time: allow 1–2 hours for water beads to expand; assembly takes about 30–45 minutes depending on vase size and layers. Safety note: flameless floating candles are recommended for households with children or around flammable decor.
Supplies:
- 2–3 wide-mouth glass cylinder vases (wider cylinders work best for rosette succulents)
- Transparent water gel beads (hydrogel beads)
- Variety of different-size succulents (10–20 total depending on vase layers)
- Vase filler (acrylic hearts, pebbles, seasonal confetti — use what fits your theme)
- Flameless floating candles (or real floating candles if supervised)
- Scissors or garden pruning shears
8 Steps to Create a Glass Succulent Centerpiece with Water Beads
This project adapts easily for holidays or events — swap fillers and colors to match your decor. Read through the steps and prepare your materials before removing the water beads from their soaking tub.
1. Grow the water beads
Water beads arrive tiny and hard. Soak them in lukewarm water in a large tub until fully expanded and soft. Depending on the brand, this takes about one to two hours. Do this first so the beads are ready while you prepare succulents and other materials.
2. Prepare your succulents
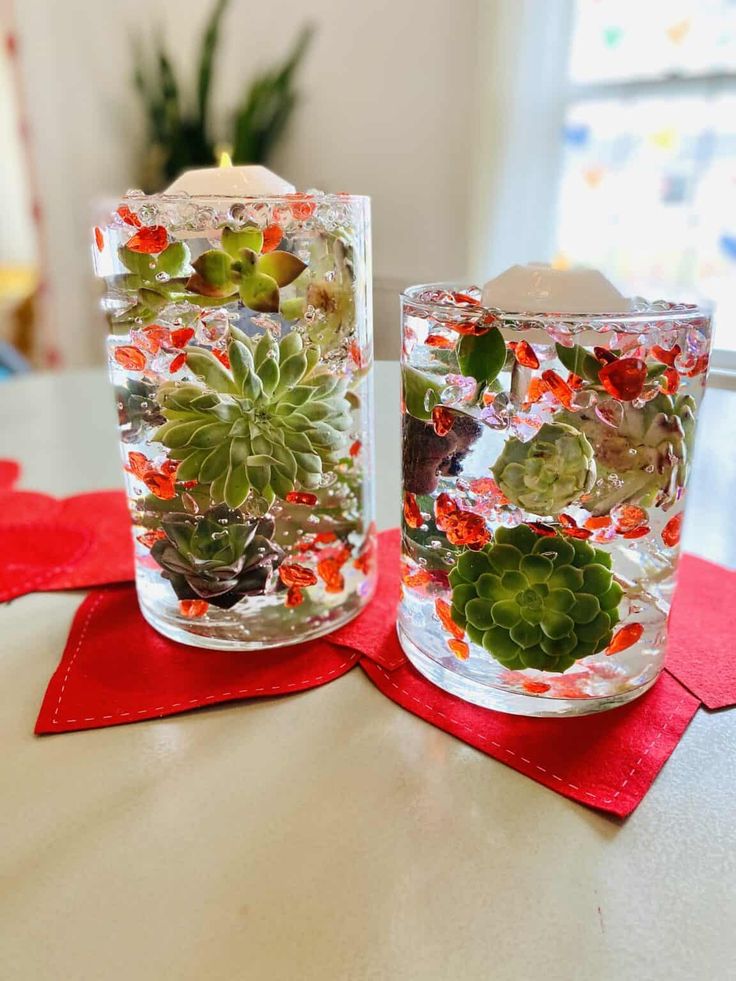
Gather between 10 and 20 succulents depending on vase size and desired layers. Trim excess stems, dirt and roots with clean scissors or pruning shears and gently rinse debris with cool water. Remove lower leaves if a plant is too wide for its intended layer. Set the prepared succulents aside in a safe place.
3. Prepare your materials
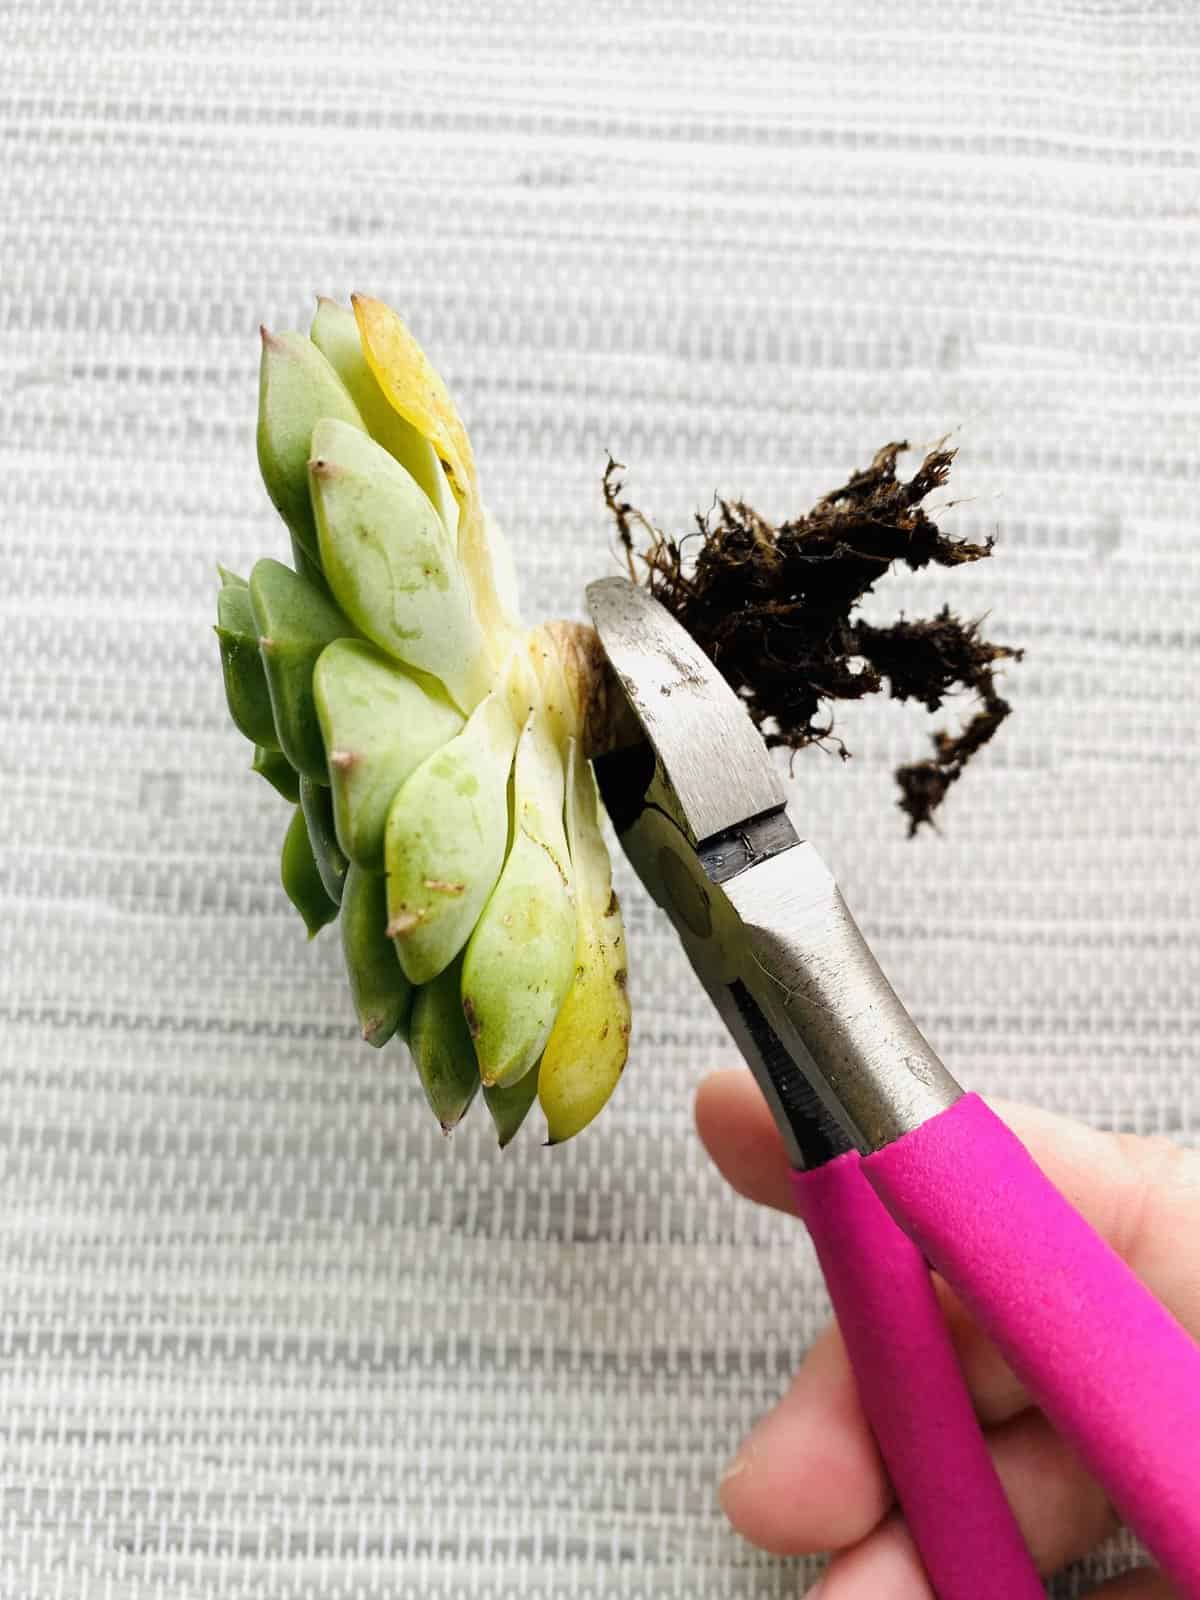
Set up a clean workstation with a slotted spoon or small colander, a bowl for the beads, your vase fillers, and the vases. Having everything ready prevents spills and makes assembly smoother.
4. Collect the water beads
Use a slotted spoon or colander to transfer the hydrated beads from the soaking tub into a large bowl. This shows you how many beads you have and helps portion them into each vase.
5. Start layering your vase
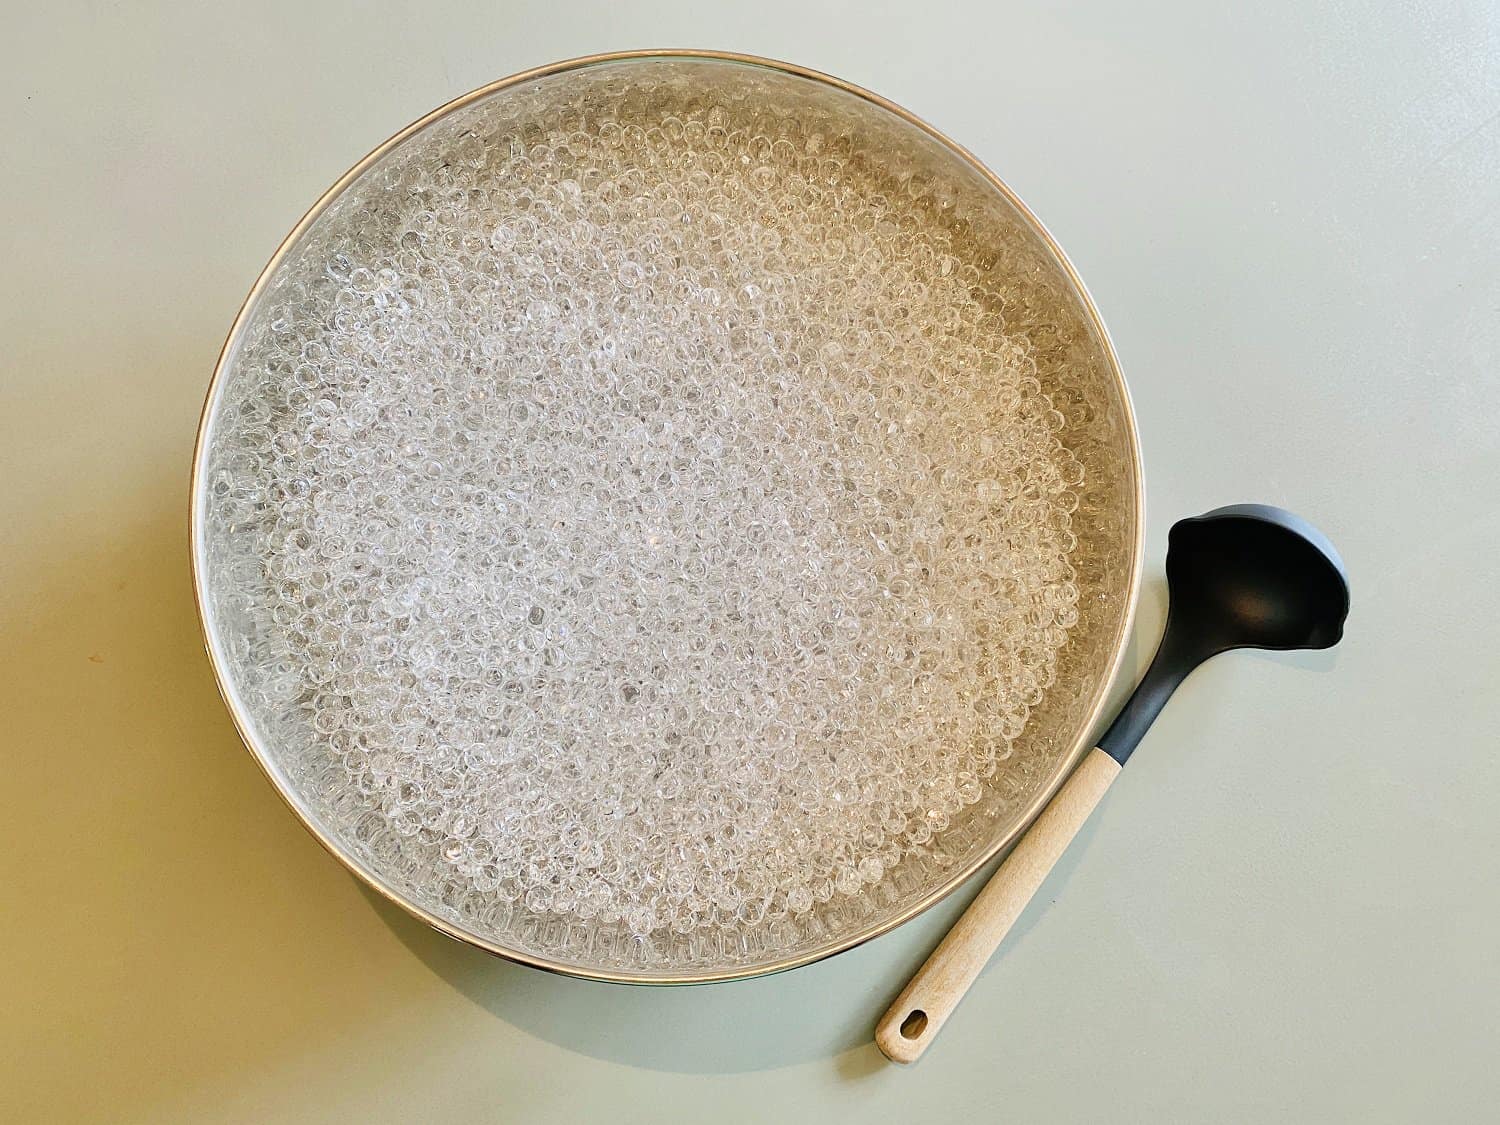
Begin with a thin layer of water beads across the bottom of the glass container.
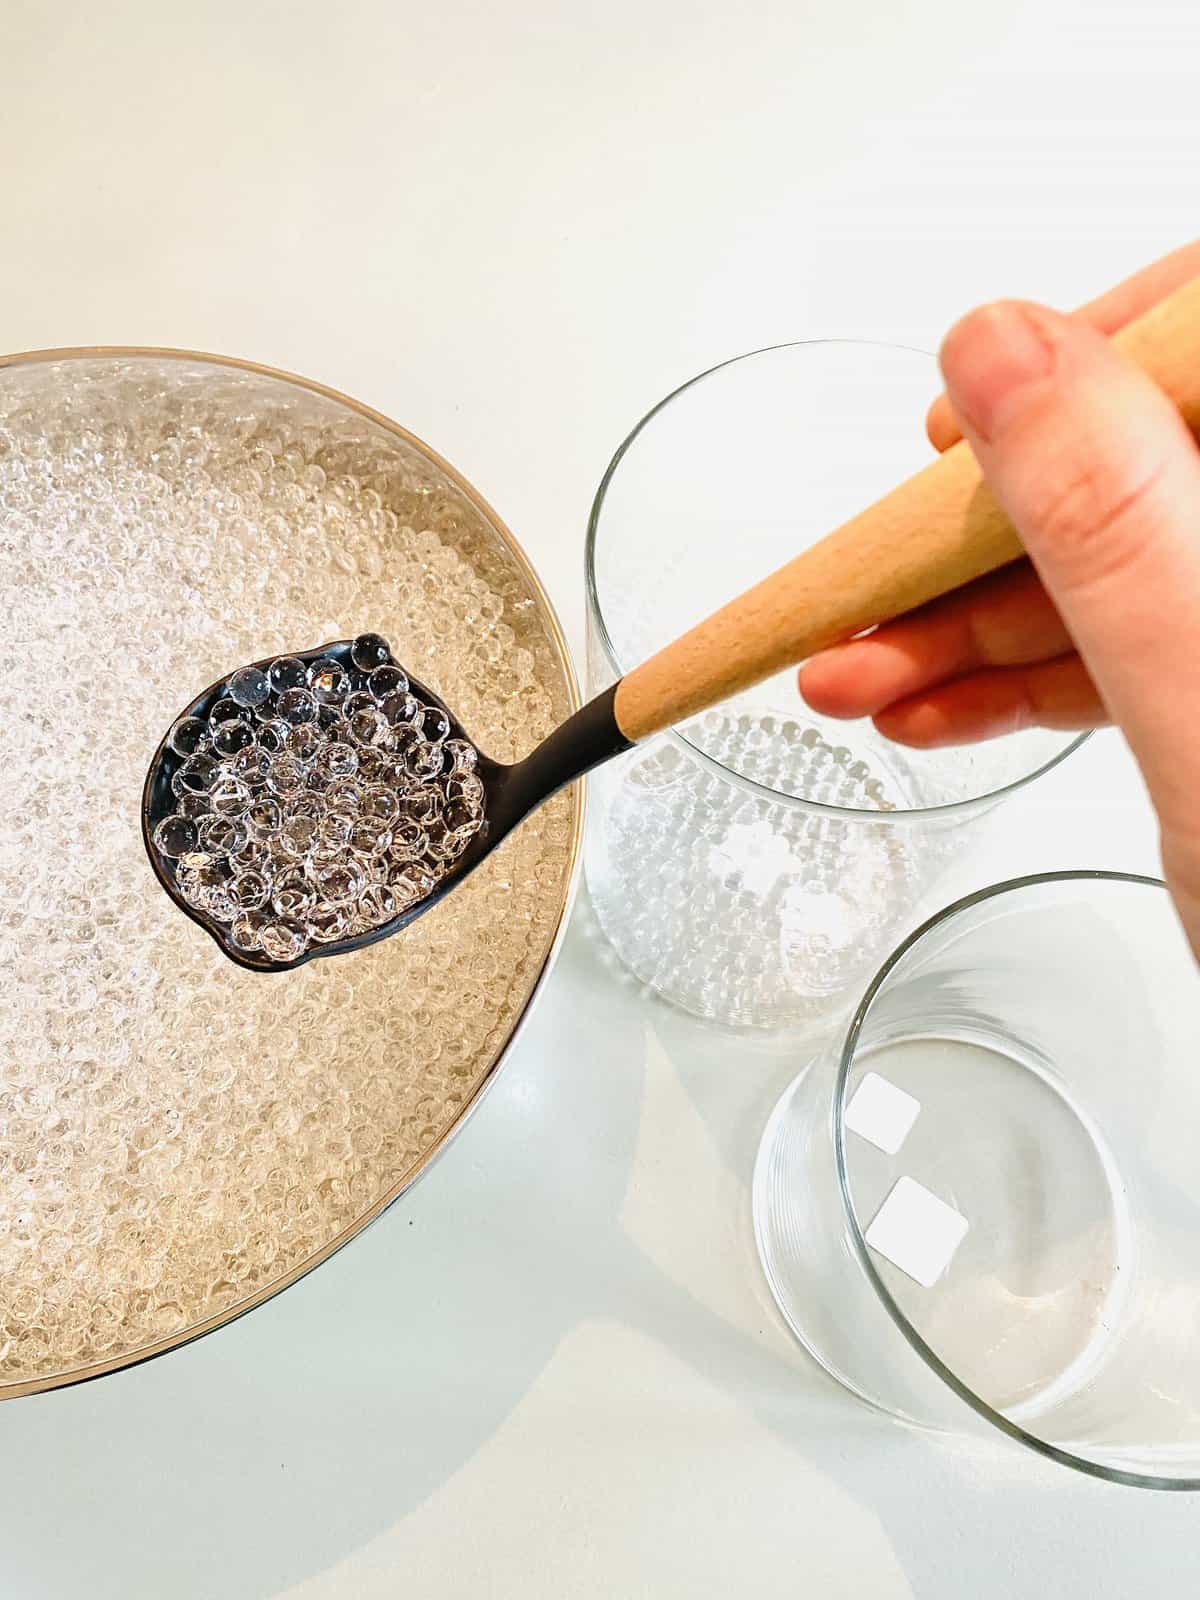
Next add a layer of your themed vase filler.
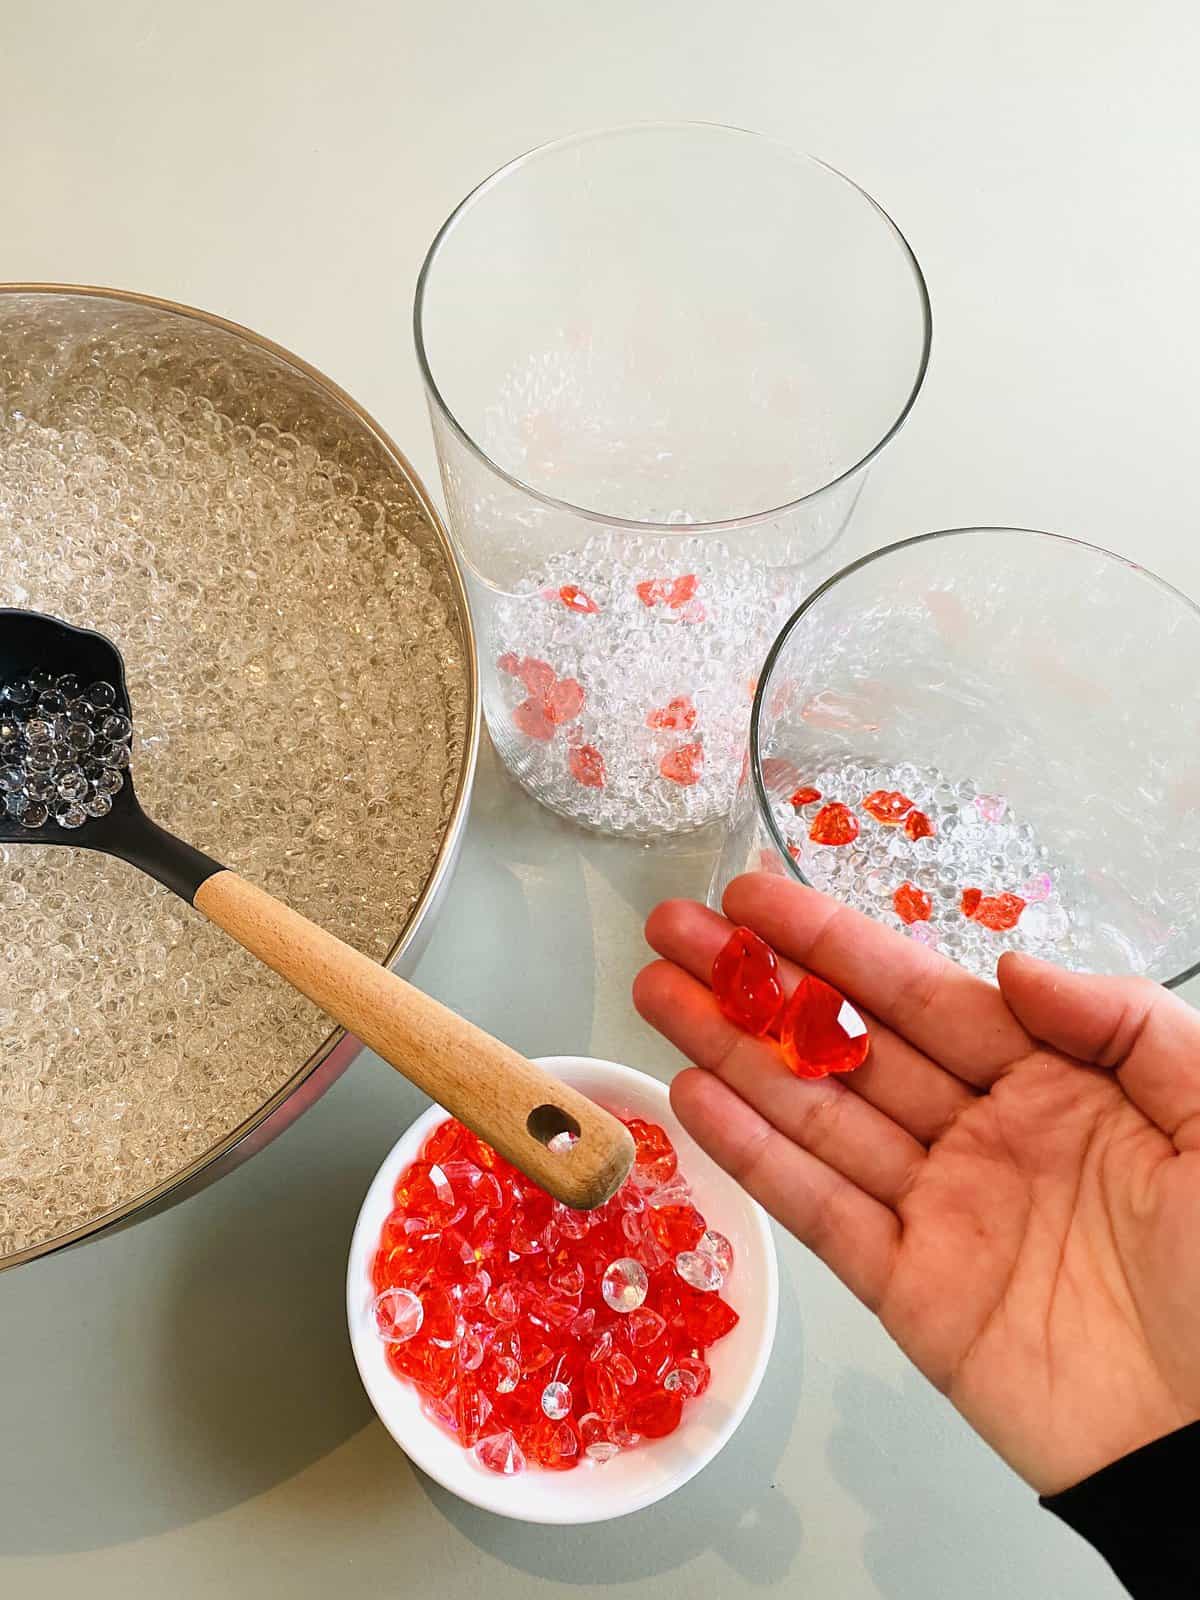
Then add another layer of water beads, followed by your first layer of succulents. Position succulents so they face outward toward the glass for the best visual effect.
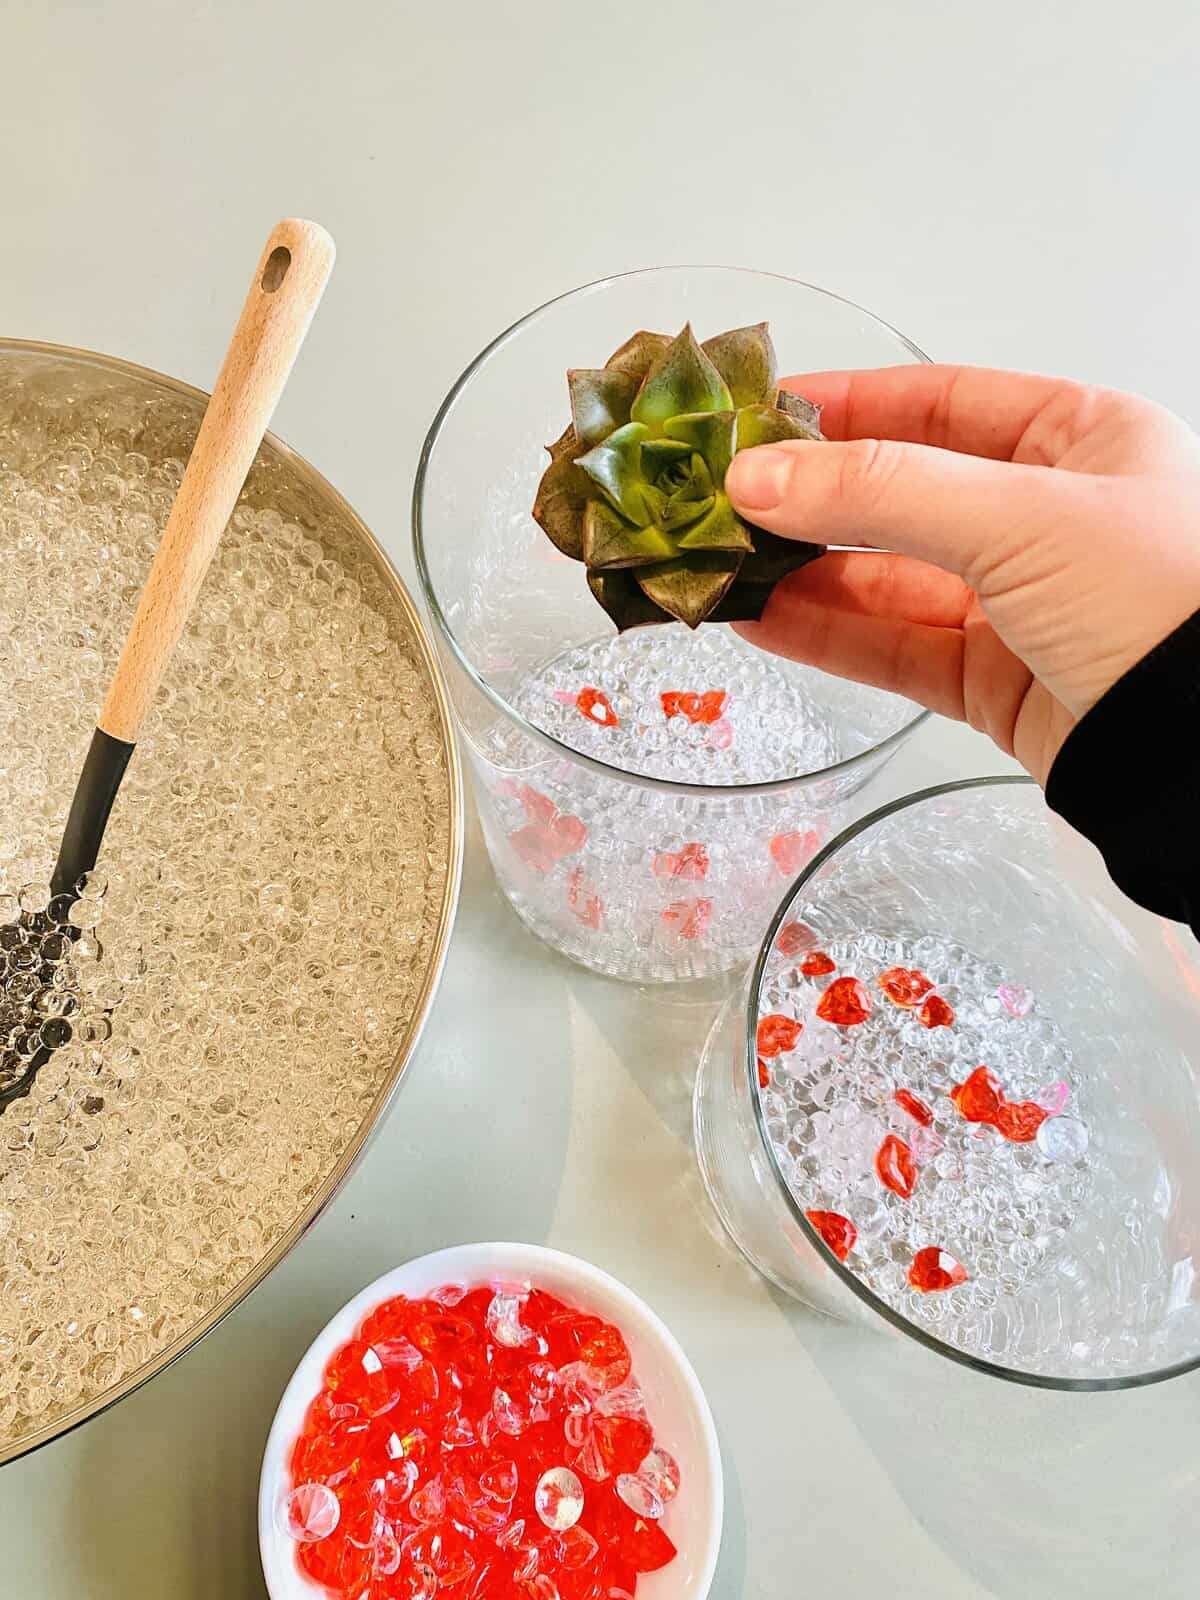
Continue alternating thin layers of beads, filler and succulents until the vase is gently packed, leaving about two inches of space at the top. Use 3–4 succulents per layer depending on size. Hold larger succulents in place while spooning beads around them to keep them facing outward.
6. Add water
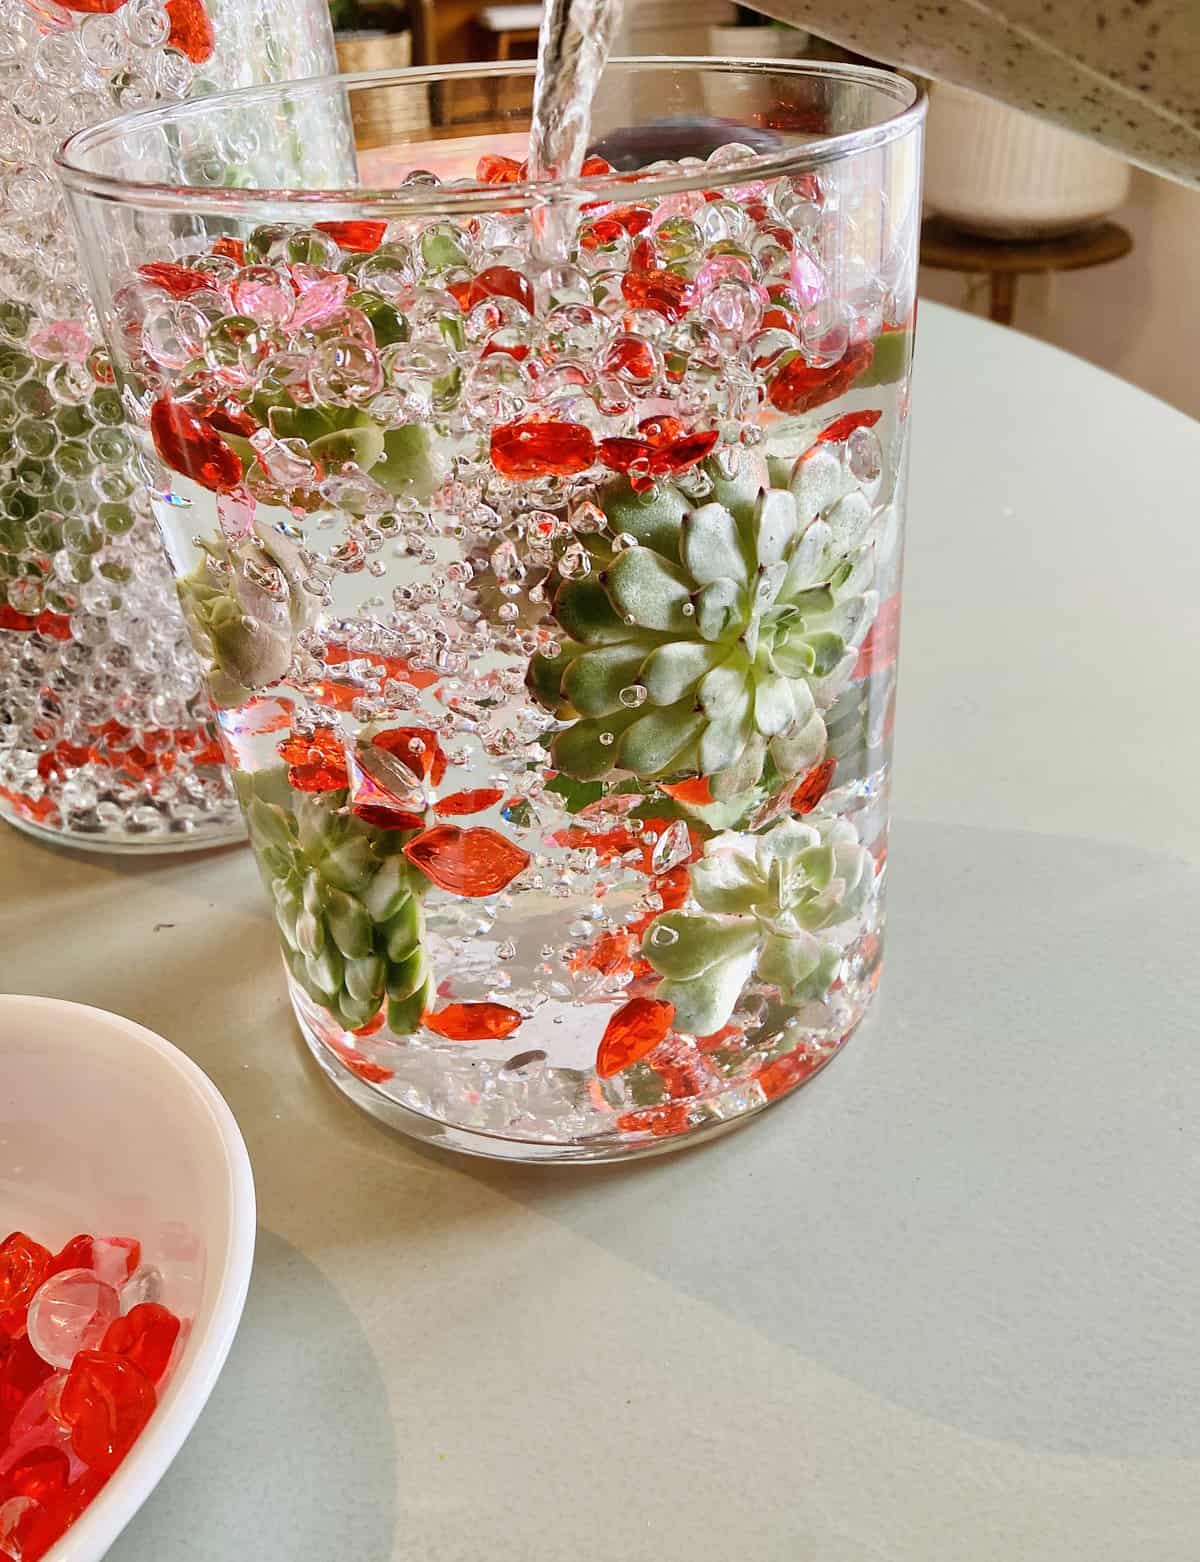
Slowly pour water into the vase using a pitcher. Filling slowly prevents displacing the arrangement. The water will hydrate and slightly camouflage the beads, intensifying the colors of the succulents and fillers.
7. Top it with a candle
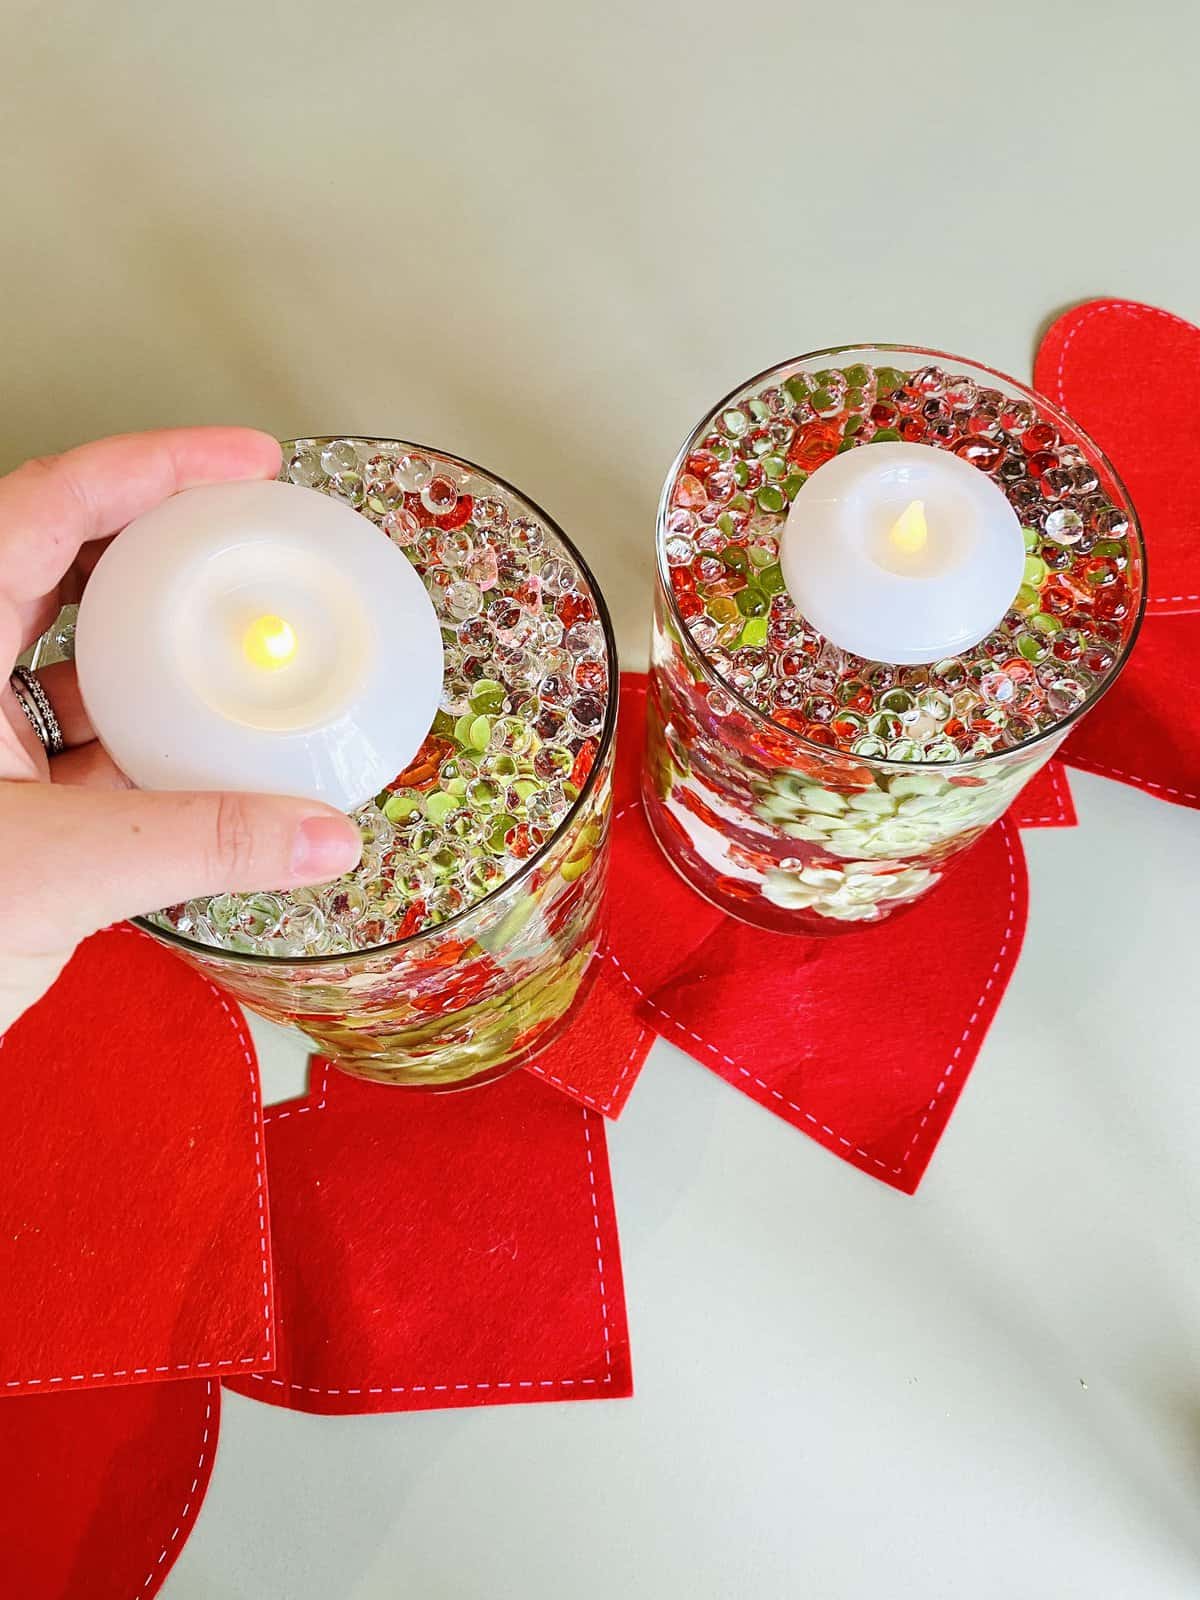
Place a floating candle on the water surface. Flameless candles are safer around kids and crafts; real floating candles provide authentic flame ambiance if used with care and supervision.
8. Enjoy and maintain
Display your centerpiece and enjoy. Over time, succulents placed in water beads may not behave like potted succulents; if you want them to last longer, consider planting them back into well-draining soil after display or swapping fresh cuttings for new ones when needed.
Quick tips:
- Match vase filler to your event for instant seasonal flair.
- Use clear, wide vases to show off layers and create depth.
- Test a small arrangement first to check how many succulents you need for the look you want.