DIY Floral Painted Wood Slice Wreath — Easy Layered-Stencil Tutorial
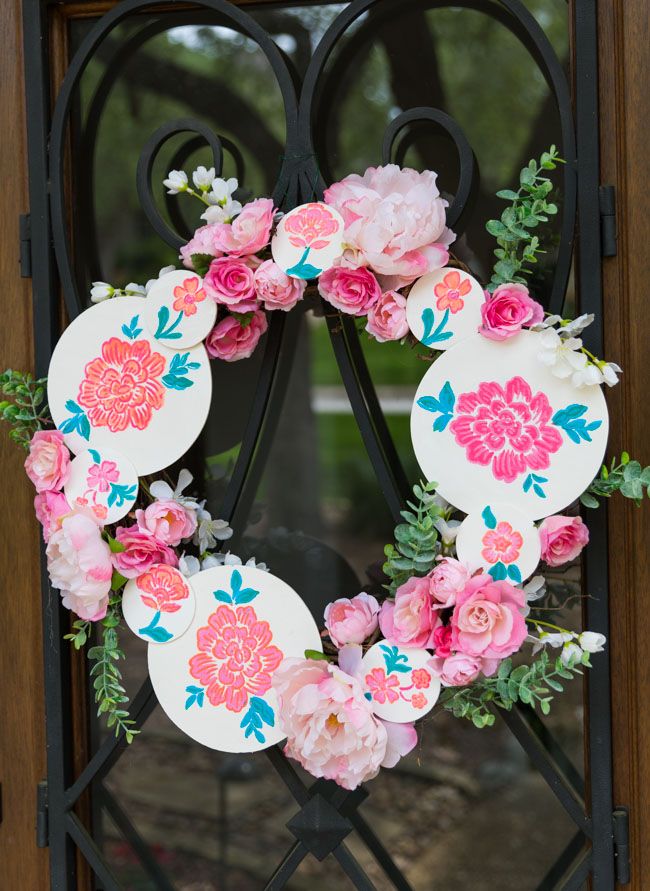
Create a charming floral wood-slice wreath to brighten any room. This easy project uses adhesive layering stencils and acrylic paint to transform simple wood discs into painterly flowers, then combines them with artificial blooms on a grapevine base for a lush, custom wreath.
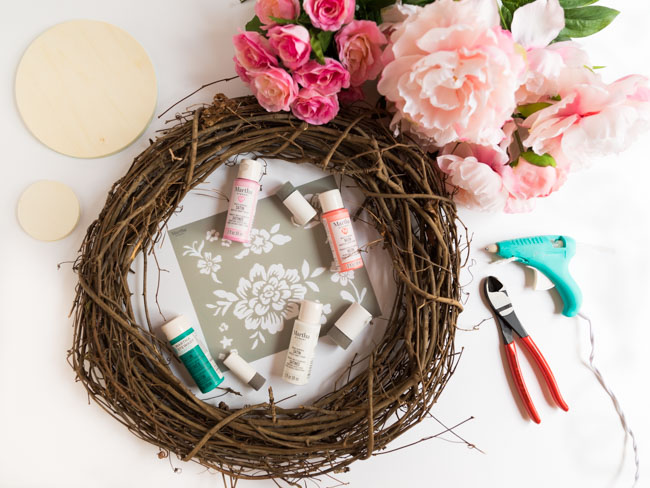
Supplies
Martha Stewart Crafts® Adhesive Laser-Cut Layering Stencils
Martha Stewart Family Friendly Multi-Surface Satin Acrylic Craft Paint
Foam pouncers
18" grapevine wreath
3" wood circles
6" wood circles
Artificial peonies
Pink artificial roses
Faux eucalyptus greenery
Mini paper banners
Martha Stewart Adhesive Laser-Cut Stencils, Elegant Script
How to make the painted wood slice wreath
Follow these steps to create the layered floral wood discs and assemble them into a wreath.
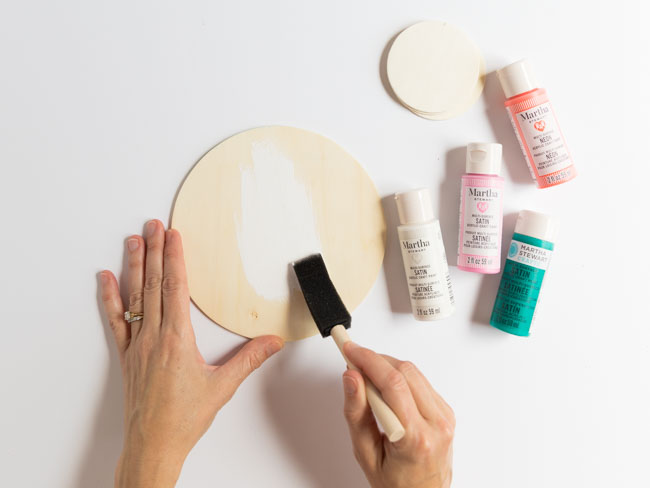
Step 1: Paint the wood discs white
Use a coat of white acrylic craft paint on all wood circles. I used a mix of 6" and 3" wood circles for contrast.
Step 2: Stencil a floral design onto the wood discs
Secure the adhesive layering stencil to a painted wood disc and apply paint with a foam pouncer for crisp edges. Use tape if needed to keep the stencil from shifting.
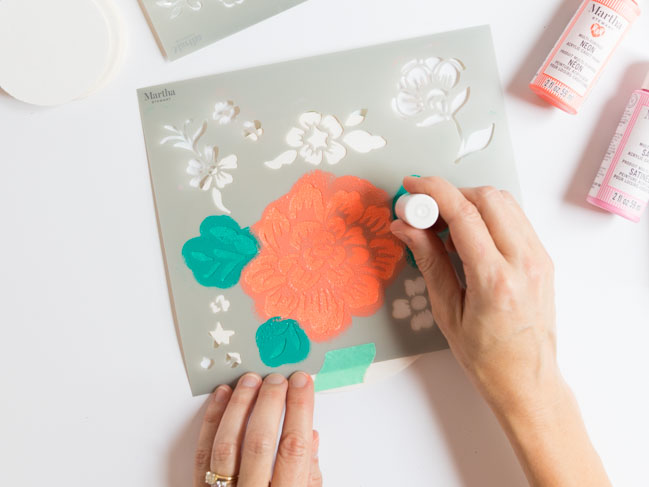
The layering stencils are used in two passes. First apply the base color layer and allow it to dry. Rinse stencils right away after use to keep them in good condition.
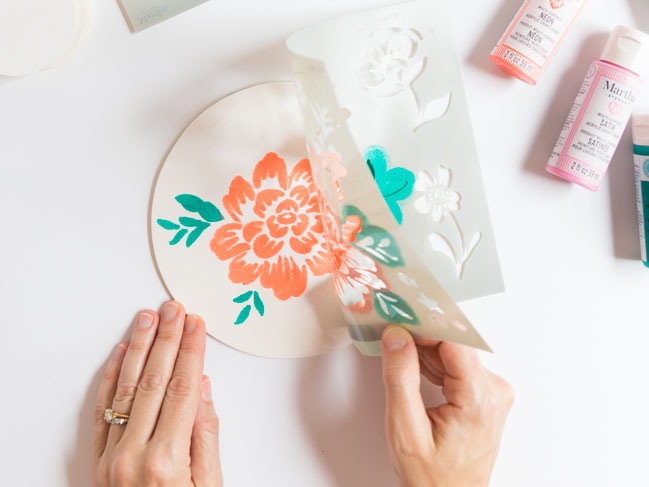
Step 3: Add the second layering stencil
Overlay the second stencil and apply additional colors to add depth and detail—the layered effect gives a hand-painted look.
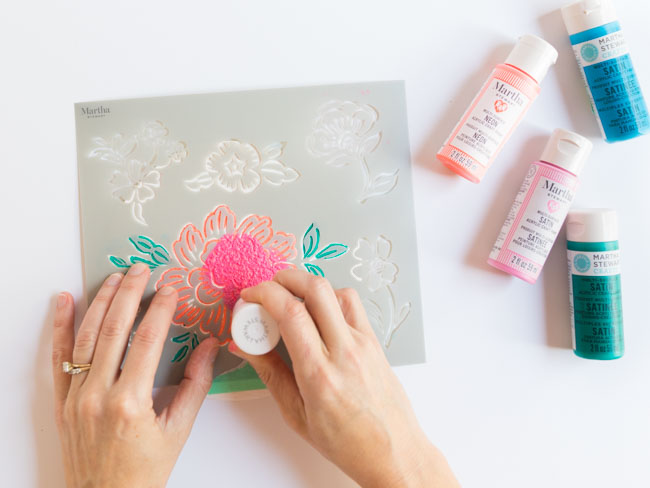
Repeat varying floral designs across the wood circles. For the sample wreath I used three 6" circles and seven 3" circles.
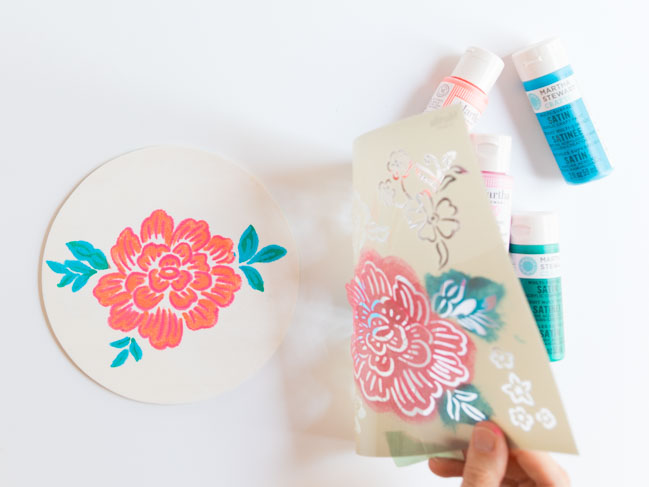
Step 4: Glue wood slices to a grapevine wreath
Arrange the painted wood discs on an 18" grapevine wreath until you like the layout. Secure each disc with a generous dab of hot glue on the back.
Step 5: Fill in gaps with artificial flowers
Use artificial peonies, pink roses and faux eucalyptus to fill spaces between the wood slices. Trim stems with wire cutters, leaving about an inch to tuck into the grapevine and secure with hot glue at the base.
Once everything is glued and arranged, allow the glue to set completely before hanging. The finished wreath makes a lovely door or wall accent and can be customized with different colors, flowers, or banner text.