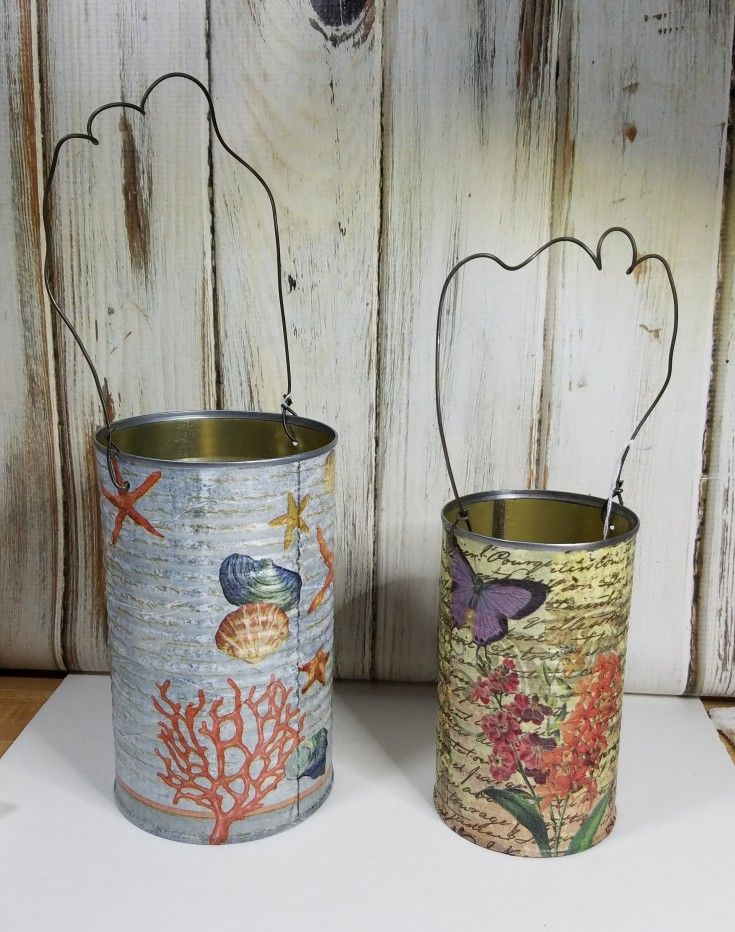
Decoupaged Tin Cans
If you're looking to add a touch of creativity to your space, decoupaging tin cans is a fantastic idea! Not only is it an eco-friendly way to upcycle everyday items, but it also allows you to showcase your artistic flair. All you need are some old tin cans, pretty paper or fabric, and a bit of glue to get started. Simply cut and paste your chosen material onto the cans, let them dry, and voilà - you have a stylish storage solution or decorative piece ready to brighten up any room. So, grab your craft supplies and let your imagination run wild with this simple and fun project!
Decoupaged Tin Can Supplies
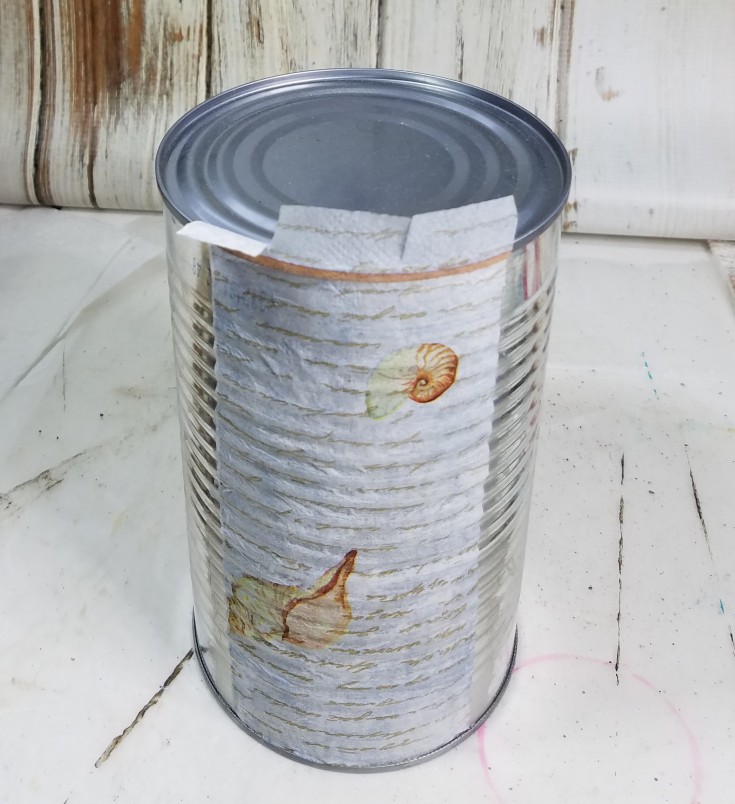
You will need to start off with clean cans, labels removed, and any stickiness from labels.
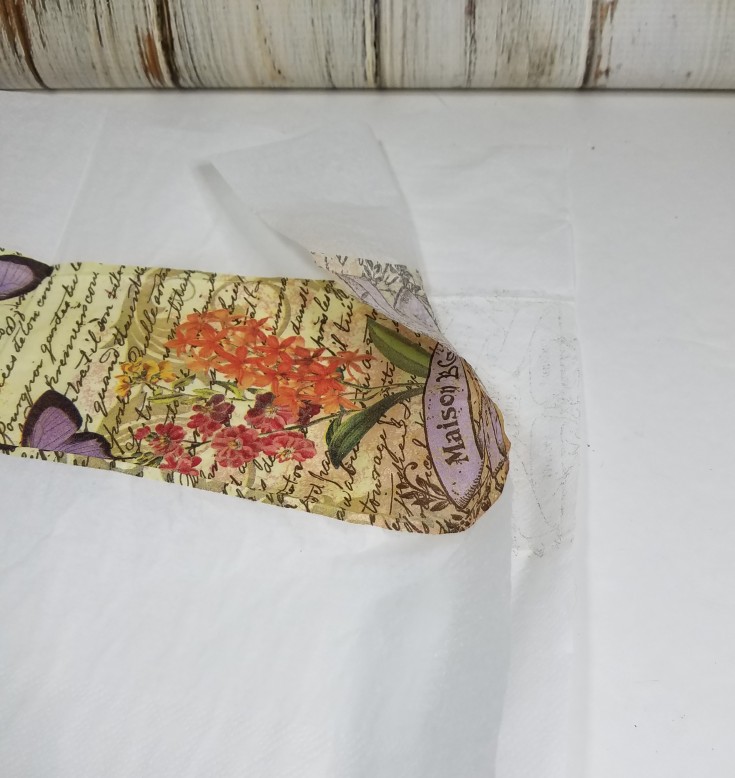

Then line up the napkin with the top edge of the can and work your way down the side gently pressing the napkin down. Leaving any overlaps at the bottom of the can. This will be tucked under and glued down later.
Keep adding a light coat of Mod Podge down the side working the napkin down and around the can, until the can is covered. If two napkins are needed just line the edge up with the other and glue down with Mod Podge working around in small sections until the decoupaged tin can is completely wrapped.
If you go slowly and work in small sections, it really isn’t difficult to get the napkin in place.
Once the tin cans were dry I used my nifty metal hole punch to punch a couple of holes to add wire handles to the decoupaged tin cans. (If you don’t have one of these metal punches you may want to check it out. I bought it for my jewelry making but it has come in handy for other projects as well).
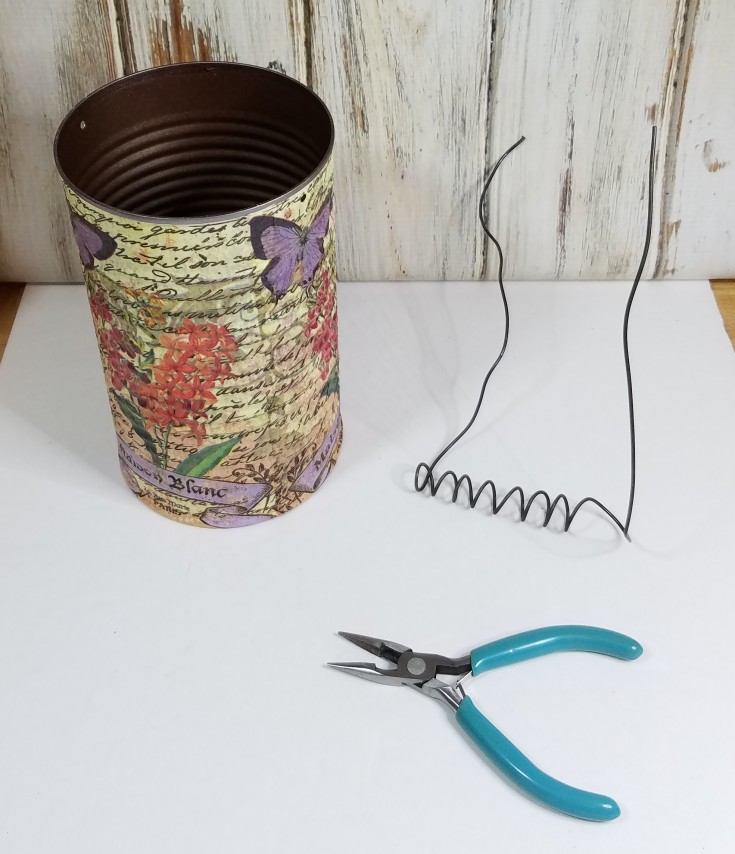
Using annealed wire for the handles, cut two pieces about 12-14” long then wrapped the middle section around the handle of a paintbrush.
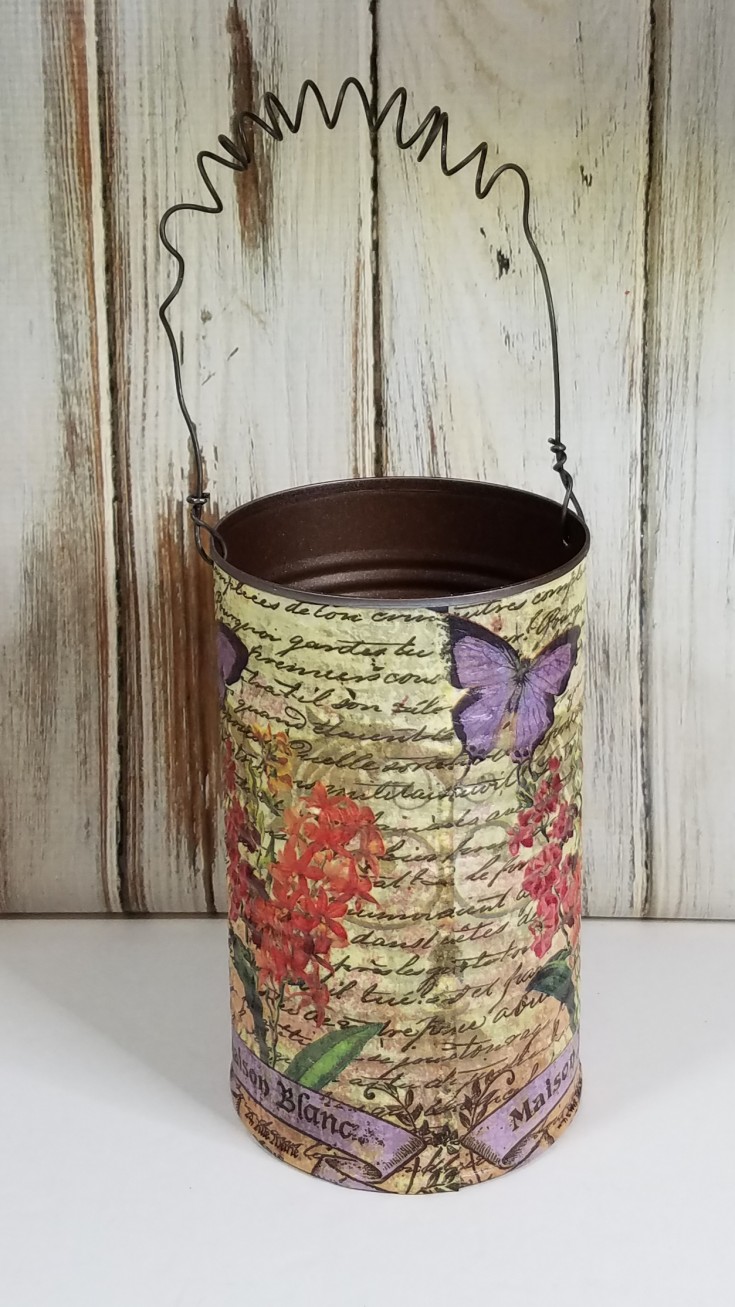
Each end of the wire was attached to the cans by running the wire through the holes then wrapped around the wire using needle-nose pliers.
And that’s it for these decoupaged tin cans. They can be used as pretty planters for faux succulents, utensil holders, or storage.