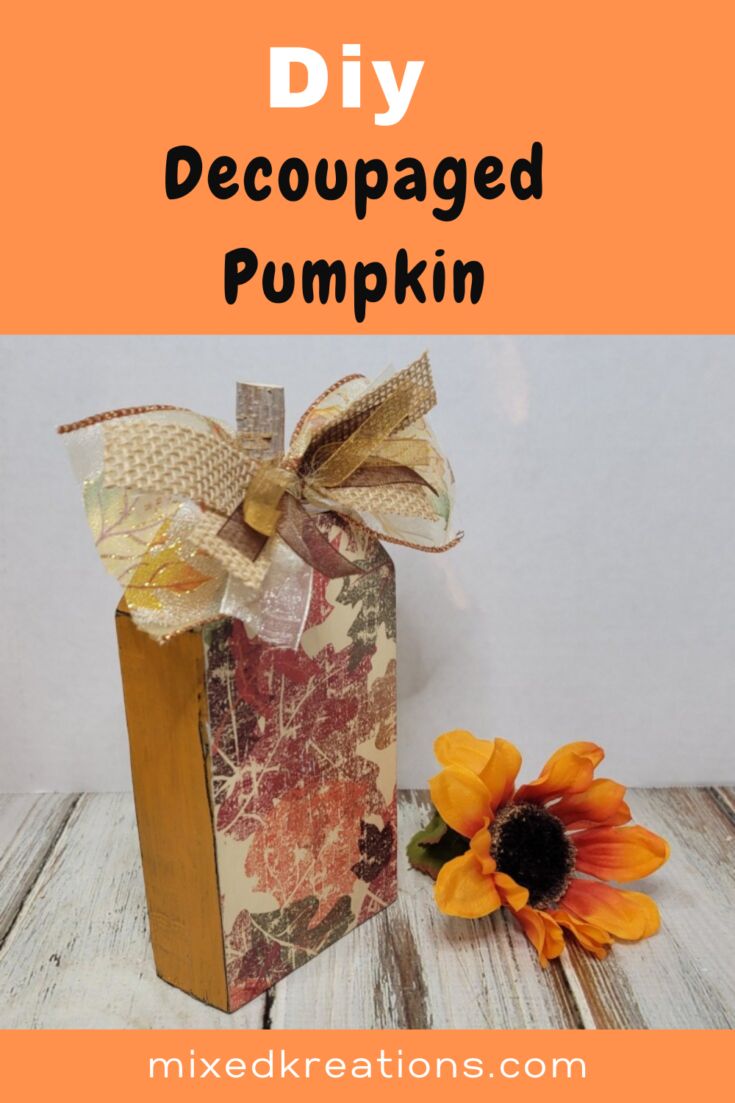
DIY Decoupaged Pumpkin
DIY decoupaged pumpkins are a delightful way to add a personal touch to your fall decor. All you need are some craft pumpkins, decorative paper, and Mod Podge to get started on this fun and creative project. Simply cut the paper into your desired shapes and adhere them to the pumpkin using the Mod Podge, layering and overlapping to create a unique design. It's a fantastic craft to do with friends or family while sipping on some apple cider and enjoying the cozy autumn vibes. Give it a try and watch your pumpkins transform into charming pieces of art!
Supplies for Decoupaged Pumpkin
Fall scrapbook paper
Wood pumpkin
Black and orange chalk paint
Wood stem
Wood glue
Mod Podge
Paint brush
Drill
X-Acto knife
Assortment of ribbon
Jute
Finger sander
DIY Decoupaged Pumpkin
First I cut my pumpkin out, the painted it with black chalk paint.
Next, I put a coat of orange chalk paint over the black.
Then I added a coat of Mod Podge on one side of the pumpkin and then positioned the scrapbook paper in place pressing down and smoothing out any wrinkles or bubbles.
Once dry I used an X-Acto knife to trim off the paper.
Then using my finger sander to distress the edges and to remove any excess paper off my decoupaged pumpkin.
I found a bag of wood stems at the Dollar Store that I used in my reversible fall décor post and again I will be using one of the stems in this project as well. That little bag has come in handy.
Just drill a hole in the top of the wooden pumpkin and use wood glue to glue the stem in place.
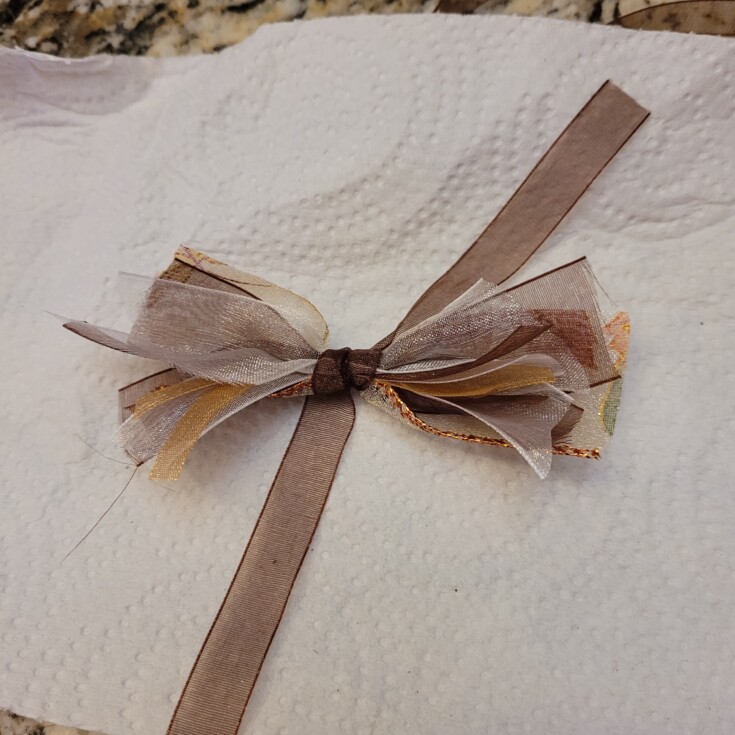
Now for a messy bow. Start by laying a long thin ribbon for tying up the bow then stack a variety of ribbons crisscross on top until you get the desired amount for a messy bow.
Messy bow
Then pinch together, tie a knot and trim the long ends.
Attach the bow to the decoupaged pumpkin stem with just or another piece of ribbon.
That’s it for this DIY Decoupaged Pumpkin. Weather you want the scrapbook paper side displayed or the traditional orange side, just turn the bow around on the stem for the side you want to show.
No comments
Write a comment