How to Make Plantable Seed Paper Easter Eggs — Easy Eco-Friendly Craft
If you're looking for a creative, low-waste twist for your Easter celebrations, try making plantable seed paper Easter eggs. This simple DIY turns recycled paper and seeds into decorative egg shapes that can be planted after the holiday to grow flowers or herbs. The project is kid-friendly, customizable by color and seed type, and a lovely way to give a gift that keeps on growing.
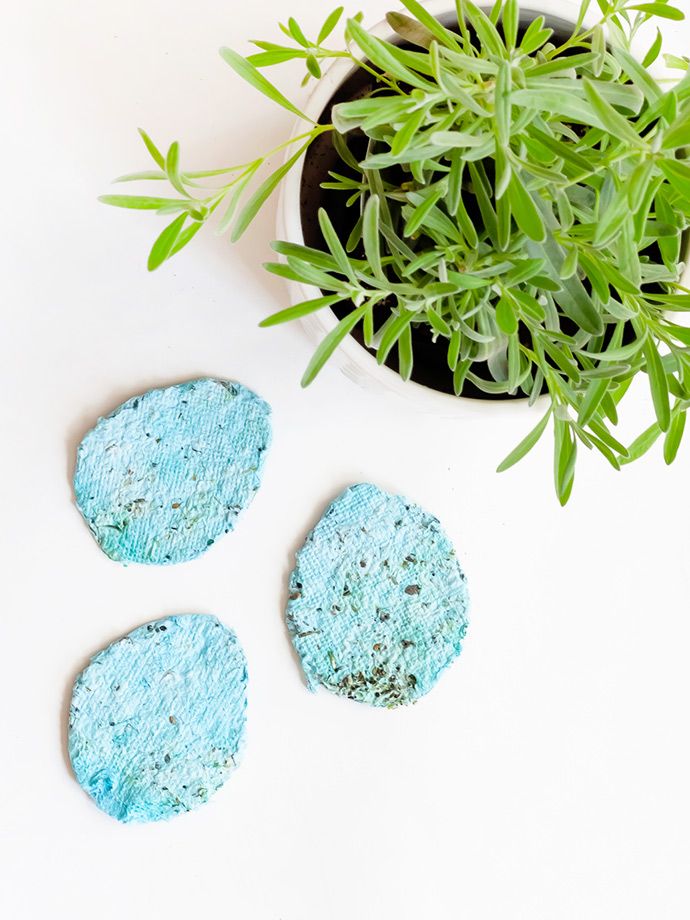
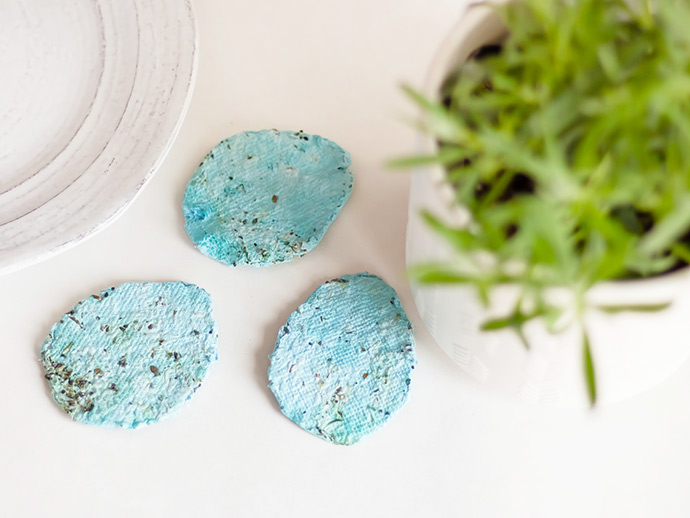
Colorful, finished seed paper Easter eggs ready to display or gift.
What you need:
- Paper scraps
- Seeds
- Blender
- Screen
- Large bowl
- Wooden spoon
- Scissors
Gather recycled paper, seeds and basic kitchen or craft tools to get started.
Sorted paper scraps — keep colors separate for brighter shades.
Step 1
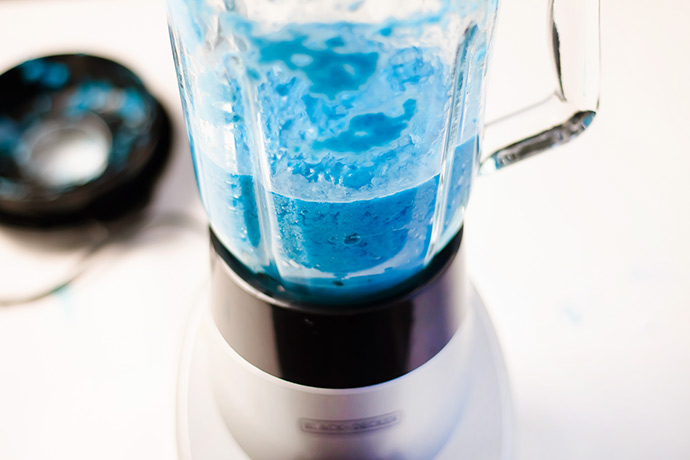
Gather up some paper scraps to turn into a paper pulp. We sorted through our recycling and crafting cut-offs so that we had enough blue-colored paper. You can mix different colors together if you like, but will end up with a more grey color. Keep paper colors separate and you’ll get different bright shades. Add the paper scraps into a blender and add a touch of water. Blend the paper, adding more water to get the pulp moving if needed. This step is a little bit of an experiment – try adding more paper or water as needed.
Blending paper and water into a smooth pulp in a blender.
Step 2
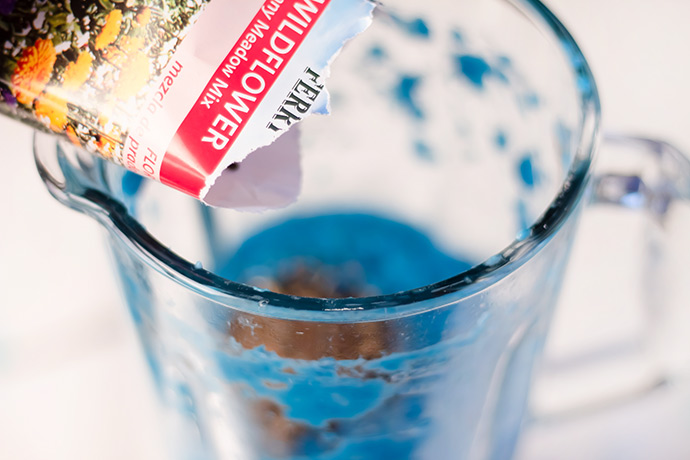
Once the pulp is all blended, pour a bunch of seeds in. Use a wooden spoon to mix in. Choose small seeds (wildflower, herb, or small vegetable seeds) that will fit well into the paper and still be able to germinate.
Stirring seeds into the paper pulp so they are evenly distributed.
Step 3
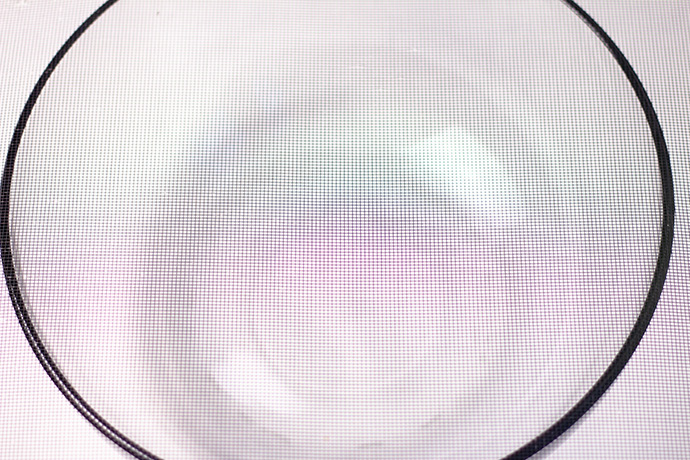
Set up a screen over a large bowl or tray. For the screen, you can use a variety of different things. If you happen to have an extra window screen, that’s perfect! If not, check out the screening area at the hardware store, or even the thrift store. Dollar store or supermarkets also likely will have a flat sieve option in the kitchenware aisle.
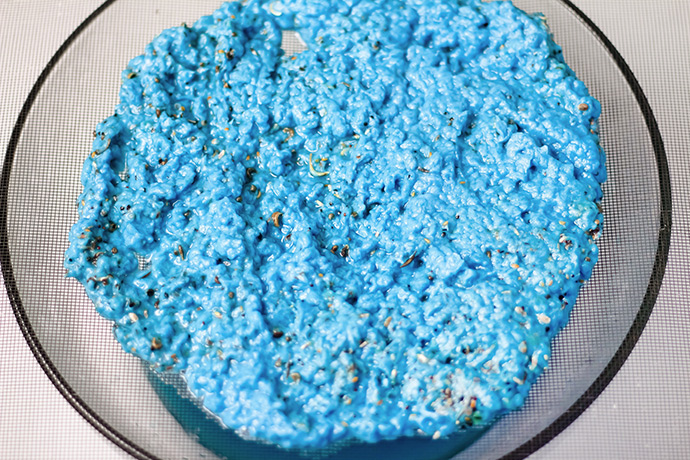
A screen or sieve positioned over a tray to catch excess water.
Step 4
Pour the pulp onto the screen. Use your spoon to gently squeeze out the extra water, and then use your hands to press down and squeeze out even more. Set aside to dry completely. Depending on how thick you make the paper pulp, dry time will vary — anywhere from several hours to a couple of days depending on humidity and thickness.
Press the pulp on the screen to remove water and flatten the sheet before drying.
Step 5
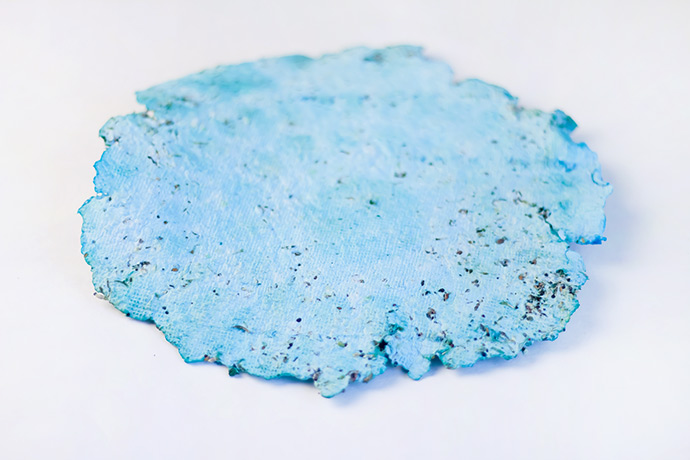
Once dry, remove from the screen.
Peel the dried seed paper carefully from the screen.
Step 6
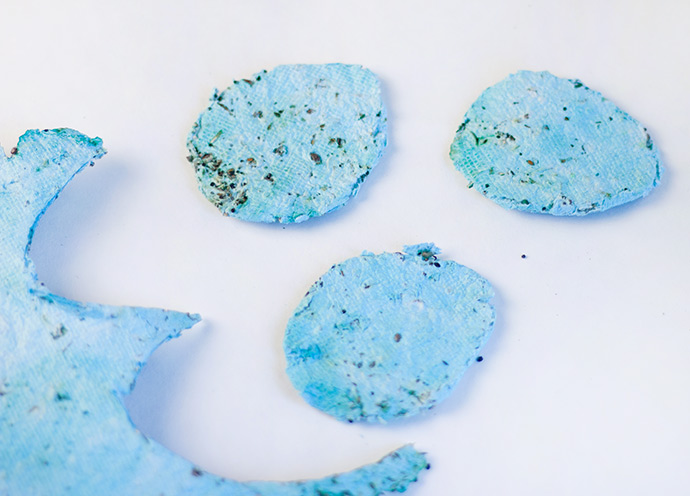
Cut into egg shapes!

Use scissors to cut the dried sheets into egg shapes for decorations or gifts.
Use as place settings for your Easter table, or give to family and friends.
Seed paper eggs used as place settings or small gifts for guests.
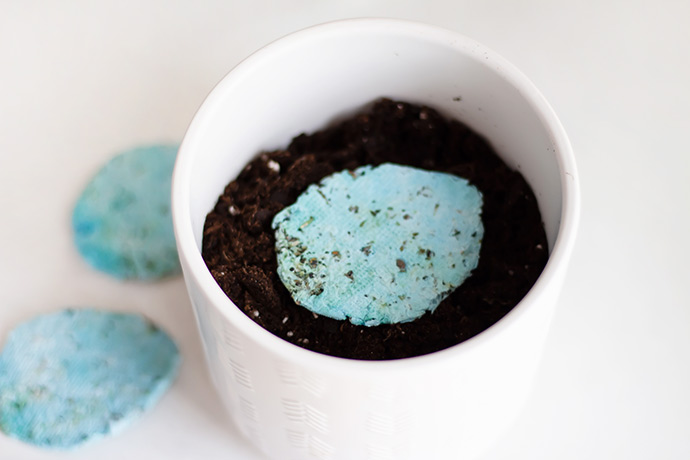
When ready to plant, simply place into a pot filled with soil, cover with more soil, and water. Set in the sun and watch those seeds sprout into flowers!
Plant an egg-shaped piece of seed paper in soil, cover lightly and water to start growth.