DIY Yarn-Wrapped Easter Eggs — Quick, Colorful Decorations Anyone Can Make
Yarn-wrapped plastic Easter eggs are an easy, affordable craft that adds a cozy, handmade touch to your spring décor. This simple project is great for kids (with adult help for hot-glue steps) and offers endless color and texture combinations. Below are materials, step-by-step directions, and a few helpful tips and variations to make charming eggs for displays, wreaths, or an indoor egg hunt.
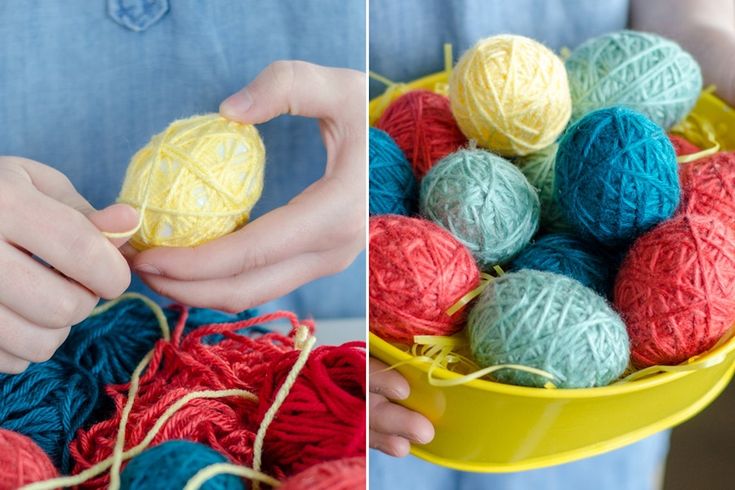
What you’ll need:
- Plastic Easter eggs
- Yarn in one or more colors
- Hot glue (or craft glue as a lower-heat alternative)
- Scissors
Directions:
- Start with a small dab of glue on the egg and attach the end of the yarn. Hold until set.
- Wrap the yarn snugly around the egg in the pattern you like. Add small dots of glue as you go to keep the yarn from slipping, especially near the ends.
- When the egg is fully covered (or you've reached your desired pattern), trim the yarn and secure the end with another dab of glue.
Tips and variations:
- For a striped look, switch yarn colors as you wrap. Tie or glue color joins on the less-visible underside.
- Use metallic or textured yarns for extra visual interest.
- If you prefer to avoid hot glue, tack yarn in place with craft glue and let dry flat for several hours.
- Add small embellishments after wrapping—ribbons, tiny pompoms, or adhesive gems—for a decorative finish.
- To make hanging ornaments, glue a short loop of thread or thin ribbon into the top before finishing the final wraps.
Display and storage:
Use these eggs in bowls, as part of a centerpiece, on a spring mantel, or inside an Easter basket. Store wrapped eggs in a shallow box with tissue between layers to prevent yarn from snagging.
Enjoy customizing colors and textures to match your Easter theme—this is a forgiving, colorful craft that yields beautiful results.
No comments
Write a comment