DIY Rag Quilt Easter Eggs — Easy Painted Patchwork Egg Tutorial
Brighten up your Easter with a simple Rag Quilt Easter Egg craft — painted patchwork-style eggs that mimic the cozy look of a rag quilt. This quick, colorful project is perfect for décor, baskets, or a relaxed afternoon of crafting.
Looking for a fun and creative Easter project? A Rag Quilt Easter Egg could be just the thing! This charming craft involves painting colorful fabric-square-inspired shapes on dyeable plastic eggs to create a cozy and festive Easter decoration. The best part? This project is not only adorable but also a great way to unwind and get into the holiday spirit. So gather your materials, put on some cheerful music, and let's get crafty!
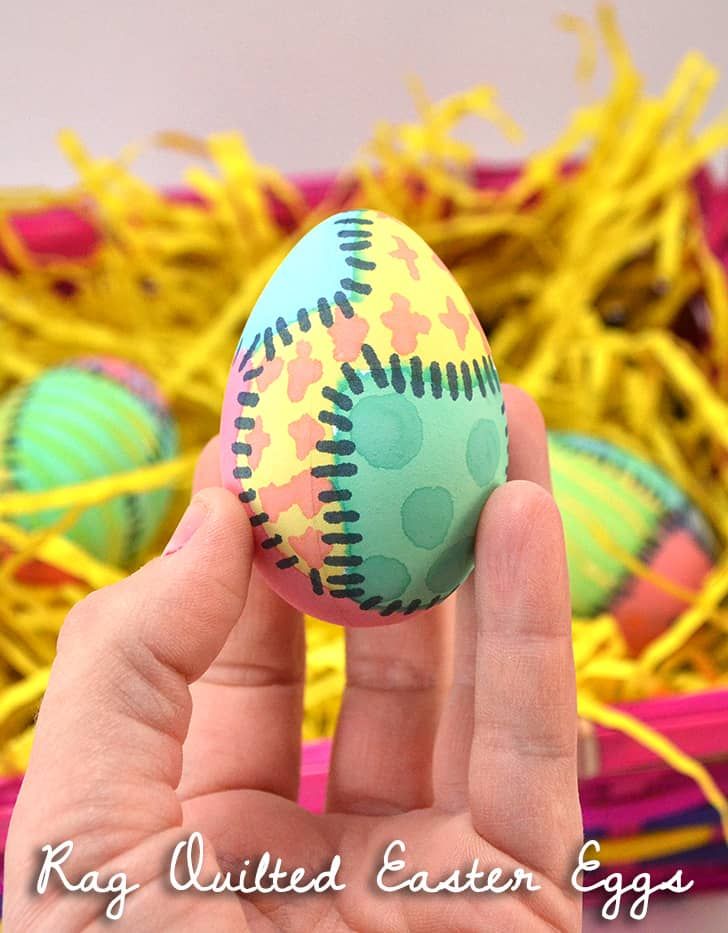
For this project you will need:
Fake dyeable plastic eggs (look at Walmart or Michael’s)
Food coloring
Cups & paintbrushes
Black marker
To start, set up your “paints” by adding a few drops of water to about 20 drops of food coloring — one cup per color you are using. I went with the usual food coloring suspects of red, yellow, blue, and green.
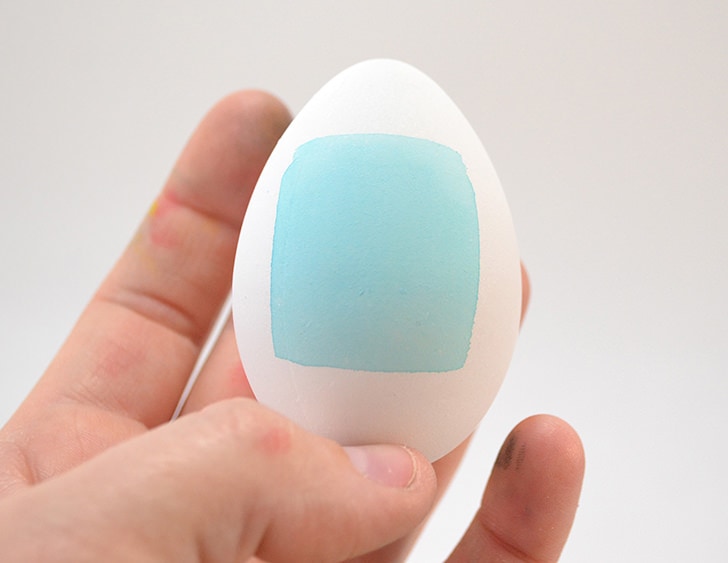
Paint your first shape onto your egg with just the tiniest amount of dye/water on your brush. Too much food coloring on your bristles and you’ll have drips.
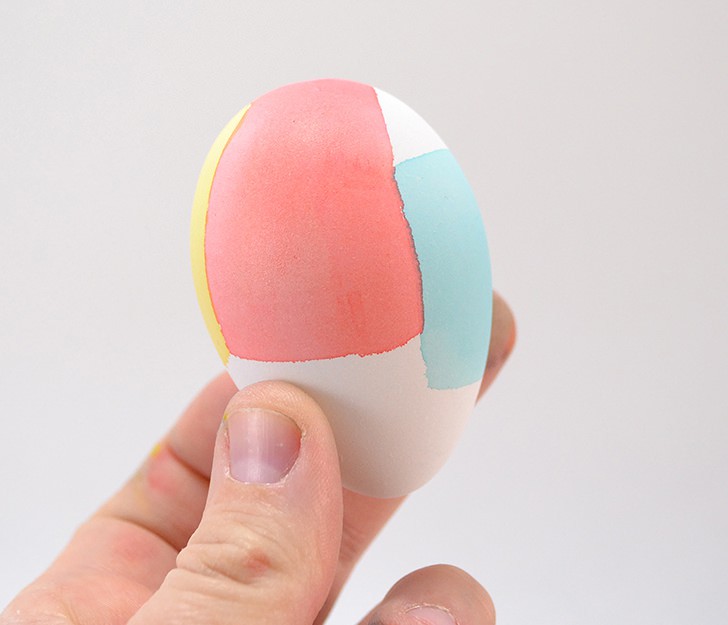
Continue painting shapes onto your egg, varying sizes and angles so the result feels patchwork-y rather than perfectly geometric.
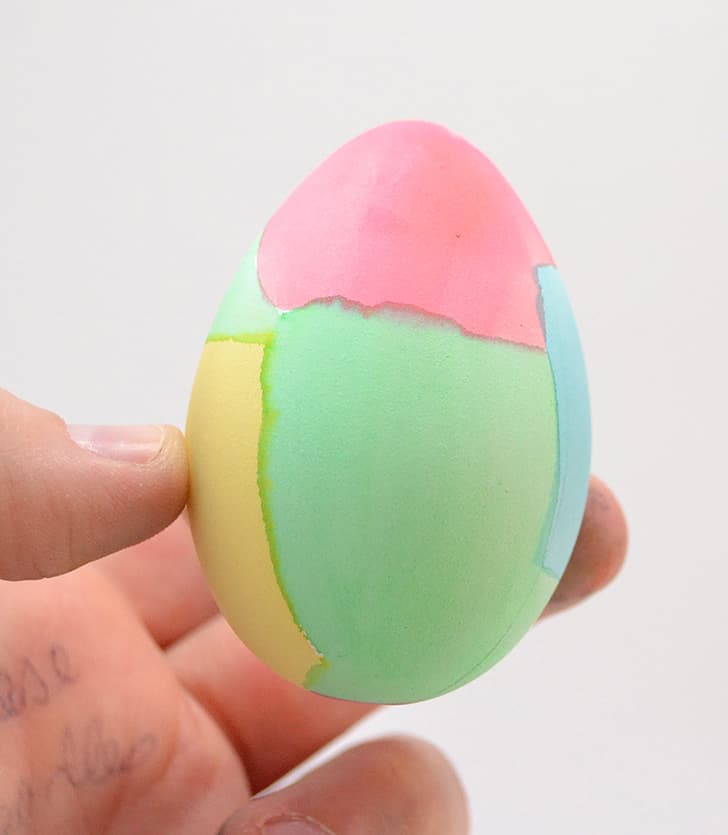
Keep adding shapes until it’s fully covered. Notice that the shapes don’t need to be perfectly square — some of the wonkier shapes add character and help sell the rag-quilt look!
Allow drying at least 30 minutes before continuing.
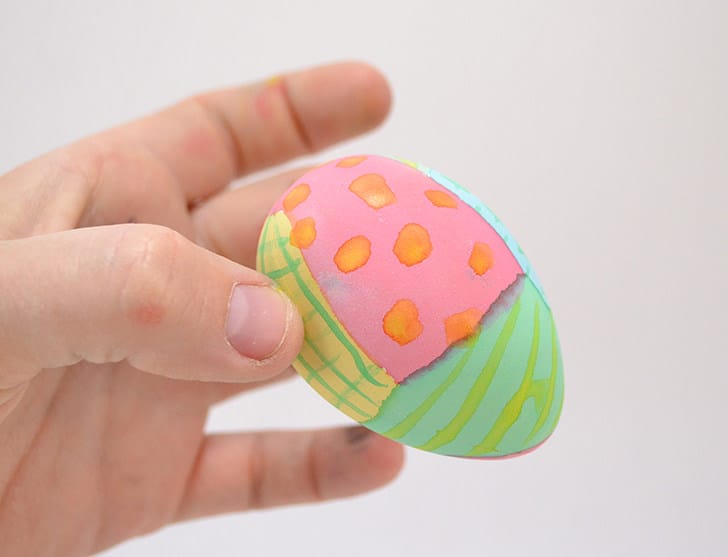
Next, add dots, dashes and small patterns to some of the solid areas to create visual interest. The food-color paint can want to bleed slightly into adjacent areas; embrace the imperfection — it looks charming. Allow drying for about 10 minutes after adding details.
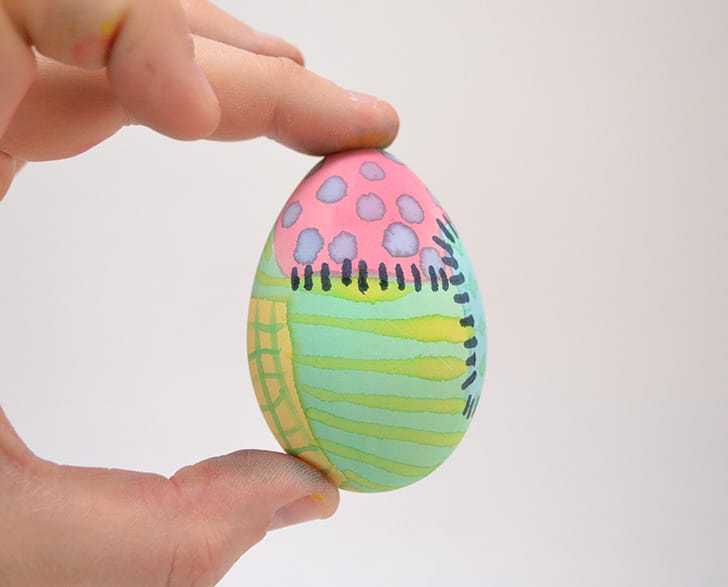
Finish each egg by drawing dashed “stitches” between the different color blocks with a black marker to mimic quilt stitching.
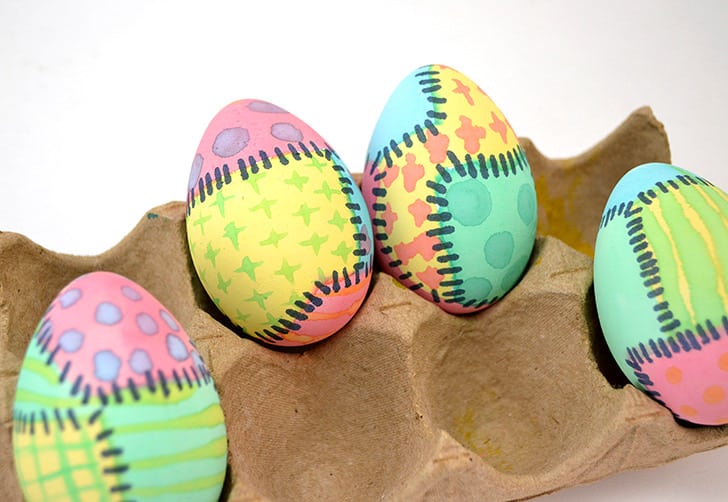
And you’re done! Display your Rag Quilt Easter Eggs in a bowl or basket, or use them as part of your holiday table décor. Quick tip: work on a protected surface and let eggs dry fully before handling to avoid smudges.