Create Charming Pressed Flower Candles in 4 Easy Steps
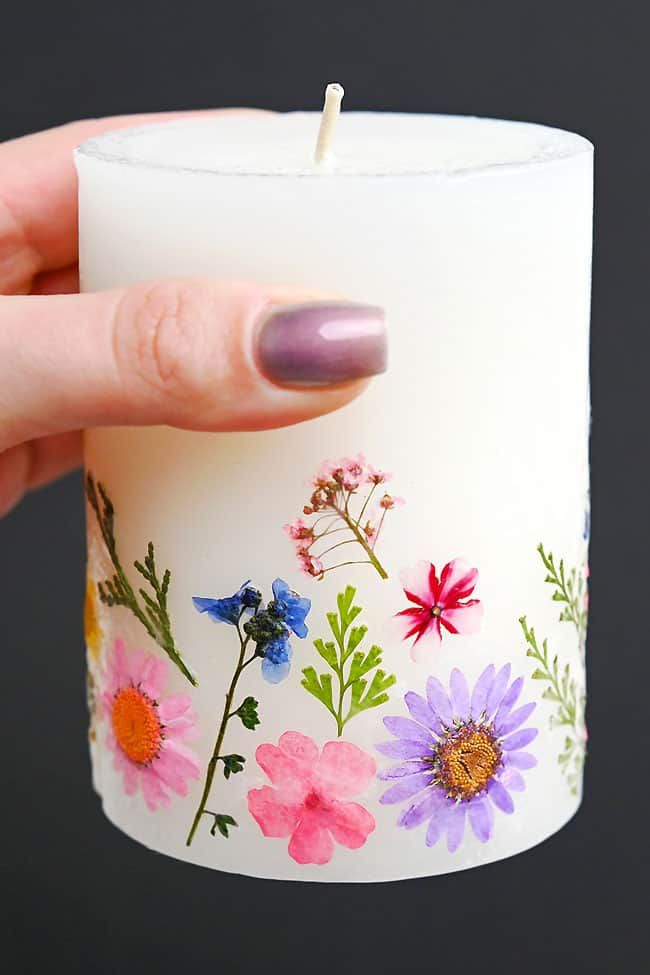
Create beautiful pressed flower pillar candles with just a few simple supplies. This step-by-step guide shows how to press and adhere dried blooms to a plain pillar candle using melted tealight wax as an adhesive, plus quick tips to finish and care for your candle.
Making your own DIY pressed flower candles is a delightful and fun way to add a personalized touch to your home decor or give as a thoughtful gift to brighten someone's day. Once completed, the end result is a lovely candle that brings a touch of nature into any space. So, grab your favorite blooms, some candles, and get creative with this charming DIY project!
Materials:
Pressed flowers
White pillar candle
Equipment:
Lighter
Tealight candle
Tweezers
Silicone paintbrush
Instructions:
Step 1: Find what you need
Gather your supplies and materials.

Step 2: Arrange the pressed flowers
-
Light a tealight candle and let it start to melt, creating a pool of liquid wax. This wax will be the “glue” that holds the pressed flowers on the candle.

While your tealight is burning, set out your pressed flowers and begin to arrange them into a pattern you like. Try to use a combination of colours, flower types and sizes, and greenery.

Step 3: Add the first flower to your candle
-
Use tweezers to grab a pressed flower and set it on the side of the pillar candle, near the bottom. Then hold the flower in place with your thumb.

Dip the silicone paintbrush (read more about them below this tutorial!) in the liquid wax of the tealight, being careful to not put the brush in the flame.

Immediately bring your brush over to the flower and spread wax on top of it, connecting it to the pillar candle.

Add more wax over top of the flower until it’s flat against the candle, staying in place on its own. Use swift brush strokes with gentle pressure. If you push too hard the flower will break apart, and if you go too slowly, the wax will harden on the brush.

Step 4: Continue adding dried flowers
-
Place a second flower on the candle, next to the first. Try not to add thick layers of wax — just enough to make the flower stick. Use different heights and sizes of flowers.

Continue adding flowers and greenery, working your way around the candle. As you add more flowers you’ll have to periodically peel the wax off of the silicone brush.

Add more flowers around the pillar candle until you get back to the beginning.

Take a look at your candle and add extra flowers into any gaps, or add different layers of flowers to create varied height across the candle.

Your pressed flower candle is complete!
Quick tips: choose pressed flowers that are thin and well-dried so they adhere easily and won’t create lumps. Keep designs simple near the wick — avoid placing flowers directly on or too close to the flame. For a glossy finish, you can gently warm a sheet of clear wax paper and press it over the flowers to smooth the surface (test carefully on a scrap candle first).
Safety note: never leave a burning candle unattended. Do not allow decorative materials to come into direct contact with the candle flame; trim the wick to 1/4" before lighting. Use your decorated candles primarily for display or short, supervised burn times to reduce fire risk.