Make an Adorable 15cm Crochet Easter Bunny — Step-by-Step Amigurumi Pattern
Crochet Easter bunnies are charming handmade decorations and gifts for the holiday. This step-by-step amigurumi pattern walks you through making a 15 cm (including ears) crochet bunny with a little pocket and overalls. The pattern uses simple stitches and color changes — perfect for crafters familiar with basic crochet abbreviations.
Finished size (with ears): about 15 cm. Yarn used: 100% acrylic, 470 m/100 g; hook: 1.3 mm.
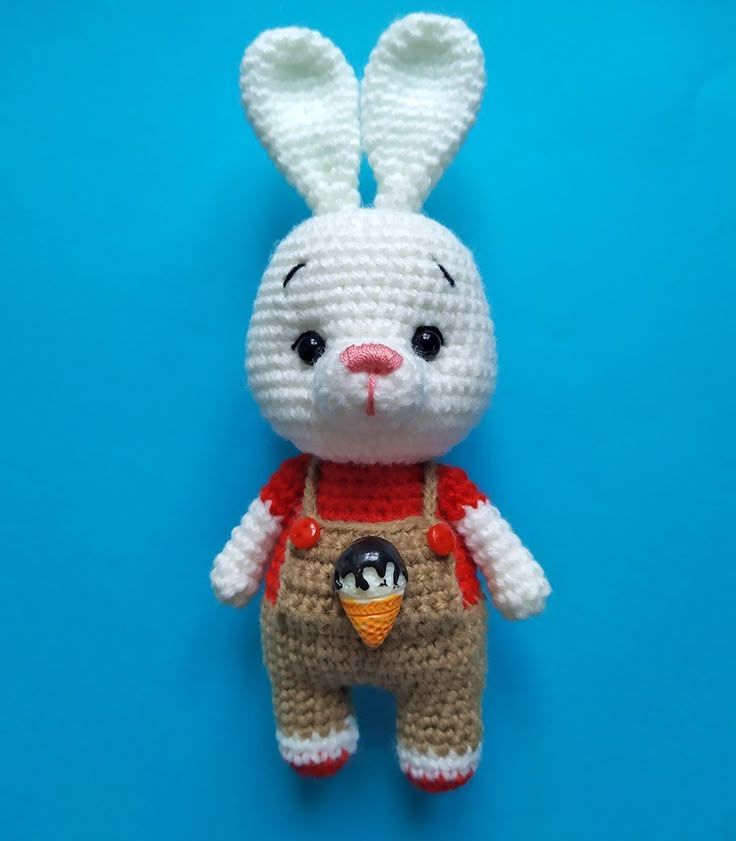
Two crocheted Easter bunnies displayed together — example of the finished toy and color options.
Materials
- Yarn of the same thickness for your choice (acrylic, cotton). Colors: two matching colors for clothes (color A - brown, color B - red), and white;
- A crochet hook;
- Hollow fibre for stuffing;
- Transparent glue;
- For eyes: 2 half-beads, I used 8 mm diam half-beads;
- For embroidery: a few threads of black and pink.
For the bunny I used 100% acrylic yarn, 470 m/100 g, 1.3 mm crochet hook; my bunny is 15 cm long with the ears included.
Abbreviations
ch – chain
sl st – slip stitch
sc – single crochet
hdc – half double crochet
dc - double crochet
inc – increase (2 sc in 1 st)
2 inc, 3 inc – 2, 3 increases in sequence
dec – decrease (single crochet two stitches together)
2 dec, 3 dec – 2, 3 decrease in sequence
(...) x N times – repeat instructions in brackets N times
Ear (make 2)
Work with white colour yarn
1) 6 sc in a Magic Ring
2) 6 inc (12)
3) (1 sc, inc) х 6 times (18)
4 - 7) 18 sc
8) (2 sc, dec) х 4 times, 2 sc (14)
9 - 11) 14 sc
12) (2 sc, dec) х 3 times, 2 sc (11)
13- 15) 11 sc
Fasten off, cut off.
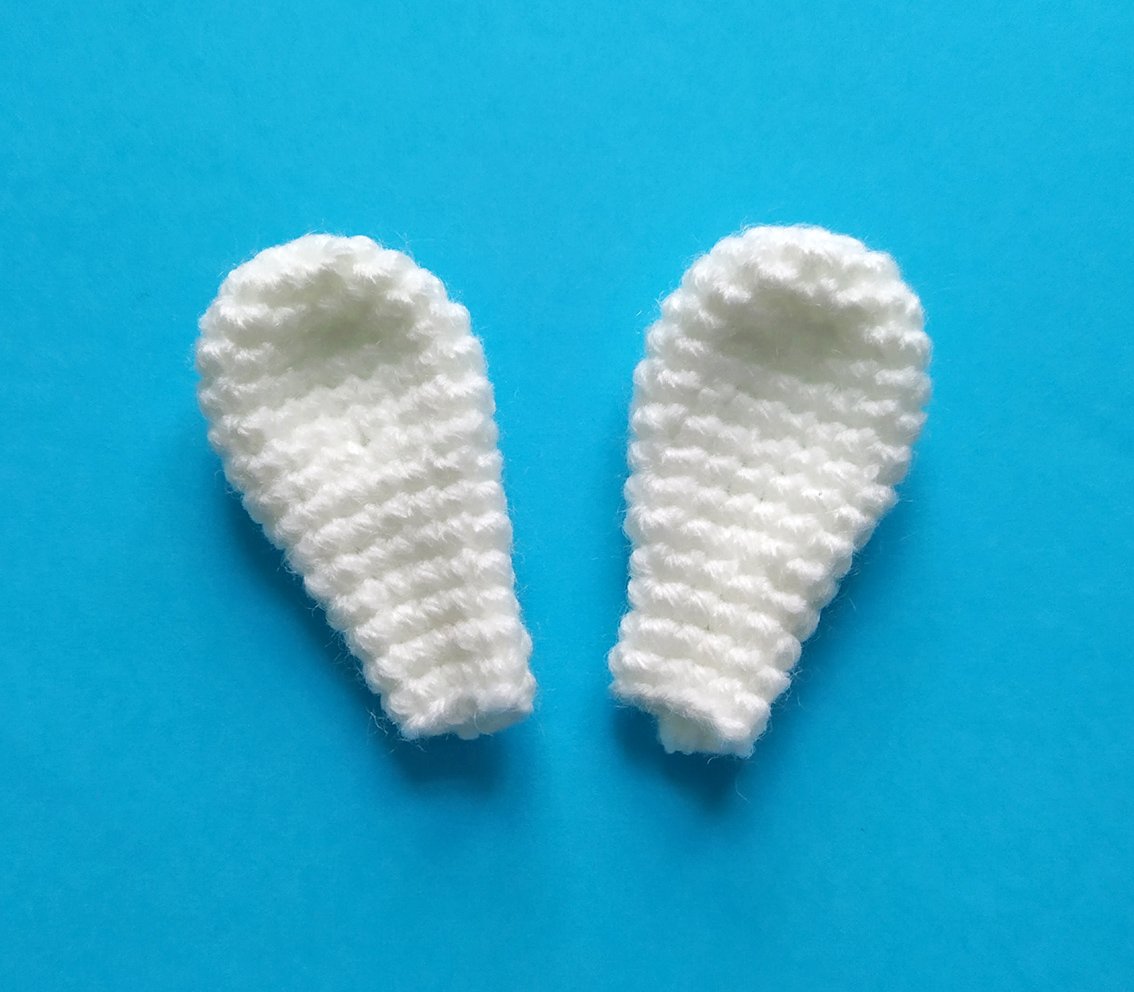
Two crocheted white ears, finished and ready to attach to the head.
Muzzle
Work with white colour yarn
1) 6 sc in a Magic Ring
2) 6 inc (12)
3) 12 sc
4) (1 sc, inc) х 6 times (18)
Fasten off, cut off.
Tail
Work with white colour yarn
1) 6 sc in a Magic Ring
2) (1 sc, inc) х 3 times (9)
3) 9 sc
Fasten off, cut off.
Arms (make 2)
Start with white colour yarn
1) 8 sc in a Magic Ring
2- 7) 8 sc
Change the yarn to colour B.
8 - 10) 8 sc
Add some hollow fibre.
Fasten off, cut off. Pull off the loops.
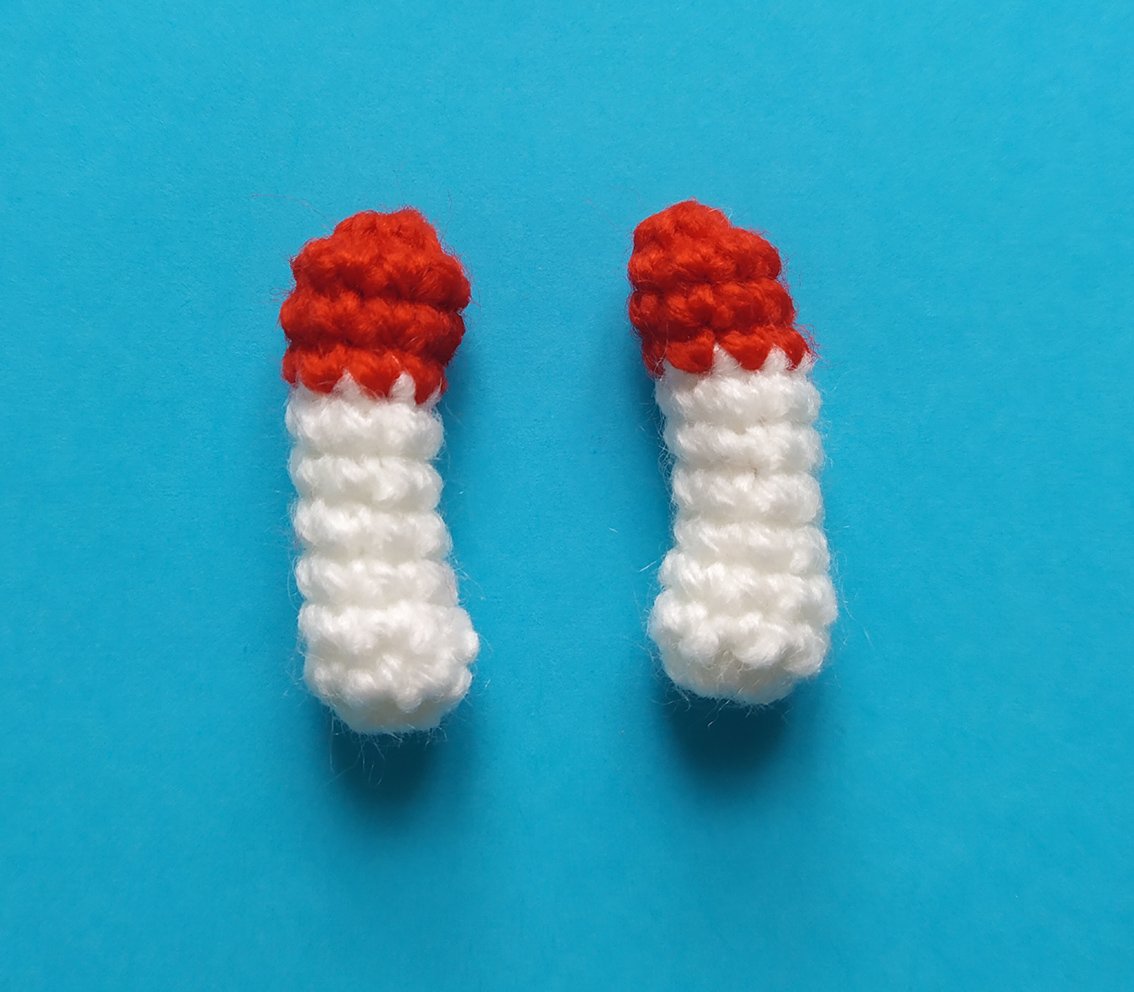
Small crocheted pieces: muzzle, tail and two arms, stuffed and ready for assembly.
Legs (make 2)
Start with color B.
1) 6 sc in a Magic Ring
2) 6 inc (12)
Change to white yarn
3 - 4) 12 sc
Change the yarn to colour A.
5 - 7) 12 sc
Fasten and cut off thread of 1st leg, do not cut thread of 2nd leg. Add hollow fibre.
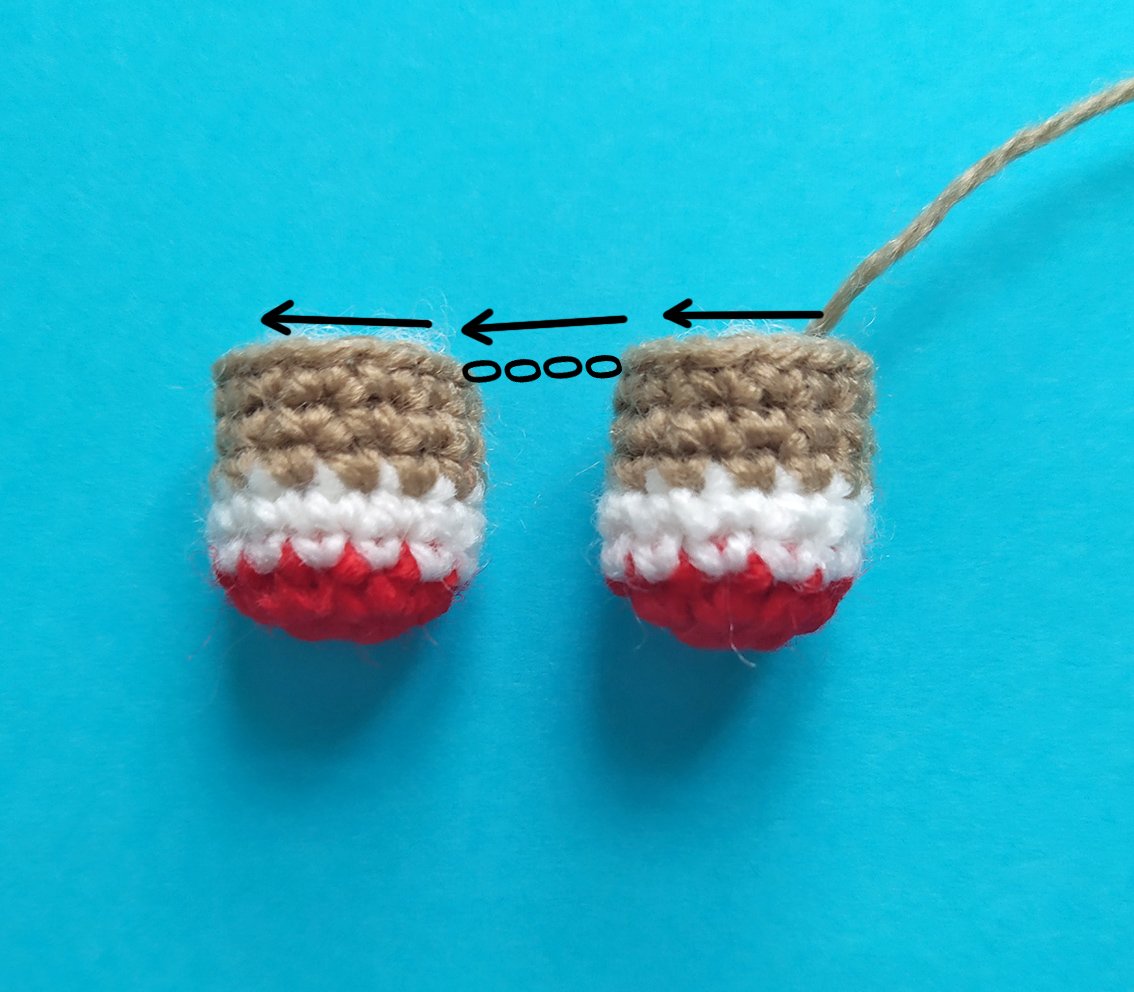
Two crocheted legs showing the color changes used for shoes and fur.
Body
Next, crochet the body. Stuff as you go.
8) 4 ch, work into loops of the 1st leg: 12 sc, continue along the of chain: 4 sc, work into loops of the 2nd leg: 12 sc, continue along the other side of chain: 4 sc (32)
9) 6 sc, inc, 15 sc, inc, 9 sc (34)
10) 34 sc
11) 15 sc, inc, 16 sc, inc, 1 sc (36)
12-14) 36 sc
Work 8 sc, transfer your place marker here. Now the marker is on the side.
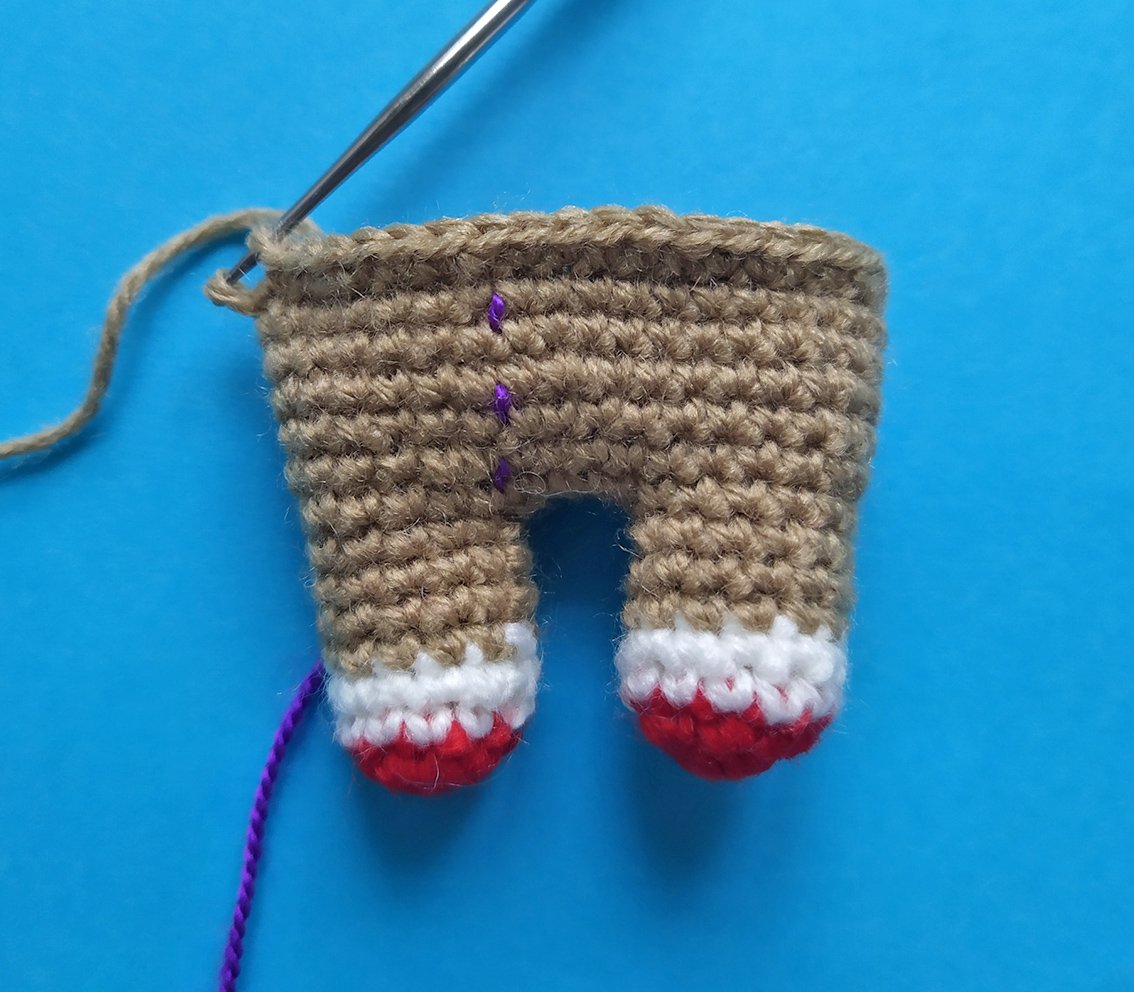
Joining the legs into the body and starting the torso rounds.
Change the yarn to colour B.
15) Into the back loops only: 36 sc
16) 36 sc
17) 17 sc, dec, 15 sc, dec (34)
18) 8 sc, dec, 14 sc, dec, 8 sc (32)
19) (6 sc, dec) х 4 times (28)
20) 28 sc
21) (5 sc, dec) х 4 times (24)
22) 24 sc
23) (2 sc, dec) х 6 times (18)
24) (1 sc, dec) х 6 times (12)
Change to white yarn. Next, crochet the head.
25) (3 sc in 1 loop) х 12 times (36)
26) (2 sc, inc) х 12 times (48)
27 - 31) 48 sc
32) (4 sc, dec) х 8 times (40)
33- 39) 40 sc
40) (3 sc, dec) х 8 times (32)
41) 32 sc
42) (1 sc, dec) х 10 times, dec (21)
43) decrease until the end of the round
Fasten off, cut off. Pull off the loops.
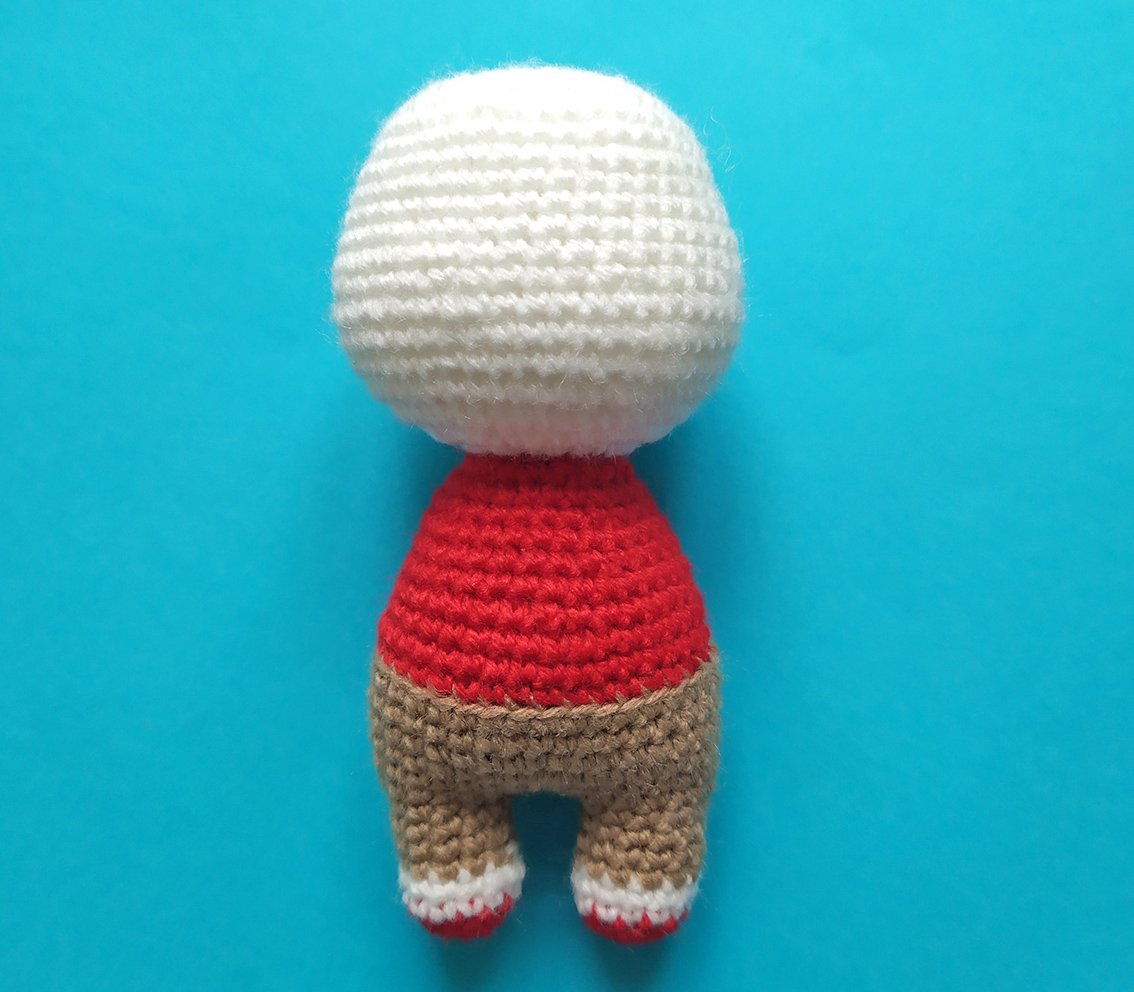
Body with arms attached — stuff firmly as you sew to keep shape.
Attach and sew on the arms.
Back to Round 15.
Step back 3 loops from the marker, start with the 4th. Attach yarn of color A.
The place for the pocket is marked with pins in the photo.
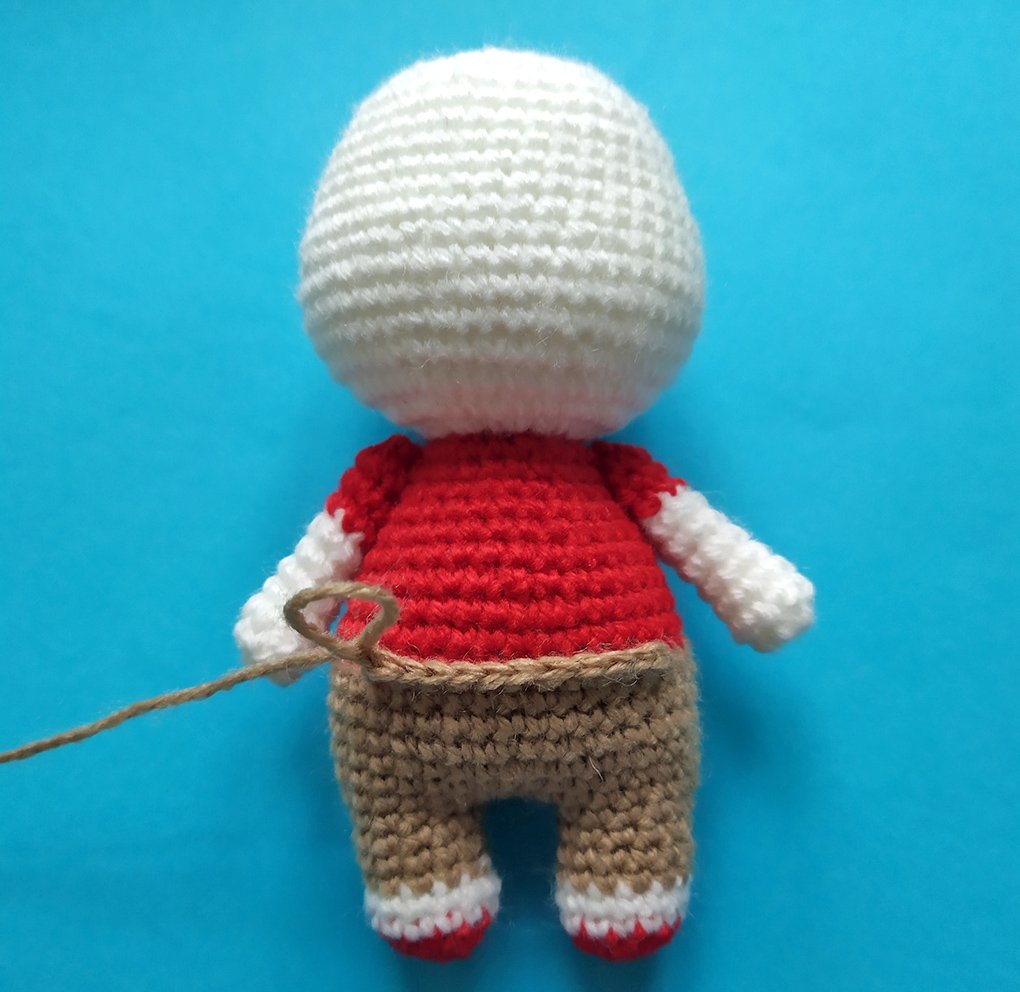
Marking pocket placement with pins to ensure correct positioning.
1-6) 11 sc, ch, turn (11)
7) dec, 7 sc, dec (9)
For the straps - make 15 ch on each side. Sew them on.
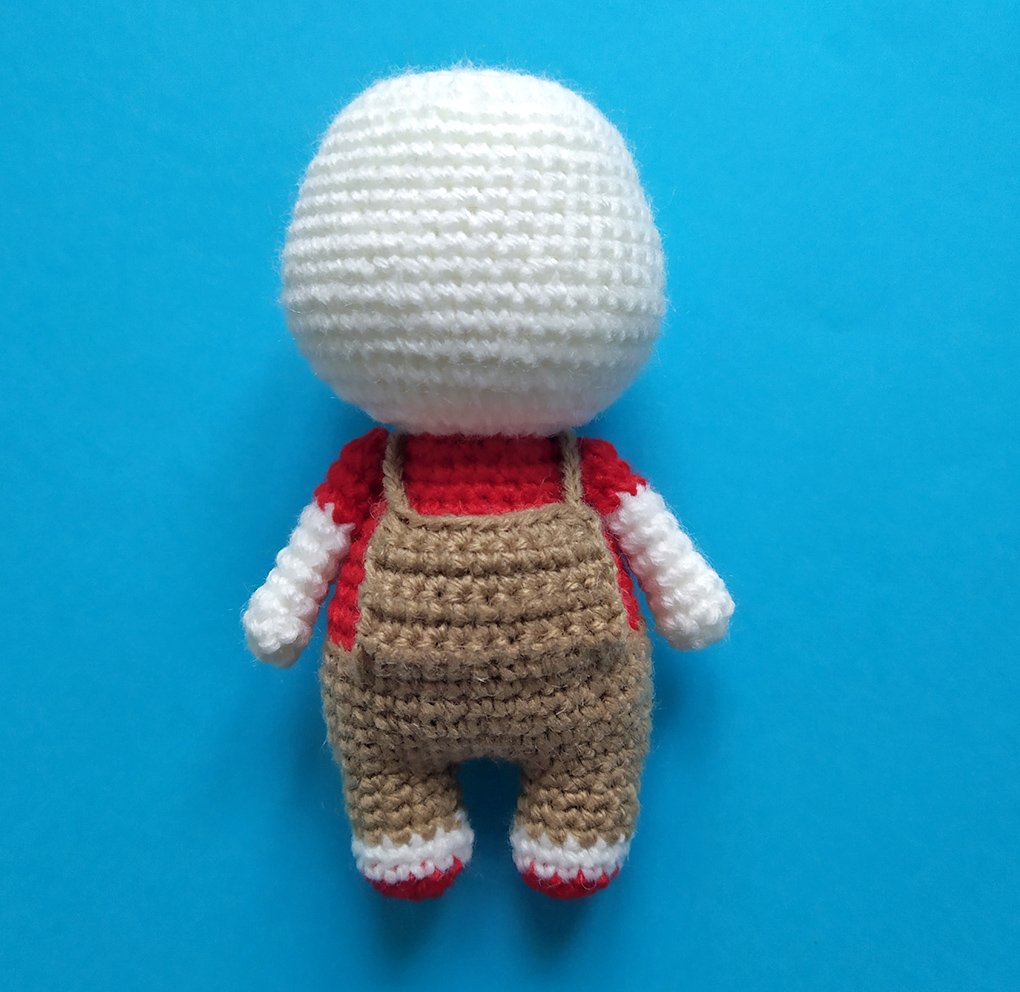
Pocket and straps sewn onto the bunny — decorate as you like.
Attach the tail and ears and sew them on.
Attach the muzzle to the head, make sure its upper part is in line with Rnd 31.
Sew it on with hidden stitches and stuff a little as you go.
Embroider nose.
Slightly tighten the bridge of the nose between spots А-В and C-D. (See the photo for guidance)
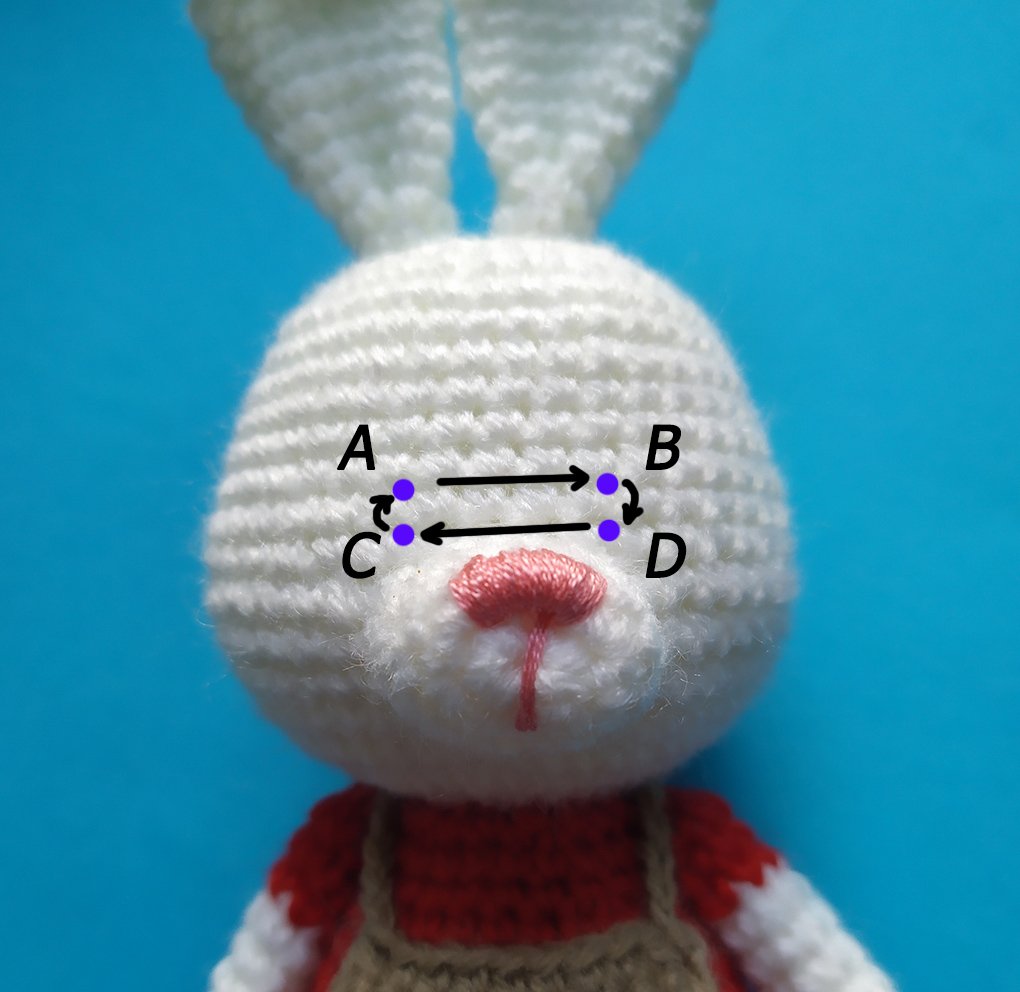
Close-up showing muzzle placement and nose shaping before finishing touches.
Glue on the eyes. Embroider eyelids and eyebrows.
Decorate the overall of your choice.
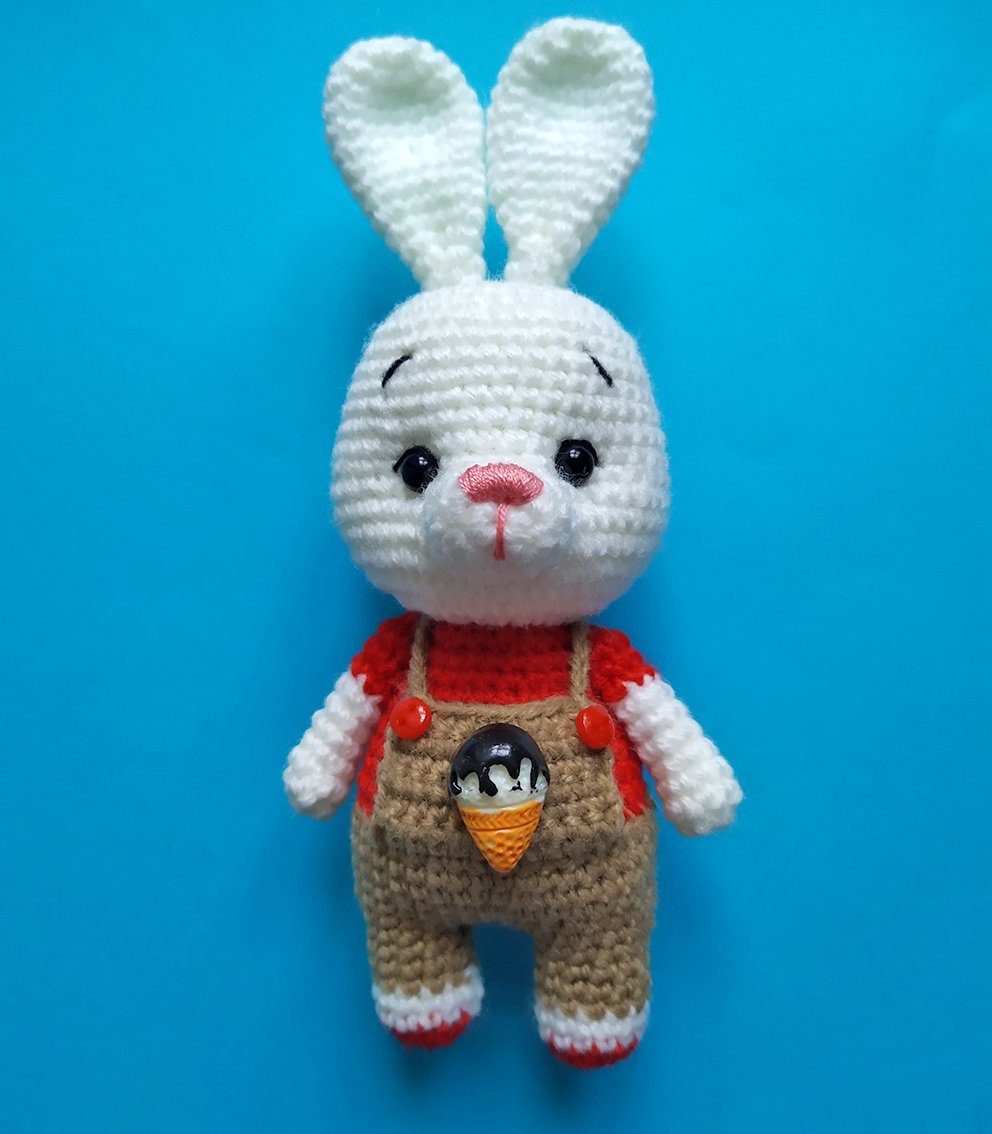
Finished Crochet Easter Bunny wearing decorated overalls with a small pocket — ready for Easter gifting or display.