Turn Bottle Caps into Adorable Recycled Easter Bunny Decorations — Easy DIY
Give ordinary bottle caps a second life this Easter by turning them into small, whimsical bunny decorations. This simple, budget-friendly upcycle project is great for craft nights, kids' activities, or adding a handmade touch to baskets, potted plants, and an Easter tree. Below are easy steps, a materials list, and pictured guidance to help you make your own recycled Easter bunny bottle caps.
Isn't it just hoppy-tastic that something as simple as recycled Easter Bunny bottle caps can add an extra sprinkle of whimsy to your Easter celebrations? These unique and eco-friendly bottle caps help reduce waste while bringing a touch of charm to your festive decorations or DIY projects. Just imagine the joy on someone's face when they spot these adorable bunnies peeking out from their recycled origins. Let your creativity bloom this Easter with these delightful recycled bottle caps!
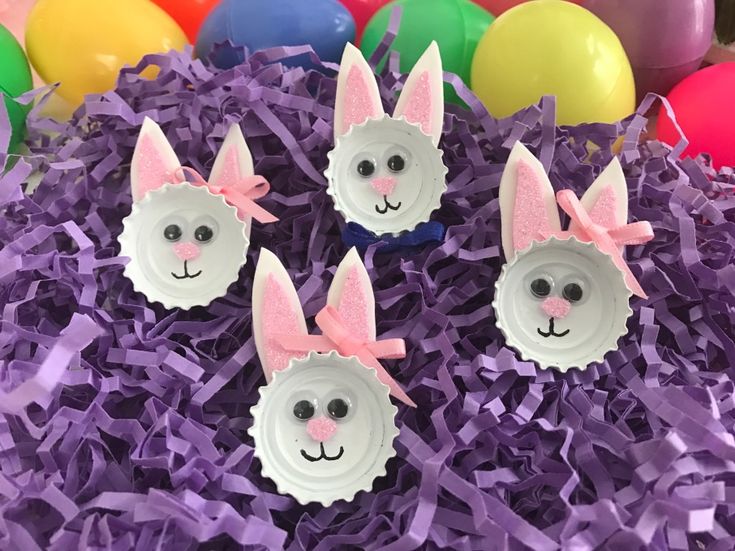
Finished recycled Easter bunny bottle caps ready to display.
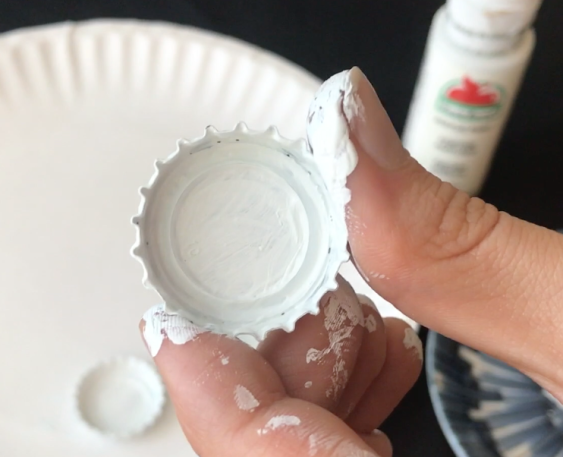
Paint the bottle caps white on both sides; 2–3 coats for full coverage.
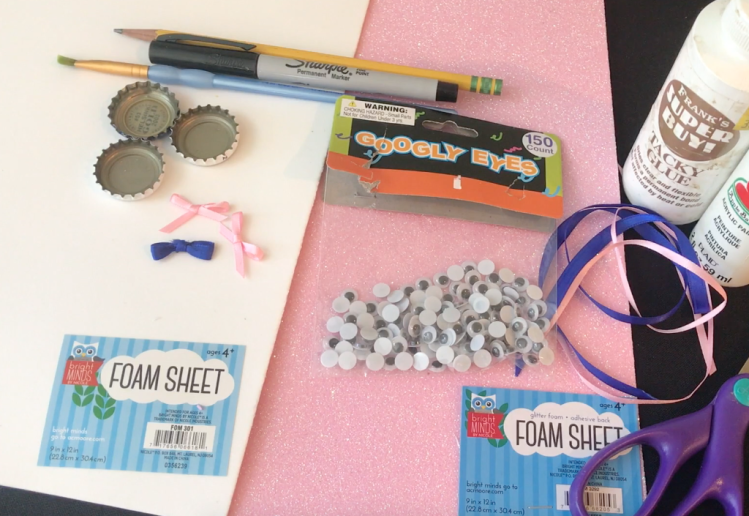
You’ll Need:
- Bottle caps
- Tacky glue, Elmer's glue, or a hot glue gun
- Foam sheets (sparkly pink and white recommended)
- Googly eyes
- White paint
- Paint brush
- Sharpie
- Pencil
- Scissors
- Ribbon or small bows
Instructions:
Paint the bottle caps white on both sides. Apply 2 or 3 coats until completely white and let dry.
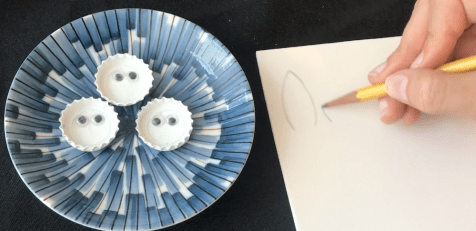
Use glue to attach two googly eyes inside the bottle cap.
Next is making the bunny ears. Draw two ears on the white foam and cut them out (you can also use a stencil if needed). Don’t worry about the bottom of the ear — it’s better to make it a little longer because it will get glued behind the cap.
Glue googly eyes inside the painted cap to create the bunny's face.
Use the white ear shape as a stencil to cut matching pink inner-ear pieces.
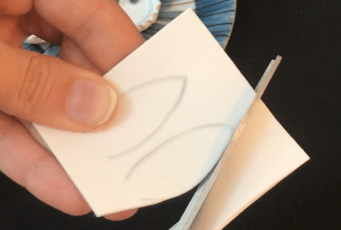
Glue the pink foam inside the white ear to form the inner ear.
Place one white ear over top of the pink foam and cut around it (using the white as a stencil). This way the pink for the inside of the ear will be the same shape. Afterward, trim down the sides of the pink to your liking.
Glue or peel-and-stick your pink foam inside the white bunny ear. Continue the process for the other ear.
Put two dots of glue at the end of each ear and glue the cap on top so the ears sit behind the cap.
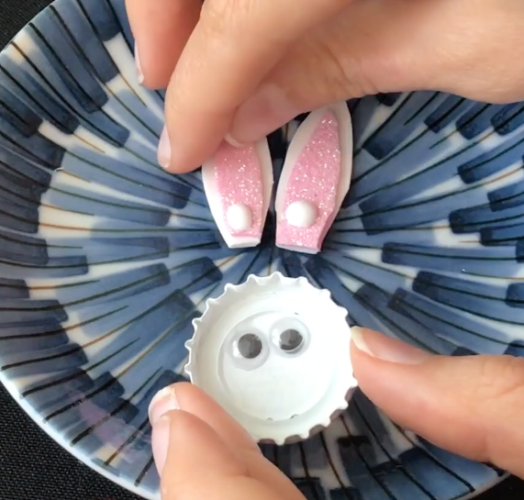
Glue the ears to the back of the cap so they peek up behind the bunny's head.
Next, using the pink foam, cut a little tiny bunny nose. A small circle or upside-down triangle works well. Put the nose aside.
Using a Sharpie (a thin tip works best) draw a small mouth on the bunny cap face.
Now take your nose and glue it above the mouth.
Using ribbon, create a little bow or purchase small pre-made bows. Glue a pink bow on the bunny’s lower ear for a girl bunny or a blue bow below the cap for a boy bunny, or mix and match as you like.
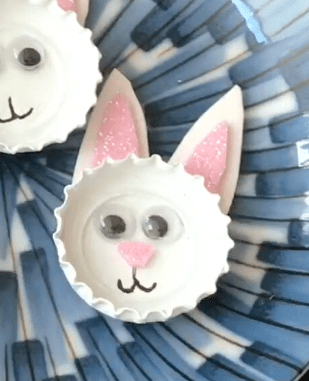
Add a tiny foam nose and draw a mouth to finish the face.
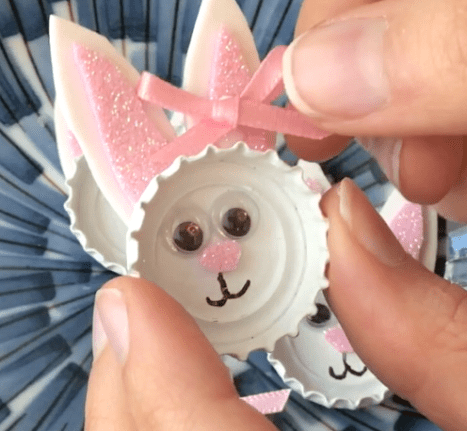
Finish with ribbons or bows to personalize each bunny.
I am so excited with how cute these little bunny heads turned out. It is a perfect way to recycle some old bottle caps too.
Here are some ways I used my bunny bottle caps:
- Add ribbon to the backs to turn them into ornaments and hang on your Easter tree.
- Glue to the top of a wooden skewer and stick into a plant as a festive pick.
- Attach a bunny head to the outside of a mini flower pot for a cute spring accent.
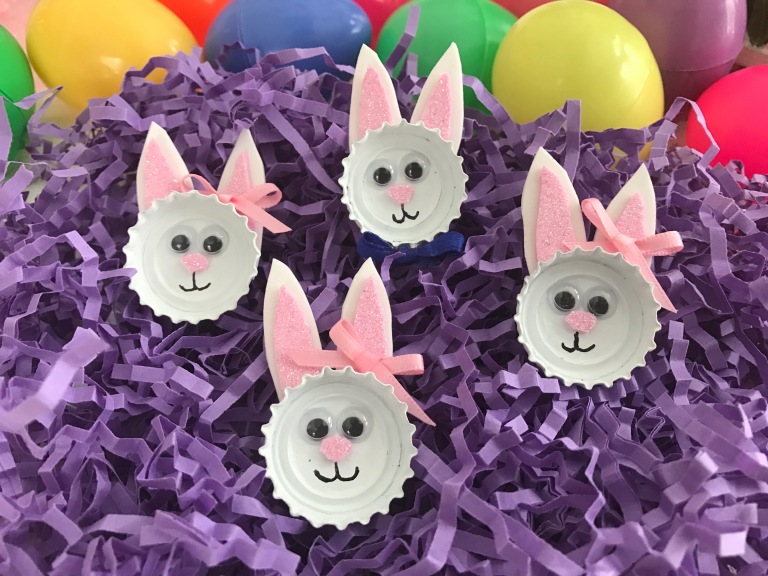
Use the finished bunnies as ornaments, plant picks, or pot decorations.
Tips: For a strong bond, use hot glue for foam-to-cap attachment (adult supervision recommended for kids). If you prefer a no-heat method, tacky glue works but allow extra drying time. Experiment with different foam colors, glitter foam, or patterned ribbon to match your Easter decor.