DIY Recycled Easter Bunny Vases — Easy Upcycled Mason Jar Craft for Spring Decor
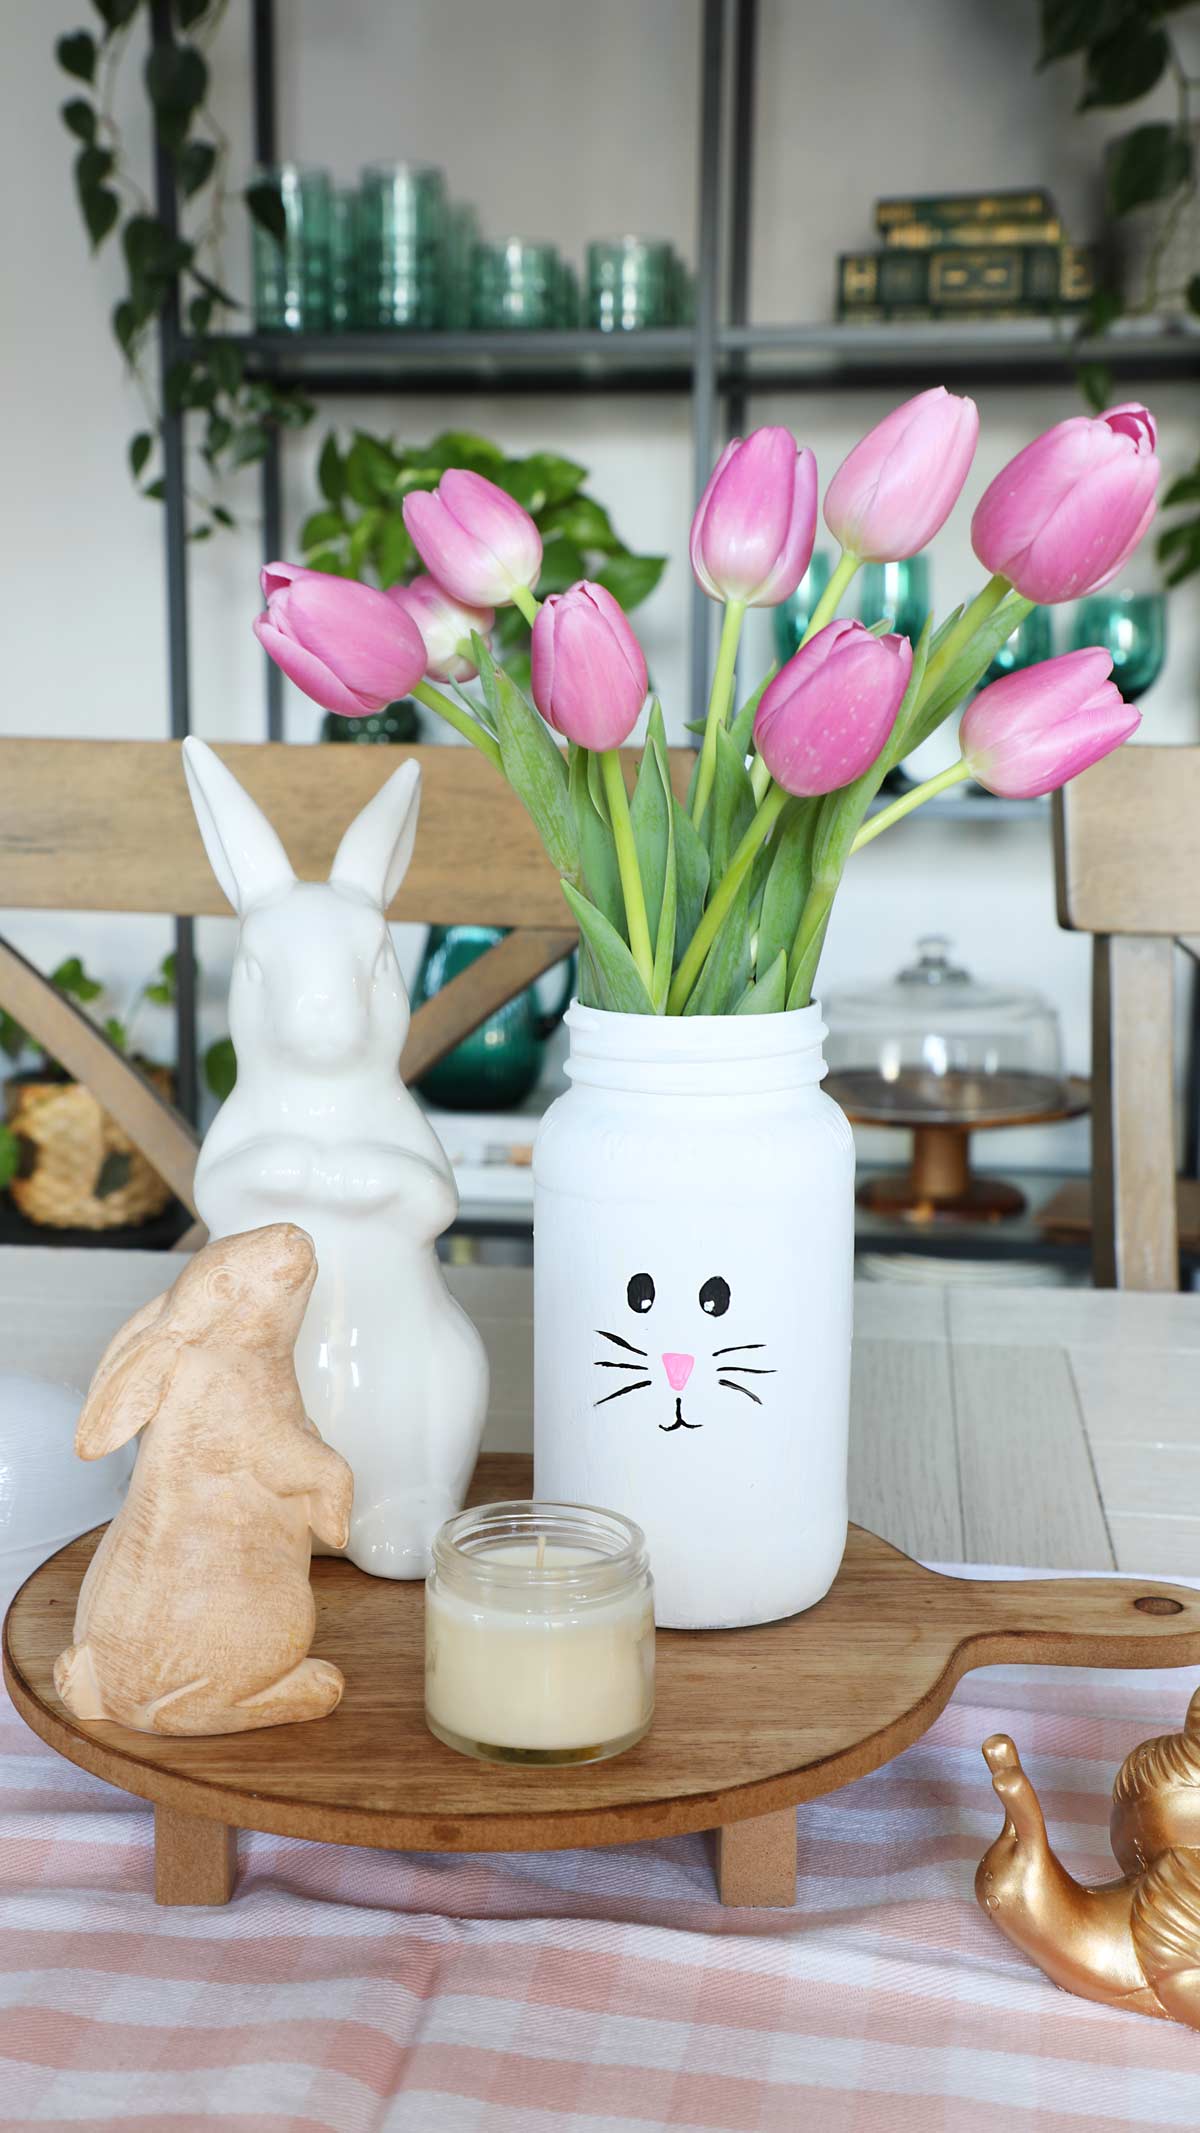
Get ready to hop into the spirit of Easter with these adorable DIY Recycled Easter Bunny Vases! This simple upcycle turns ordinary glass jars into charming spring decor or thoughtful homemade gifts. The project uses basic supplies, is kid-friendly with supervision, and produces a sweet mantel or table display in just a couple of coats of paint.
Materials
Here’s what you’ll need:
- Mason jar or other glass sauce jar
- White chalk paint
- Black acrylic paint
- Pink acrylic paint
- Twine (optional)
- Paint brushes
- Baking soda and vinegar (for removing sticky residue)
- Old toothbrush or scrubbing brush
Step 1 — Remove the label
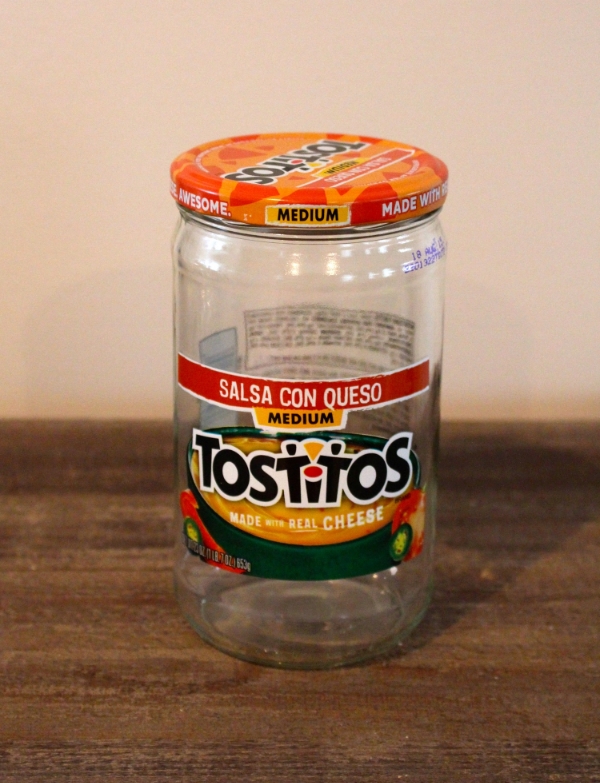
Start by peeling off any paper or plastic label. Labels sometimes come off easily; any remaining adhesive can be removed without commercial solvents. Make a paste of baking soda with a splash of vinegar (it may foam) and use an old toothbrush to scrub the residue. Let jars sit in hot, soapy water for a few minutes to loosen stubborn glue, then scrub again until clean.
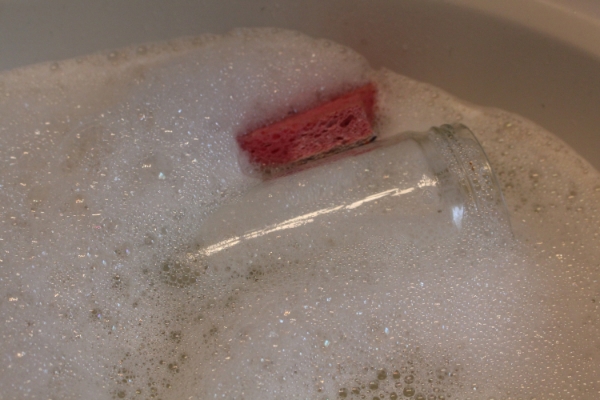
If you don’t have Goo Gone, the baking soda + vinegar method is a reliable, non-toxic alternative and works well on most jar adhesives.
Step 2 — Prime and paint the jar
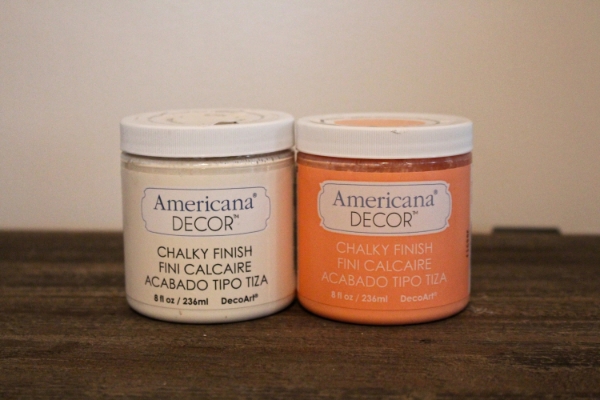
The best way to paint glass for a matte, even finish is with chalk paint. It adheres well and covers smoothly. If you plan a colored jar, you can use white chalk paint as a primer base and then layer acrylic color on top. Hold the jar with your hand inside while painting so you can access all sides; there's no need to paint the very bottom.
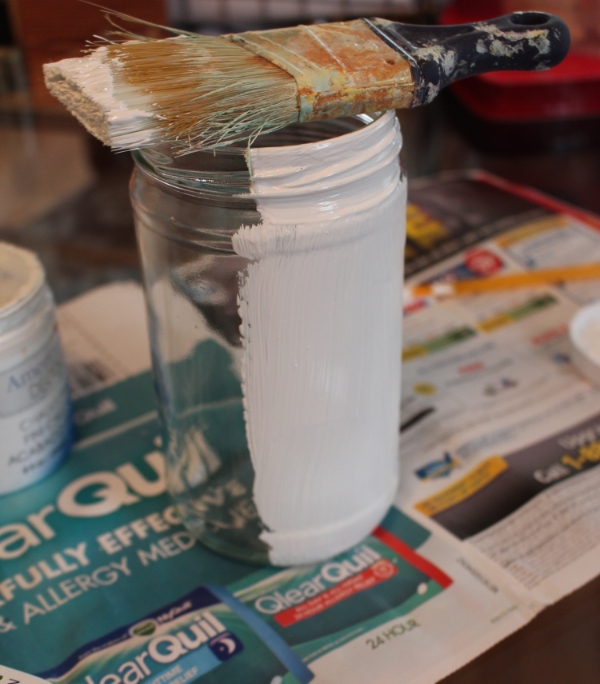
One coat often gives good coverage, but a second coat will make the finish more opaque and consistent. Chalk paint dries quickly to a matte, chalky finish.
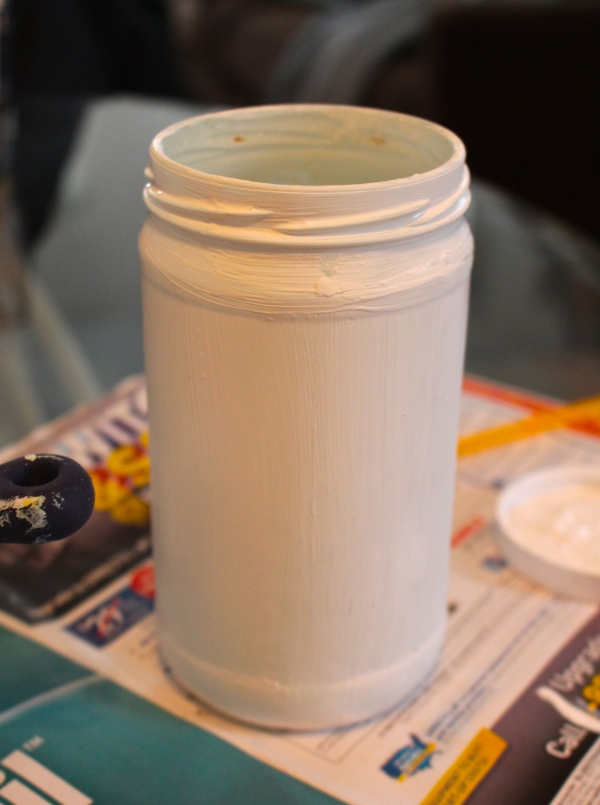
Step 3 — Paint the bunny face
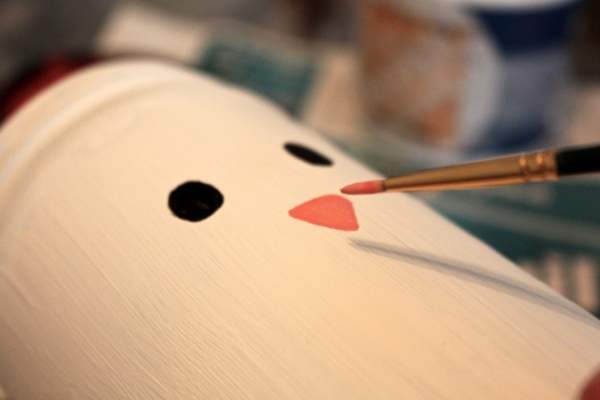
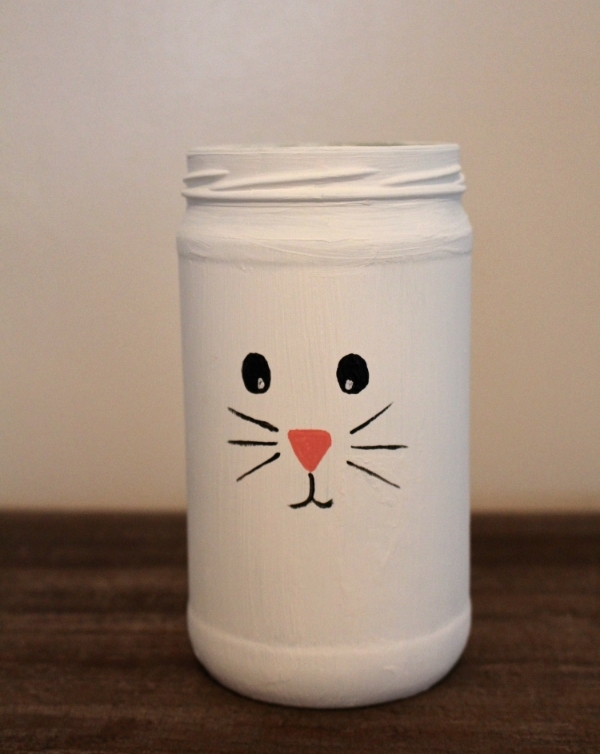
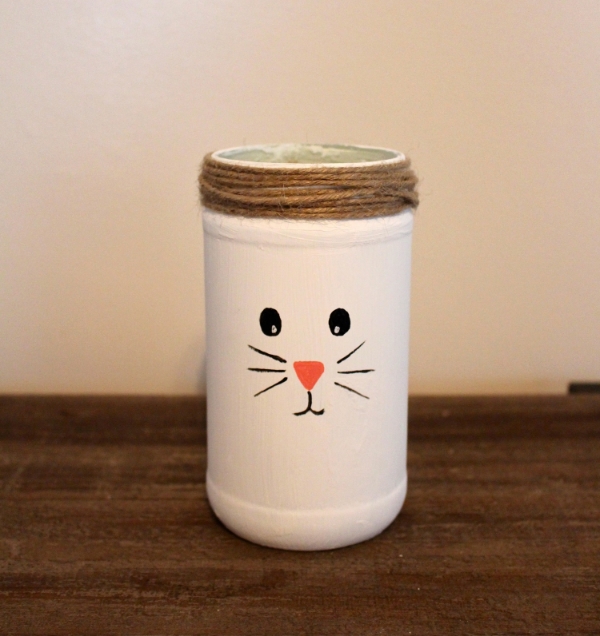
Use black acrylic paint and a small detail brush to add simple facial features. About a quarter of the way down from the jar rim, paint two small dots for eyes and a small rounded triangle or dot for the nose. Add thin whiskers and a little mouth off the nose. For extra cuteness, add two small white dots inside the eyes to create highlights.
Tip: Paint the eyes and nose first, then add whiskers and mouth so you can space them evenly; you don’t need to connect whiskers directly to the nose.
Finishing touches & display
Wrap twine around the jar neck for a rustic look or tuck a bow under the rim. Fill the vases with fresh or faux spring flowers, greenery, or even candy for a festive Easter table. These bunnies also make lovely hostess gifts—fill with wrapped treats or a small bouquet and tie with a tag.
Quick tips
- Work on a protected surface and allow paint to dry fully between coats.
- If you want a more durable finish, consider sealing the paint with a matte clear sealer suitable for chalk and acrylic paints.
- Vary expressions by changing eye shapes and mouth styles to give each bunny personality.
Have fun customizing your recycled jars—this is an easy, low-cost craft that adds a handcrafted touch to your spring decorating.