DIY Adorable Crochet Clutch — Easy Step-by-Step Pattern with Photos
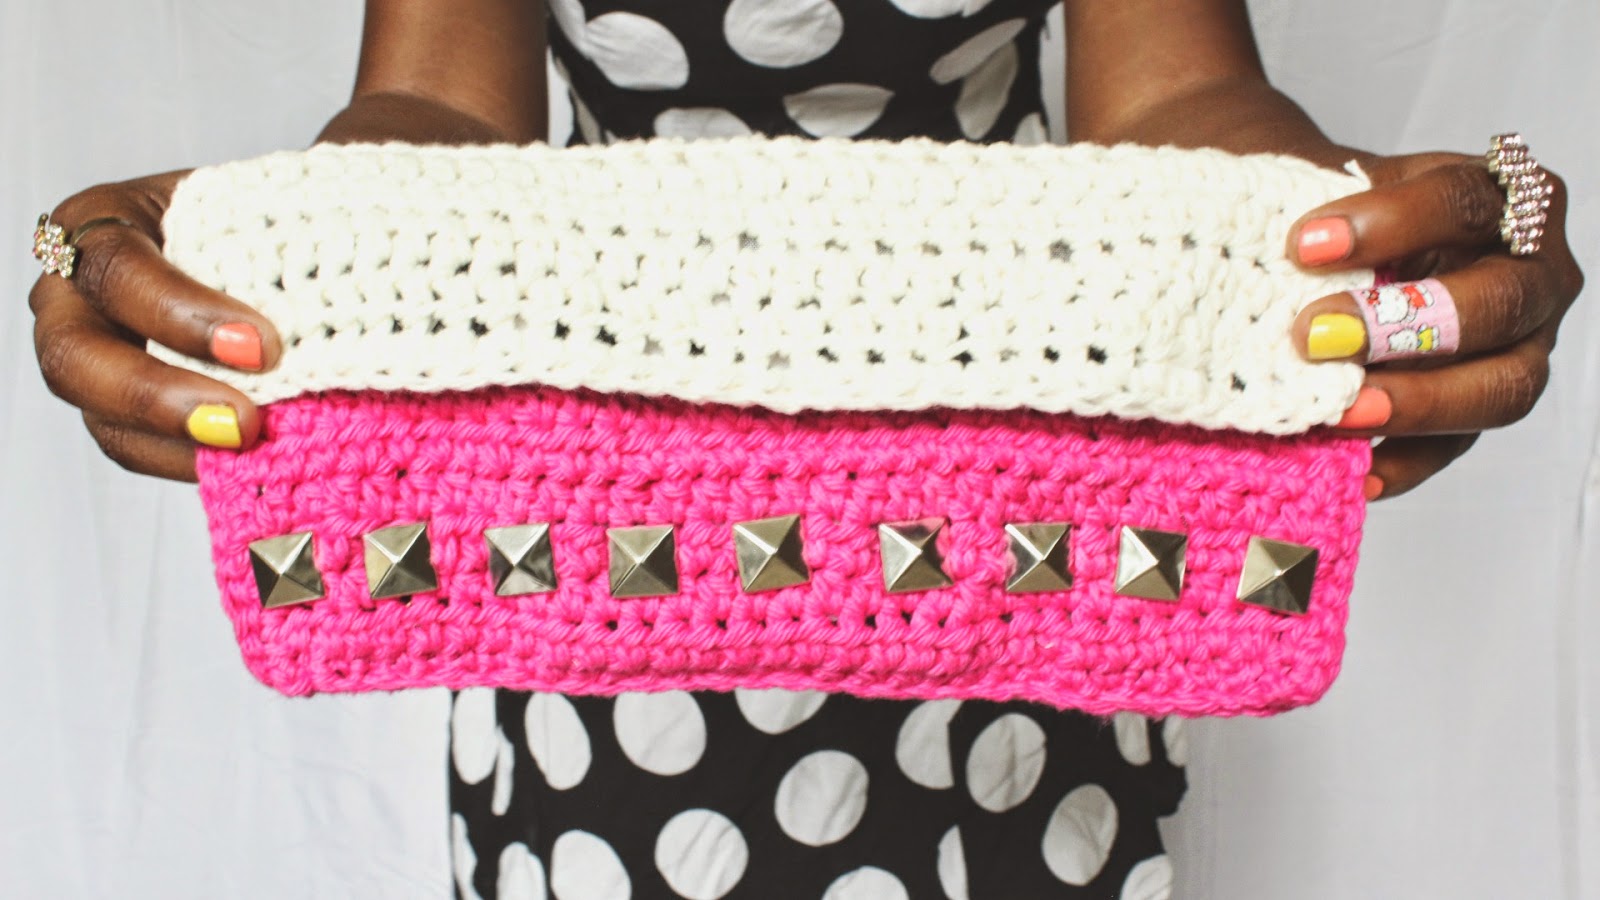
Create a sweet, compact crochet clutch you can make in an afternoon. This beginner-friendly project uses basic stitches (SC, HDC, SS, CH) and simple sewing to turn crochet panels into a lined, wearable clutch with optional stud embellishments. Follow the step-by-step photos and instructions below to make your own hot-pink and cream clutch.
Crochet Adorable Clutch is not just a simple accessory; it's like carrying a piece of your creativity wherever you go! This charming and practical clutch can hold your essentials with style and flair. Whether you're out for a casual day or a special evening event, this adorable accessory will surely turn heads and spark conversations. Plus, the joy of knowing you handmade it makes it even more special. So, grab your yarn and crochet hook, and get ready to create your own unique and adorable clutch that will make you smile every time you carry it around!
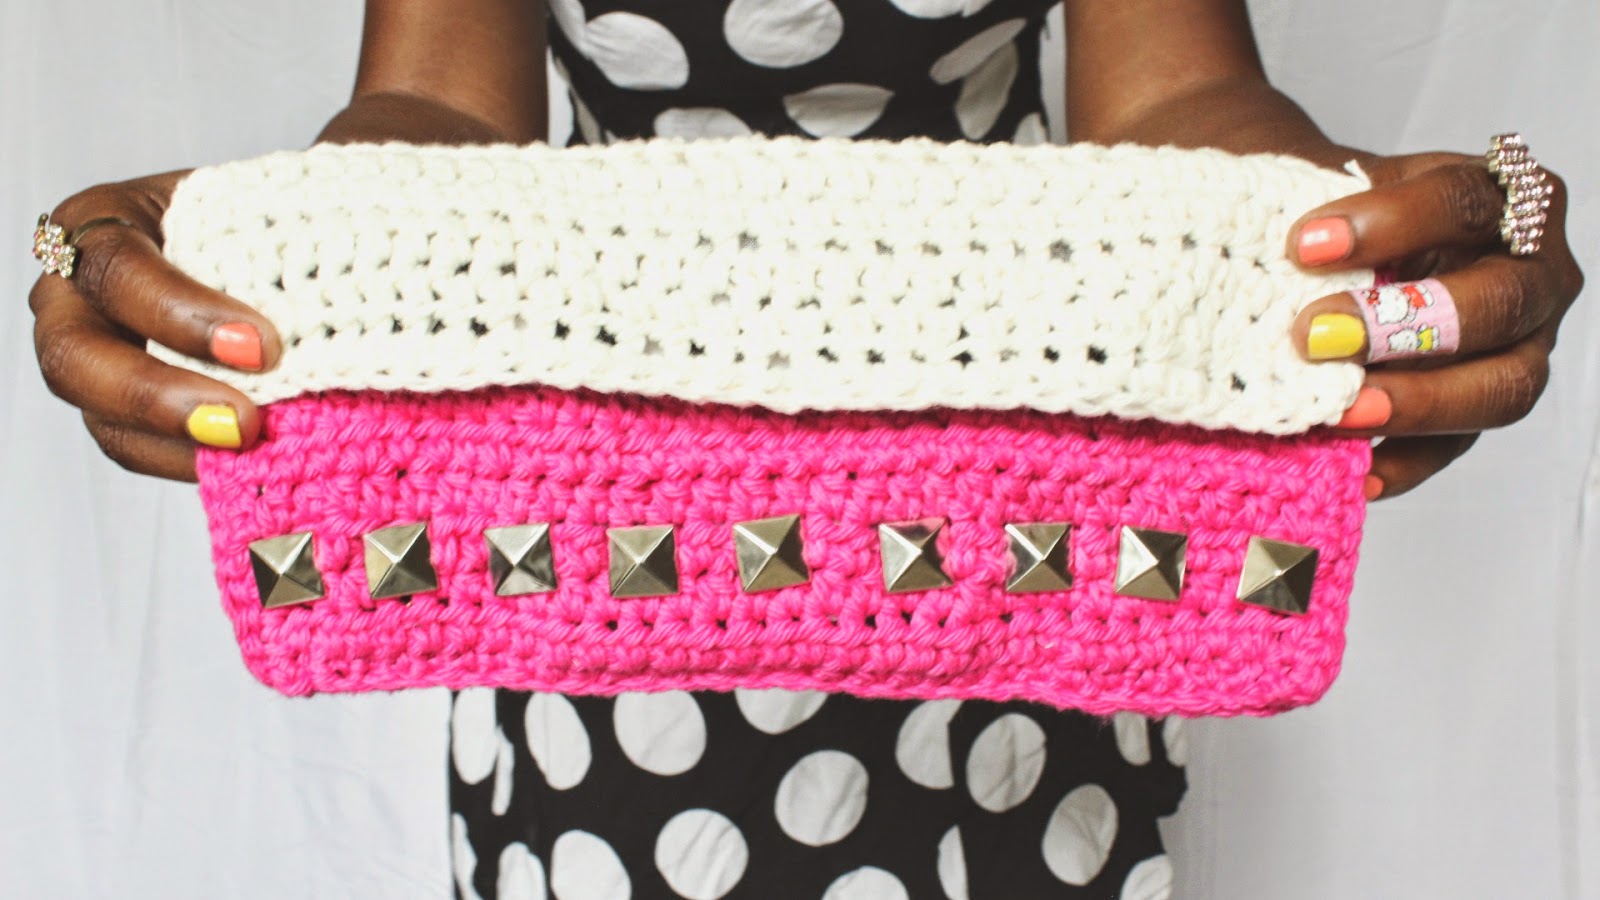
Ingredients:
- Crochet Hook>> H/8-5.00MM
- Craft Scissors
- Scrap Yarn used>>Less than half a Skein of Hot Pink & Cream [Sugar n' Cream] Medium 4
- Prong Back Studs [9]
- Needle and Thread
- Yarn Sewing Needle
Stitch guide:
- SC= single crochet
- HDC= half double crochet
- SS= slip stitch
- ST(S)= stitch(es)
- CH= chain R[number]= Row
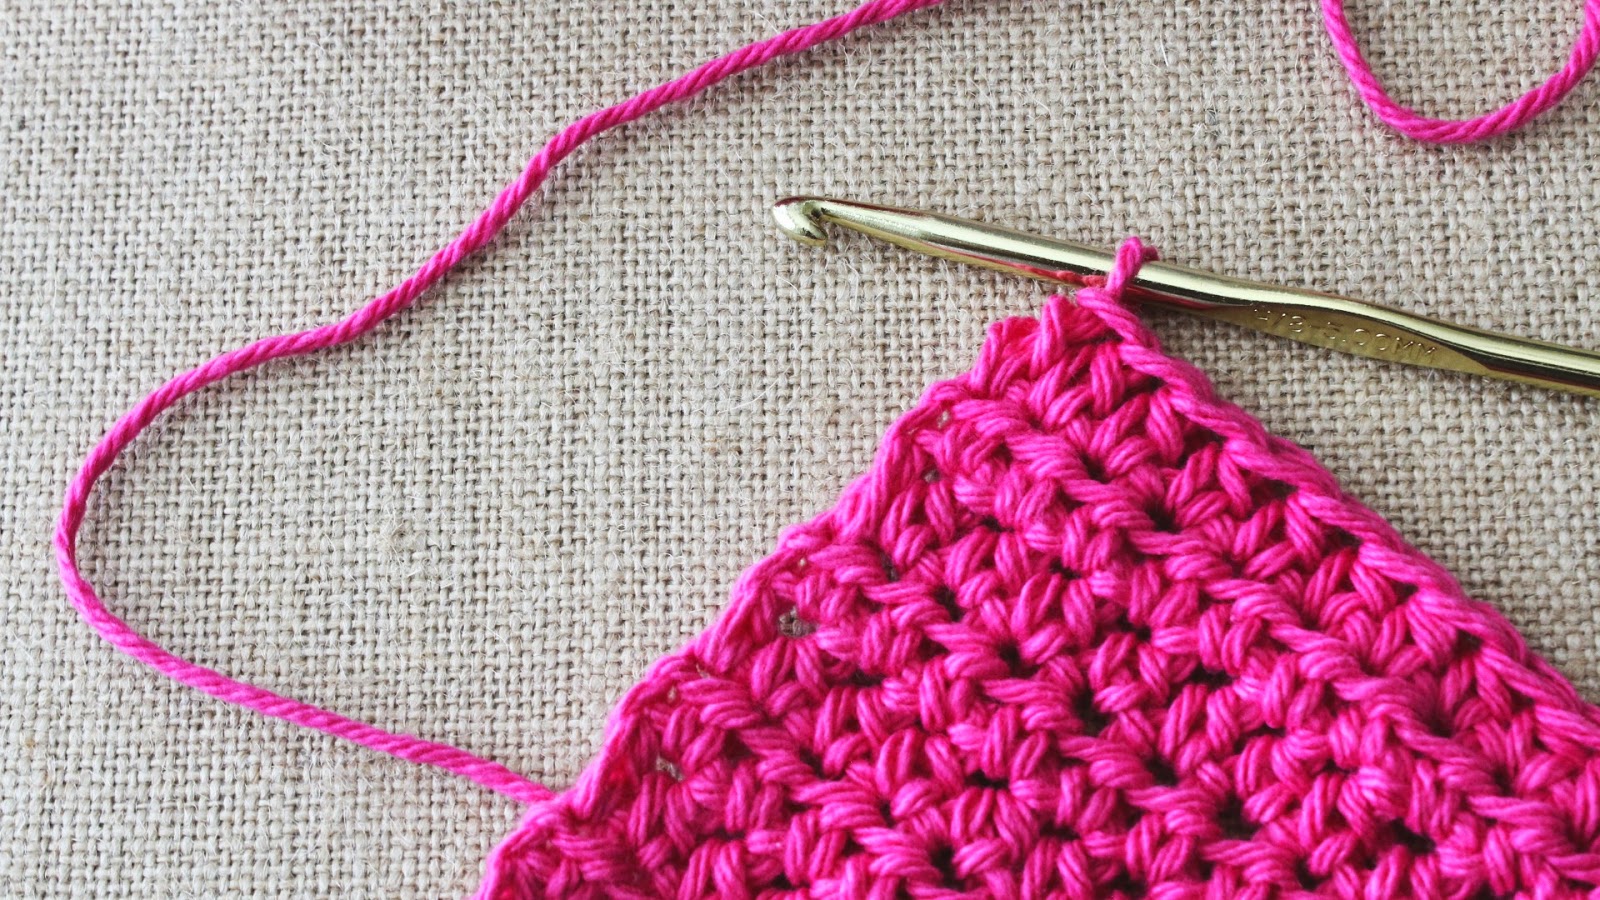
Step 1
This step is to start the front of the of the clutch.
Using hot pink yarn
CH 31
R1: SC in all of the STS for all of the Rows, turn work when complete.
R2-R9: HDC in all of the STS for all of the Rows, turn work when complete, SS to end, cut off yarn to sew in the remaining strand.
R10: SC in all of the STS for all of the Rows, turn work when complete, SS to end, cut off yarn to sew in the remaining strand.
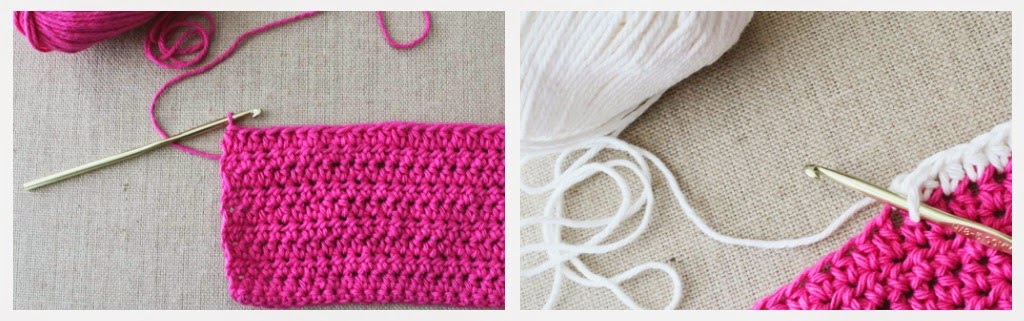
Step 2
This step is to start the back and flap of the of the clutch.
Using hot pink yarn
CH 31
R1: SC in all of the STS for all of the Rows, turn work when complete.
R2-R9: HDC in all of the STS for all of the Rows, connect the last ST to the very first ST.
R10: SC in all of the STS for all of the Rows, connect the last ST to the very first ST.
Using cream yarn
R11-R16: SC in all of the STS for all of the Rows, turn work when complete.
R17: SC in all of the STS for all of the Rows, turn work when complete, SS to end, cut off yarn to sew in the remaining strand.
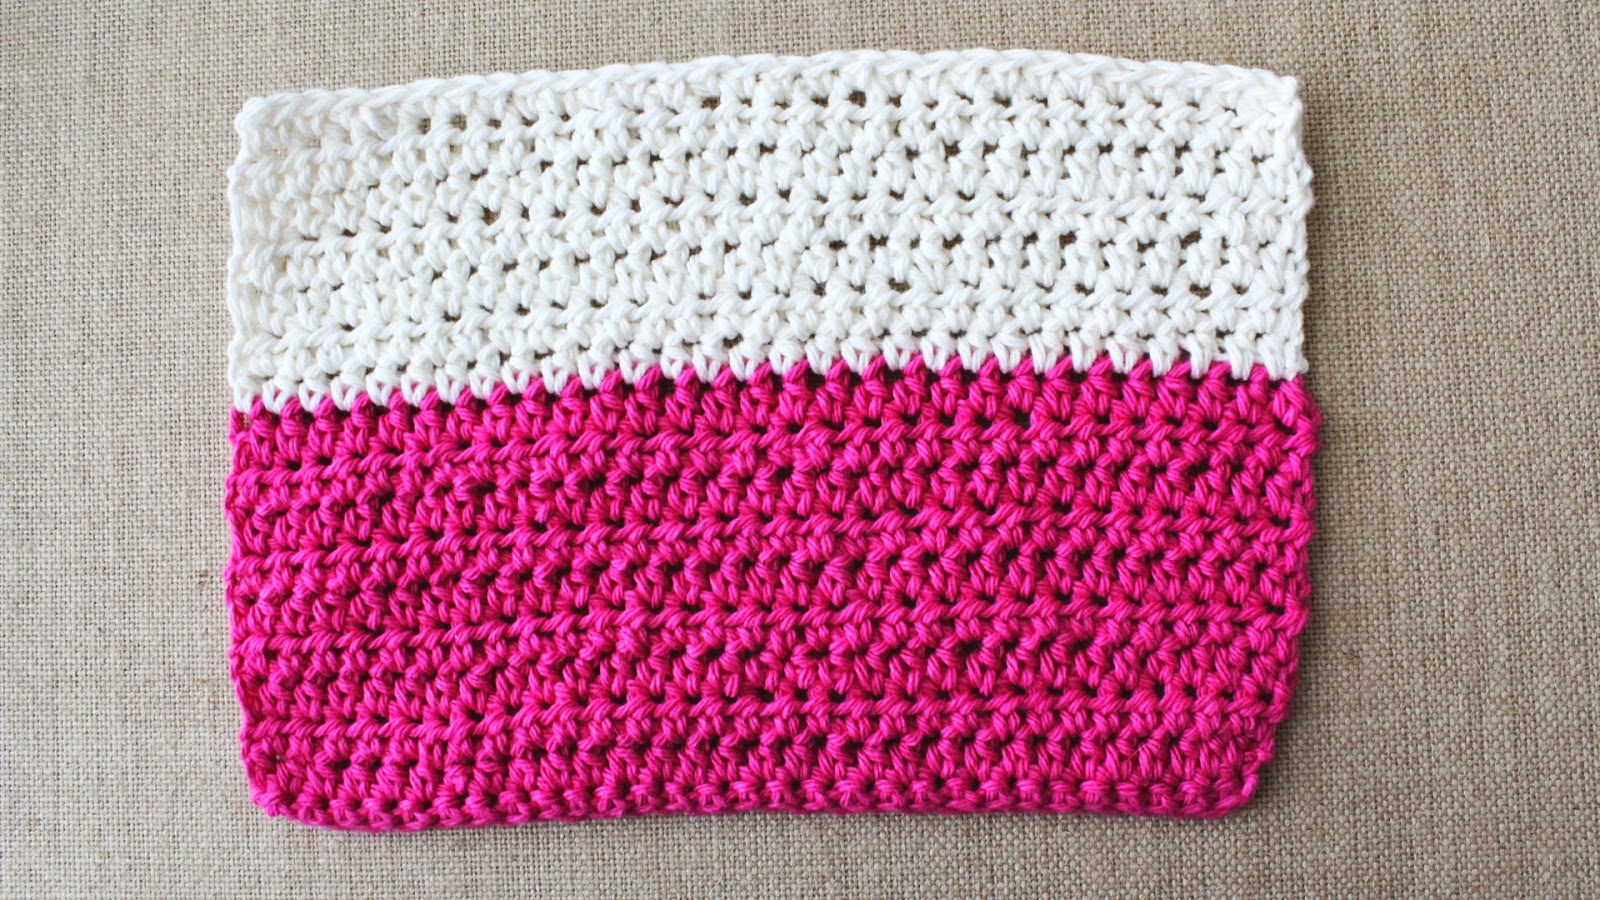
Step 3
This step is a finishing technique for the finished crocheted sections.
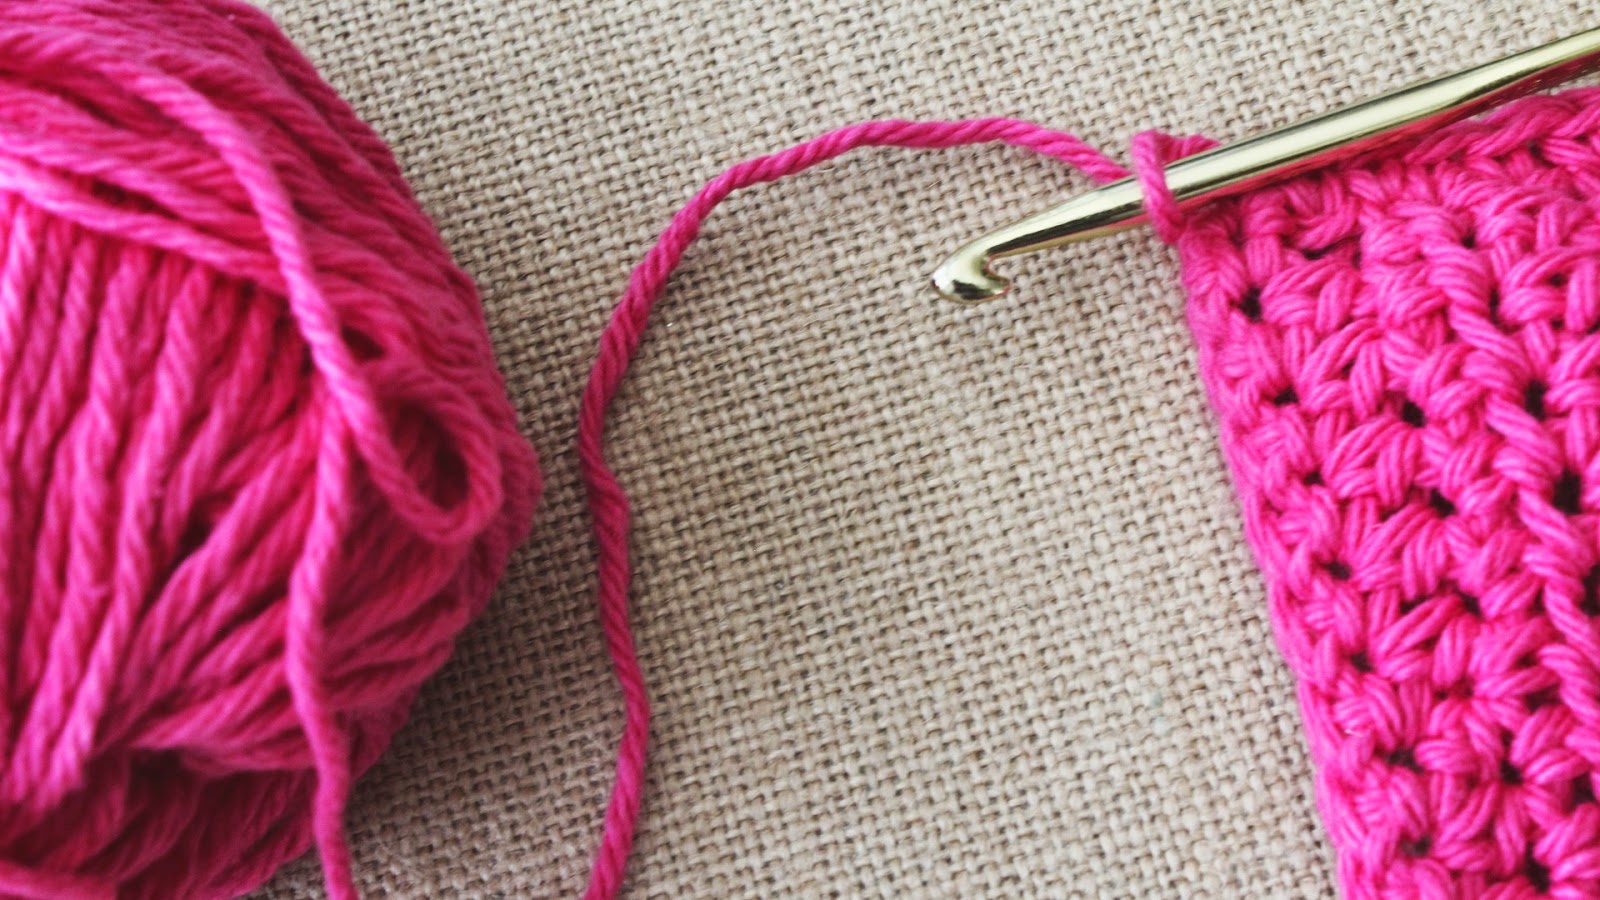
SC around the entire finished crocheted pieces, using your yarn sewing needle.
Step 4
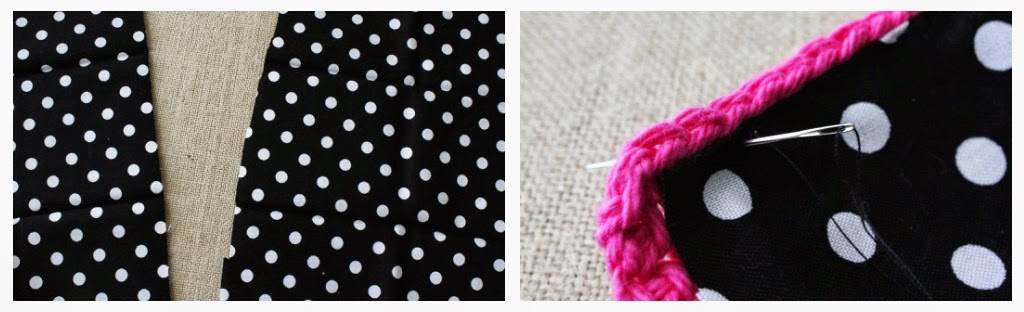
This step is to sew the fabric unto the finished crocheted sections.
Lie both pieces flat.
With the crochet piece over the fabric [one at a time] cut around each piece.
Thread your yarn to sew the fabric to the crochet pieces.
Step 5
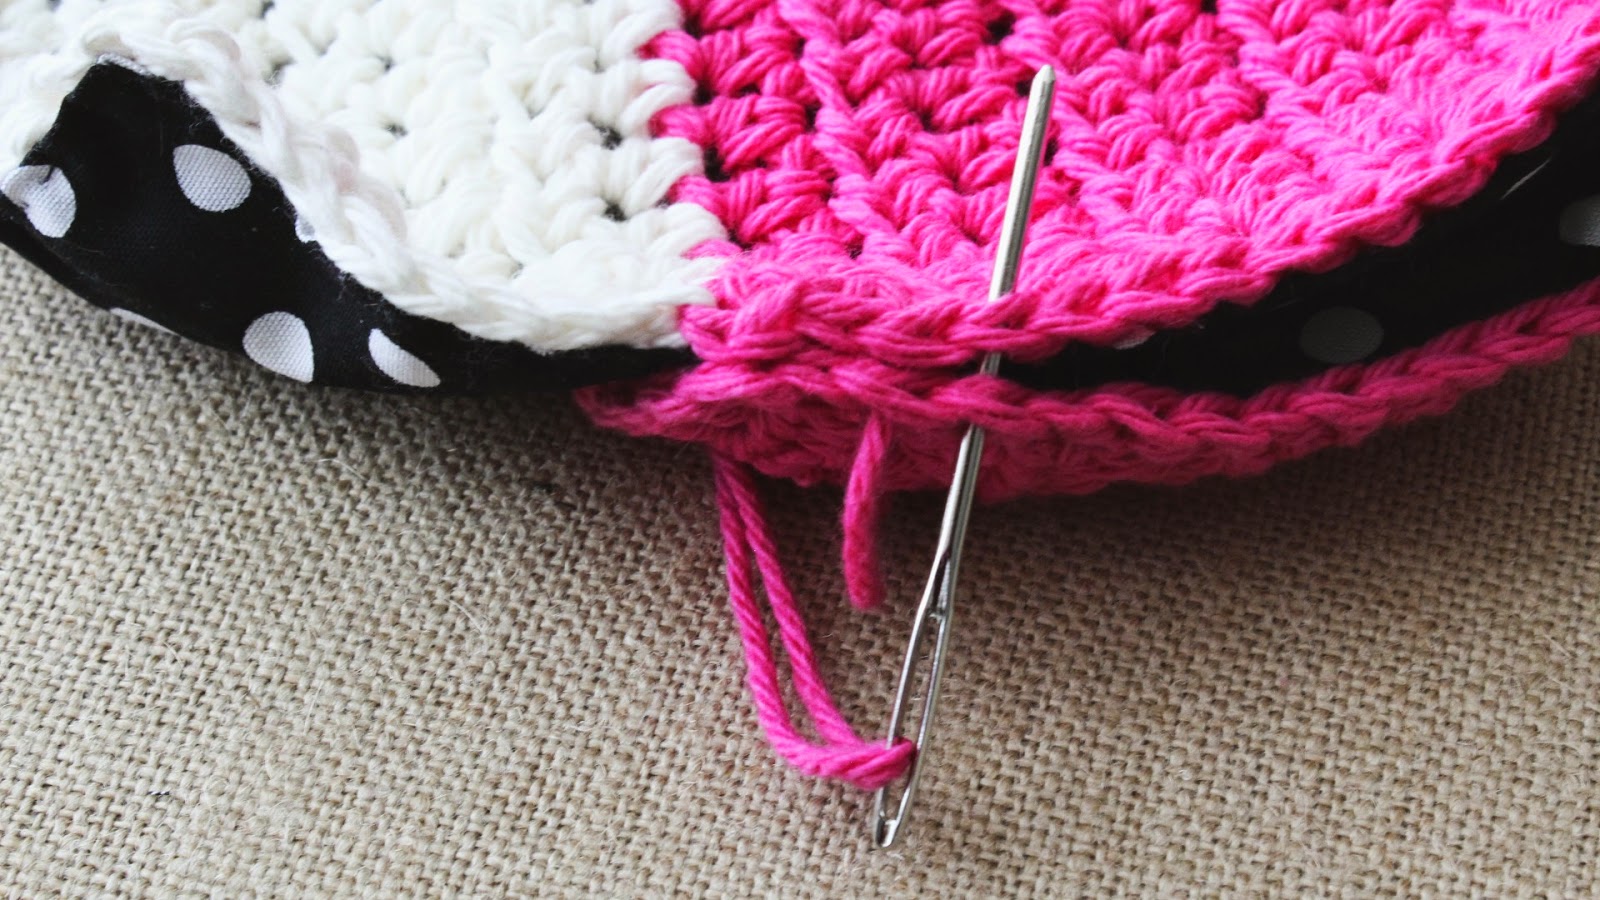
This next step is to sew the Front section of the clutch to the Back section of the clutch.
Using your yarn sewing needle,
thread your needle with a bit of yarn to sew just the sides of the Front section to the sides of the Back section. (Hot pink to Hot pink)
Step 6
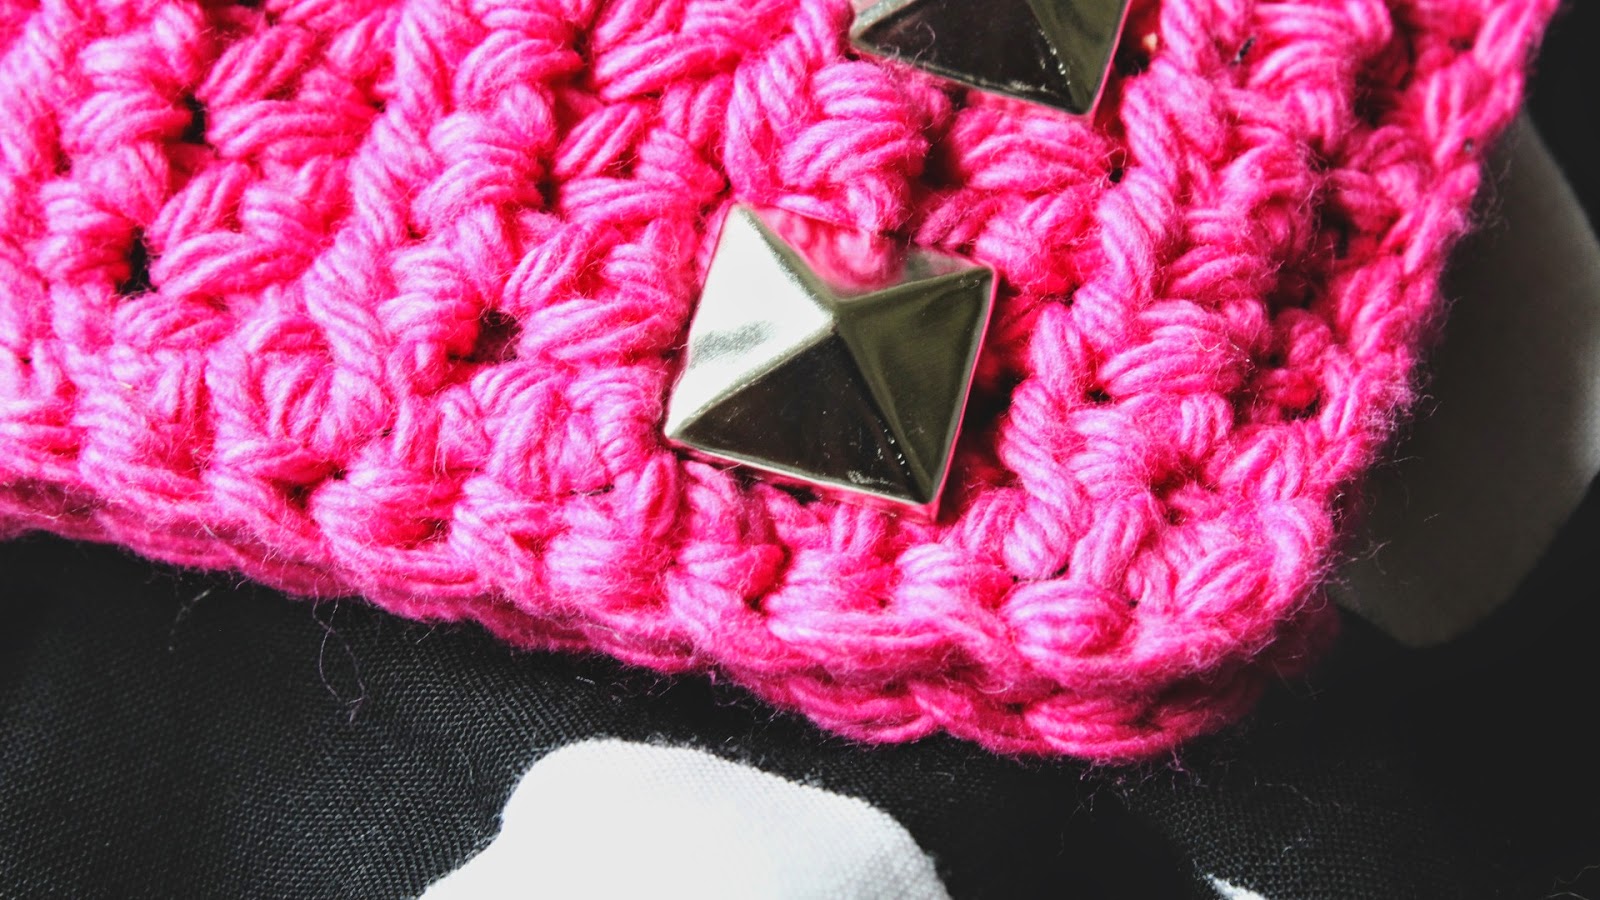
This step is optional, if you want to place studs unto your clutch, onto the 2nd Row of the Front section of your completed clutch.
Notes & tips
- Weave in all yarn ends securely before attaching the lining and sewing the pieces together.
- Test the placement of optional studs before fastening them permanently.
- Press the fabric lining pieces lightly and trim them to fit each crocheted panel for a clean interior finish.
- For a different size, adjust the initial chain count and repeat rows as needed, keeping stitch pattern consistent.