Transform Old CDs into a Hanging Photo Ribbon — Easy Upcycled Family Photo Display
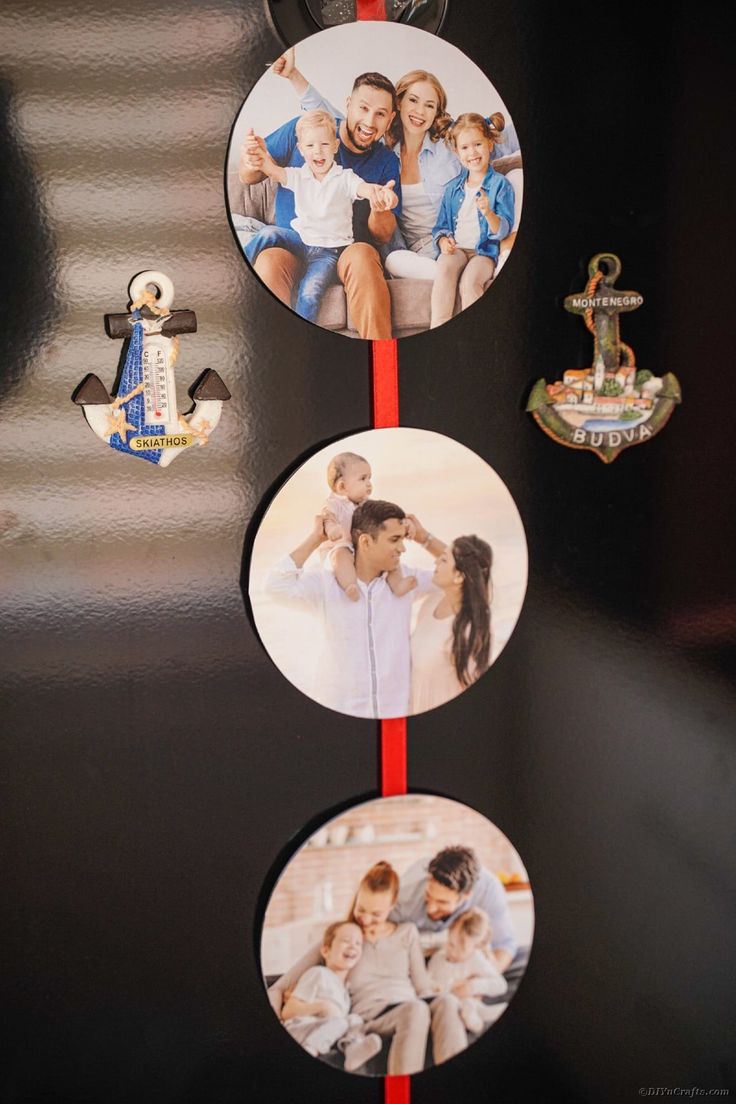
Give old CDs new life by turning them into a charming, vertical photo ribbon that showcases family photos and makes a great handmade gift. This simple upcycle project is inexpensive, customizable, and works well with printed photos, cardstock, or craft paper. Below you'll find a clear supplies list, step-by-step instructions, and a few finishing tips to make a durable, attractive display.
Looking to add a touch of creativity to your family photos? Why not try making an upcycled CD DIY photo ribbon to display them! Not only is it a fun and eco-friendly craft project, but it also gives old CDs a new life. By attaching your favorite family photos to the CDs and stringing them together with a ribbon, you can create a unique and personalized display that will showcase your cherished memories beautifully. So gather your materials, get crafting, and let your creativity shine with this fun and easy project!
Supplies Needed
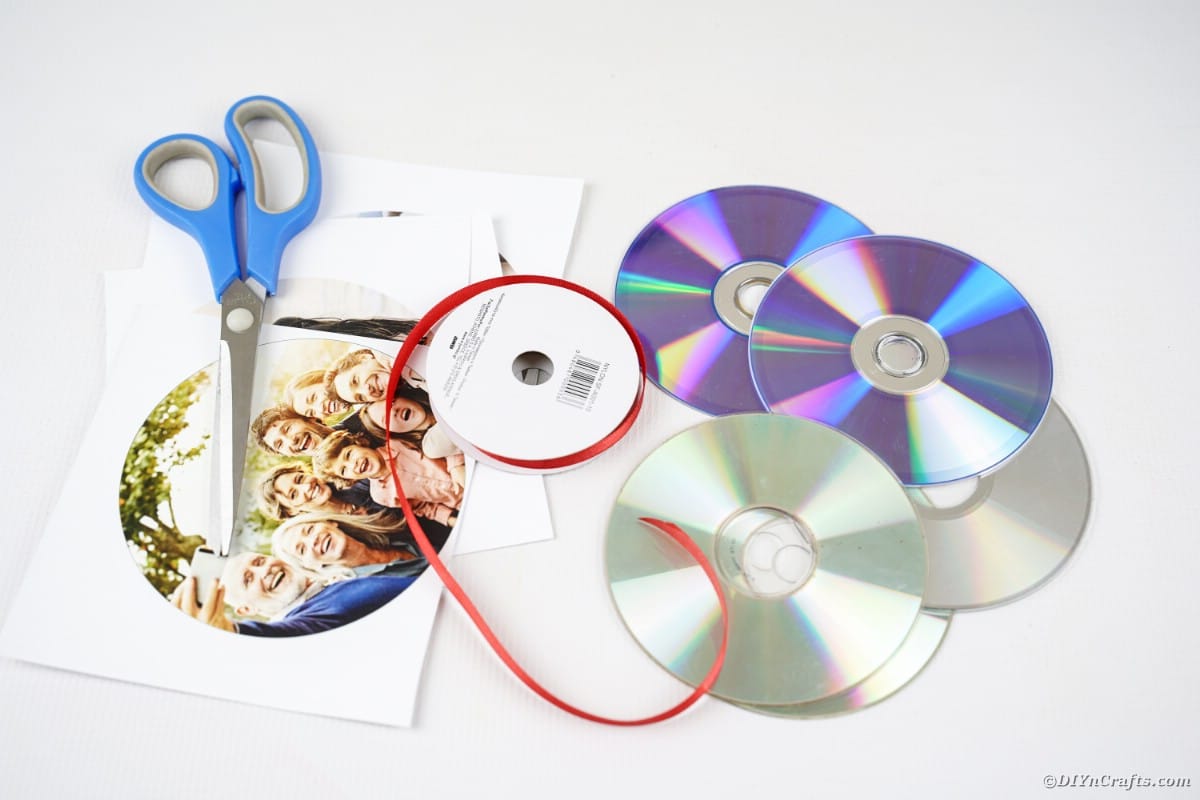
- Old CDs and DVDs
- Ribbon or twine
- Printed pictures (cut to circle or disc size)
- Hot glue gun and glue sticks (or craft glue)
- Scissors
- Sealant (optional—clear spray or Mod Podge for extra protection)
How to Make an Upcycled CD Photo Ribbon
- Choose and print photos. Select the images you want to display. Print them on cardstock or photo paper. Cardstock is cheaper and still holds up well.
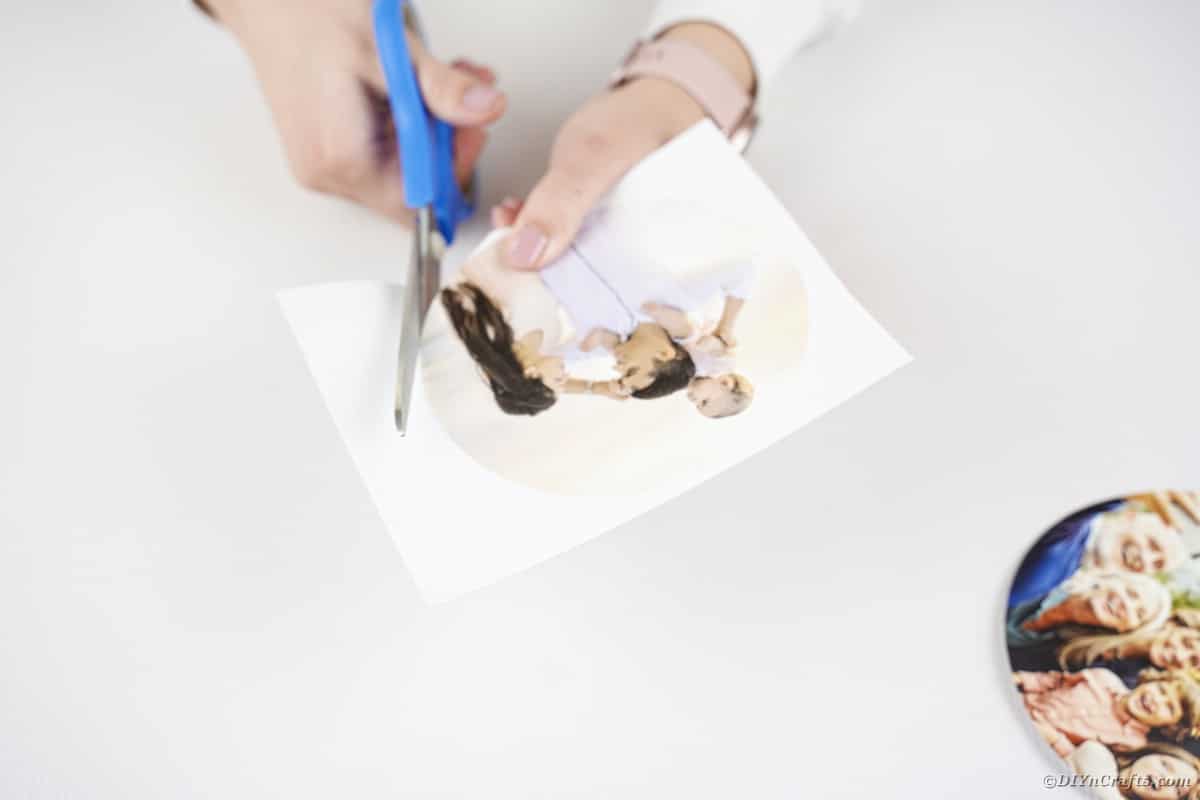
- Trace and cut to size. Use a CD as a template to trace circular photos, or set your printer to print in a circular template if available. Cut carefully to match the CD diameter.
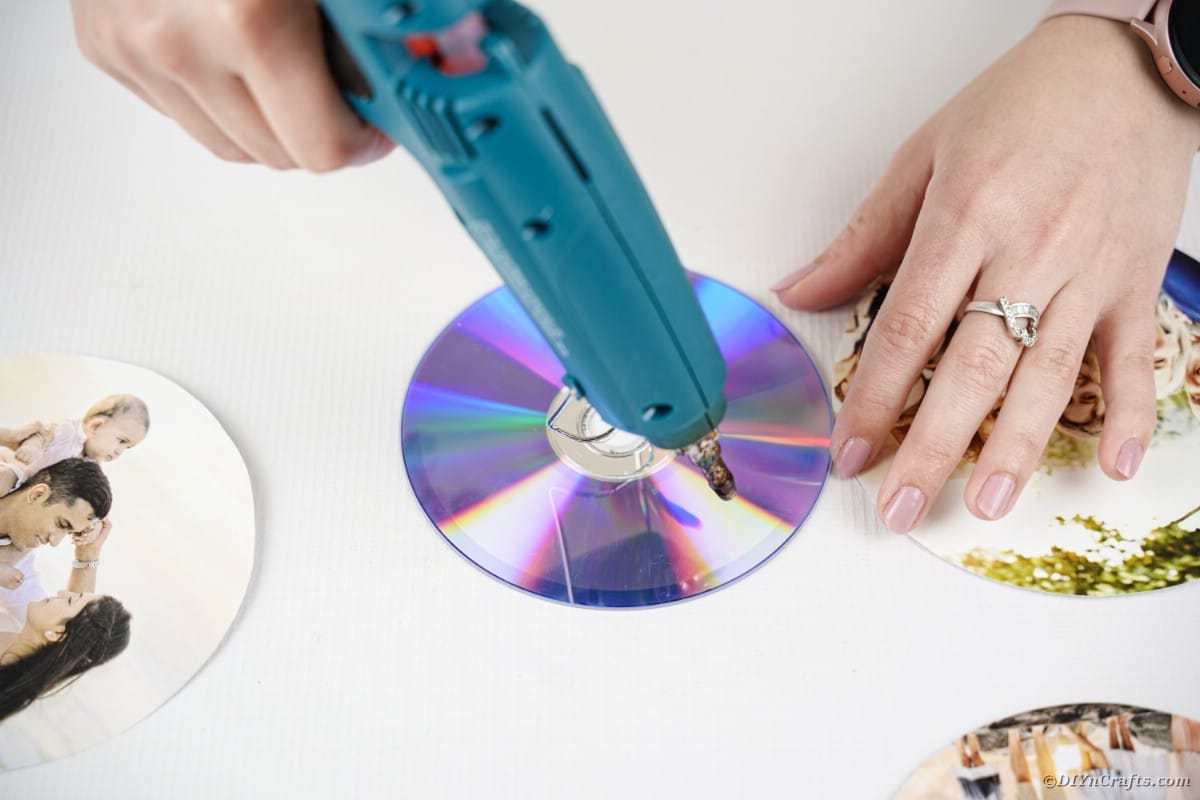
- Attach photos to the CDs. Center each printed circle on the shiny side of a CD and secure with hot glue or craft glue. Press gently and make sure edges and the center hole are sealed so the paper sits flat.
- Prepare the ribbon or twine. Cut a length long enough to hold all your CDs with a few inches of spacing between each. Decide whether you want the ribbon to hang straight down, drape, or form a loop for hanging.
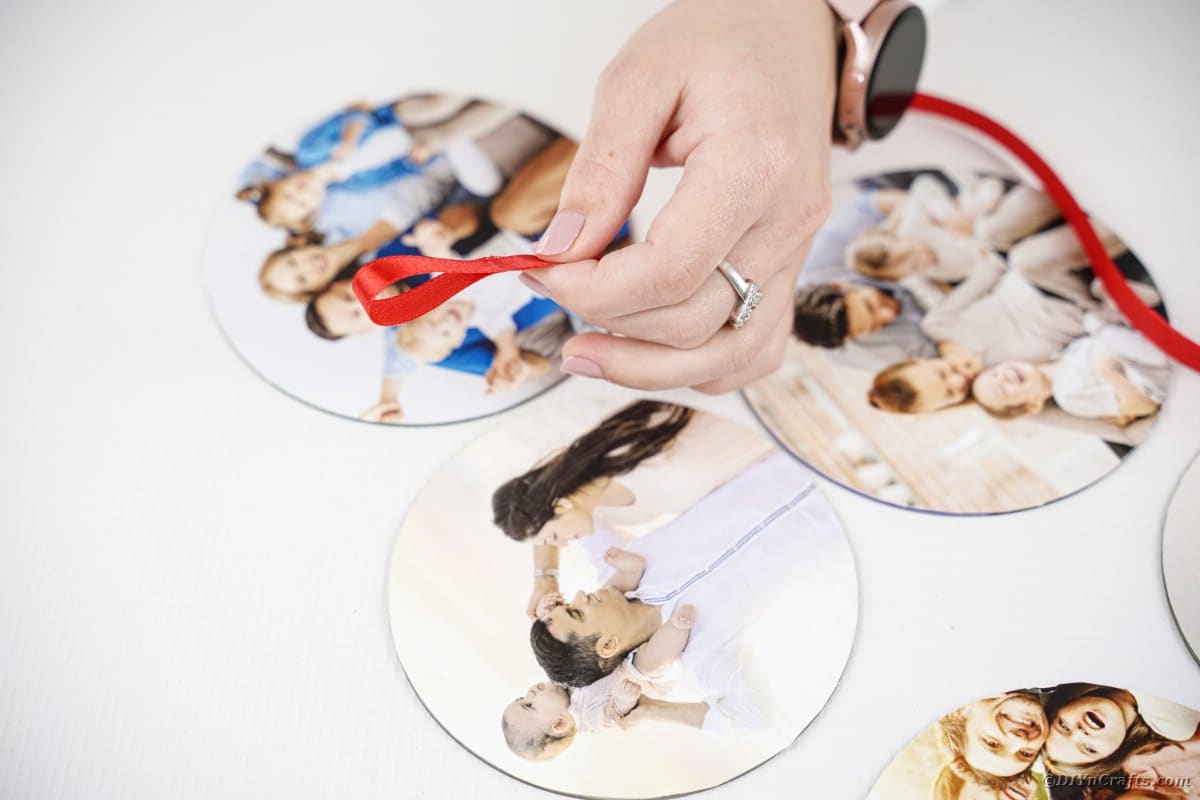
- Attach CDs to the ribbon. Add a line or small dots of hot glue onto the ribbon where each CD will sit, then press the glued side of the CD/photo onto the ribbon. Work from top to bottom so glued CDs stay aligned.
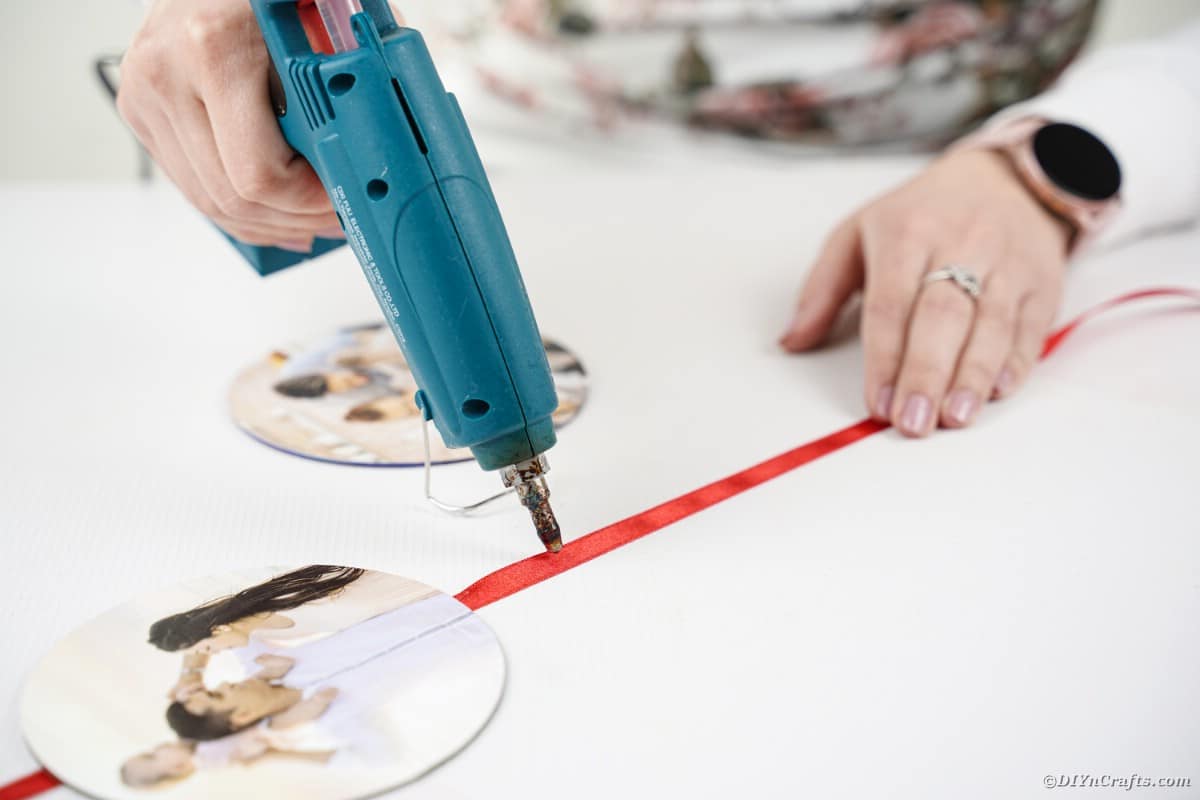
- Space and secure. Space the CDs evenly (typically 3–6 inches apart, depending on how many you have). Trim any excess ribbon from the bottom once all discs are attached.

Add other embellishments like beads, sequins, lace, or small charms onto the ribbon if desired. Consider adding a small loop at the top of the ribbon for easy hanging on a hook or nail.
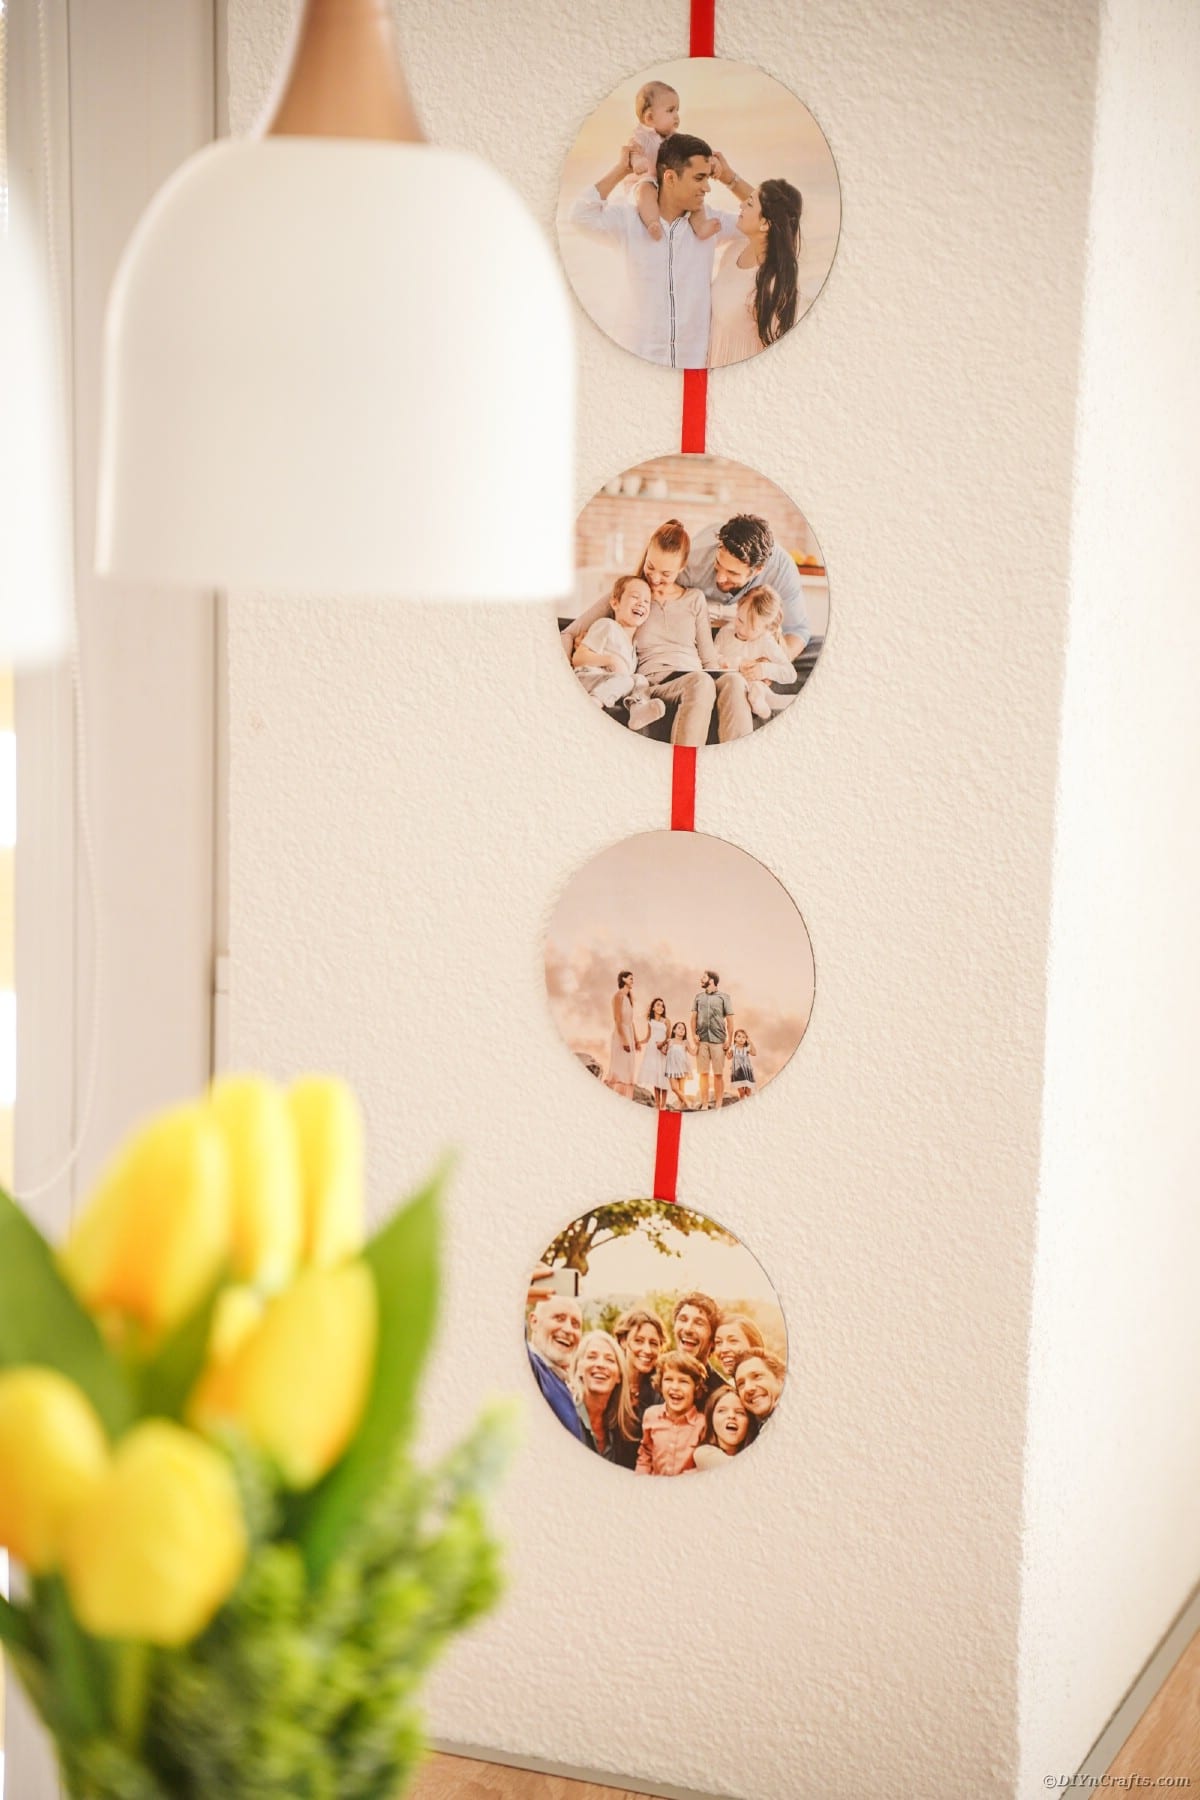
Finishing tips:
- If you expect the display to be handled often or placed in bright light, consider sealing the paper photos with a clear spray sealant or a thin coat of Mod Podge before attaching them to the CDs.
- For a more polished look, use matching ribbon colors and consistent spacing. For a shabby-chic or boho look, mix ribbons, twine, and beads.
- This makes a thoughtful, lightweight gift—wrap it flat or roll gently and present in a tube or box.