Transform Old Jeans into a Stylish Denim Cuff Wristband — Easy DIY
Turn a pair of retired jeans into a one-of-a-kind accessory with this simple upcycled denim cuff wristband. Using a waistband strip as the base and a few strands of seed beads for decoration, you can make a durable, adjustable cuff that reflects your style while keeping fabric out of the landfill. Below are step-by-step instructions, supplies, and a few finishing tips.
Supplies Needed
- Old blue jeans (waistband preferred)
- Pink seed beads
- White seed beads
- Green seed beads
- White thread
- Sewing needle
- Scissors
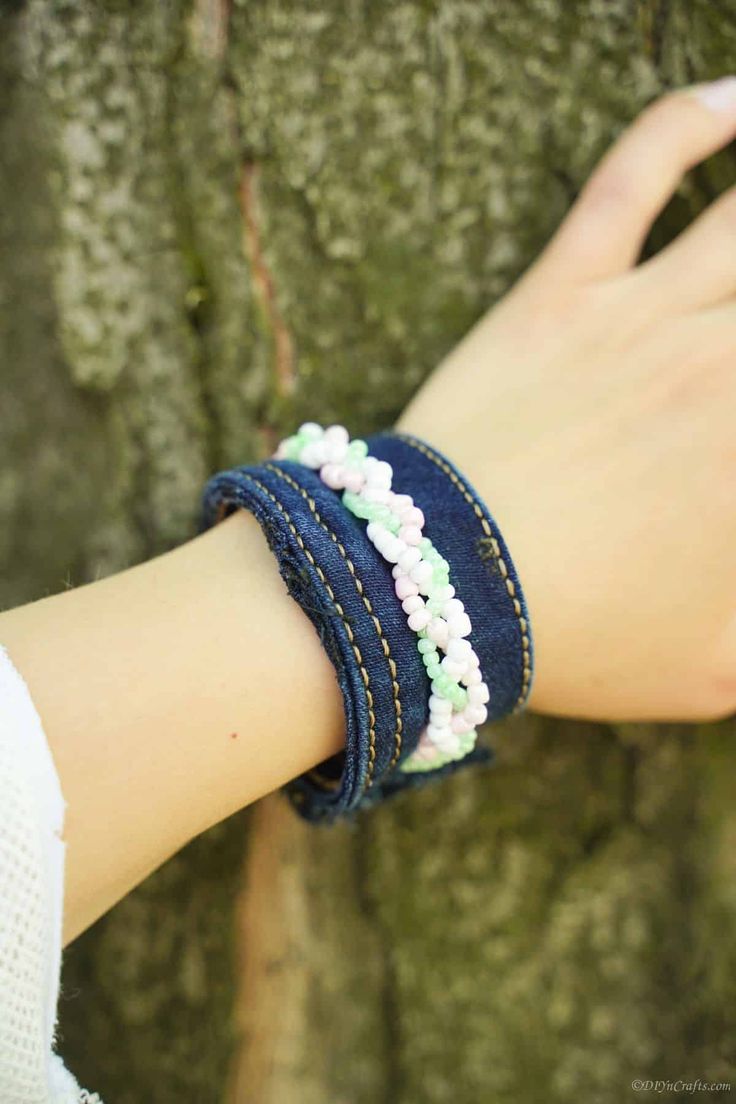
Finished upcycled denim cuff wristband with braided pink, white, and green seed beads.
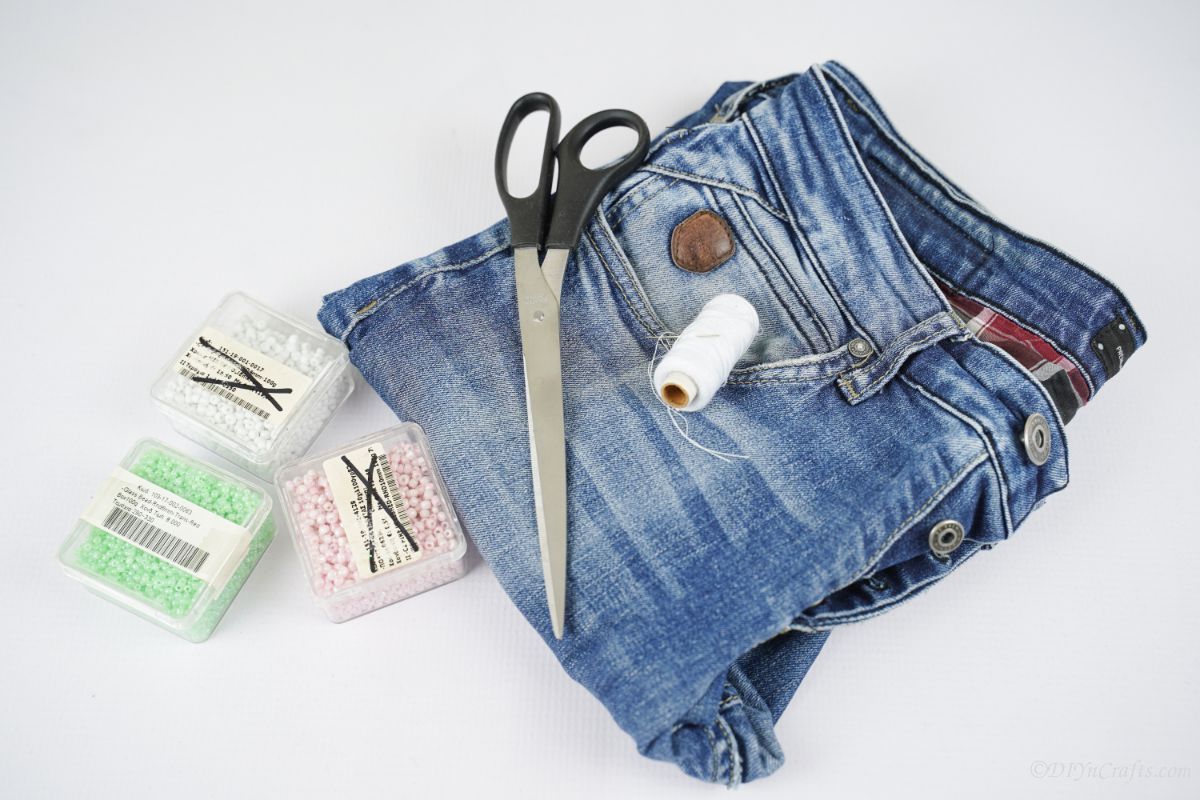
Supplies laid out: old jeans, seed beads in three colors, thread, needle and scissors.
How to Make a Denim Wristband
1. Prepare the cuff base: Begin by cutting the waistband off a pair of old blue jeans. The waistband provides a thicker, stiffer base and often already includes a button or snap closure. If your jeans waistband doesn’t have a button, you can add a snap or use velcro.
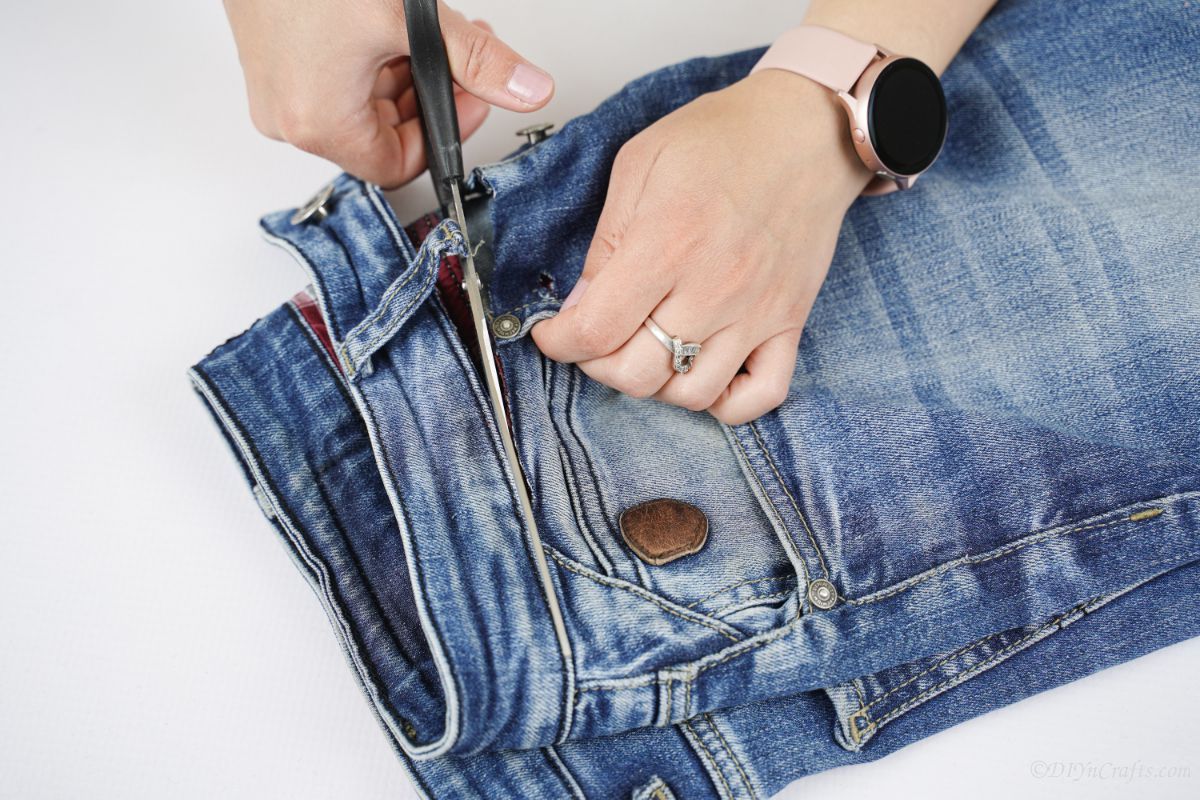
Cut the waistband from old jeans to use as a sturdy cuff base.
2. Size the cuff: Measure the strip around your wrist and cut it about 1" longer than needed so it comfortably wraps and overlaps. When measuring, keep the buttoned end included in your length so the button lines up for closure.
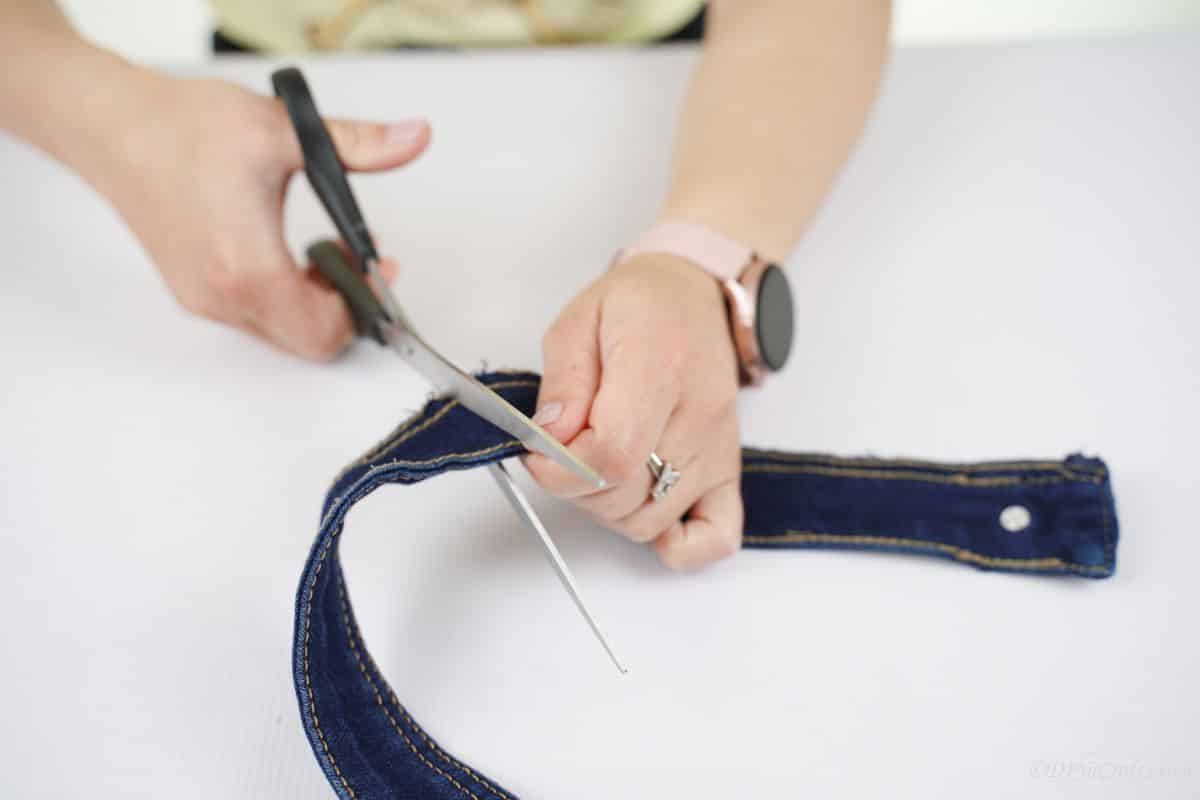
Measure and cut the denim strip to fit your wrist, leaving a little extra for overlap.
3. Make the button slit: Wrap the strip back around your wrist and mark where the button will connect. Cut a slit at that mark for the button to slide through. To prevent fraying, sew around the slit with a few stitches.
4. Prepare bead strands: Thread beads onto three separate lengths of thread using a needle — one strand for each color (pink, white, green) or any color combination you prefer. Make each strand slightly shorter than the bracelet length to allow for braiding and attachment.
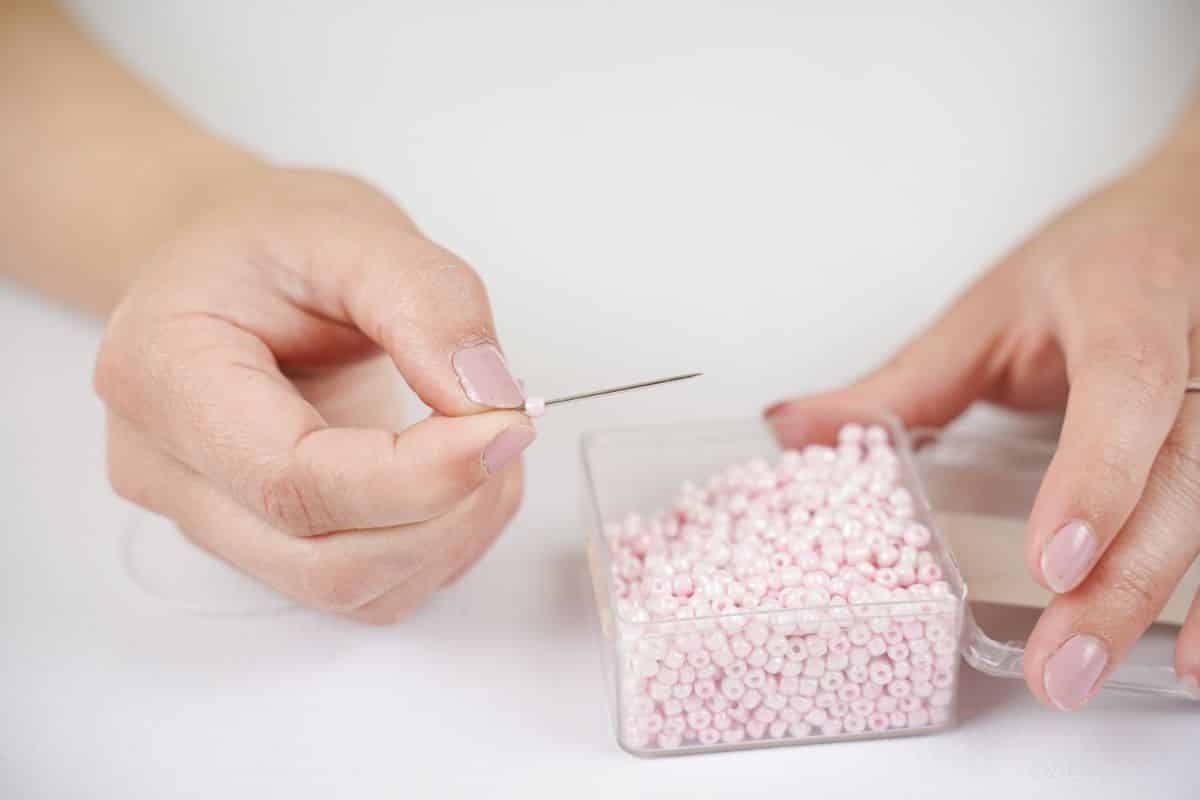
String beads onto thread in three separate strands to create a braided decoration.
5. Attach and braid: Tie the three beaded strands together at one end. Sew that tied end onto the cuff just above the button slit so the braid will run across the cuff when worn. Braid the three strands down toward the other end of the cuff; adjust bead counts if needed as you go.
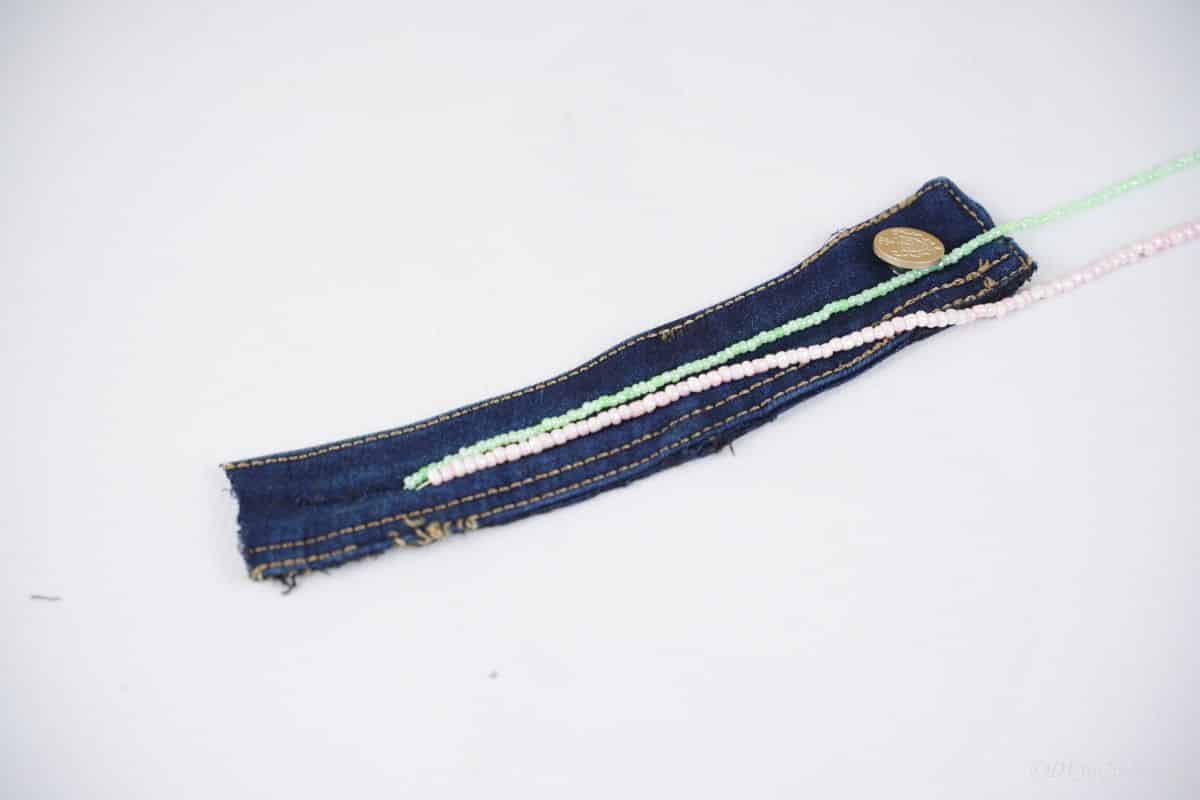
Tie the three beaded strands together and sew them to the cuff near the button slit.
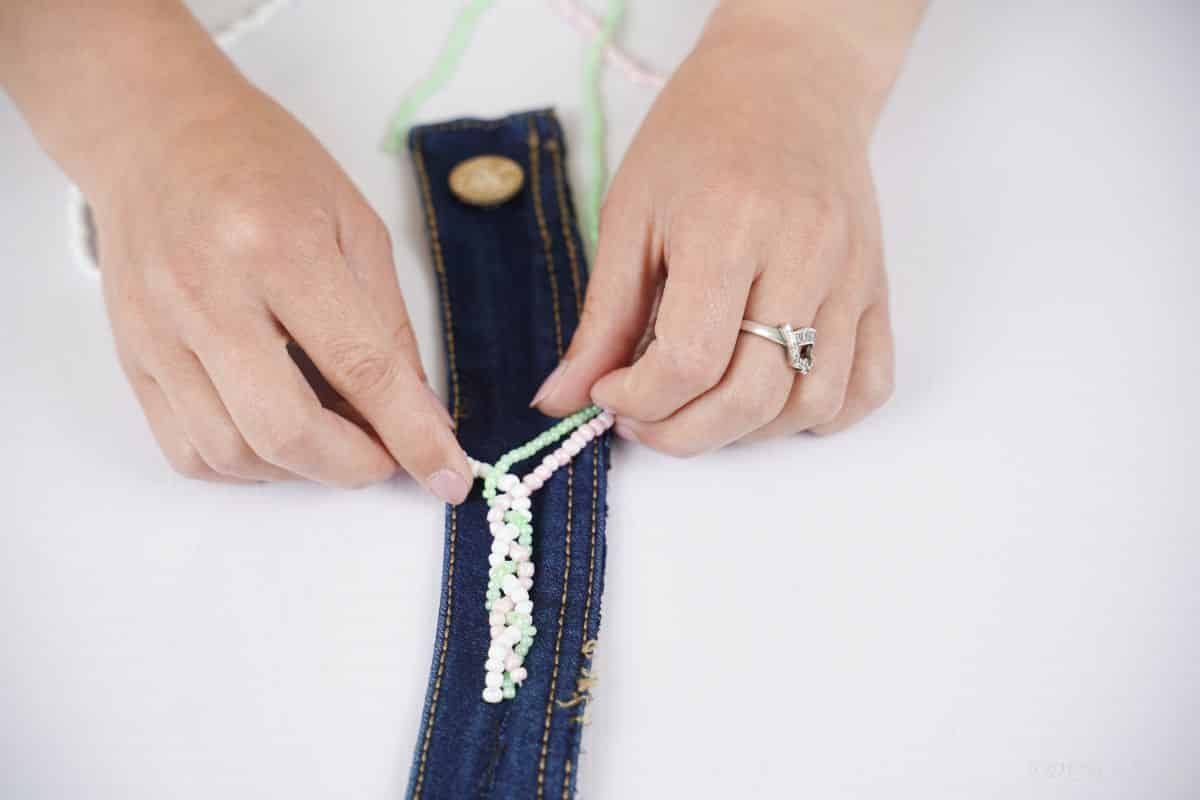
Braid the three bead strands toward the button end until the length is right.
6. Secure the braid: When the braid reaches the button, tie off the end securely. Wrap the loose thread around the button 2–3 times and tie or sew it down so the braid stays anchored. Add a few reinforcing stitches through the beads and into the denim to keep the braid from dangling.
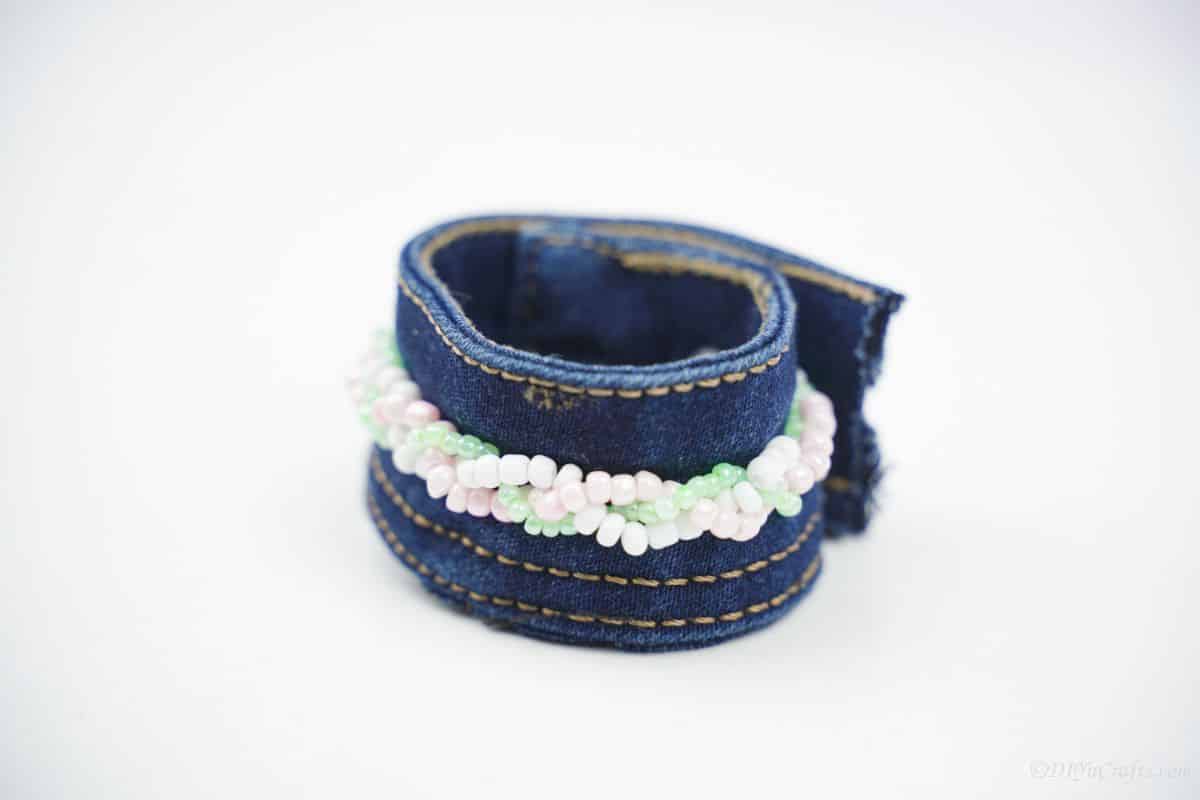
Secure the braid end, wrap thread around the button, and add stitches to anchor the beads.
7. Finish and personalize: Trim any excess threads and add extra stitches where needed for durability. You can also sew on patches, charms, or additional bead accents. Check that the button closes easily through the slit and that the cuff fits comfortably.
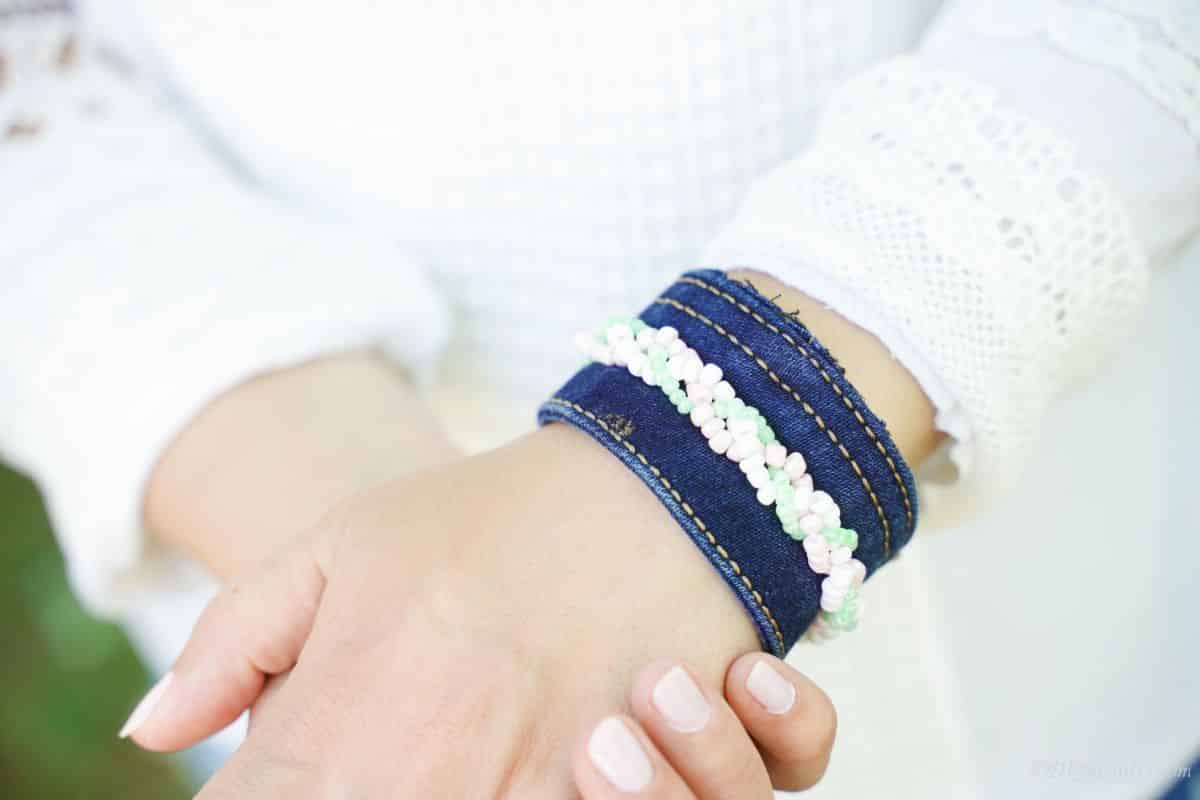
Final touches: extra stitches and any added charms for a finished, wearable cuff.
Tips and Care
- If the raw denim edges fray too much, fold them under slightly and stitch or topstitch the edge for a cleaner look.
- Use a sturdy needle and doubled thread when sewing through the thick waistband material.
- Spot-clean the cuff when needed; avoid machine washing if you’ve attached delicate beads or glued elements.
Happy crafting — enjoy your eco-friendly, handmade denim cuff!