DIY Denim Bunny: Upcycle Old Jeans into a Cute Handmade Toy
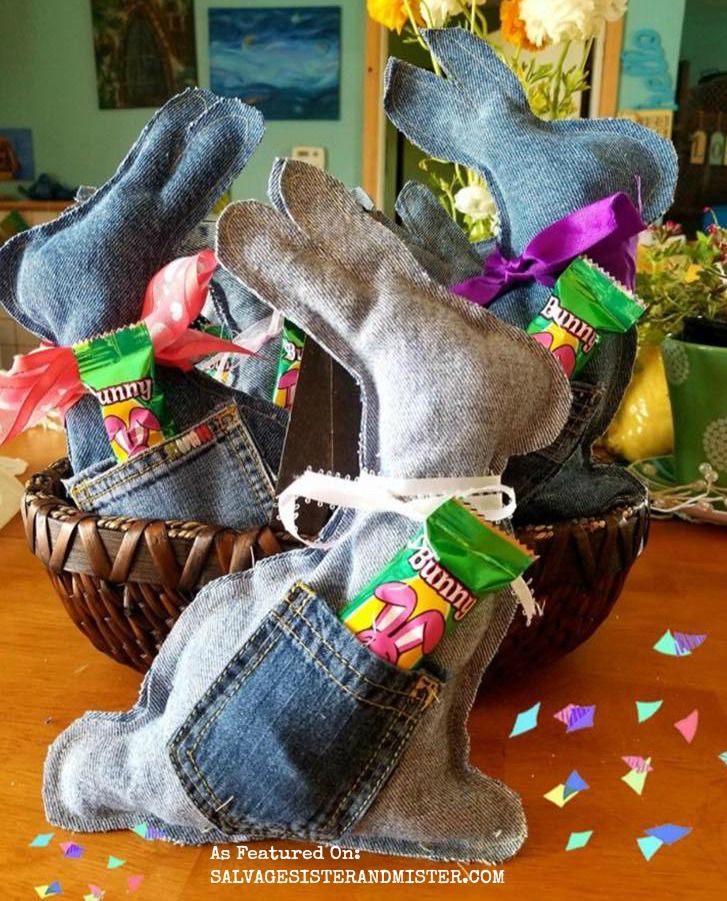
Turn a pair of worn jeans into a charming DIY Denim Bunny — a quick upcycle project that makes a sweet gift or a whimsical piece of home decor. This step-by-step guide walks you through cutting, sewing, and stuffing a soft bunny using reclaimed denim, a kid's jean pocket for a handy treat holder, and simple sewing techniques. No advanced skills required — just basic sewing tools, patience, and a little creativity to personalize your bunny with buttons, ribbon, or raw-edge details.
SUPPLIES
Pins
Bunny outline/stencil
1 regular pair of jeans (or a kid's jeans pocket)
Scissors
Sewing supplies (needle, thread or sewing machine)
Stuffing (shredded fill and denim scraps)
Ribbon or embellishments
HOW TO:
1. Cut down a seam on a leg of jeans and cut at the top to open a flat piece of denim for your pattern.
2. Starting at the bottom leg, fold over material so the inside of the jeans is not showing.
3. Take your bunny pattern and pin it to the jeans in the desired position.
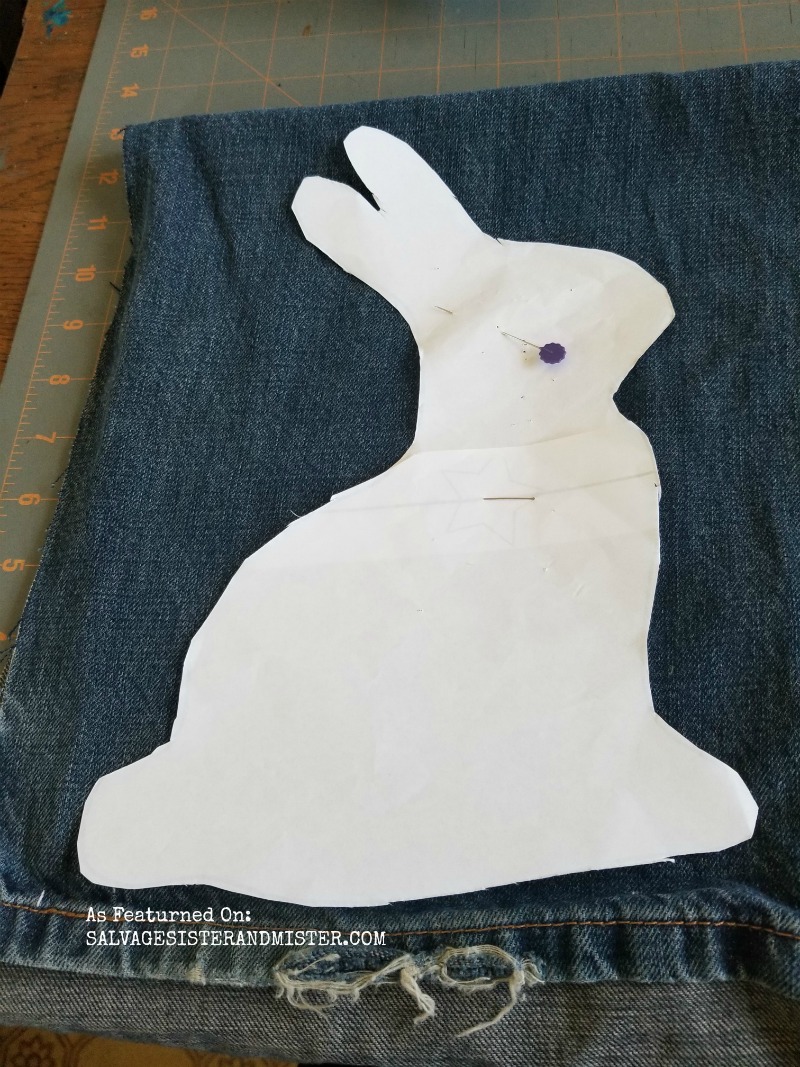
4. Cut out the bunny around the pattern — you will have a front and a back piece.
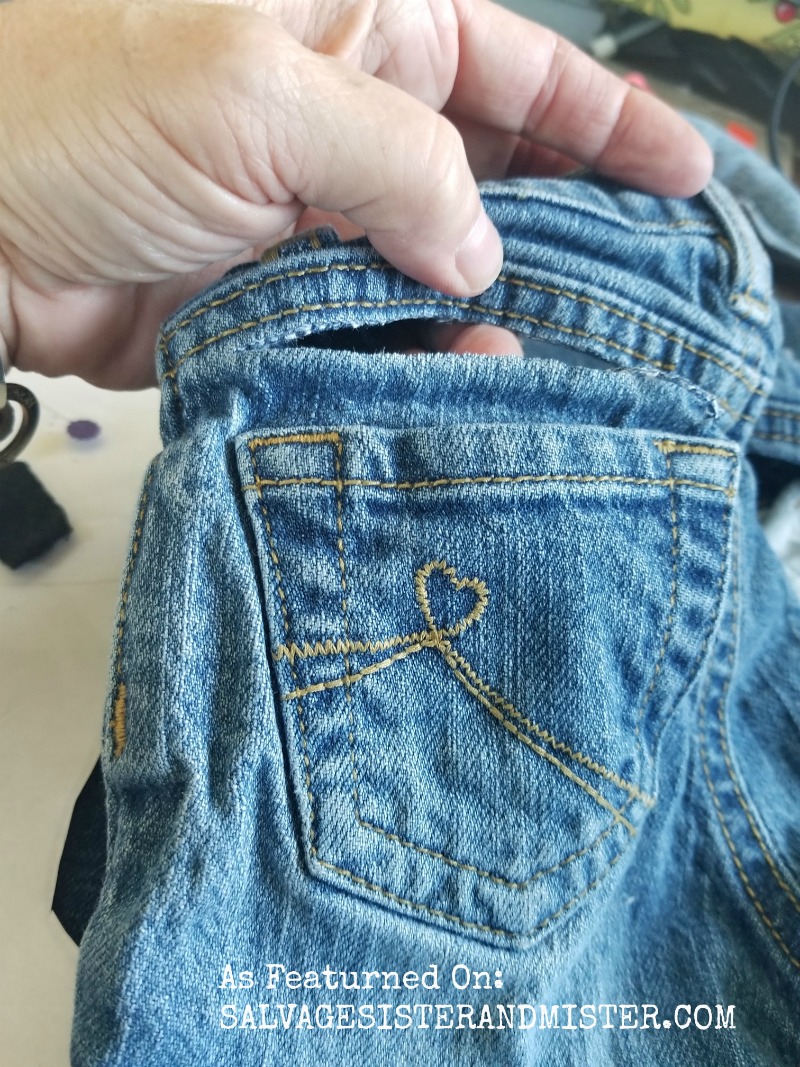
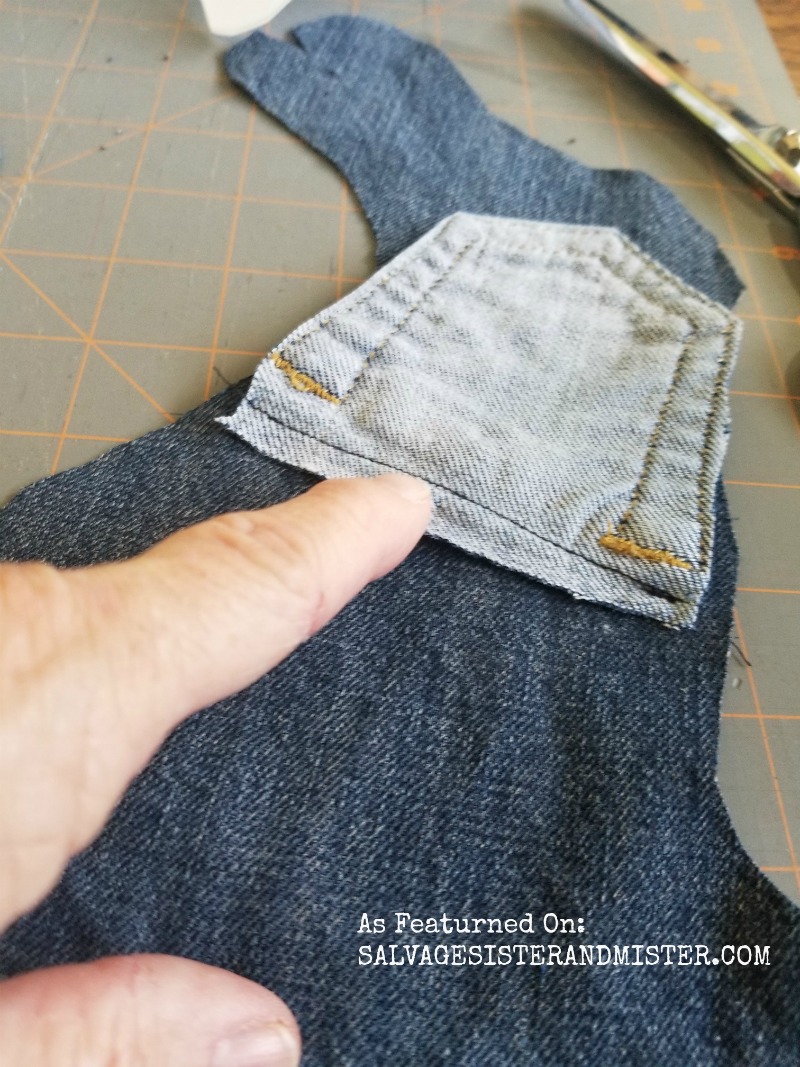
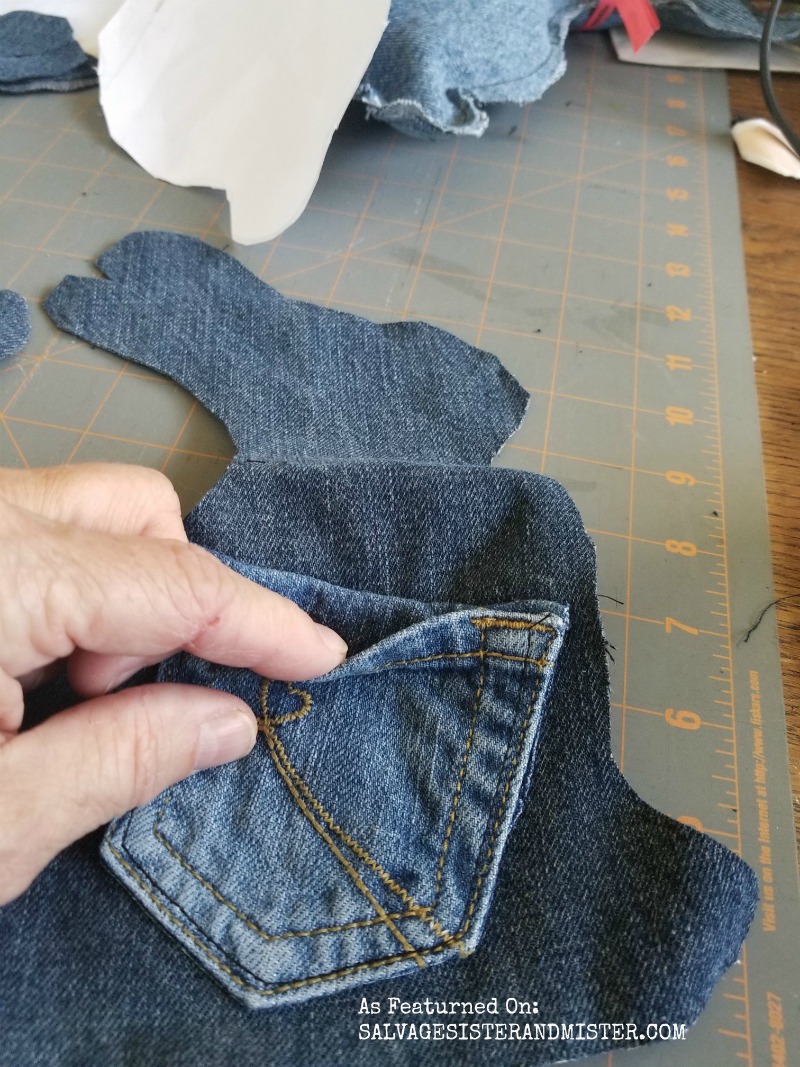
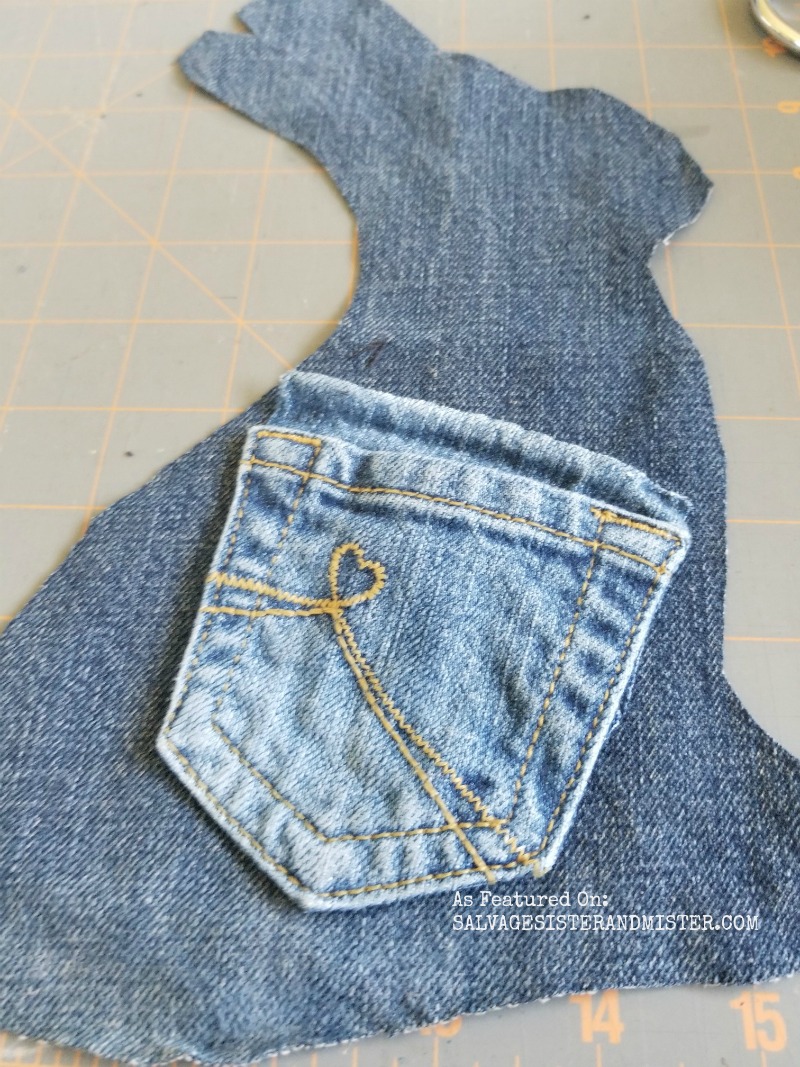
5. Cut all the way around a kid's pocket, leaving the top edge intact. Put the right sides together, sew right along the pocket edge, then flip it right-side-out and stitch all the sides so it becomes a functional pocket.
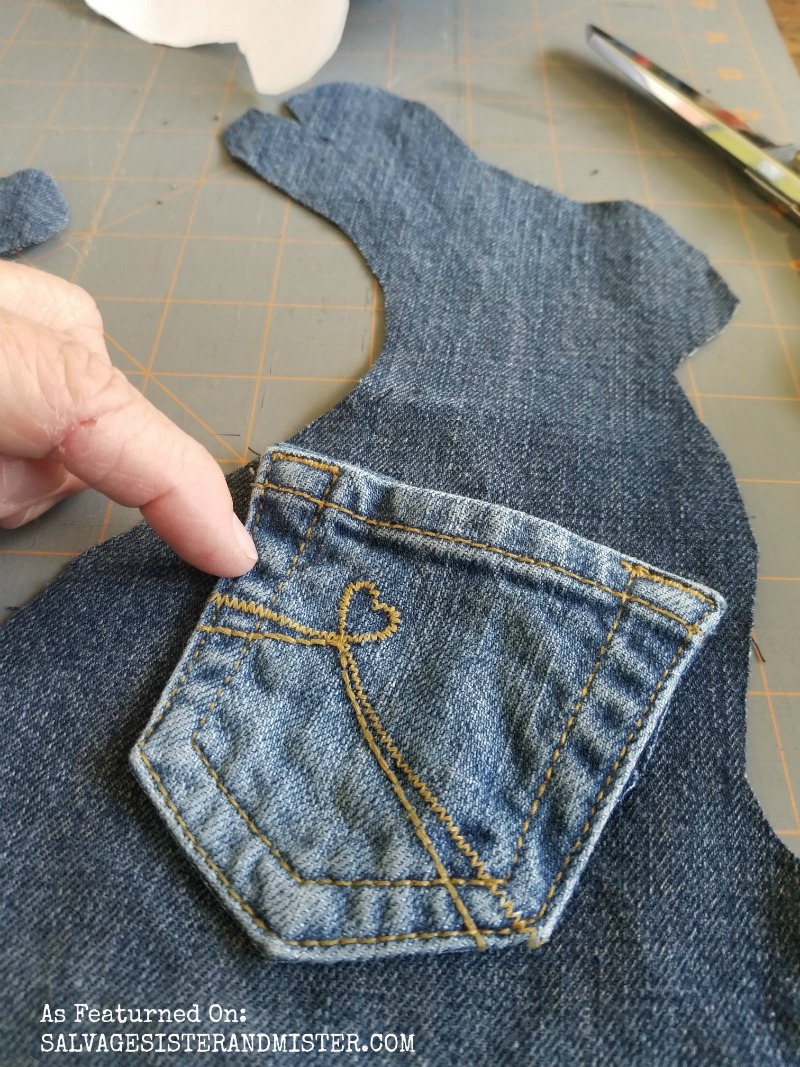
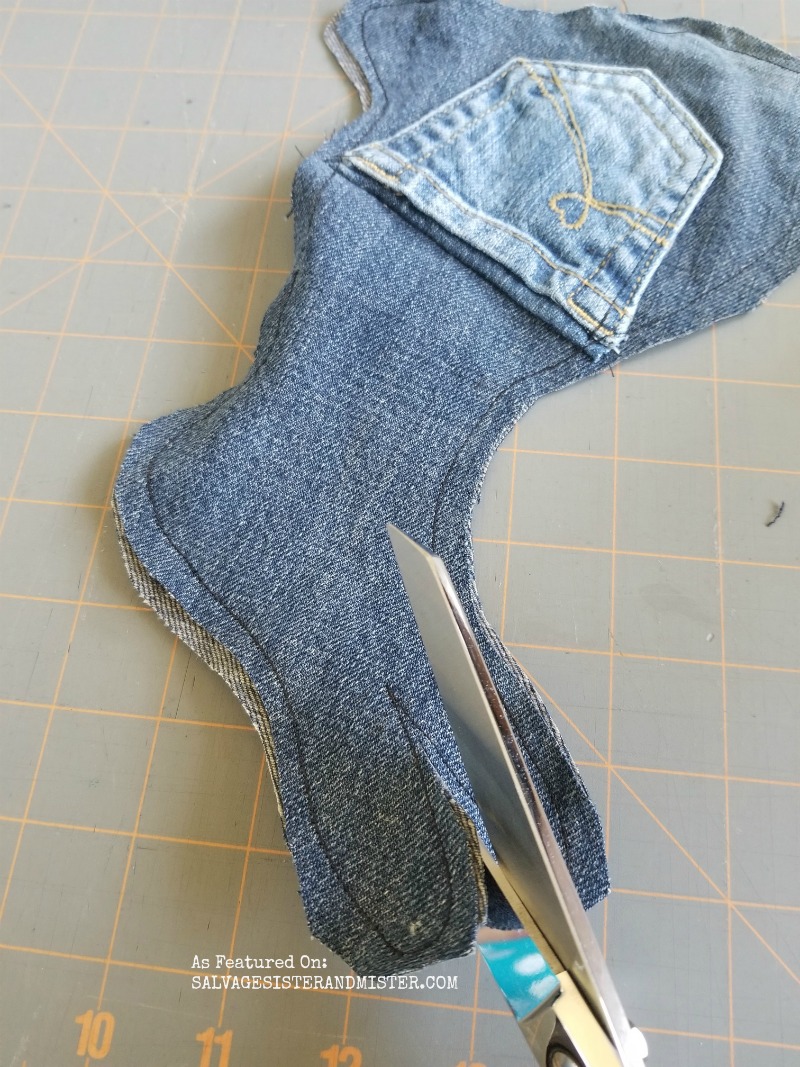
6. Take the two bunny pieces and sew them together, leaving a small opening for stuffing.
Tip: To make the ears flop nicely, sew down a short distance into each ear and use less stuffing there.
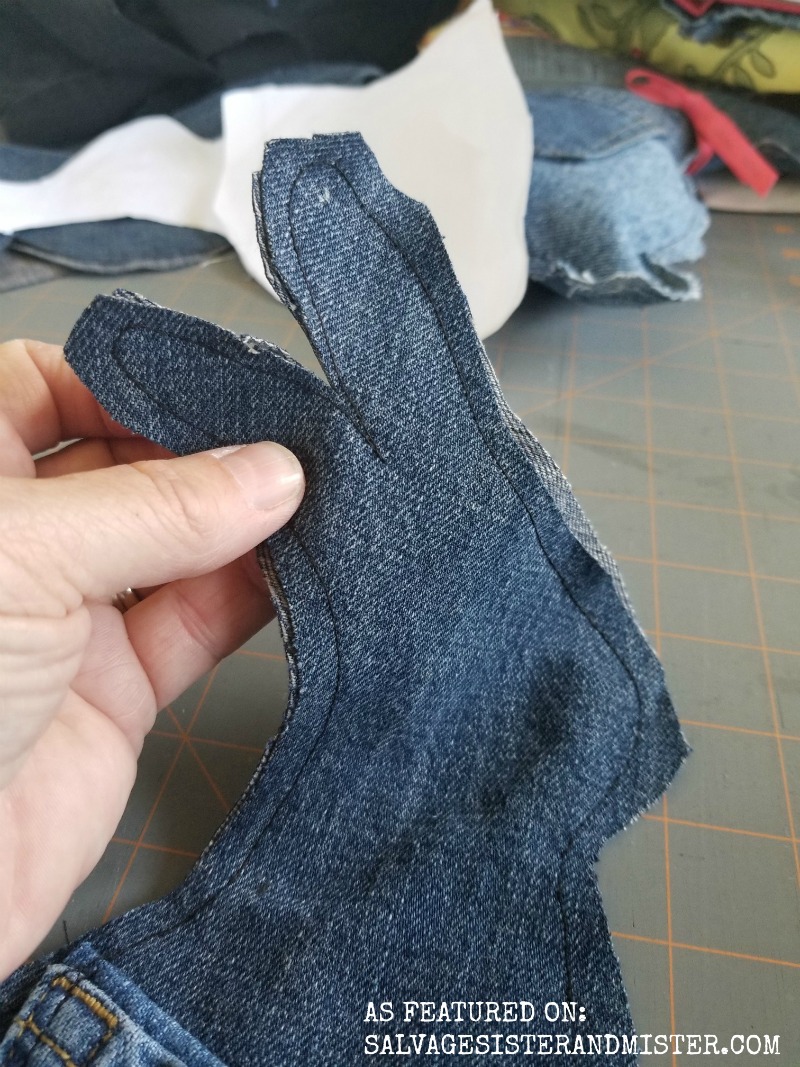
7. Once stuffed to your liking, sew the opening closed by hand or with a machine. Add the pocket (if used) and tuck in a small treat, or stitch on buttons, a ribbon bow, or other embellishments to personalize your bunny.
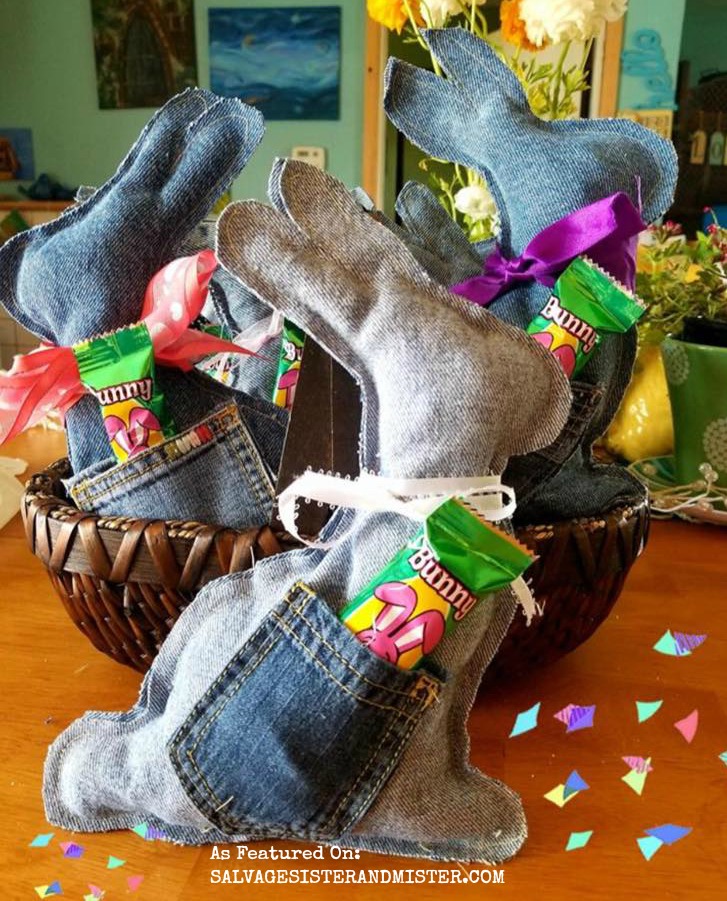
Finished! Display your denim bunny on a shelf, in a child’s room, or give it as a handmade gift.