Transform Plain Glasses with Nail Polish: Easy Water-Marble DIY
Give ordinary drinkware a bold, custom look with a simple water-marble technique using nail polish. This quick DIY creates unique swirled patterns on glass—perfect for gifts, parties, or a weekend craft. Below are clear materials, step-by-step directions, and practical tips to get crisp, long-lasting results.
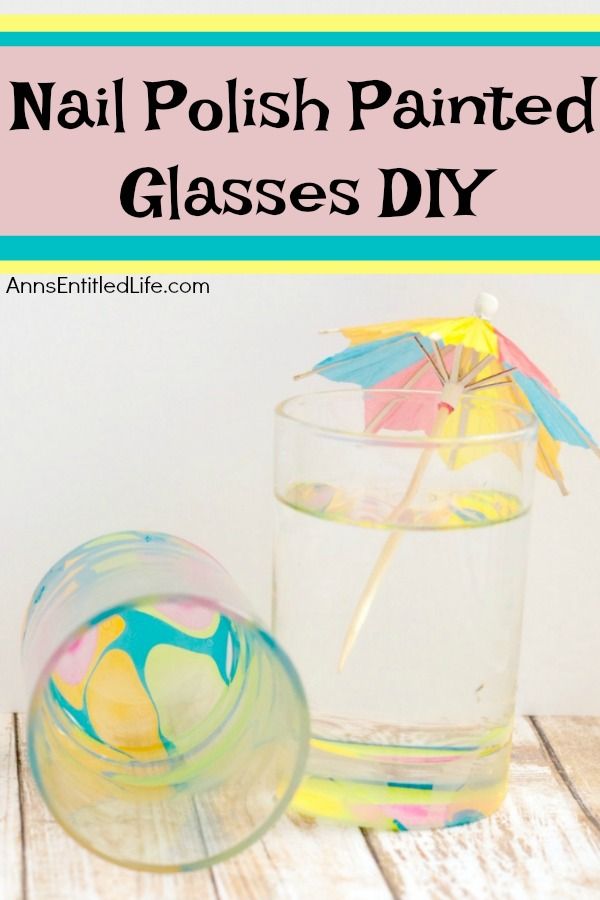
Prepare plain drinking glasses to personalize with a water-marble nail polish technique.
Nail Polish Painted Glasses DIY Materials:
- Drinking glasses (any kind)
- Glass bowl (large enough that the glasses easily fit inside)
- Nail polish (various colors — the tutorial uses blue, orange, yellow, and pink)
- Nail polish remover
- Waterproof sealer
- Paint brush (to apply sealer)
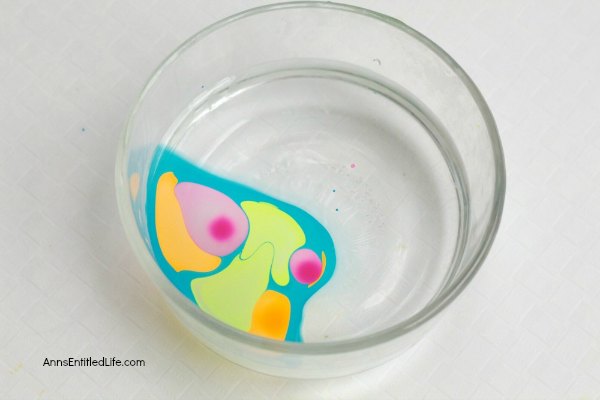
Drip nail polish onto the surface of the water to form concentric rings of color for marbling.
Nail Polish Painted Glasses DIY Directions:
- Clean the glasses with soap and hot water; make sure they are completely dry and lint-free before you begin.
- Fill the bowl with room-temperature water.
- Drop a few drops of nail polish onto the surface of the water. Use any color combination you like — this guide used blue, orange, yellow, and pink.
- Gently jiggle the bowl so the polish spreads. If desired, use a toothpick to drag through the polish and create more intricate swirls.
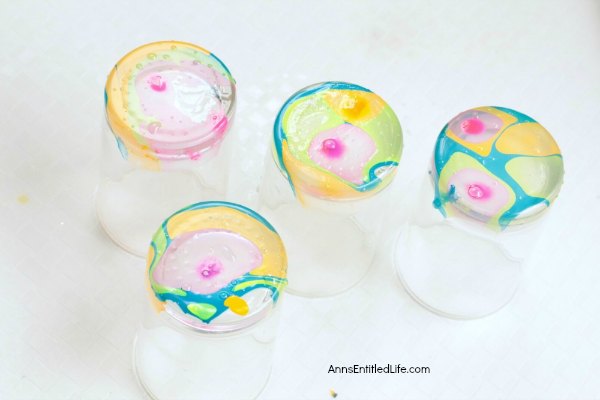
Lower the glass into the water at an angle so the marbled polish adheres evenly to the surface.
Once you are happy with the design in the bowl, slowly lower a glass bottom-side down into the bowl of water. Avoid pushing straight down, which can trap air and disrupt the pattern — lower one edge first, then slowly straighten the glass out over the surface of the water to prevent air bubbles.
- Pull the glass out of the water slowly and flip it upside down to let excess polish drip away.
- If you don't like the result, remove the polish with nail polish remover and try again.
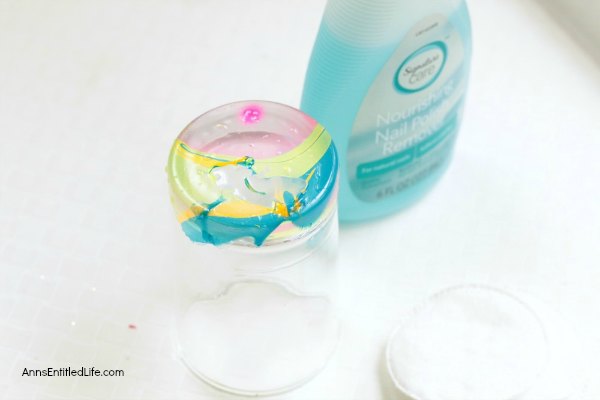
Carefully inspect and, if necessary, remove and redo any sections with bubbles or imperfections.
Keep the glasses bottom-side up until the nail polish is completely dry. Drying time can be an hour or more depending on humidity; avoid touching the design until it is fully set.
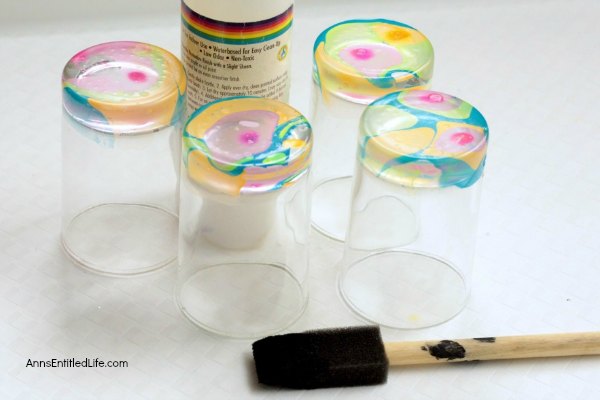
Allow the marbled polish to dry fully before sealing to avoid smudging the design.
Once the designs are fully dry, apply a coat of waterproof sealer over the painted areas using a paint brush to protect the finish. Let the sealer dry for 24 hours to cure fully.
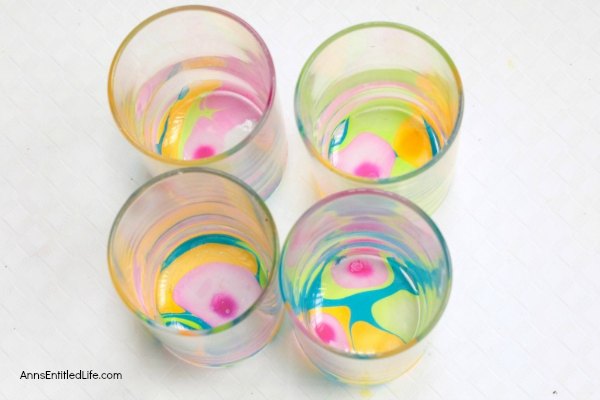
Apply a clear waterproof sealer over the dried design to help protect it from wear.
After sealing, the design should be durable enough for top-rack dishwasher use, but repeated dishwasher cycles will gradually wear the finish. For the longest-lasting results, hand wash gently. If the design shows wear, you can remove it with nail polish remover and redo the glass.
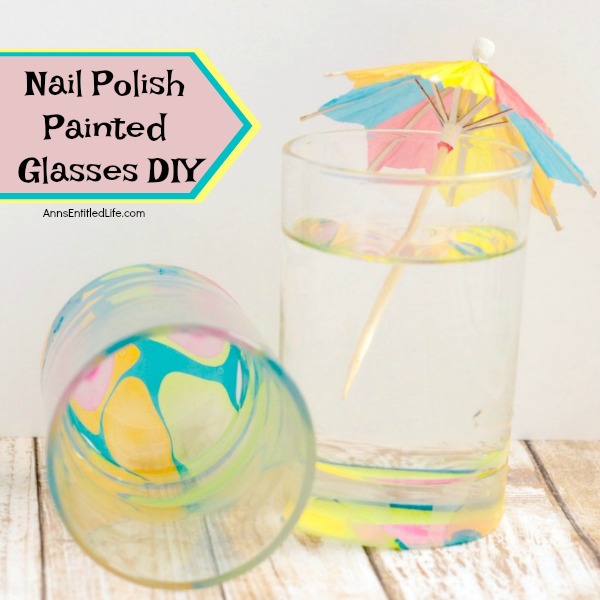
Finished glasses with colorful water-marble designs—each one will be unique.
Quick tips:
- Work in a well-ventilated area and protect your work surface from spills.
- Use room-temperature water; very cold or hot water can affect how the polish spreads.
- Test a small area first if you plan to seal glasses that will contact food or lips—avoid painting rims that touch mouths if you prefer maximum safety and longevity.