Easy DIY Floral Decoupage: Transform Plain Pots into Spring Planters
Bring a burst of spring to your porch, windowsill, or indoor garden with these simple and satisfying DIY floral decoupage pots. With just painted pots, floral napkins or decorative paper, and decoupage medium you can turn ordinary containers into charming planters — perfect as gifts or seasonal decor.
If you already have plain terracotta or peat pots on hand, this project is a great way to recycle them into something fresh and pretty. Below are step-by-step instructions, helpful tips, and an easy way to add faux flowers for a finished look.
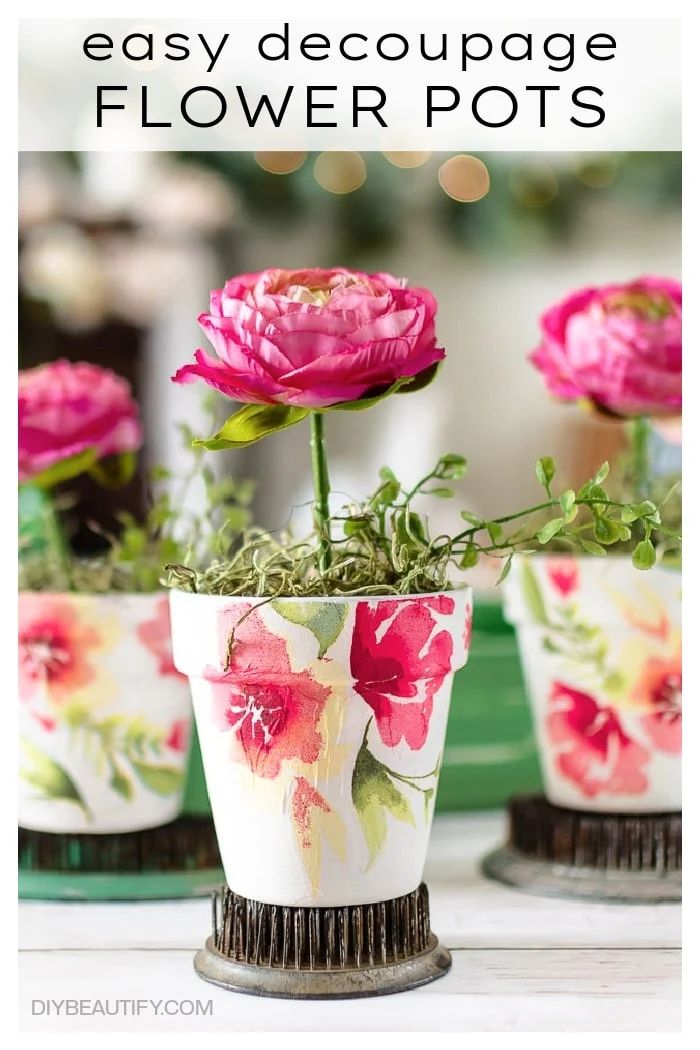
Supplies
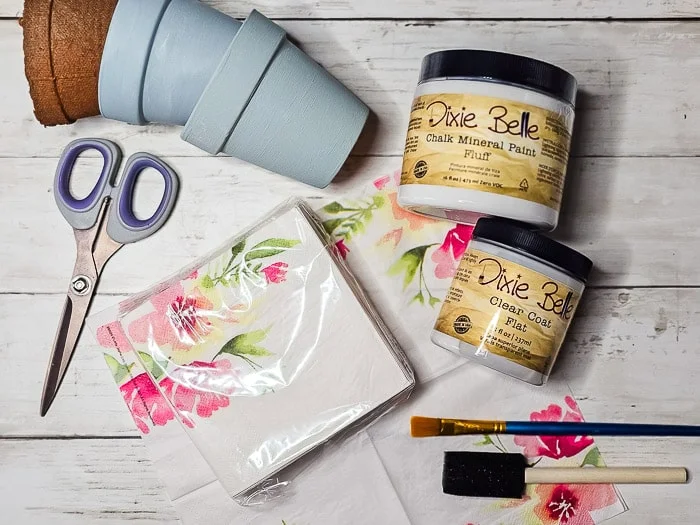
Gather the following:
flower pots or 4" peat pots
paint
craft brushes (a foam brush and a small flat craft brush work well)
floral paper napkins
scissors
decoupage medium
Steps to decoupage flower pots
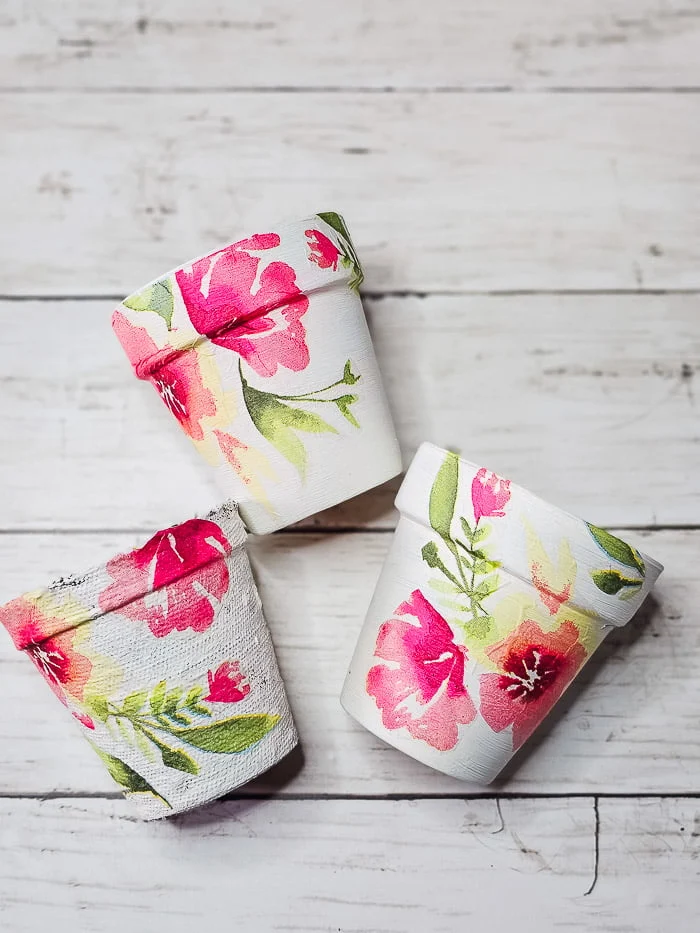
As shown in the photos below, I used two terracotta pots I had previously painted blue and one peat pot spray-painted brown. Recycling a few items first helps keep this project budget-friendly.
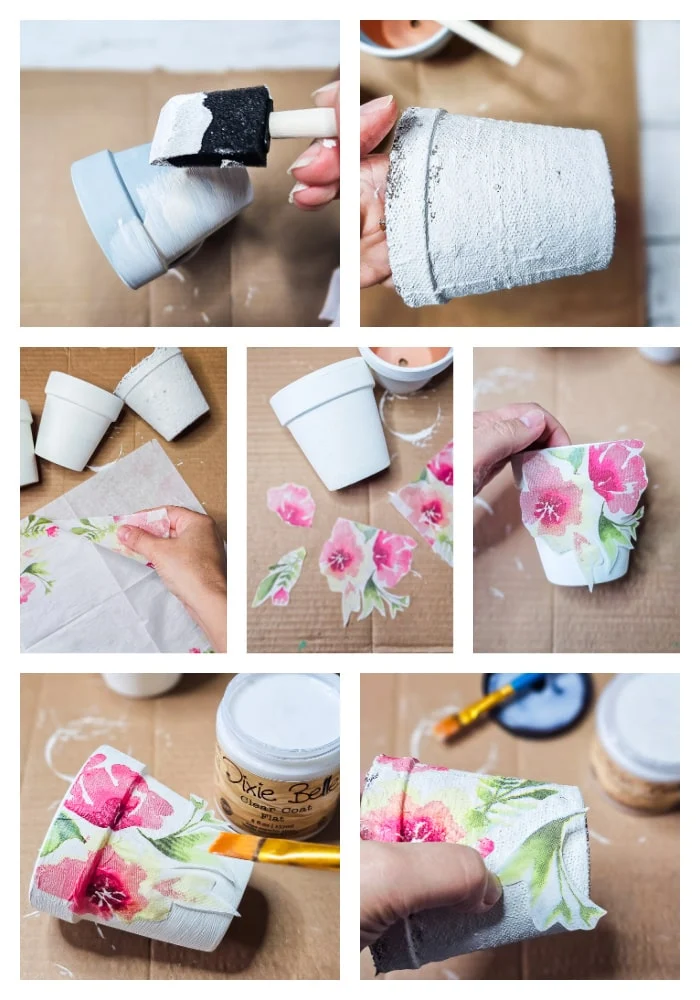
Step 1 — Paint
Paint your pot to match the base color of the napkins. Because tissue napkins are thin, the pot's base color will show through — white is a safe choice, and chalk paint covers well. Two light coats is usually enough.
Step 2 — Peel
Separate the printed ply from the napkin (paper napkins are commonly 3-ply). You want only the single ply with the design. Handle it gently — it will be very thin.
Step 3 — Cut
Cut out the pieces of the design you want to use. Smaller pieces are easier to work with on curved surfaces.
Step 4 — Dry fit
Arrange the cut pieces on the pot without glue to confirm placement and spacing.
Step 5 — Glue
Hold a design piece in place and brush the top with decoupage medium, smoothing gently from the center toward the edges. Focus on the edges to reduce lifting — some small wrinkles are normal on rounded pots. Continue layering pieces until you’re satisfied with the look, then set the pots aside to dry. A craft heat gun or blow dryer can speed drying.
Additional tips
- Let pieces slightly overlap the pot edges — it looks natural and finished.
- You can decoupage the entire pot or only one side for a spotlight effect.
- Use scissors to separate elements of the printed design for more control.
- If you want to be able to shift the design as you place it, brush a thin layer of decoupage medium onto the pot first, then position the napkin pieces.
- Try not to overbrush wet napkin pieces; they become fragile and can tear.
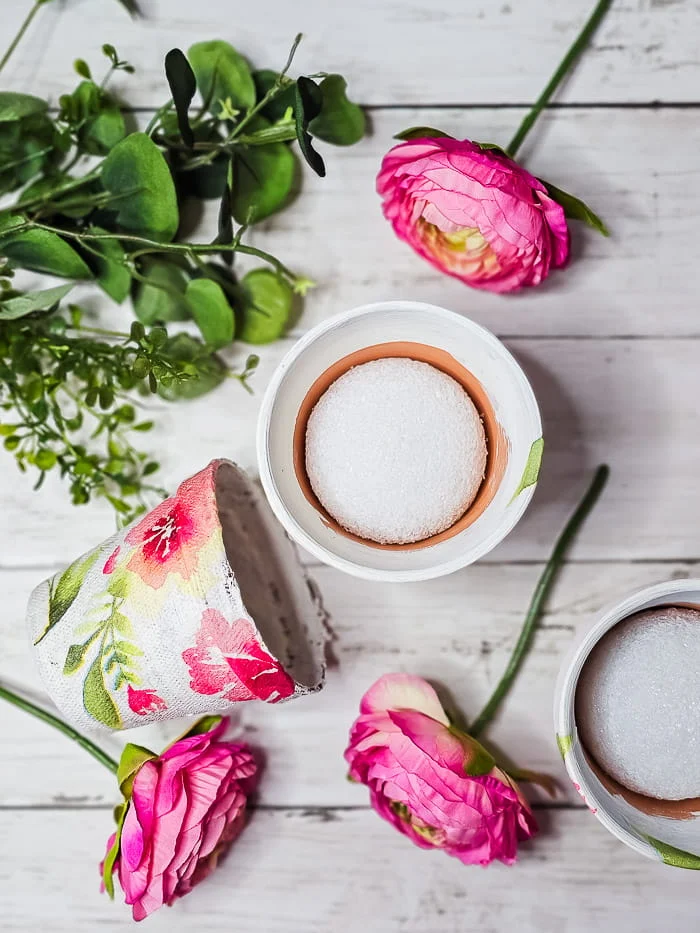
Keep reading to see how to add faux flowers to decorated spring pots.
If you want to add faux flowers, consider these supplies:
- Styrofoam balls
- hot glue (optional)
- single-stem faux flowers (I used pink ranunculus)
- greenery (optional)
- moss
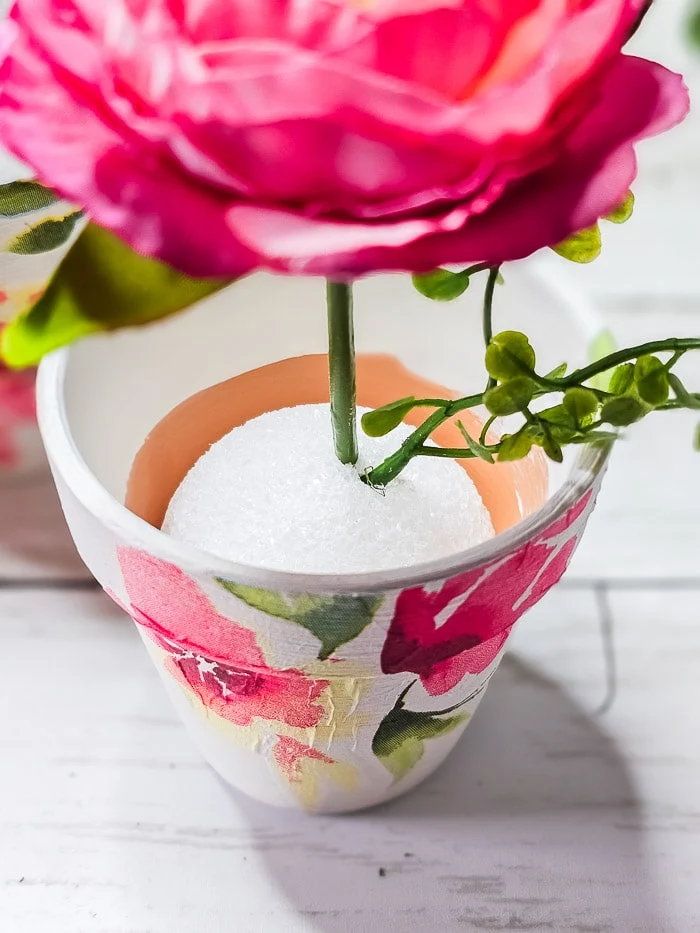
Add a foam ball to each pot, hot-gluing it if it doesn’t fit snugly. Push the flower stem and any small pieces of greenery into the foam; secure with hot glue if needed.

Finish by covering the foam with moss to hide the mechanics and give your spring flower pots a natural, polished look.
Finishing and care
Apply an extra thin topcoat of decoupage medium over the napkin pieces for added protection and sheen. For outdoor display, you may wish to use a clear waterproof sealer designed for crafts (follow the sealer manufacturer’s instructions). Because napkin paper is delicate, avoid heavy scrubbing when cleaning — a damp cloth is usually enough.
Enjoy displaying your handmade spring planters or gifting them to friends and family — they’re an easy, cheerful way to welcome the season.