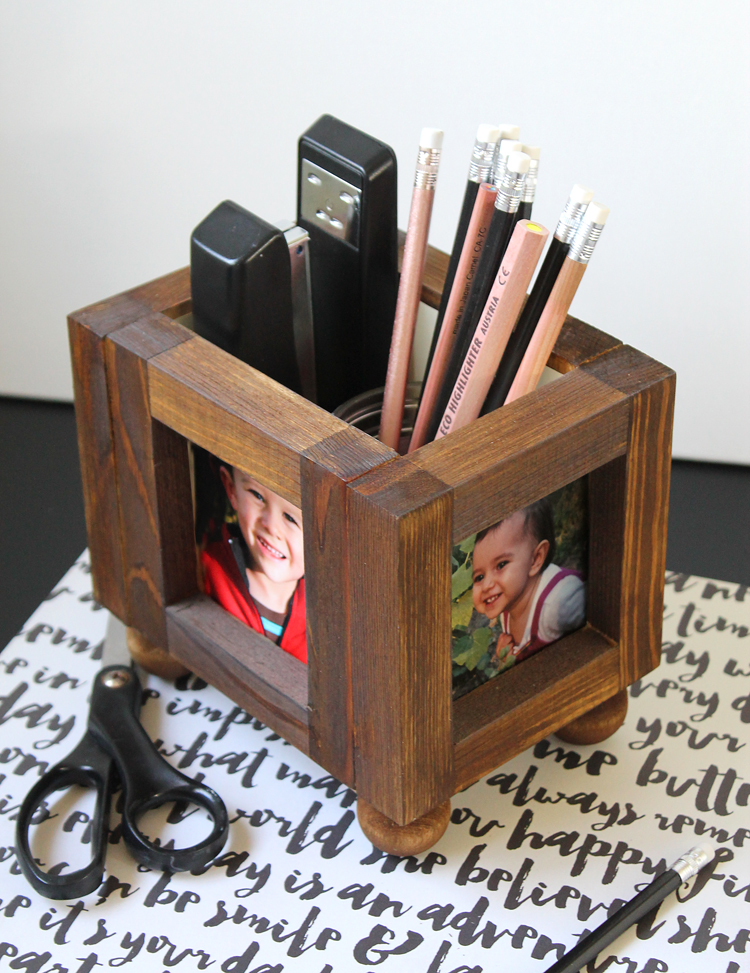
DIY Wood Picture Frame Desktop Organizer
Create your own unique and practical desktop organizer with this easy-to-follow DIY project. Instead of purchasing a generic organizer, why not add a personal touch to your workspace by making a wood picture frame desktop organizer? Not only will it serve as a functional storage solution, but it will also showcase your favorite photos or artwork, adding a touch of personality to your desk. This DIY project allows you to unleash your creativity and customize your desktop organizer to suit your style and needs. Start by selecting a wooden picture frame that matches your aesthetic preferences. You can choose a rustic, distressed frame for a vintage look or opt for a sleek and modern frame for a contemporary feel.
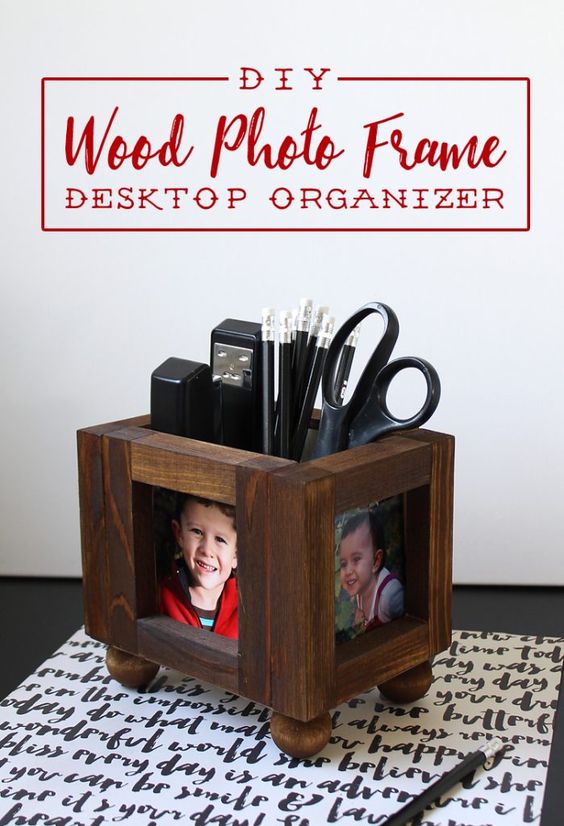
Materials Needed
- Four Unfinished Wood Picture Frames – Check at Dollar Tree, Michaels and Hobby Lobby.
- 1.25 inch Wooden Ball Feet- Four Count
- Chipboard
- Spray Stain & Foam Brush
- Wood Glue
- Clear Spray Topcoat
- Cardstock
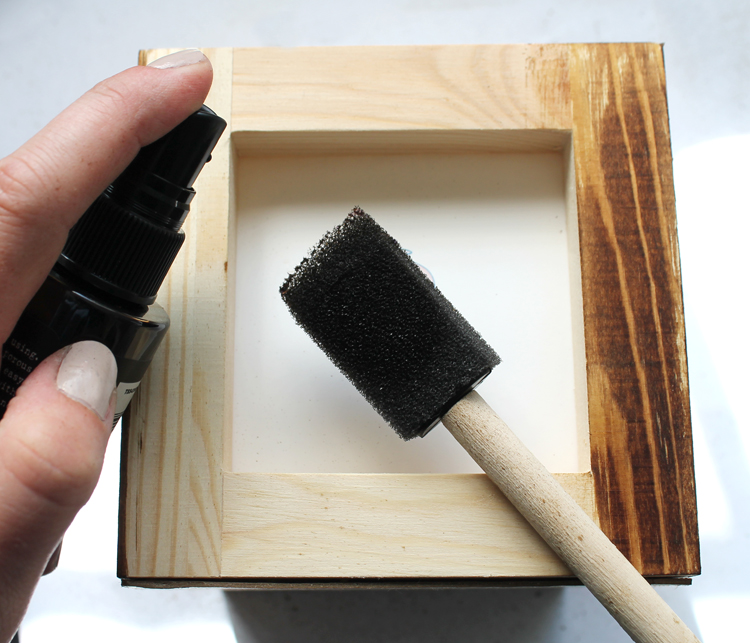
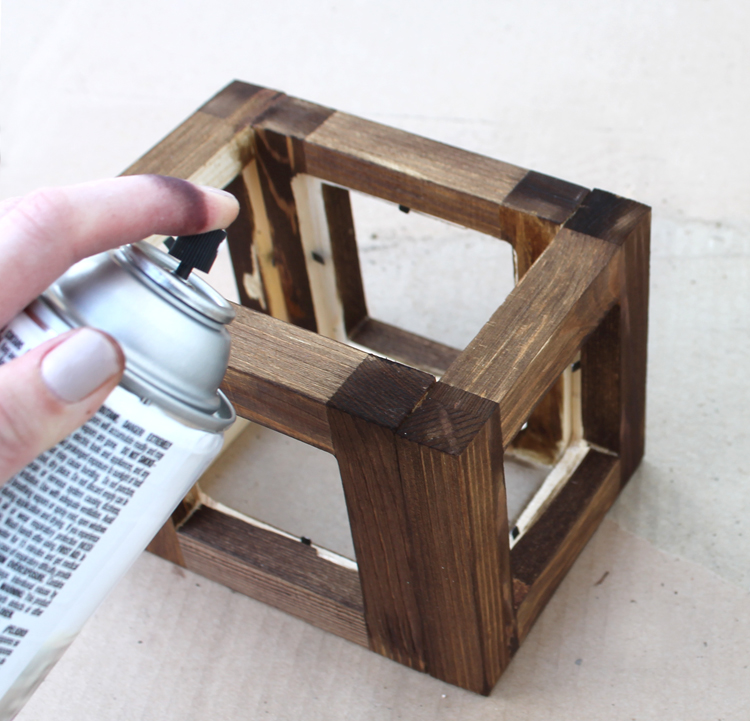
Step 1: Begin by painting or staining the picture frames and wooden ball feet. I used a foam brush and spray stain.
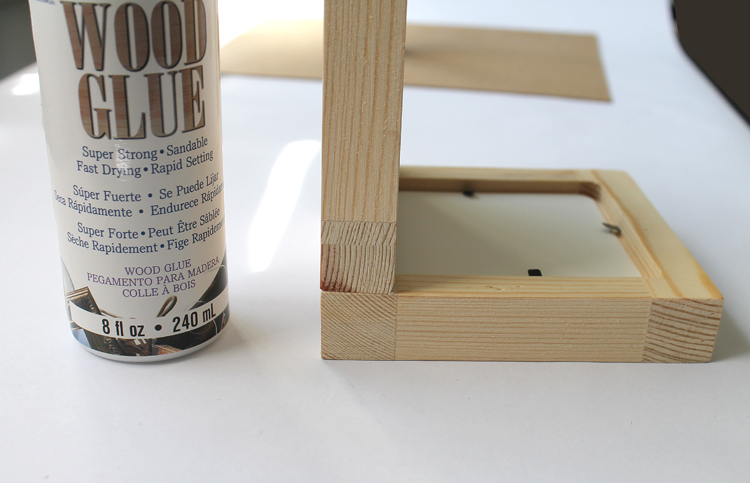
Step 2: Glue the four picture frames together to form a box.
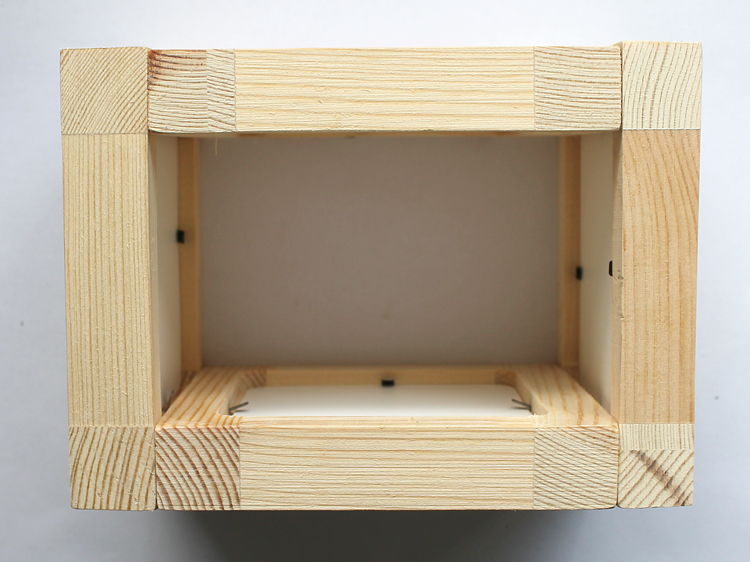
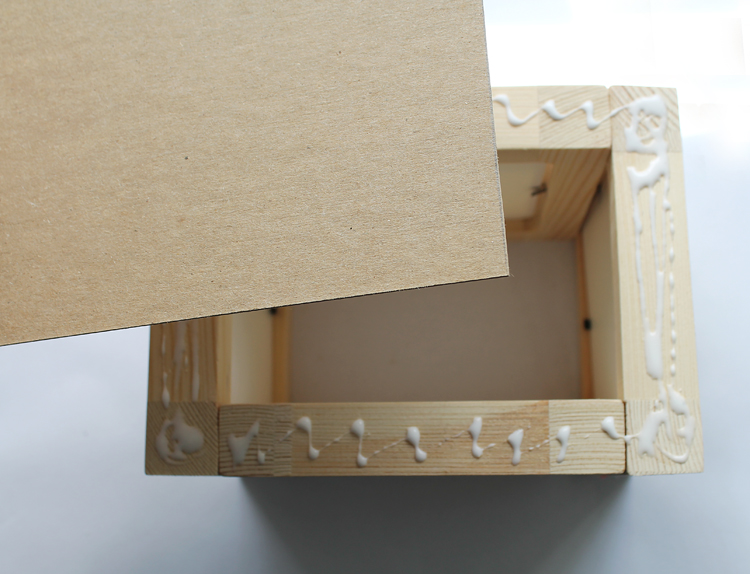
Step 3: Cut a piece of chipboard the same size as the bottom of the box, then use more wood glue to secure it into place. Let the glue dry completely. I let mine dry overnight.
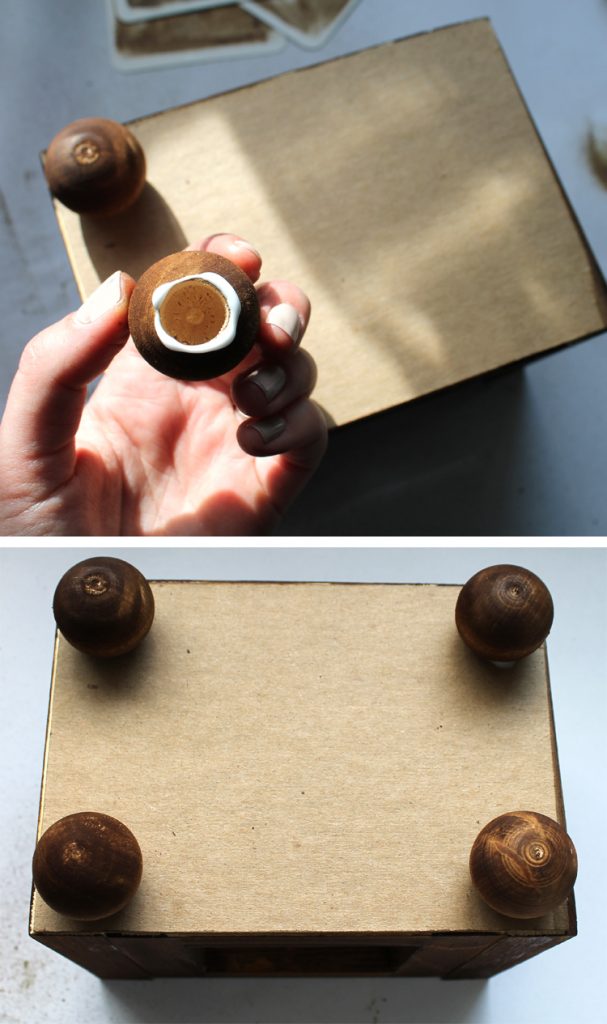
Step 4: Add glue to the flat part of the wood ball feet, then press them on to the chipboard on the four corners of the box. Let these dry too.
Step 5: This step is optional, but if you’d like, you can spray the entire project with a clear coat to add durability.
Step 6: Create a box liner out of cardstock. Measure each side and cut a coordinating piece of cardstock. Tape all of the pieces together from the outside, then slide it inside the box.
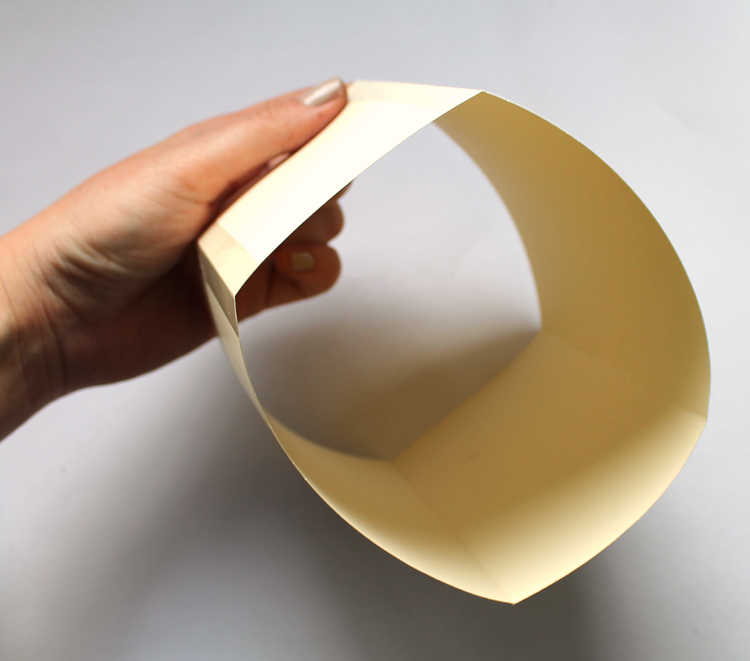
Step 7: Cut one more piece of cardstock the size of the bottom. We made this gift for Father’s Day, so we included a little love note in the bottom.

Now all you have left is to find some cute pictures of your kids to add to the photo frames and you have a useful, thoughtful handmade gift to give!