Diy Jewelry Tray – Repurposed Picture Frame
Looking to add a touch of creativity and organization to your space? Why not try making a DIY jewelry tray out of a repurposed picture frame! It's a fun and budget-friendly project that allows you to customize your tray to match your style. Simply take an old picture frame, remove the glass, and add a piece of colorful paper or fabric to the backboard. You can then insert small hooks or knobs to hang your jewelry from, creating a stylish and functional organizer. Give it a try and enjoy the satisfaction of repurposing an item into something both beautiful and useful!
Diy Jewelry Tray Supplies
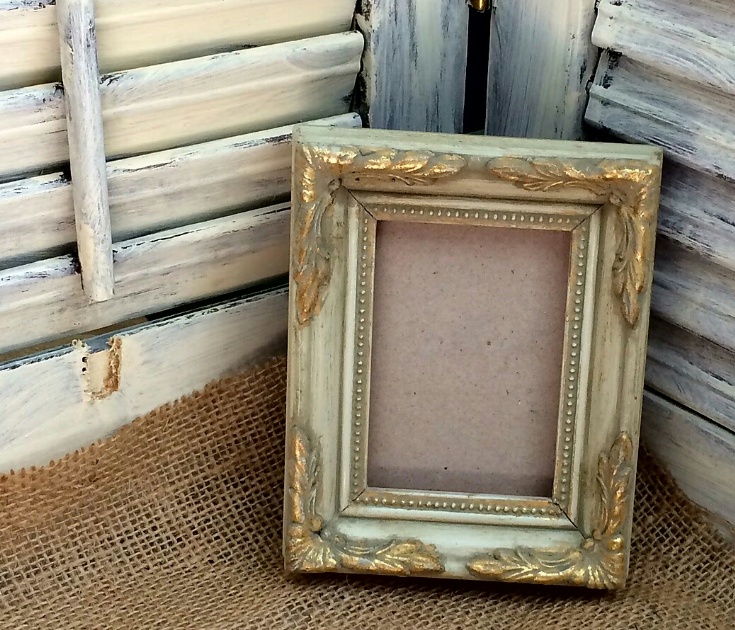
First start by finding a cute little wood frame, then removed the glass and cardboard from the frame by opening the window in the back. Then close the little window back in place.
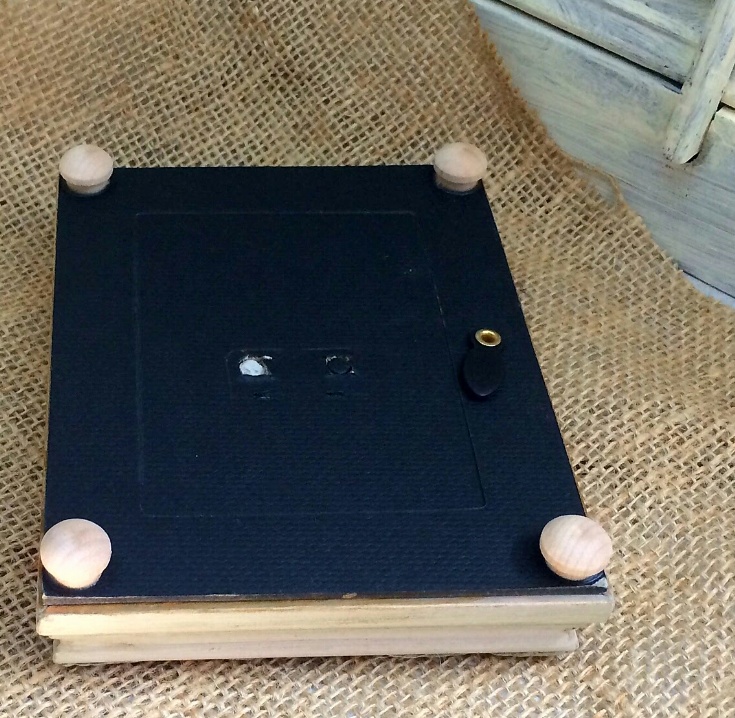
I then flipped the wood frame over and glued the wooden plugs in the four corners on the bottom of the frame.
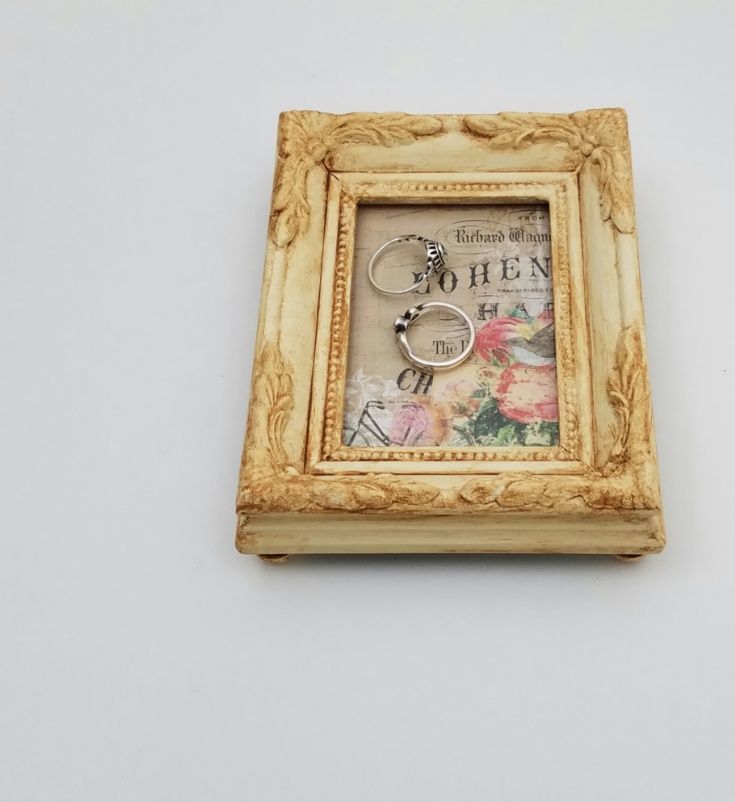
I repurposed this small frame into a jewelry tray.
Then I painted the frame, wood plugs and the edges of the back of the frame (cardboard backing) with antique white acrylic paint.
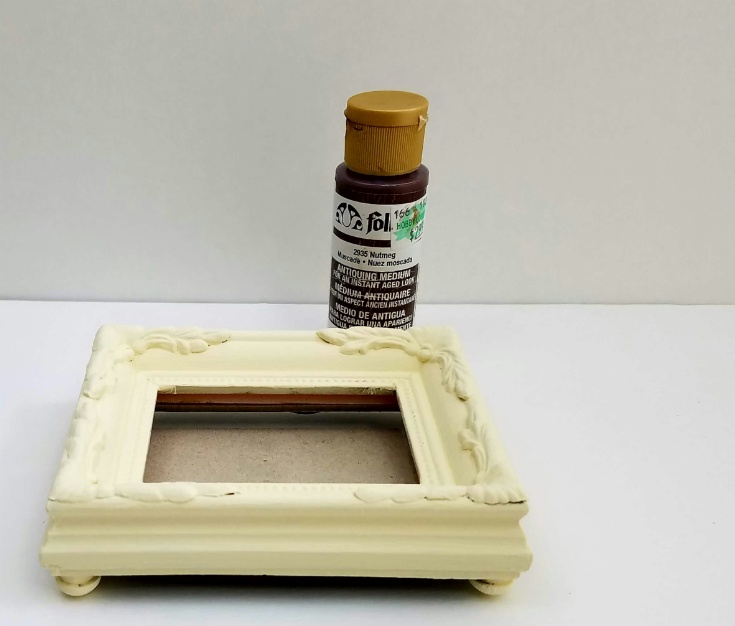
Next I watered down some of my favor antiquing medium and covered the frame by working in sections. Then wiping off any excess till I got the desired look that I wanted.
While that was drying I cut my piece of scrapbook paper the same size as the glass from the frame.
Now it’s time to put the scrapbook paper in the little diy jewelry tray.
This pretty little diy jewelry tray is great for holding rings and things. I love how it turned out, and I think that the scrapbook paper looks perfect in the little frame.