DIY Recycled Cardboard Easter Eggs — Cute, Eco-Friendly Spring Decor
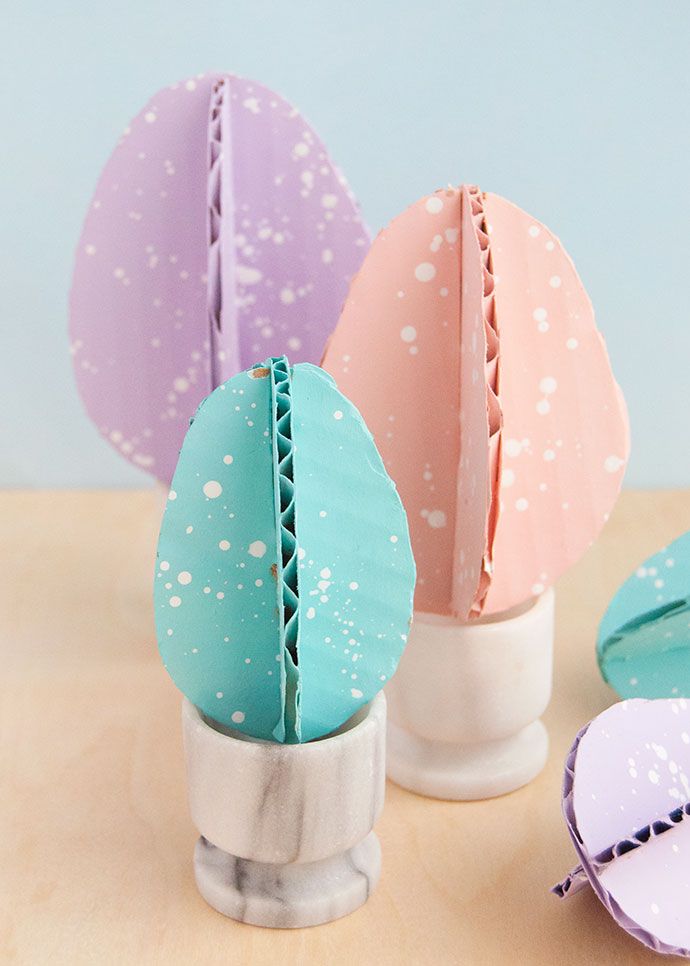
Make charming, eco-friendly Easter decorations using recycled corrugated cardboard. These 3D cardboard eggs are quick to cut, paint and slot together — perfect for a family craft project or sustainable seasonal décor. Follow the simple steps below to create pastel, speckled eggs from materials you likely already have at home.
Hey there! Let's talk about these fantastic Recycled Cardboard Easter Eggs that are not only adorable but also great for the environment. Using recycled materials to create these eco-friendly eggs is a creative and sustainable way to celebrate Easter.
What you need:
- FolkArt Acrylic Craft Paint
- Paintbrush
- Corrugated cardboard
- Craft knife
- Scissors
- Pencil
- Scrap paper
Step 1
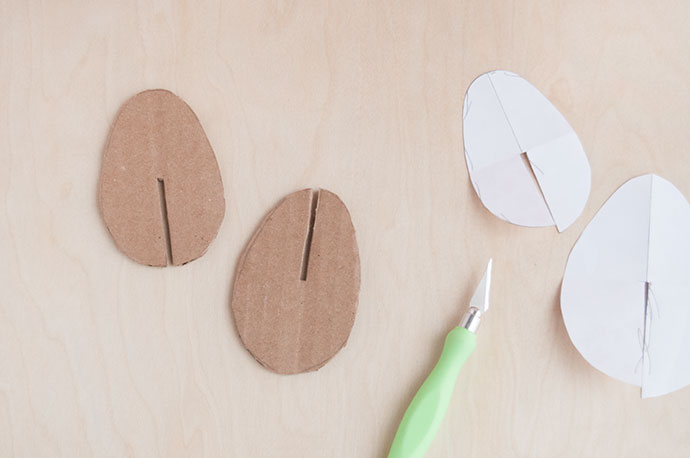
On a piece of scrap paper, draw out the size of egg you would like to make. We made three slightly different sizes for variety. When you are drawing this egg shape, it helps to fold the scrap paper in half first so that you just have to draw half an egg on the fold and cut out for a more symmetrical shape.
Once you’re happy with the egg shape on paper, fold it in half so that the top little part of the egg and bottom larger part and touching. This will give you the midpoint of the egg’s height – mark this with a pencil.
When tracing the template onto cardboard, you’ll need two flat cardboard eggs to make one 3D egg. When you have the outline cut out, it’s time to add the slot down the middle to connect the two pieces together. On the first piece, cut the slot from the bottom of the egg to the midpoint and on the second egg make the slot from the top of the egg to the midpoint. Make sure that the slot is about as thick as the cardboard you’re using so that the two pieces slot snugly together. Test this out to make sure the fit is good and use scissors or a craft knife to adjust this if needed.
Step 2
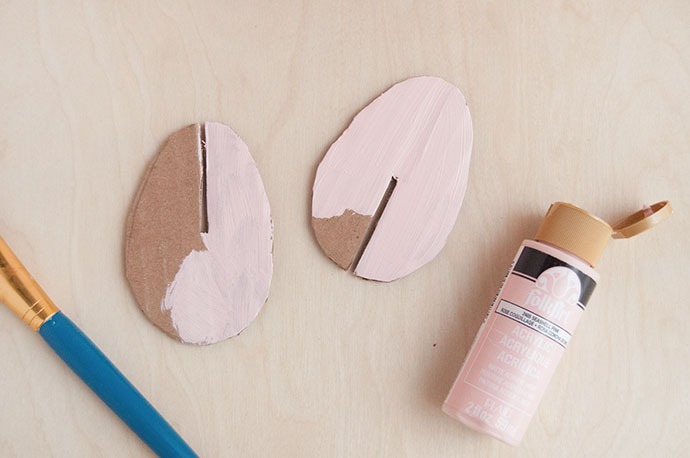
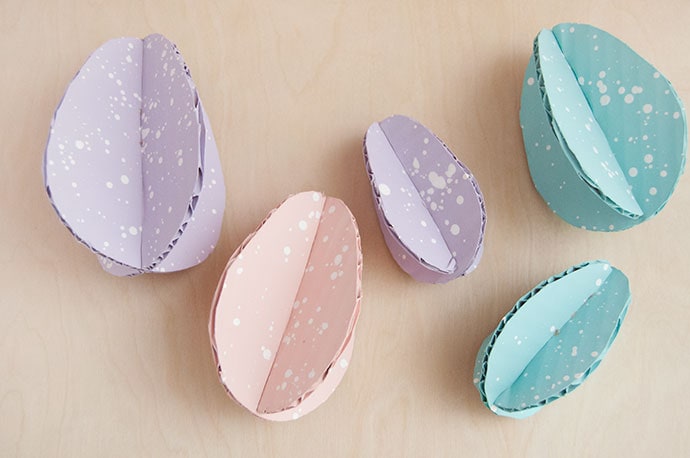
Once your have all the cardboard egg pieces cut out, give them a coat of paint. We used pastel pink, blue, and purple. When the first sides are painted and dry, flip them over and paint the backs and sides as well. Let dry.
Step 3
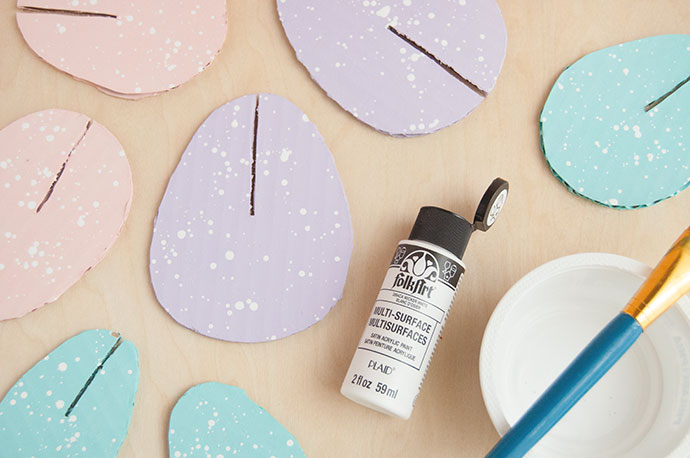
Paint some patterns onto your eggs! We love a traditional speckled egg look, so mixed a little bit of water into some white paint and use a brush to shake and spatter little speckles onto both sides, allowing each side to dry first. You could paint any pattern you like: polka dots, stripes, anything really!
Step 4
Once the paint is completely dry, slot the eggs together! If some are tricky and too snug, use scissors to trim the slot as needed until they fit together.
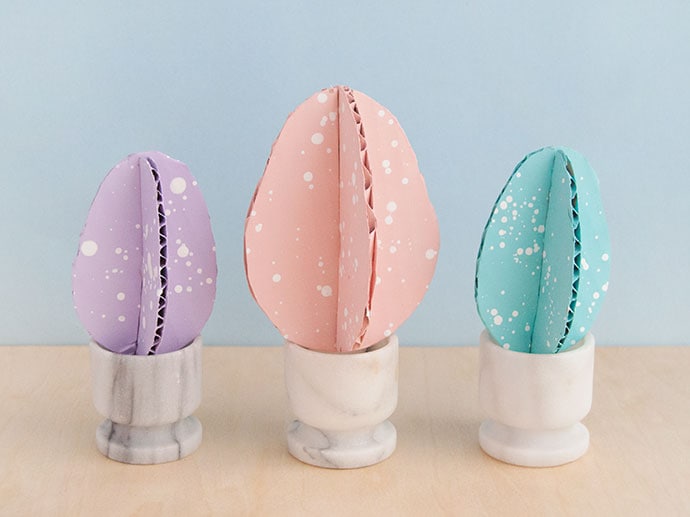
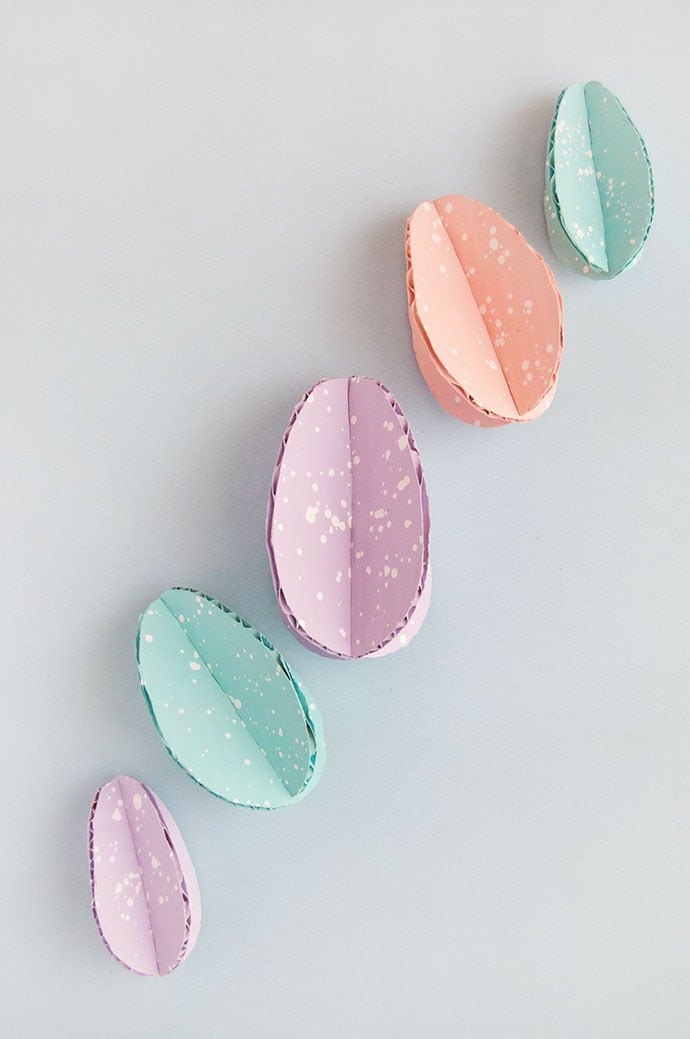
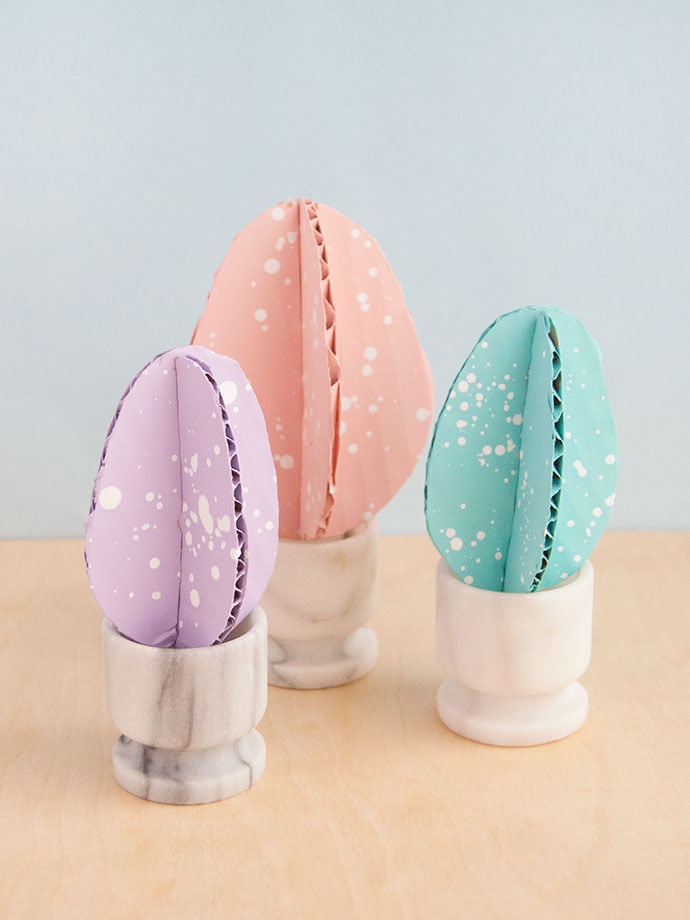
Quick display ideas: arrange the finished eggs in a bowl or nest, use them as place settings, or thread a few onto twine for a simple garland. Because they’re lightweight and made from recycled materials, they’re an easy, low-cost way to add handmade charm to your Easter decorations.