DIY Spring Flower Paint Chip Bookmarks — Quick, Colorful & Eco-Friendly
Spring Flower Paint Chip Bookmarks are an easy, colorful craft that repurposes paint sample chips into cheerful bookmarks. They’re quick to make, require minimal supplies, and make great little gifts or reading companions for the season. Below is a simple step-by-step guide to cut, assemble, and personalize your own springy bookmarks.
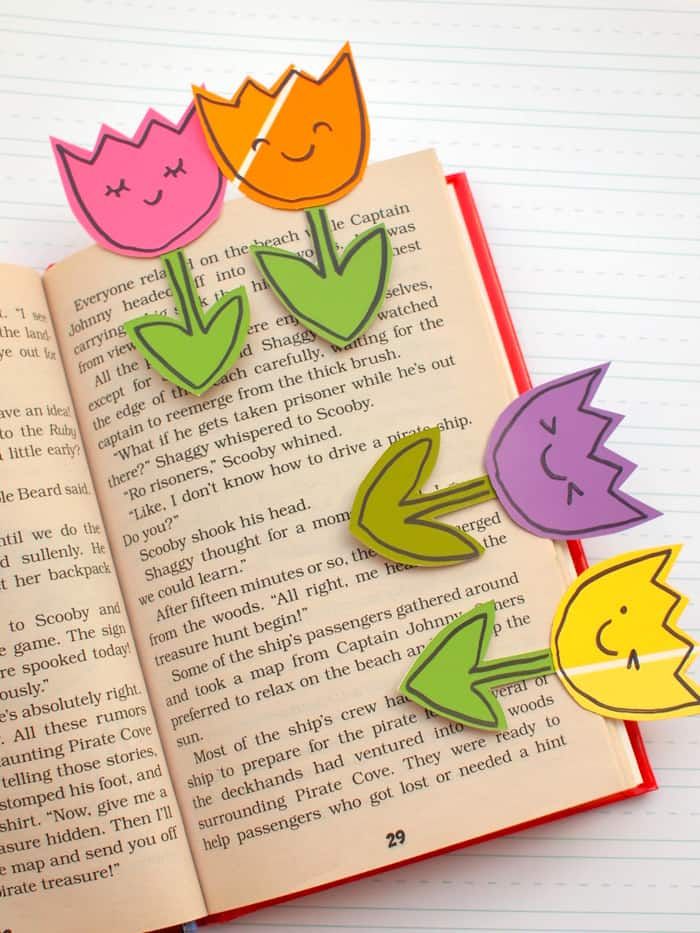
Paint Chip Bookmarks
Materials you’ll need:
- Paint chip samples
- Scissors
- Pen
- Tape (or craft glue / hot glue)
- Craft knife
- Cutting mat
- Sharpie marker (optional, for faces or details)
Let’s make some flower bookmarks!
Step 1: Cut out the flower shapes
Cut flower heads from paint chips. Aim for flower heads about 2 inches wide as a starting point. If you prefer, draw the shape on the back of the paint chip slightly larger than your final cut, or print and trace a silhouette template to keep shapes consistent.
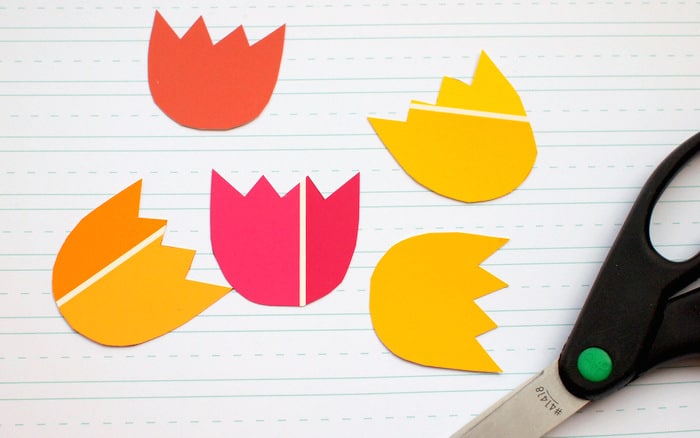
Step 2: Cut the bookmark bases
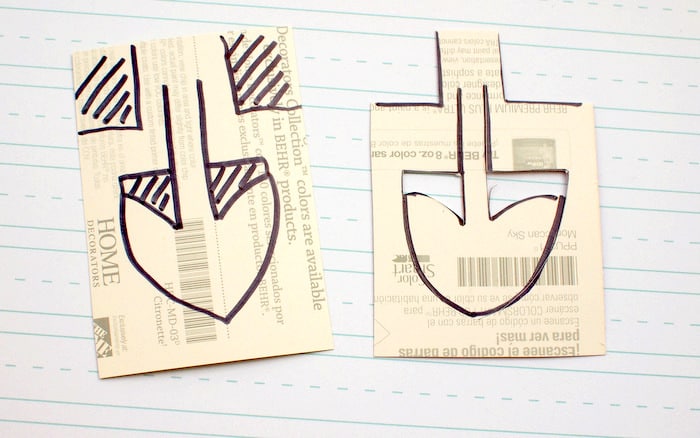
Cut green rectangles from paint chips to form the stems and base of the bookmark. A good size to try is about 2 inches by 3 inches. These will slide over the page with the flower peeking above the book.
Step 3: Make the stem cutouts
On each green rectangle, cut the interior areas shown in the photo so the stem portion can fold and slide over the page. Use scissors for larger cuts and a craft knife for precise interior cuts; a cutting mat protects your work surface. Also round the bottom of the stem so it looks tidy and fits over the page edge.
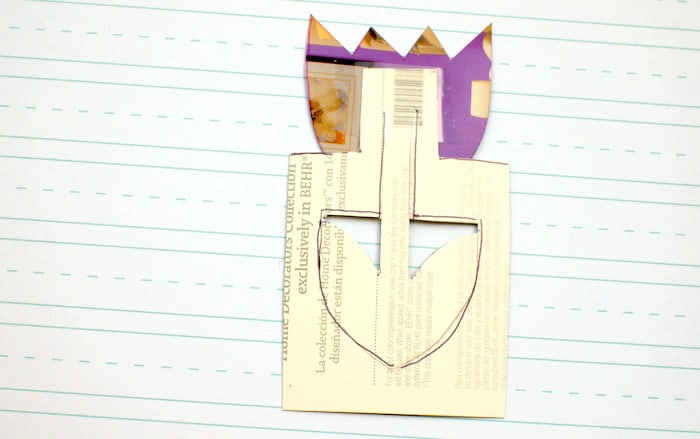
Step 4: Assemble the bookmarks
Tape or glue the flower head to the top of the green stem. A small piece of tape on the back is quick and secure; hot glue or craft glue work well for a more permanent finish.
Finishing touches: Use a Sharpie to add friendly faces, dots, or lines to personalize each bloom. You can also layer colors or mix-and-match chip shades for varied looks.
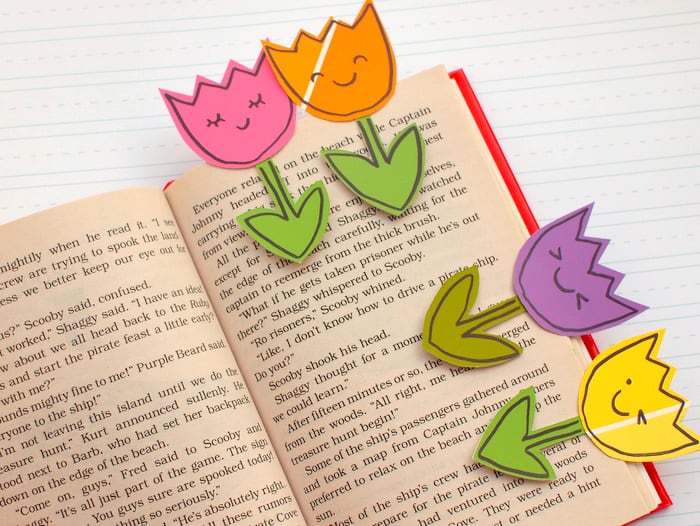
And you’re all set — bright, springy bookmarks that reuse paint chips and add a playful touch to reading time.