Turn a Plain Mirror Into a Stunning Seashell Frame — Easy DIY Tutorial
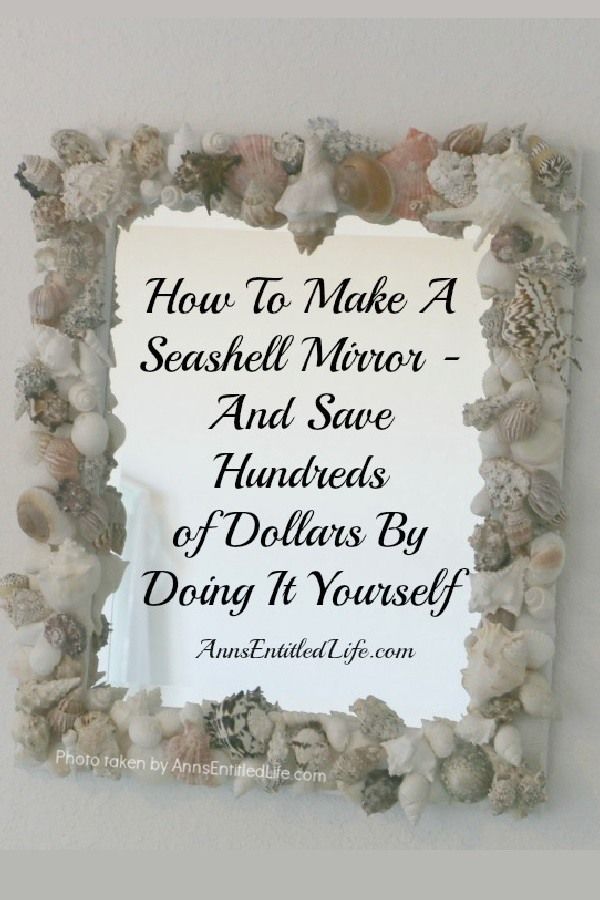
Bring coastal charm into your home with this simple DIY seashell mirror. Using found or purchased shells, a wide flat mirror frame, and a hot glue gun (or Marine Goop for humid areas), you can create a personalized beach-inspired statement piece. Below is a practical walkthrough based on a 24" x 28" finished mirror plus notes on the shells and supplies that worked well.
Summary: start by preparing and painting a wide, flat frame (if needed), lay out shells to plan your design, glue a base layer of larger clam shells, build up with mixed sizes for texture, hide gaps with a sand + Mod Podge mix if desired, trim glue strings, and finish with a clear sealer.
Materials (what I used)
- US Shell, 36 Piece, White Scallop Sea Shells (4–5 cm) — good for a bottom base layer; one pack covered most of a 24" x 28" frame.
- Hinterland Trading Sea Shells for Decoration, 1 lb — smaller shells useful for filling in gaps; consider two packs.
- U.S. Shell, Inc. Large Designer Bag — larger shells that cover area quickly; I used two bags.
- U.S. Shell, Inc. Shell Mix — unique shells for corner highlights.
- U.S. Shell, Inc. Extra Tiny Mix Collection — I found these too small to glue comfortably.
- Activa Décor Sand (white) — optional for mixing with Mod Podge to camouflage gaps.
- Mod Podge and small paint brush — only needed if using sand.
- Glue gun and glue sticks OR Marine Goop (better for humid climates).
- White spray paint (if your frame isn’t already a light, beach-friendly color).
- Scissors or a cutter to remove hot glue strings.
- Rust-Oleum Satin Clear spray to seal the finished piece.
Project notes and sizing
I planned a mirror about 24" x 24" but ended up using a 24" x 28" mirror. The important features: a fairly wide (about 2") flat frame that gives enough surface area to glue shells securely.
Start by gathering and sorting your shells. Lay them out by size and type so you can see what you have before you glue anything down.
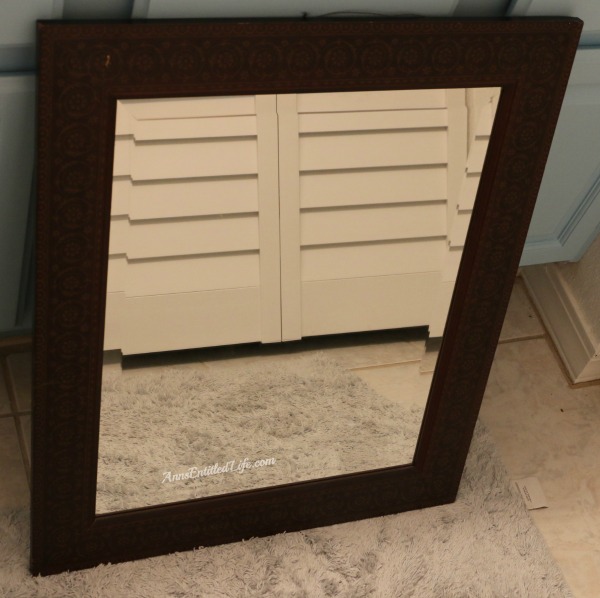
I found a mirror that was 24" x 28" and removed or protected the glass before painting the frame.
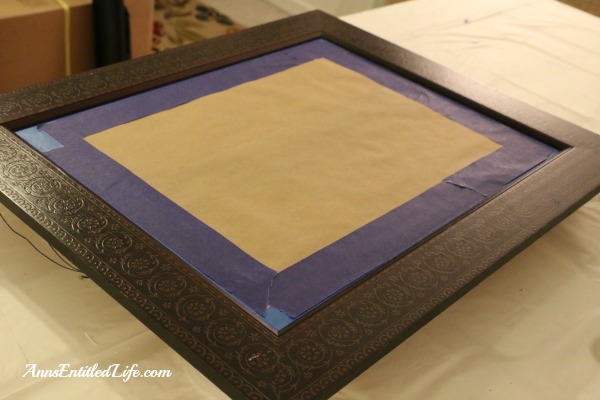
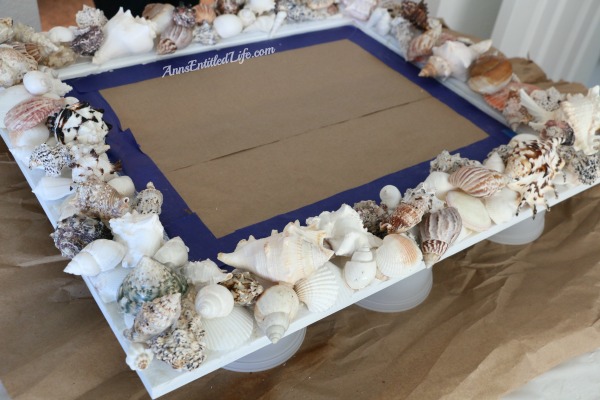
If your frame isn’t already a suitable color, tape off the mirror glass with painter’s tape and cover the glass with masking paper. Paint the frame (I used white) — multiple thin coats give the best result.

After taping, I gave the frame a couple of coats of white paint, including the edges, allowing each coat to dry fully before the next.
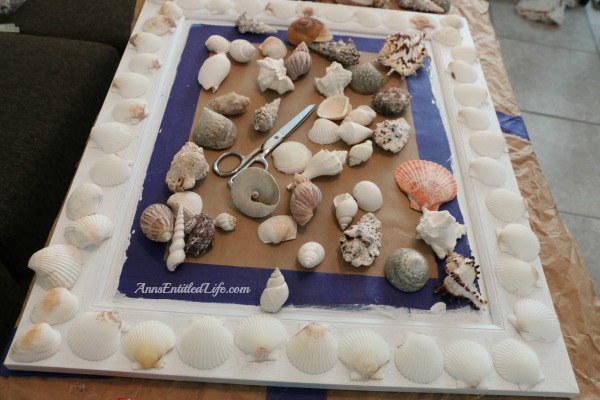
Set up a covered work surface and lay out a bottom/base layer of larger clam shells to form a stable foundation. Make sure you have enough shells before hot-gluing; I arranged them first and adjusted placement by eye.
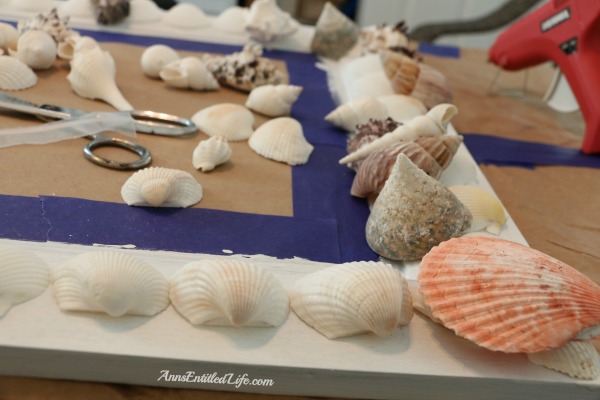
Working on low heat with a glue gun (or using Marine Goop), apply glue to the underside edge of each shell and press it onto the frame. The hot glue sets quickly, so placement needs to be deliberate.

Build up additional layers of shells, focusing heavier placement at the corners and lighter application along the center of each side. Use mixed shell sizes to create depth and visual interest.
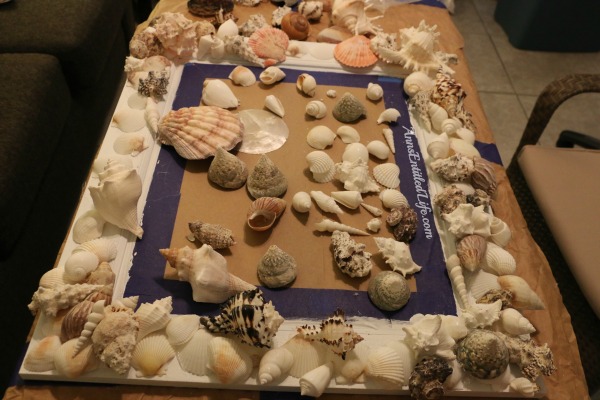
Take frequent steps back to review the overall balance. I filled the corners first and worked towards the middle of each side. When satisfied, let the piece sit overnight so adhesives fully cure.
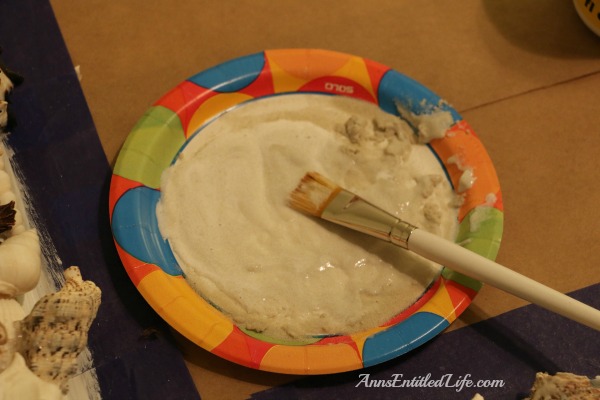
If you have visible gaps you'd like to disguise, mix sand with Mod Podge and dab it into crevices using a small brush. This step is optional—results are subtle and depend on the shells used.
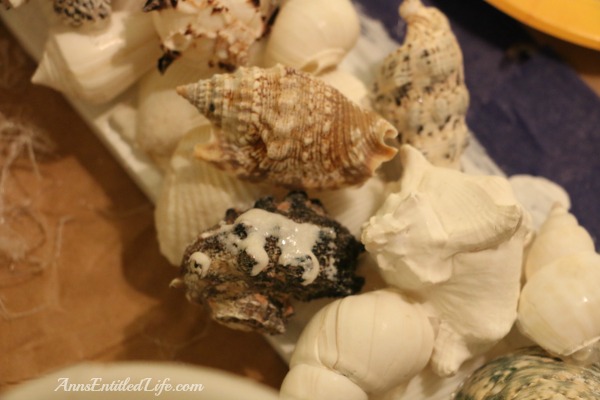
Once everything is fully dry, trim the many hot-glue strings and stray bits—this takes time but significantly improves the finished look.
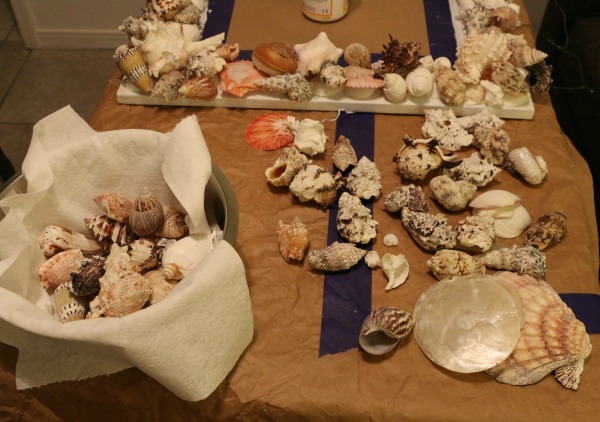
Gather leftover shells for other projects. Finally, spray the entire frame with a satin clear sealer (like Rust-Oleum Painter’s Touch) to protect and reduce dust adhesion.
Display your new seashell mirror in an entryway, bathroom, or living room to bring a bit of the beach into your space.