DIY Punched Tin Lantern Upcycle
Have you ever considered transforming an old tin can into a charming punched tin lantern? This fun DIY project not only breathes new life into something you might overlook but also adds a touch of cozy ambiance to any space. With just a few simple tools like a hammer and nail, you can create intricate patterns of light that dance across your walls, creating a warm and inviting atmosphere. Whether you're looking to brighten up your patio, balcony, or living room, this upcycling idea is a creative way to showcase your craftiness and elevate your home decor. Plus, making your own punched tin lantern is a budget-friendly and eco-conscious alternative to store-bought lighting options. So, grab those tin cans, let your creativity shine, and get ready to illuminate your space with a personal touch!
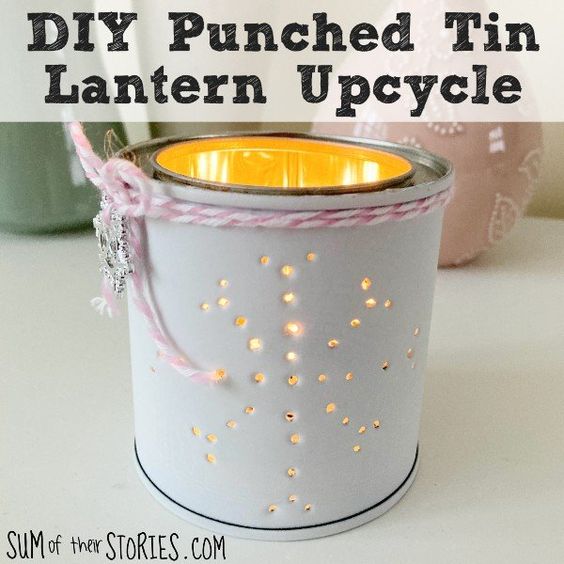
To make a DIY punched tin lantern you will need:
- An empty clean dry food tin
- A nail and hammer
- Paint
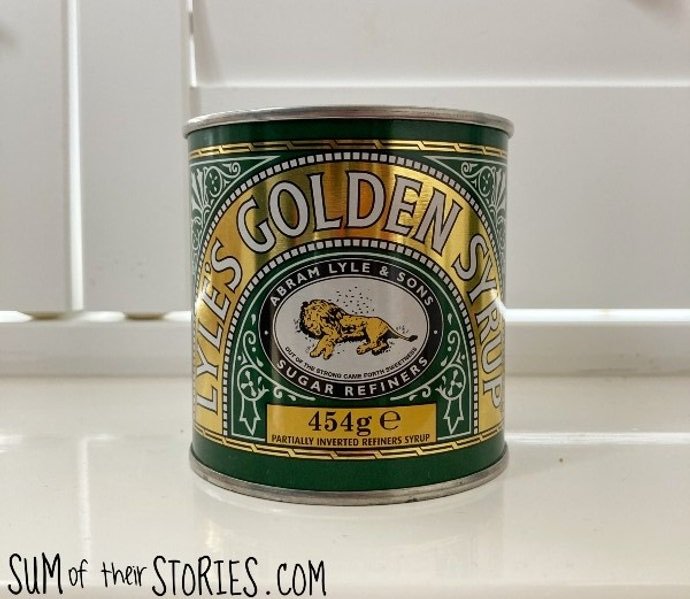
I started with an empty Golden Syrup tin.
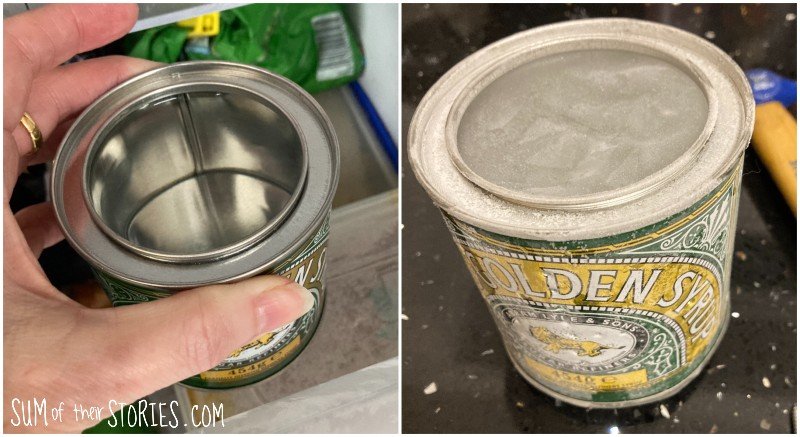
The first thing to do is to fill your tin with water and freeze it.
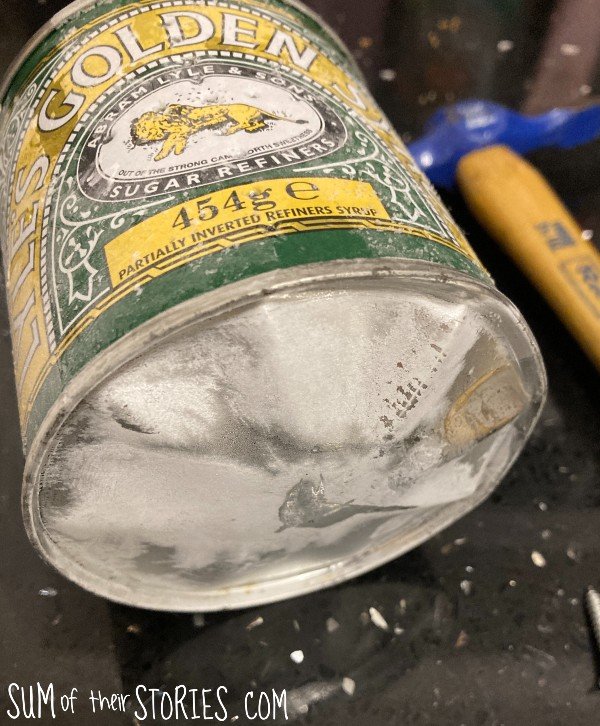
As you can see this process pushed out the bottom of my tin a little. I’d not put the lid on so I’d thought any expansion would just have gone up and out the top but apparently not. It’s ok, it still worked just fine, we’ll get to that in a minute.
Punching a design in the tin
Take the hammer and nail and simple punch out your design. I just freestyled it as my design plan was so simple but you could draw it on with a sharpie first if you’d like to.
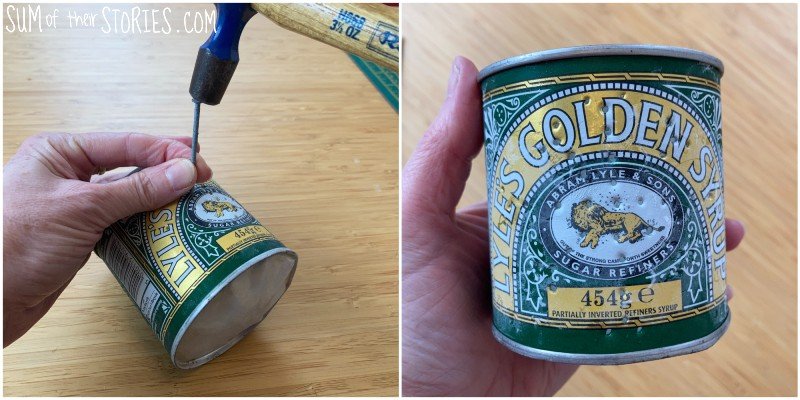
It’s a good idea to rest the frozen tin on a few tea towels or rags just to save your worktop. I thought of this afterwards!
The tin will be VERY cold and so it’s a good idea to have a cloth to protect your hands too - or maybe even wear gloves! I didn’t and I’m not gonna lie, my hands were absolutely freezing.
The food tin was really easy to puncture with the nail and hammer, just a few taps for each hole. I didn’t have any issue with it slipping on the tin’s surface either. Do take care though, if your tin is thicker I can imagine it might be a little tougher and you really don’t want to be puncturing yourself instead of the tin.
Simple Snowflake Design
This is my VERY simple snowflake design, which you are welcome to copy. Or have fun creating your own design, I’d recommend keeping it simple though, no need to make life any more difficult that it needs to be.
Once the design is complete, pop the tin in the sink and leave it for the ice to melt and then for the tin to dry completely.
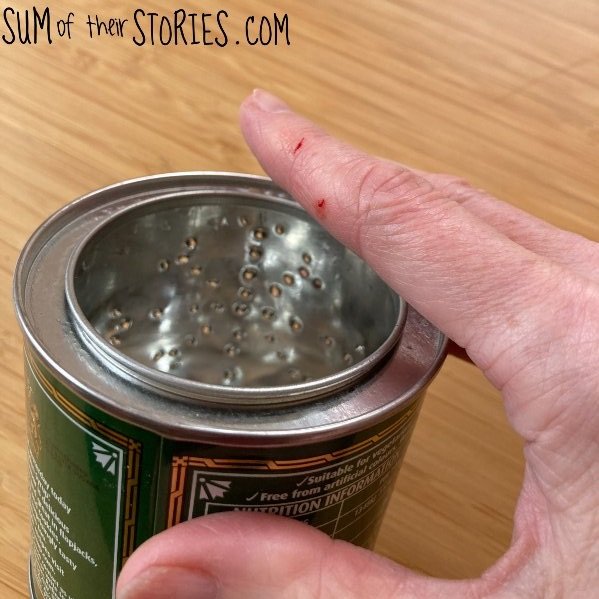
You can use a cloth to dry the tin inside but once again DO BE VERY CAREFUL! The inside of the tin will now be rough and the punched edges are sharp.
Much safer to just leave it to dry naturally.
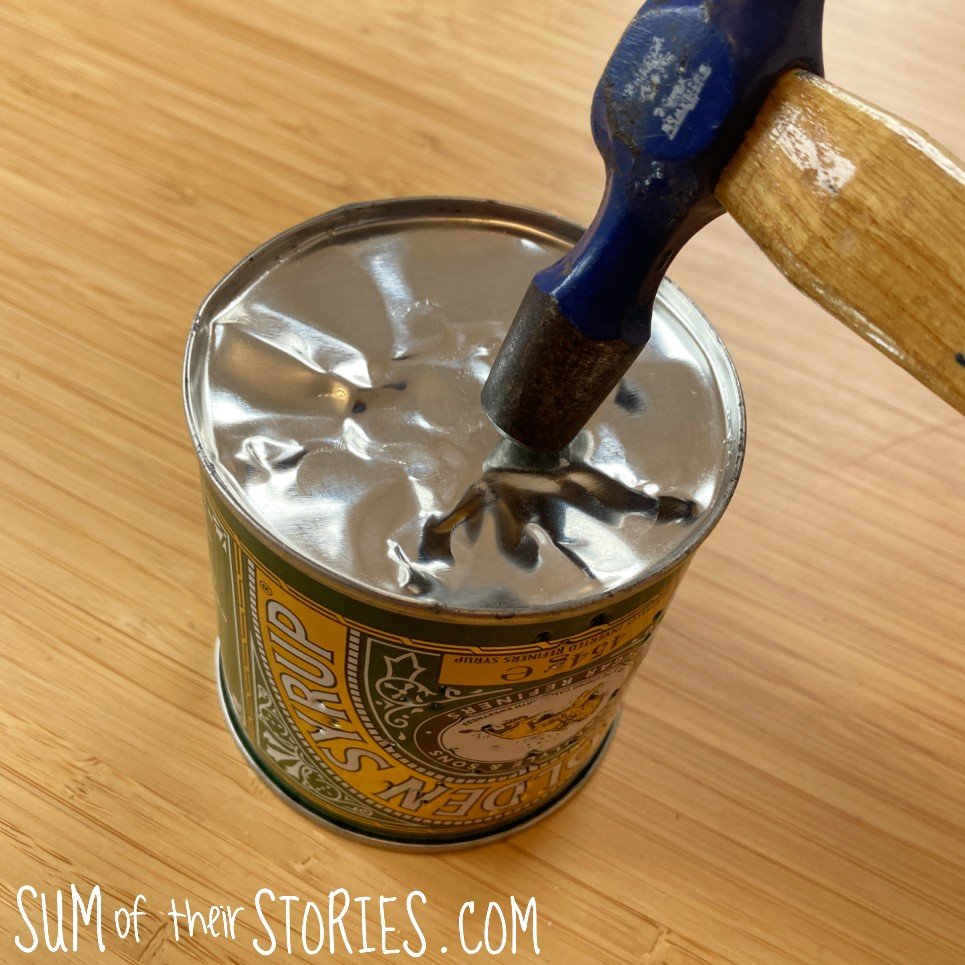
I was able to sort out the pushed out base on my tin at this point too. I just whacked it back into shape with a few blows from my hammer.
Painting your tin can luminary
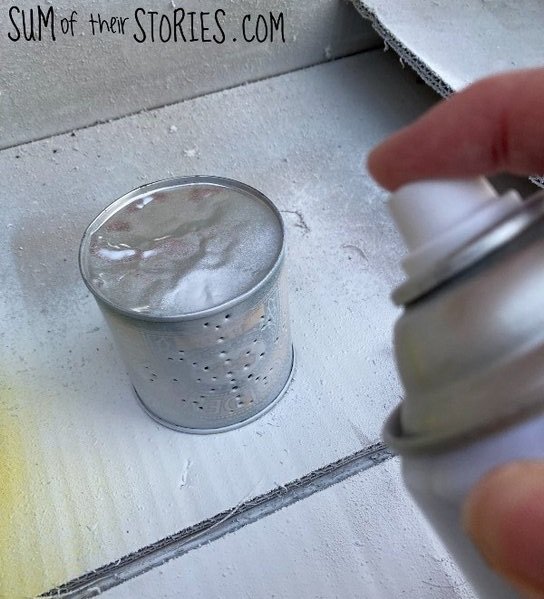
Once the tin is dry you can give it a coat or 2 of paint. I used a spray primer paint, it’s what I had already and I really like the matt look it gives. 2 coats was enough to completely cover it. A couple of coats of an acrylic or even latex/emulsion paint would work fine too, use what you have.
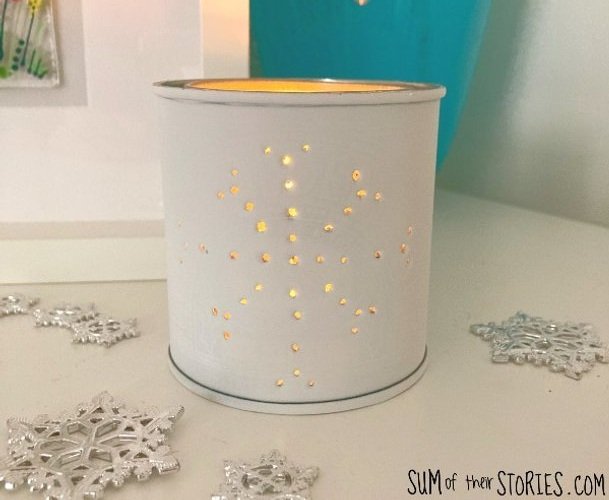
Once I popped a tealight inside I realised I had punched my simple snowflake design just a little low on the tin. There is a bigger gap at the top than the bottom. I’m going to call it and say that marking your design first is probably a really good idea!
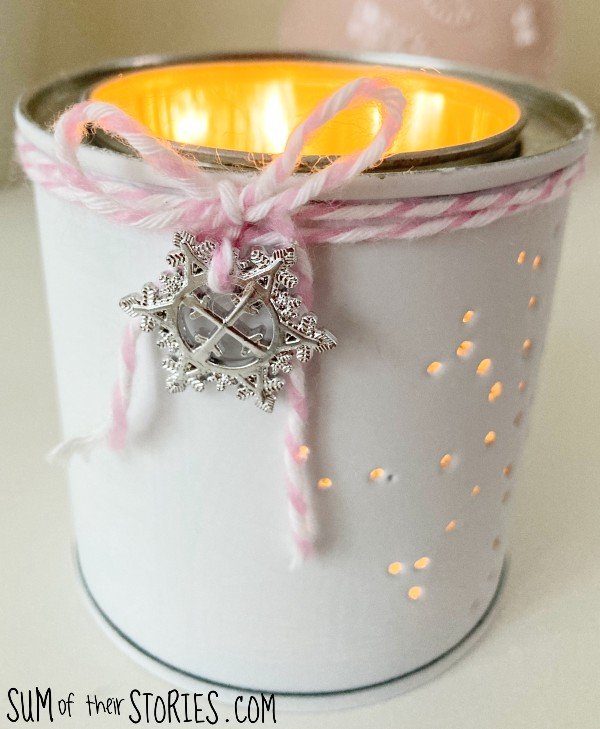
To disguise this tiny error I added some pretty pink and white yarn and a little plastic snowflake I found in my Christmas decorations.
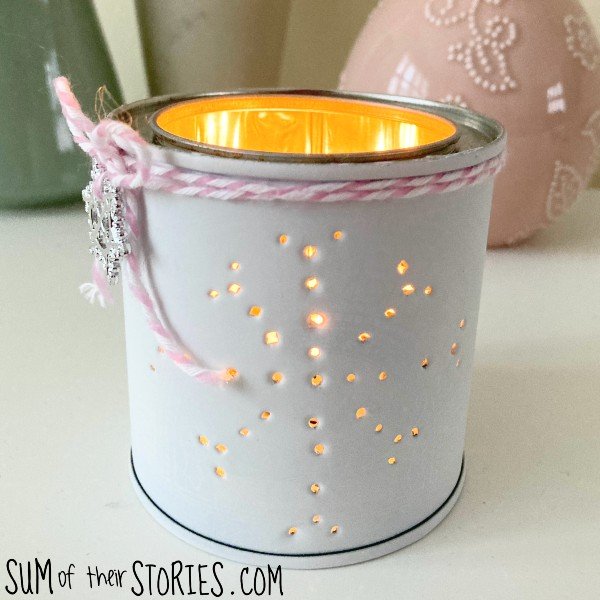
Now my lantern was ready to use. If you use a real tealight please remember that you must never leave a lit candle unattended. You could use a battery operated tealight instead or even bundle in a string of battery fairy lights.
I love how it glows all orange on the inside, the syrup tin I used is very smooth and shiny on the inside which makes it super reflective.