Mod Podge Picture Frame
Creating a Mod Podge picture frame is a fantastic way to add a personal touch to your space! All you need is a simple frame, some Mod Podge, and your favorite pictures or decorative paper. Simply apply a coat of Mod Podge to the frame, carefully place your chosen design, and seal it with another layer of Mod Podge. It's a fun and easy DIY project that allows you to showcase your creativity and style. So grab your supplies and get ready to make a unique and charming picture frame that's sure to brighten up any room!


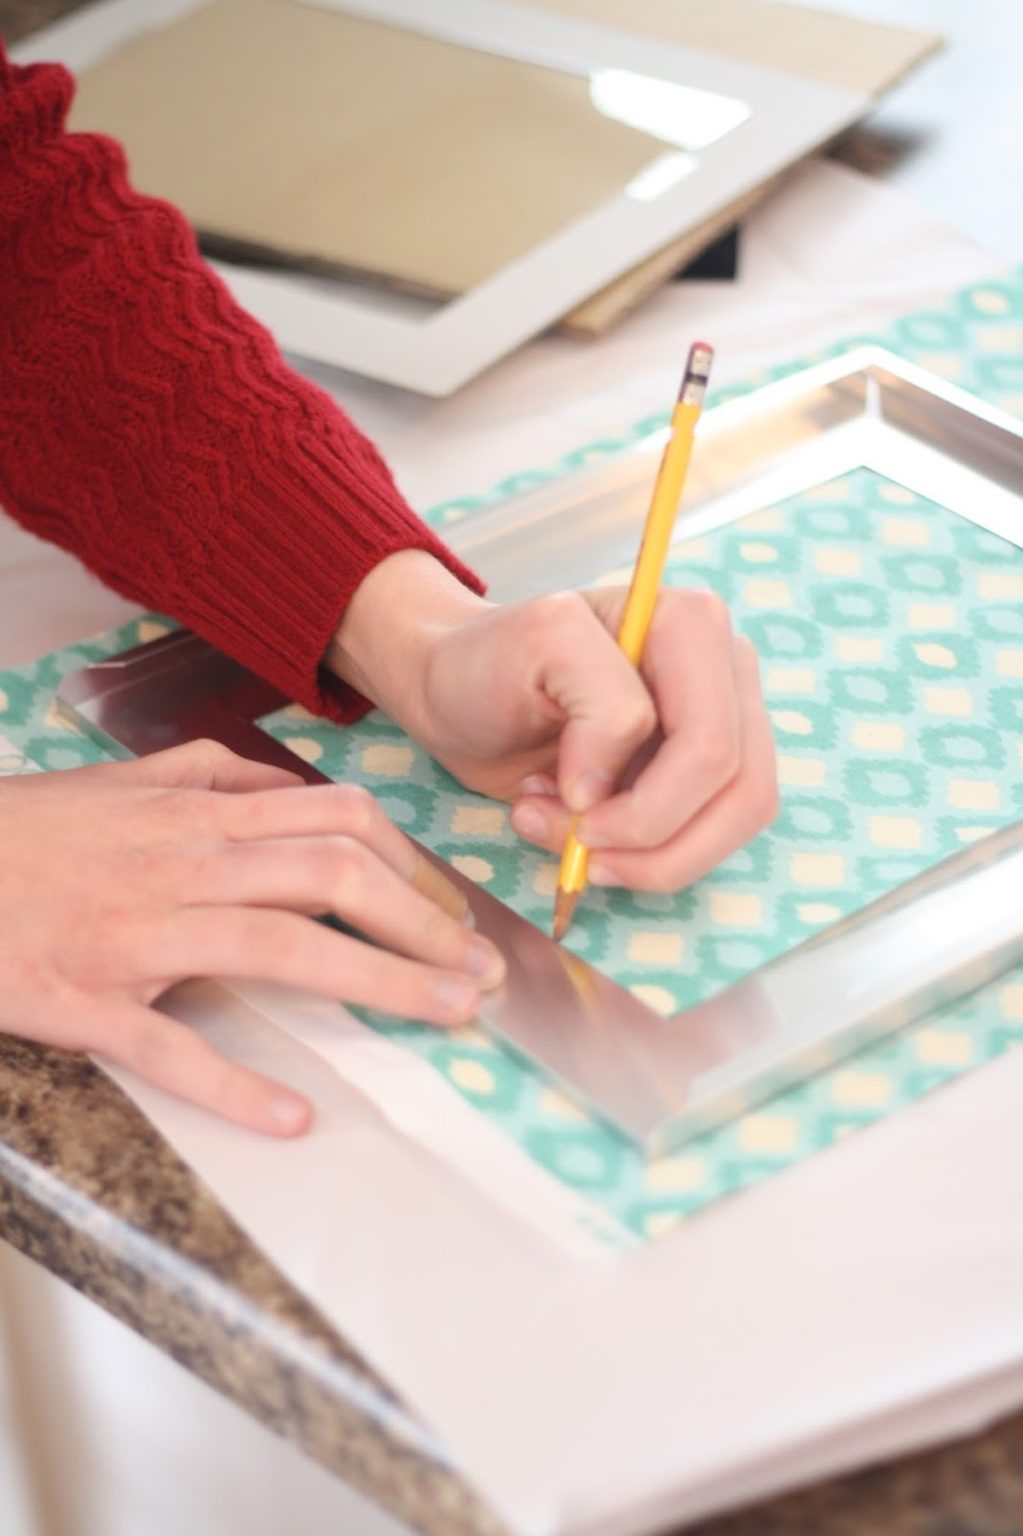
Use the rotary cutter or craft knife to cut the paper or fabric.

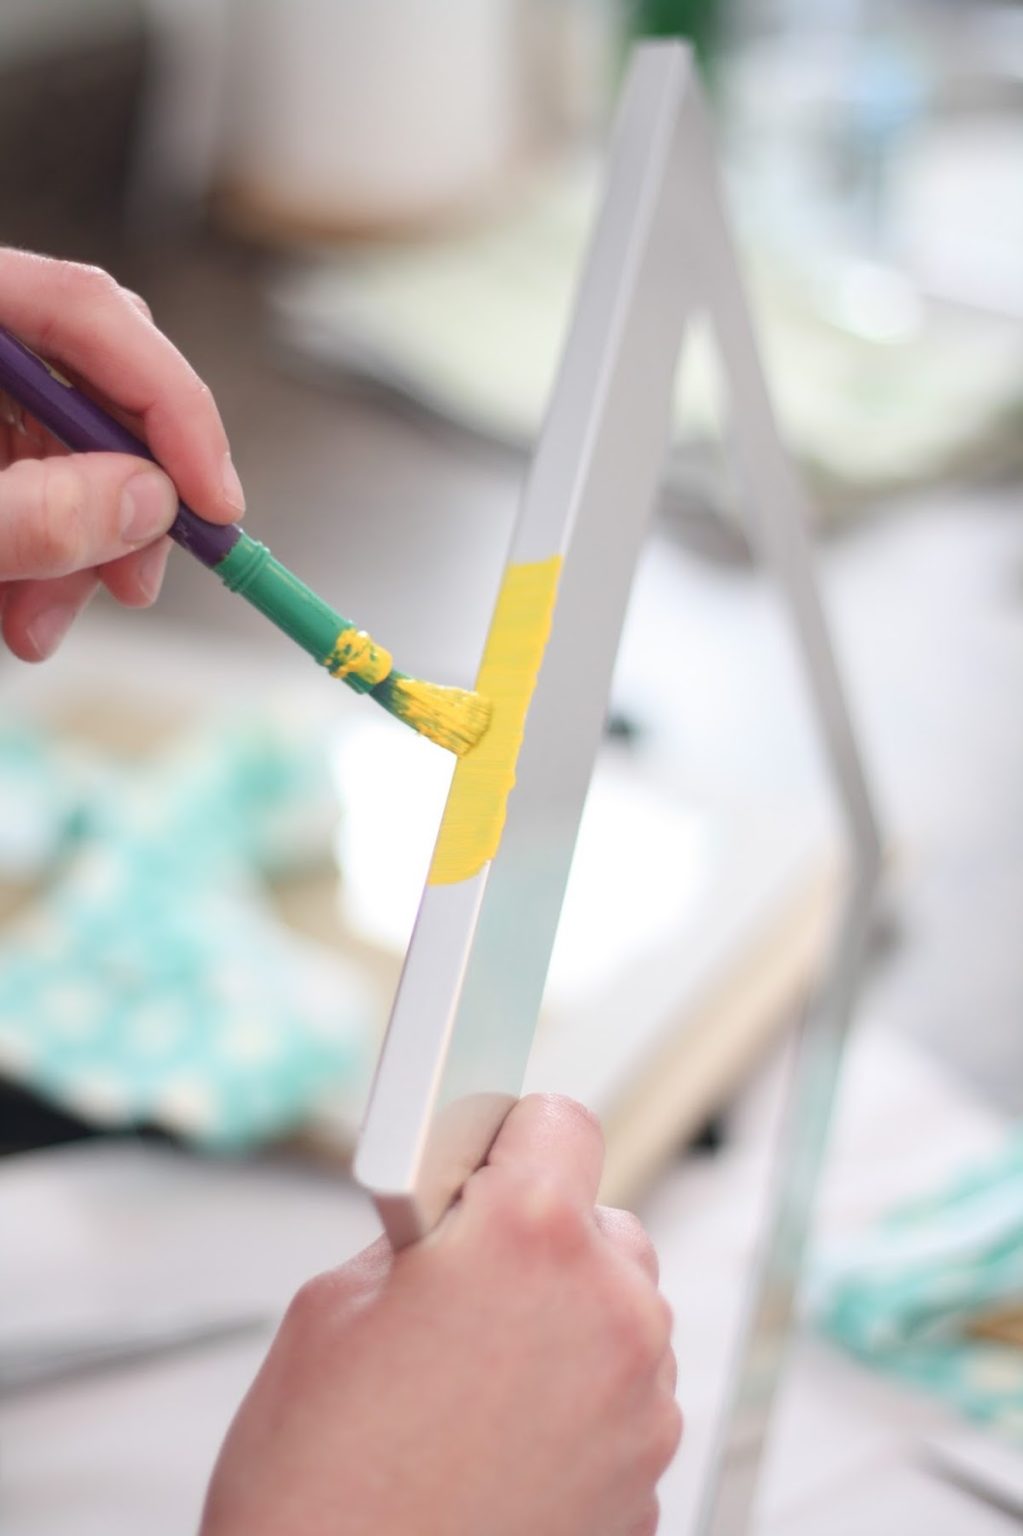
Paint the frame your desired color and let dry.
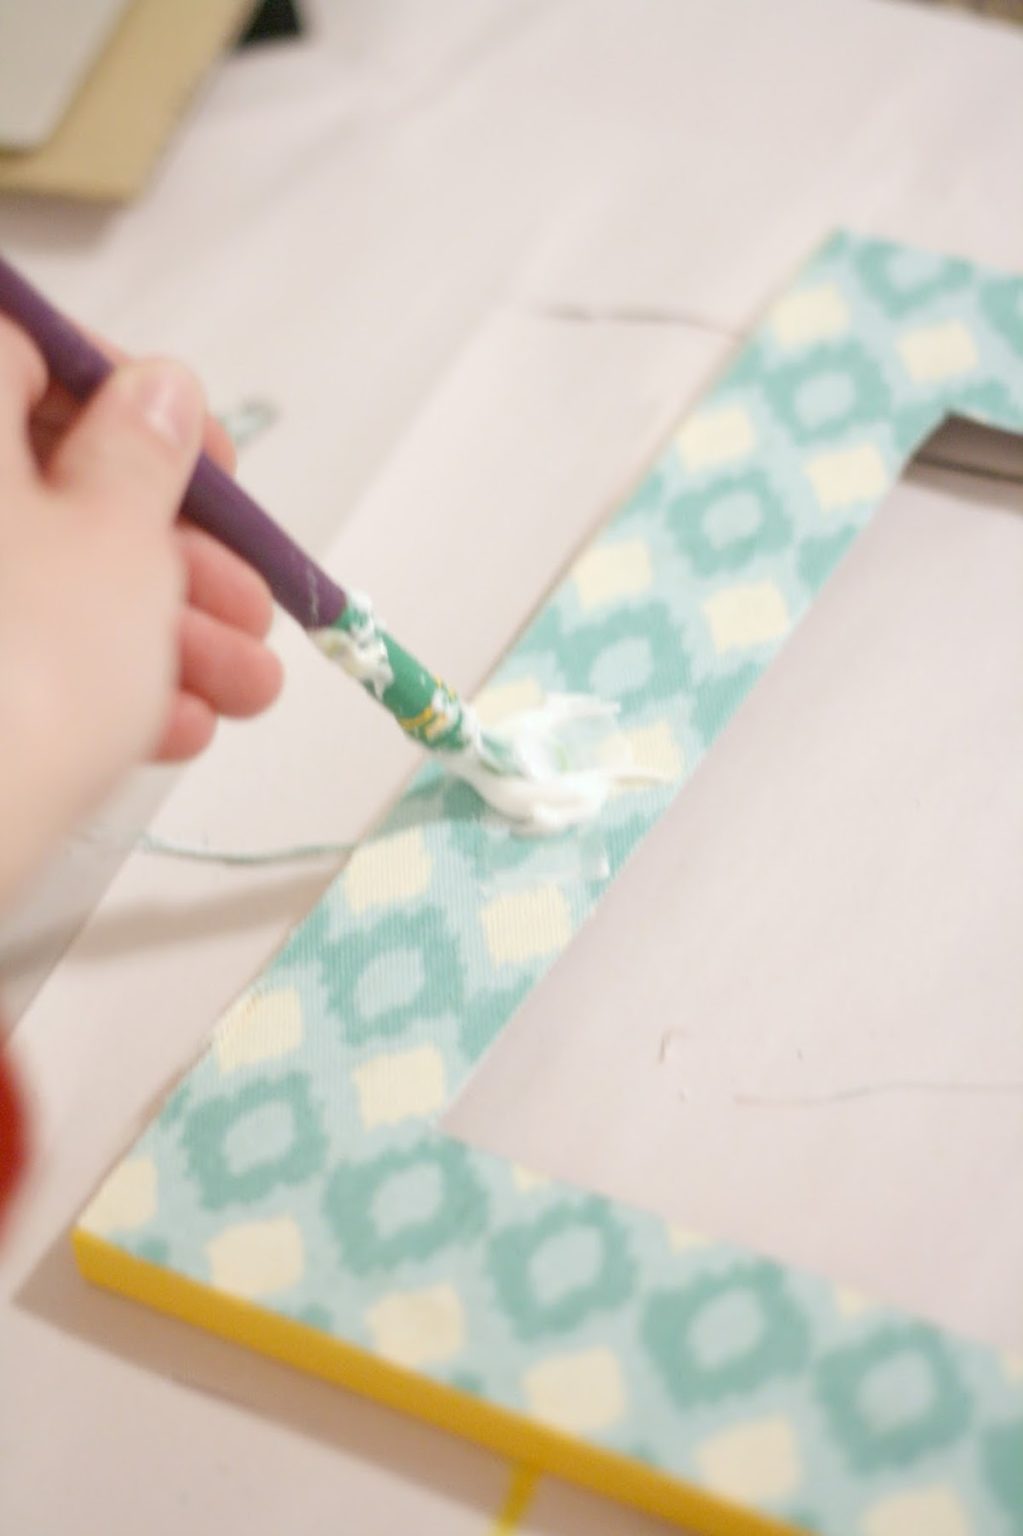
Add Mod Podge to the front of the frame. Apply the paper or fabric and smooth down. Let dry for 15 – 20 minutes.
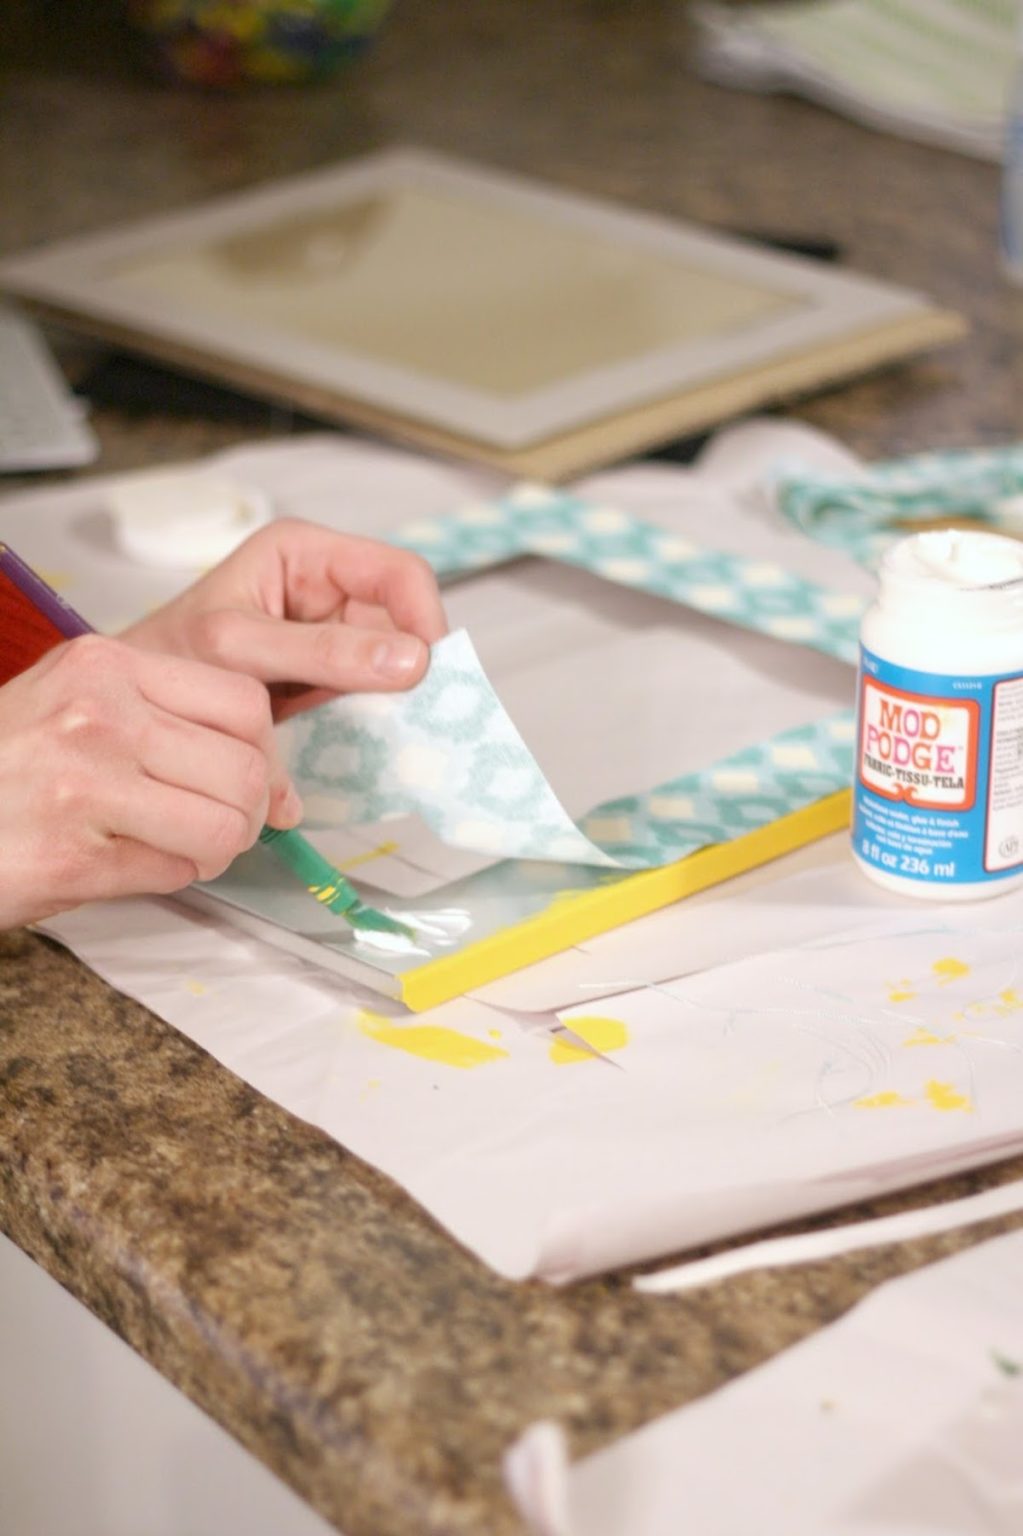
Apply a coat of Mod Podge over the top. Let dry. Repeat and let dry completely before replacing the back of the frame.