Turn Egg Cartons into Charming Bunny Portraits — Easy Upcycled DIY
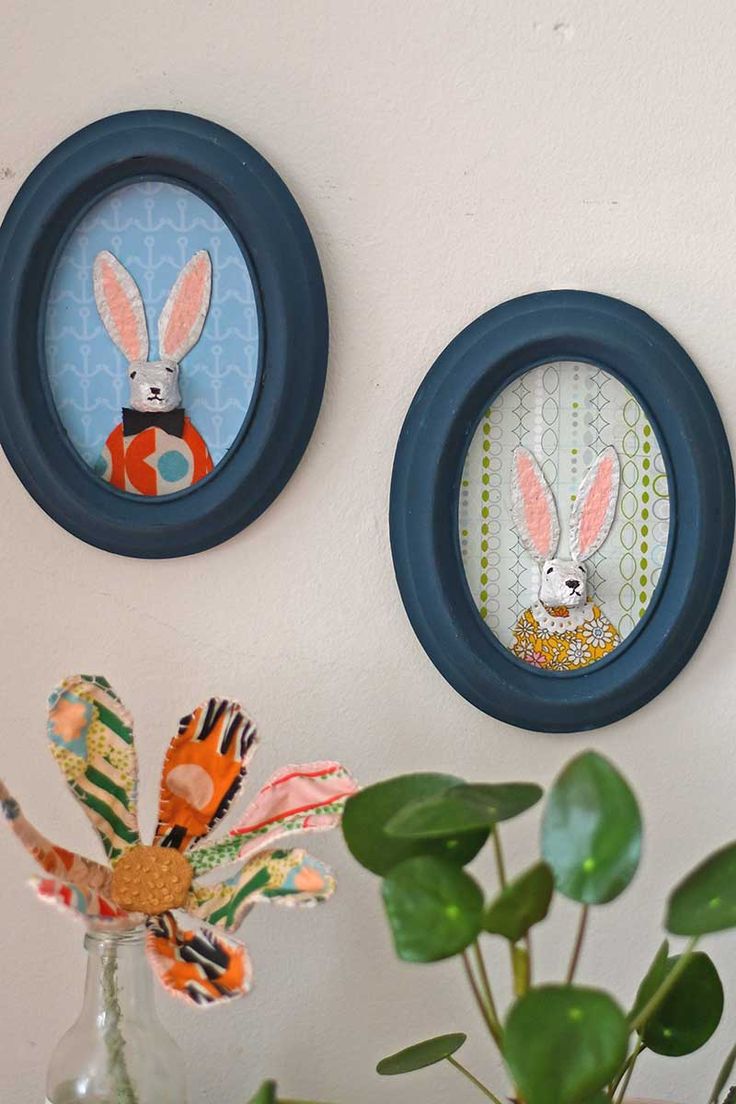
Give discarded egg cartons new life with a sweet, low-waste craft: framed egg box bunny portraits. These tiny, whimsical artworks are quick to make, highly customizable, and perfect for seasonal decor, gifts, or a simple crafty afternoon. Below you'll find a step-by-step guide, materials, and a few finishing ideas to personalize each bunny.
In the whimsical world of upcycled crafts, creating Egg Box Bunny Portraits is like bringing a touch of magic into your art project! By reimagining egg cartons as the canvas for these adorable bunny faces, you are not only embracing creativity but also reducing waste in a fun and innovative way. Each bunny portrait can be personalized with different expressions and colors, making them a delightful addition to your home decor or a charming gift for someone special. Let your imagination hop along with this eco-friendly craft and watch these cute bunny faces bring smiles wherever they go!
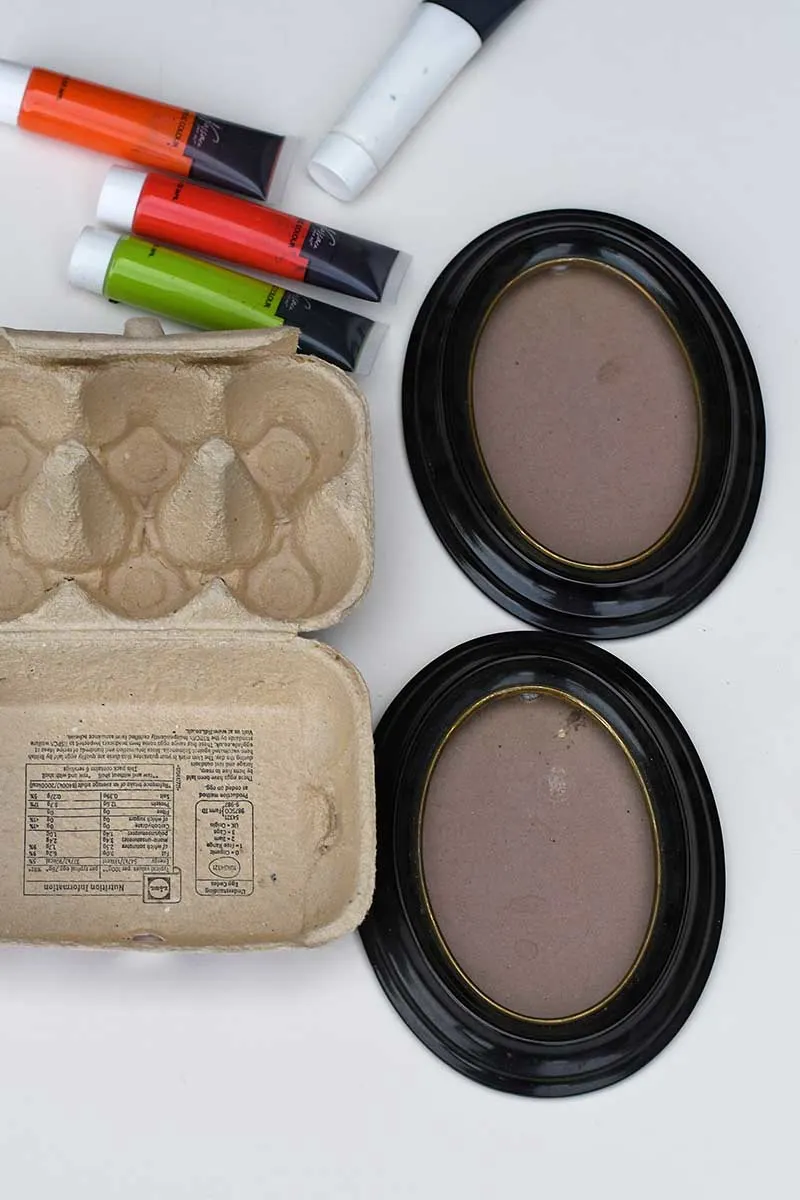
Materials:
- Small oval or square picture frames
- Acrylic paint (I used dusky blue, white and pink)
- Craft paper with a small print (for a wallpaper effect)
- Egg cartons
- Black marker
- Cardboard
- Fabric scraps (or patterned paper)
- Scissors
- Glue
- Optional: Leather or paper for a bow tie, a paper doily for a frilly collar
How to Make Your Egg Box Bunny Portraits:
Step 1: Prep Your Frame
First, give your picture frame a fresh coat of paint. I chose a dusky blue acrylic paint to give mine a soft vintage feel. Let it dry completely before moving on.
Step 2: Create the Wallpaper Background
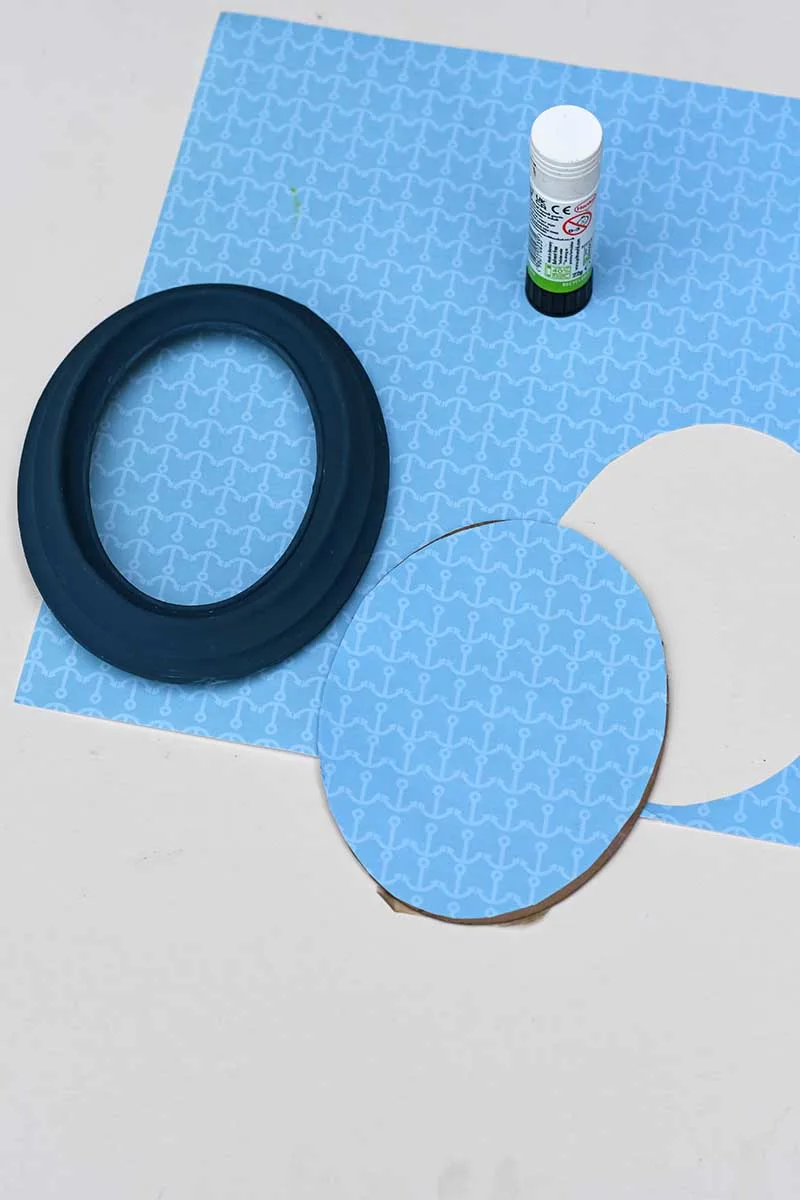
To add a lovely backdrop for my bunny portraits, I picked out some craft paper with a small print—something that looked like old-fashioned wallpaper. I cut it to fit the frame and glued it in place.
Step 3: Make the Bunny Face and Ears
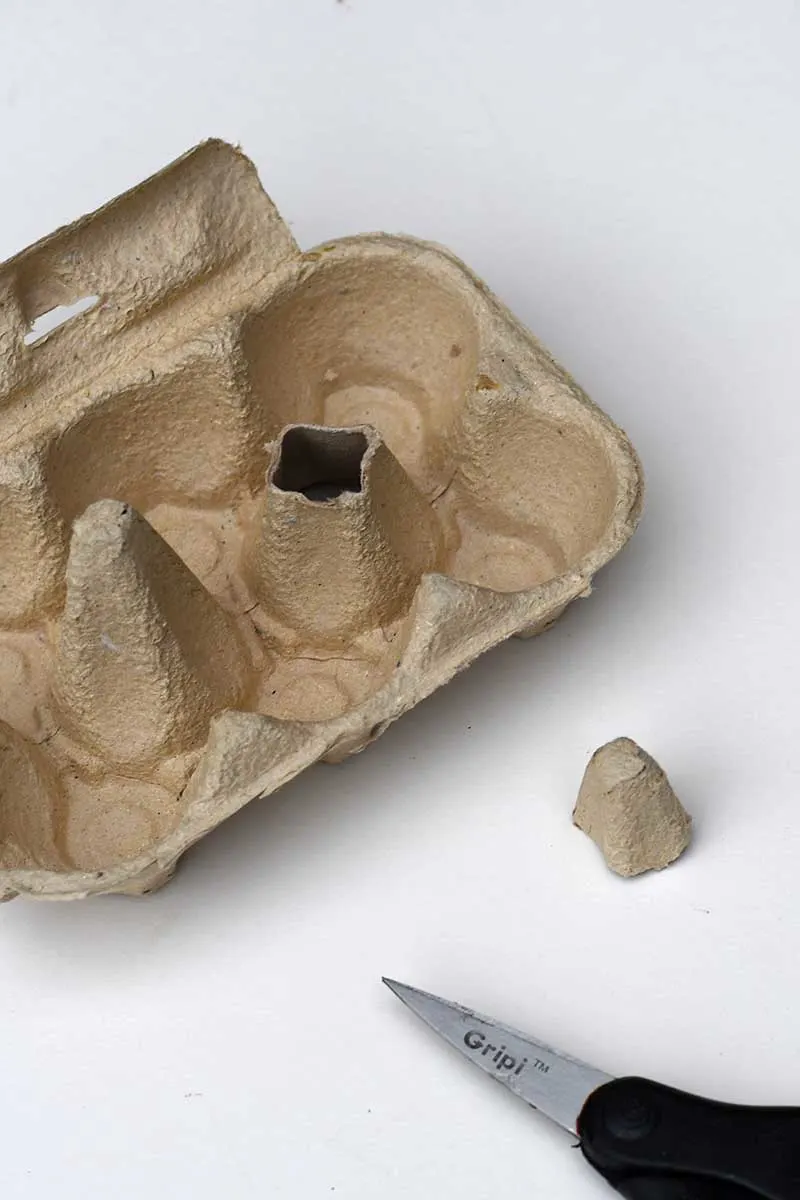
Now for the fun part! Cut out the tip of the centre part of the egg carton—you should end up with a small cone shape about 1–1.5 cm long. This will be your bunny’s face!
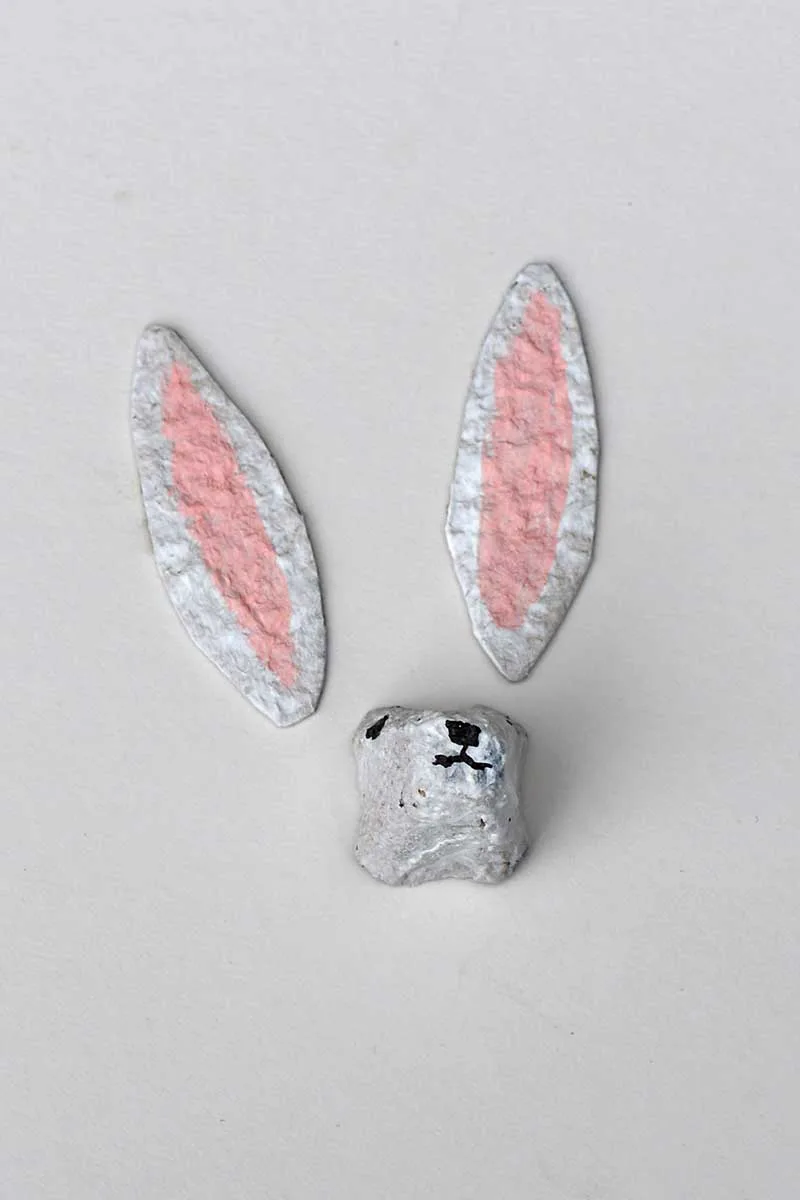
Then, cut two bunny ear shapes from a flat section of the egg box. Paint all of these pieces white and let them dry. Once dry, add pink to the inner ears and use a black marker to draw on a little nose and eyes.
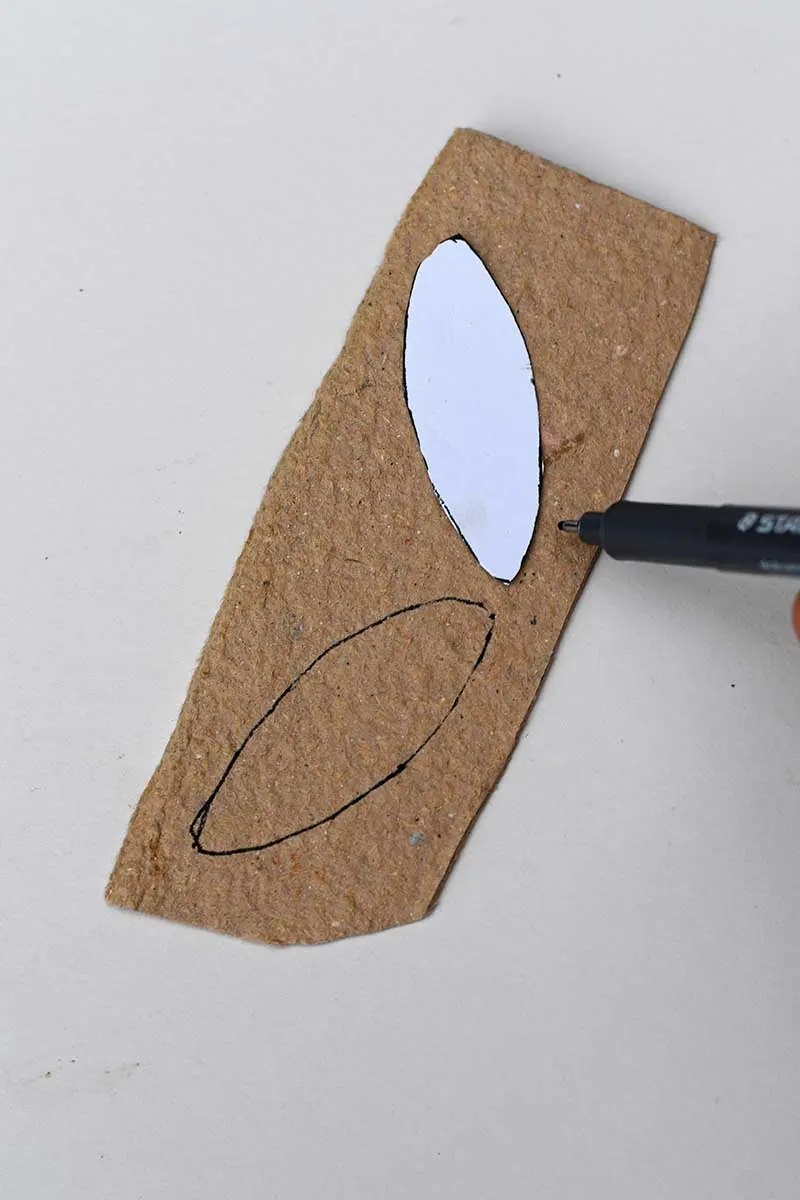
For the bunny ears, I painted the rough side of the egg box to match the texture of the face. The natural roughness of the material also gave the ears a subtle fur-like appearance, adding to their charm.
Step 4: Dress Up Your Bunny
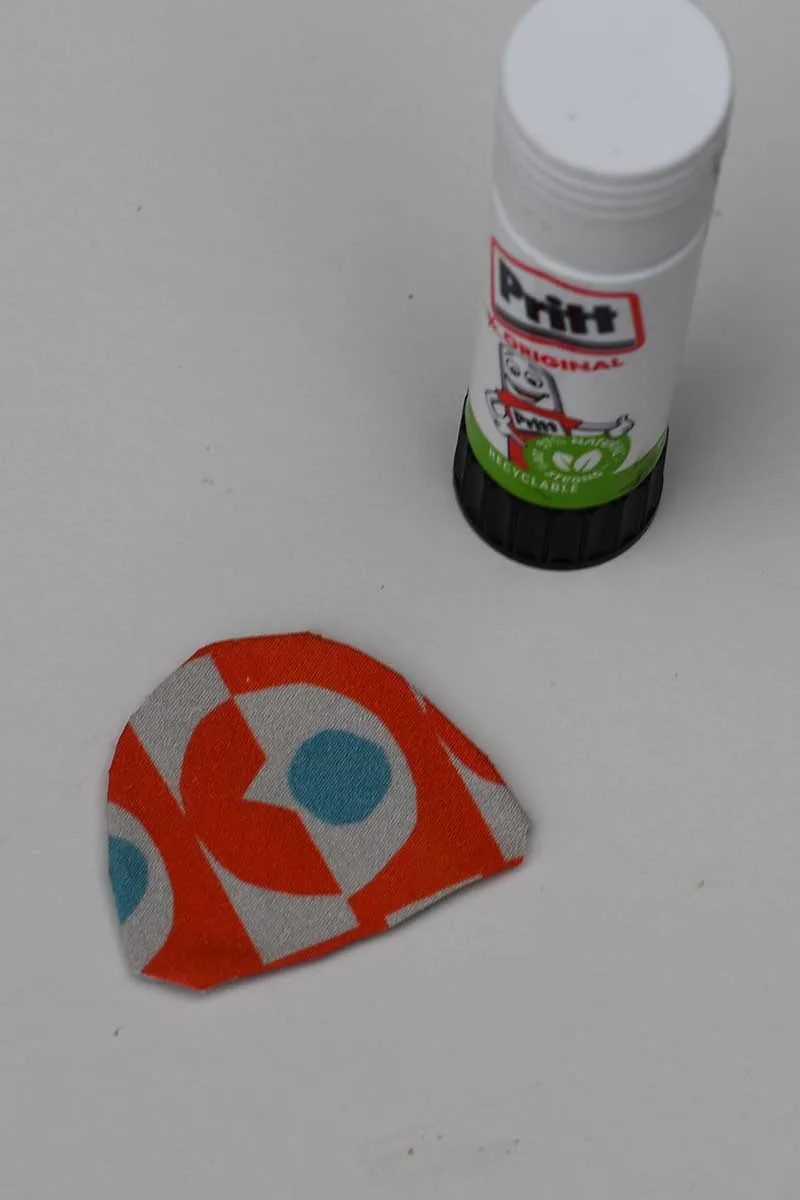
Cut a small shirt shape from cardboard and cover it with a scrap of patterned fabric or paper. This will add personality to your bunny and make it look like a dapper little portrait!
Step 5: Assemble the Bunny Portrait
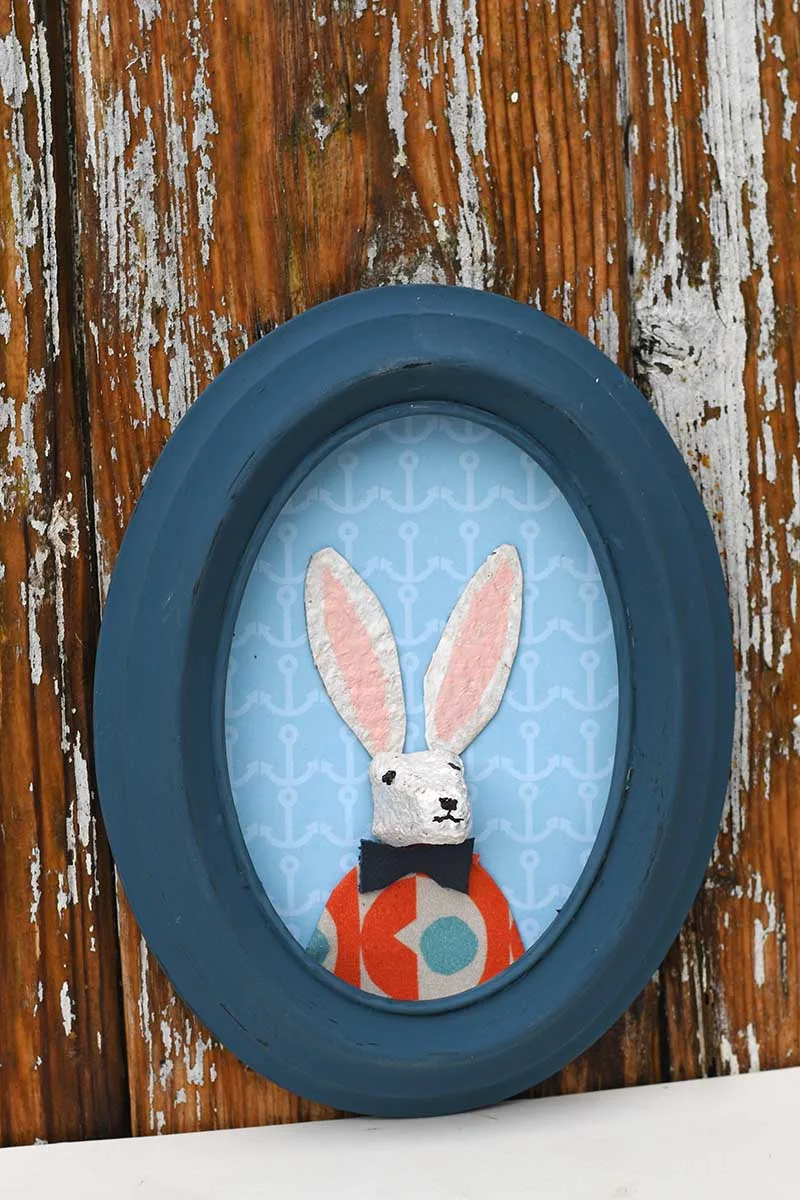
Glue the bunny’s face and ears onto the background inside the frame. Attach the decorated shirt below the face to complete the look. For finishing touches, add small accessories—tiny bow ties, paper doily collars, or other little details to give each bunny character. I made two versions: one with a tiny leather (or paper) bow tie and one with a frilly doily collar.

Tips and variations: try different paint colors and background papers for seasonal looks, vary facial expressions with the marker, or make a mini gallery wall of several portraits in matching frames. These little portraits are a fun way to repurpose egg cartons into charming, handmade decor.