How to Crochet a Charming Mini Scarf — Easy Step-by-Step Pattern
Crochet mini scarves are a quick, stylish accessory you can customize with color and texture. This step-by-step guide walks through materials, stitch directions, shaping (increase → straight → decrease), and finishing so you can make a neat little scarf to wear or gift. Follow the measurements and blocking tips below to get a tidy, even result.
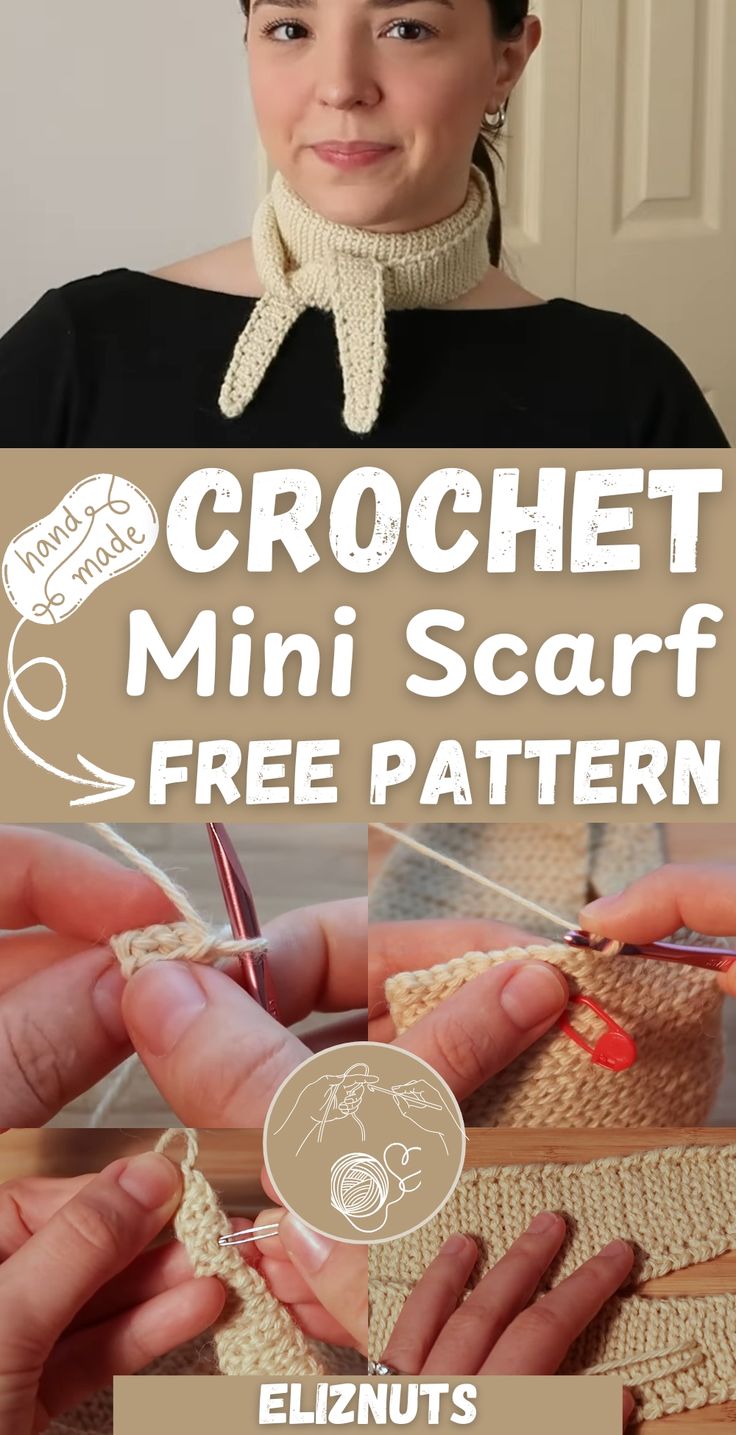
Work-in-progress mini scarf showing the overall shape.
Materials
- DK or light worsted weight yarn
- 4.5 mm crochet hook
- Yarn needle
- Measuring tape
Overview & measurements
Follow the pattern to increase until the piece is 18 stitches wide, work a straight middle section until it measures approximately 21–22 cm, then decrease to finish. After completing, block the scarf to the final stretched measurement indicated in the blocking instructions.
Getting started
- Make a slip knot and insert your hook.
- Chain 3. The first two chains count as your first two stitches.
Increasing section
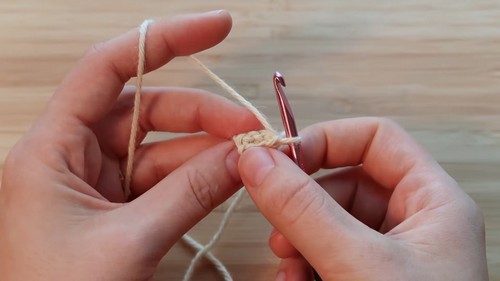
Detail of the stitch work during the increasing section (front loops and starting increases).
Rows 1–5: Slip stitch into the back bumps of the foundation chain for Row 1. Work into the front loops only for all following rows. At the end of each row, chain one and turn.
Increase row (every 5 rows): Increase one stitch by working two slip stitches into the same front loop. Continue this increase pattern until your piece reaches 18 stitches wide.
Middle section
Work slip stitches in the front loop only. Do not increase. Continue until the scarf measures approximately 21–22 cm.
Decreasing section
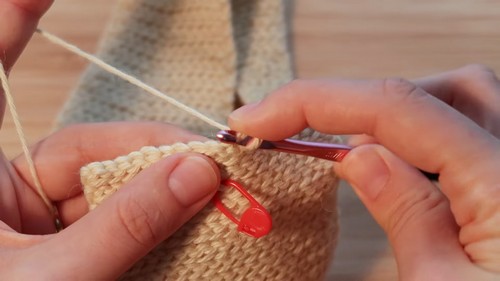
Close-up of a decrease row where two front-loop stitches are worked together.
Rows 1–4: Work four rows without decreasing. Row 5 (Decrease Row): Work two stitches together — insert the hook into the front loops of two stitches, yarn over and pull through all loops on the hook. Repeat this 5-row pattern until only two stitches remain. Work five final rows with just two stitches.
Border
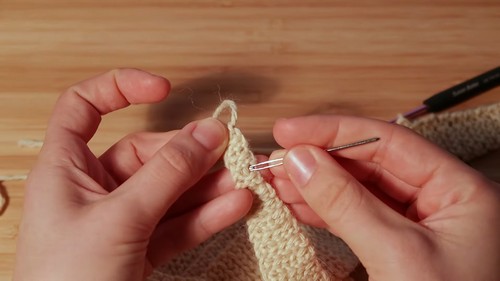
Working a fancy single-crochet border around the scarf edge for a neat finish.
Work a fancy single crochet around the entire edge of the scarf: insert hook, pull up a loop, wrap yarn behind and to the right of your hook then in front, yarn over and pull through two loops. Connect the border with a slip stitch into the beginning stitch. Chain one, leave a tail, cut the yarn and pull it through to secure.
Blocking

Blocking the mini scarf pinned flat to set the shape and size.
Soak the scarf in lukewarm water with a small amount of wool wash for 15 minutes. Gently squeeze out excess water, stretch the scarf to 110–120 cm and pin on a blocking mat. Let dry overnight.
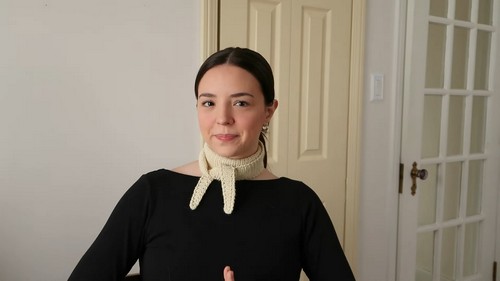
Finished mini scarf, trimmed and ready to wear or gift.
Finishing tips
- Weave in all ends neatly with a yarn needle.
- Adjust the border or blocking stretch to suit your desired final look.
- Personalize with tassels, buttons or different yarn textures, if desired.