Transform Any Chair: Easy DIY Chair Cushion with Ties (Step-by-Step)
Give a plain chair an instant comfort and style upgrade with a handmade cushion that ties on. This easy DIY project lets you choose fabric, thickness, and trim to match your decor. Below is a clear, step-by-step guide with photos showing how to measure, cut, sew, stuff, and add tied straps and covered buttons if you like.
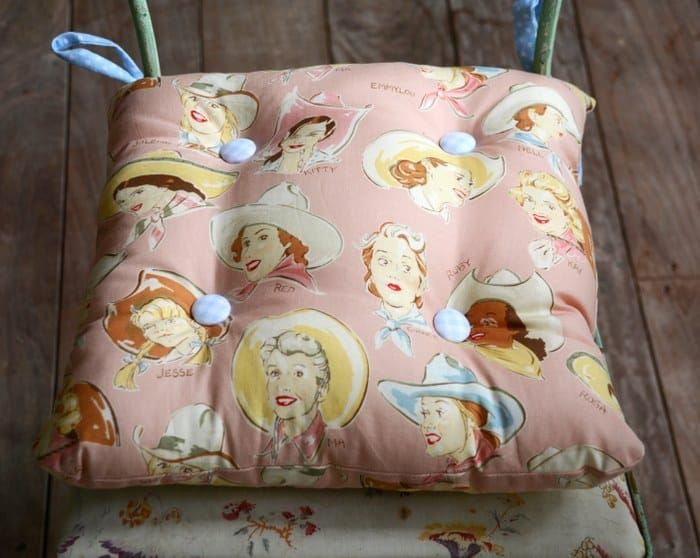
Finished cushion tied to a chair — a simple way to add comfort and style.
Equipment
- Covered Button Kit
- Ruler
- Marking Pen
- Scissors
- Sewing machine and thread
- Hand sewing needle and thread
Materials
- Fabric for cushion — about a half yard will do for most small to medium chairs
- Fabric scraps or ribbon/trim for ties
- Fabric scraps for buttons (if making covered buttons)
- Fiberfill (polyfill) or other stuffing
Instructions
1. Measure the chair seat. Add 2" to both length and width — this gives you 1/2" seam allowance on each side plus an extra inch for a puffed look.
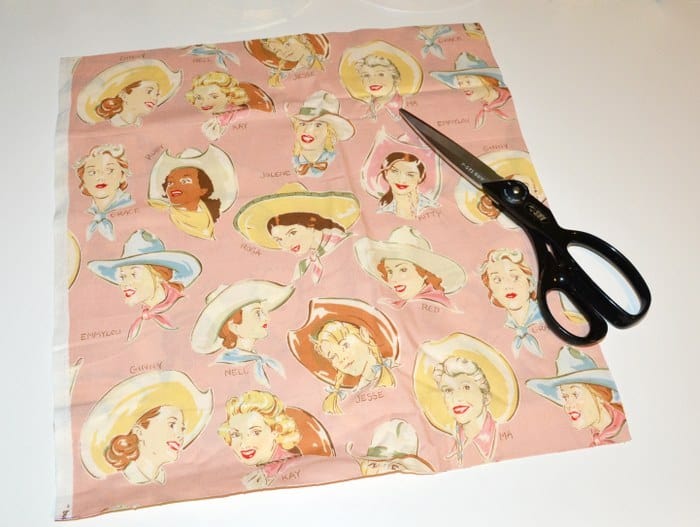
Measure your seat and add seam and puff allowances before cutting your fabric.
2. Cut two pieces of fabric to your decided size — one for the front and one for the back. Stack them right sides together, fold in half, and trim the bottom edge to a rounded shape if desired.
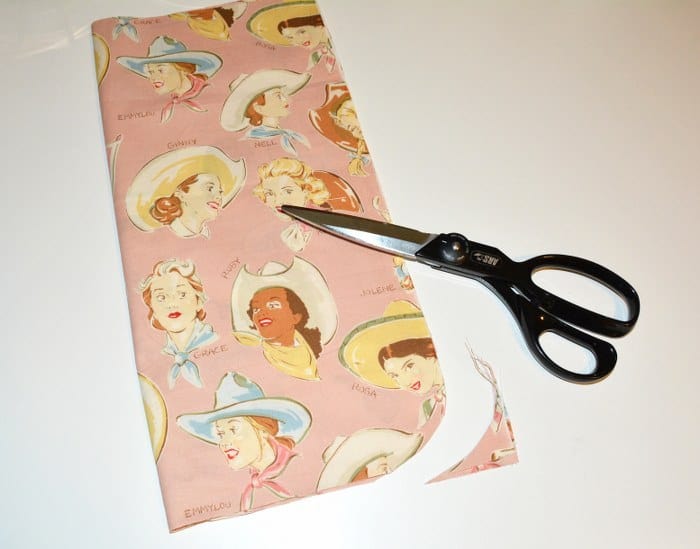
Front and back fabric pieces folded and the bottom edge rounded for a softer shape.
3. Cut ties: cut two strips 20" x 2" each (or use ribbon/trim instead).
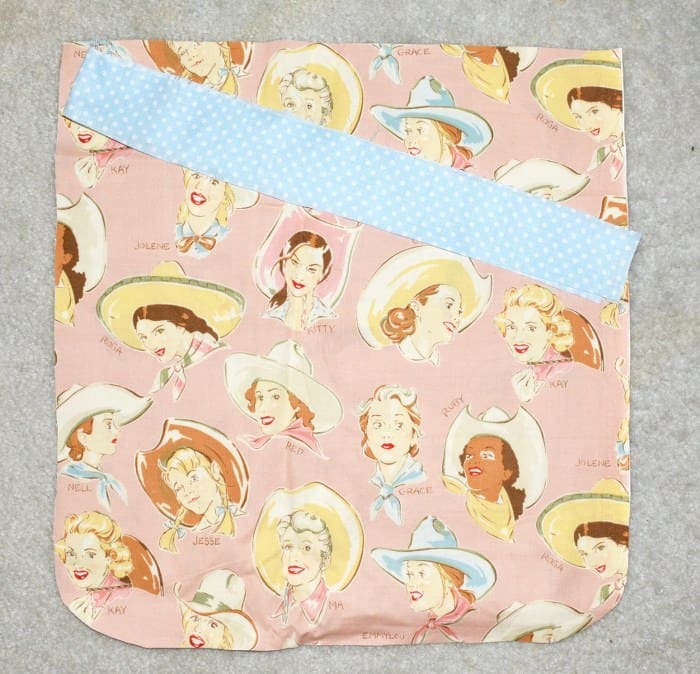
Cut long strips for ties; you can substitute ribbon or ready-made trim.
4. If making ties from fabric: fold a tie lengthwise with right sides together and press. Stitch along the long side and across one end.
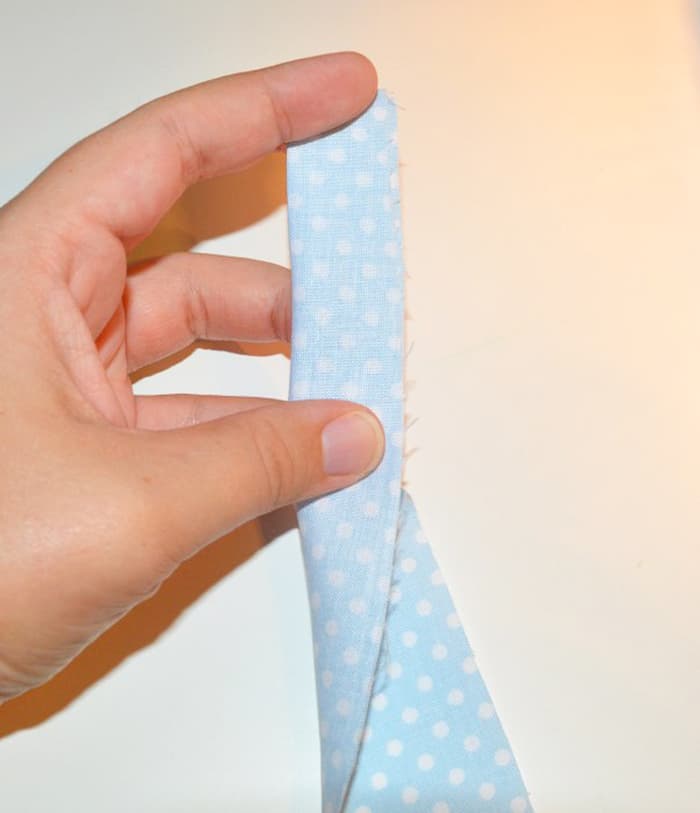
Fold tie lengthwise and stitch the long edge to form a neat strap.
5. Turn the tie right side out, tuck the raw edge in, and stitch the open end closed.
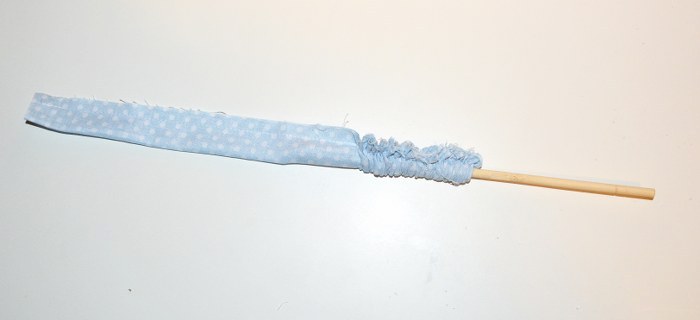
Turned right-side-out tie with the end stitched closed for a clean finish.
6. Cut each long tie into two equal pieces so you have four ties total.
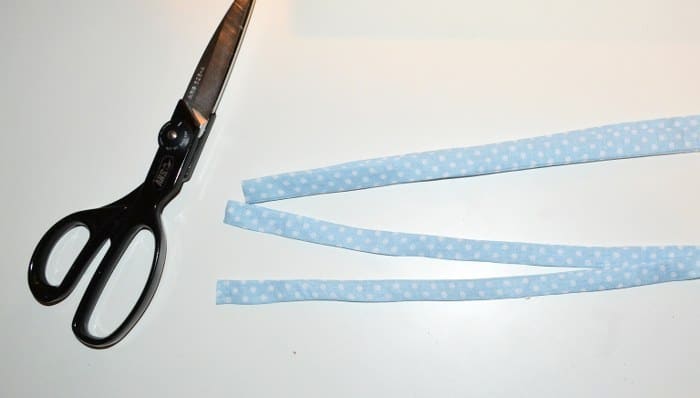
Cut the sewn tie in half to create four ties for the cushion.
7. With the front and back pieces right sides together, pin the ties into the seam allowances at the back: place two ties on the right and two on the left, about 1½" from the edges. Make sure ties face inward toward the cushion center and raw edges align with the cushion raw edges.
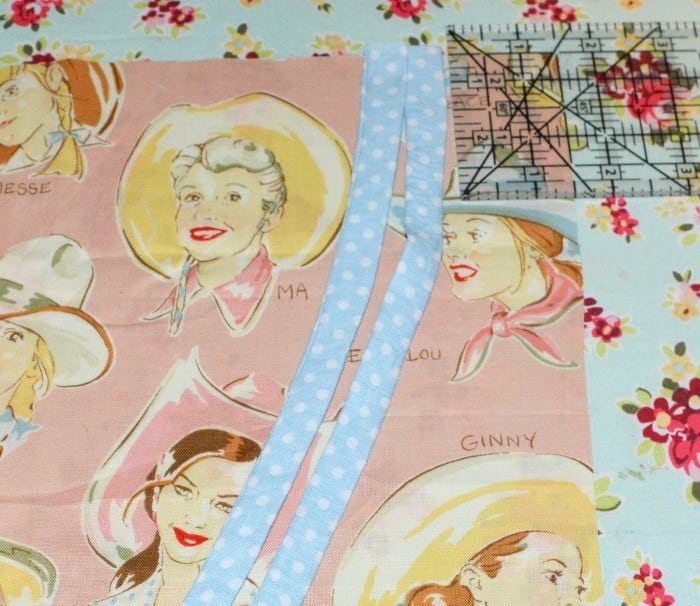
Pin ties between the front and back fabric, positioned where they will be sewn into the back seam.
8. Stitch around the cushion edges: sew across the back, pivot and sew down one side, across the bottom, up the other side, and finish across the back, leaving an opening between the ties for turning and stuffing.
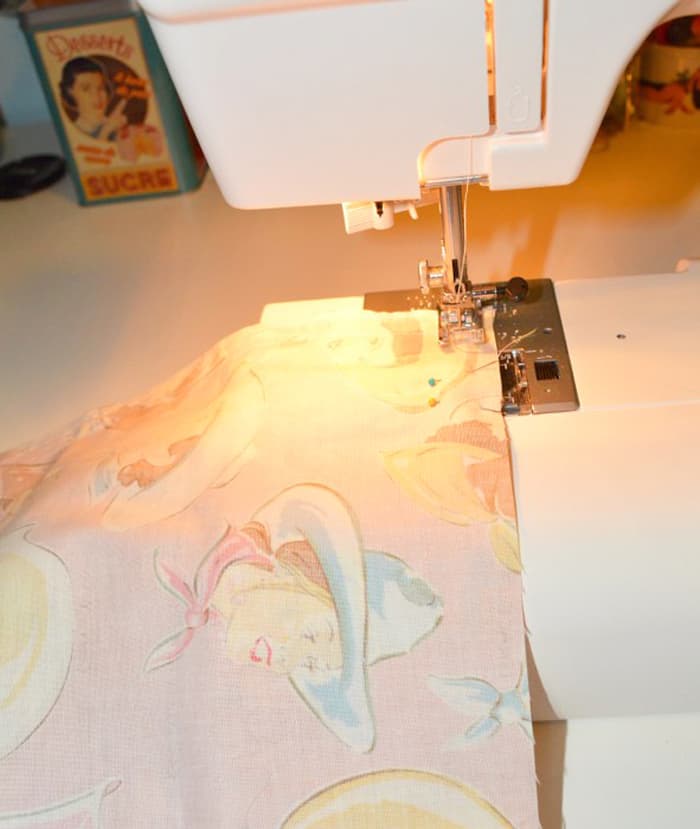
Sew around the cushion, leaving an opening in the back for stuffing.
9. Clip curves and corners close to the seam to reduce bulk and help the cushion turn smoothly.
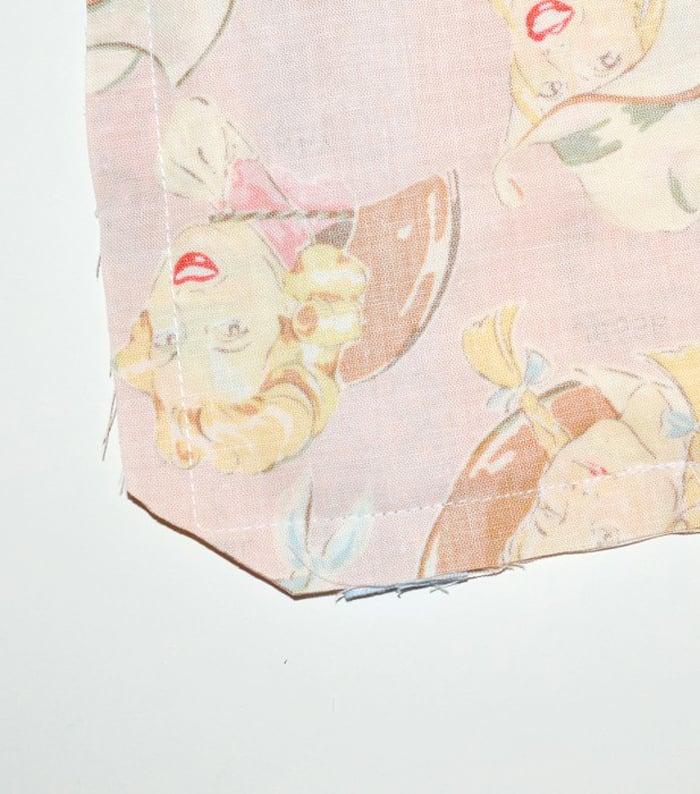
Clip seam allowances around curves and corners for a neater finish.
10. Turn the cushion right side out through the opening.
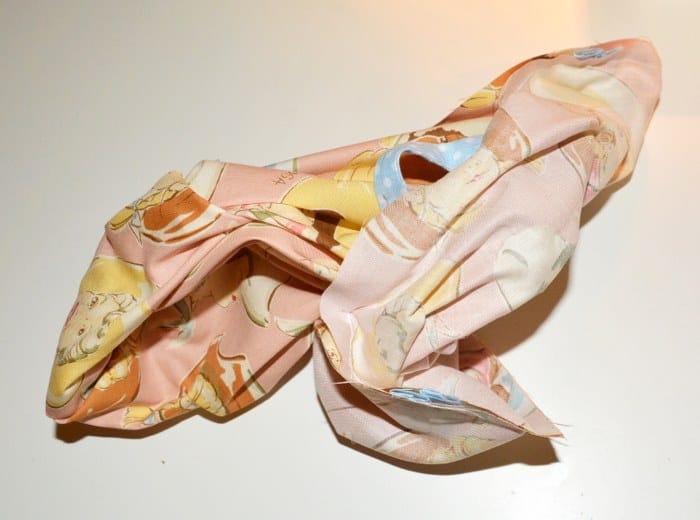
Turn the cushion through the back opening so the right side is out.
11. Stuff the cushion with polyfill (or preferred stuffing) to your desired fullness. Close the opening by hand using a blind/ladder stitch or a whip stitch.
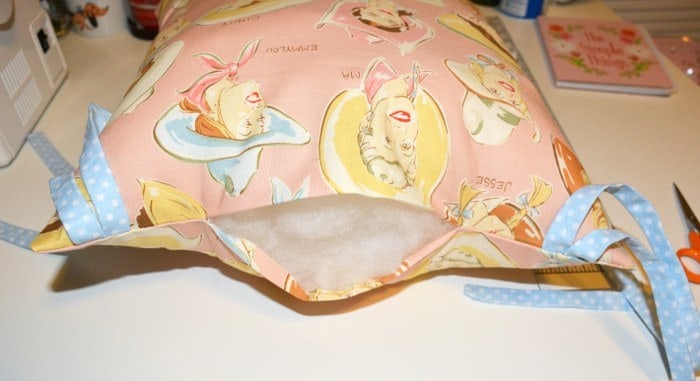
Stuff the cushion evenly, then hand-stitch the opening closed.
12. (Optional) Add covered buttons: use your covered-button kit and fabric scraps to make buttons according to your kit instructions.
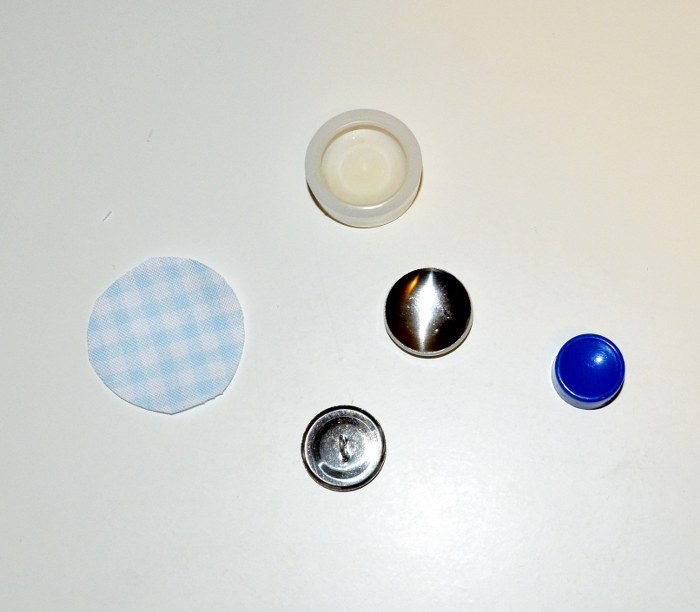
Use a covered-button kit and fabric scraps to create matching buttons.
13. Mark button placement on both front and back, bring a threaded needle up through the marked spot, thread the button, and sew back down through to the back. Repeat the stitches a few times, pull tight so the button sinks slightly into the cushion, and tie off.
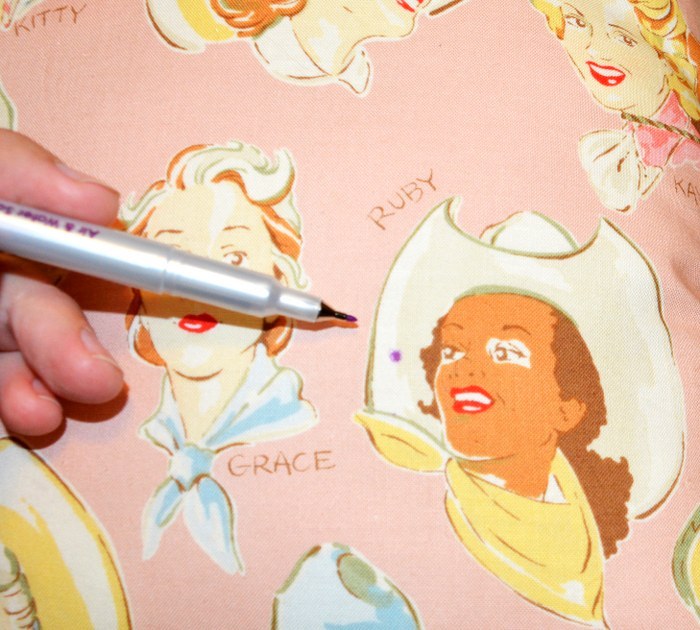
Mark button locations on the cushion before sewing buttons in place.

Bring the needle up through the fabric at the marked spot to start sewing the button.
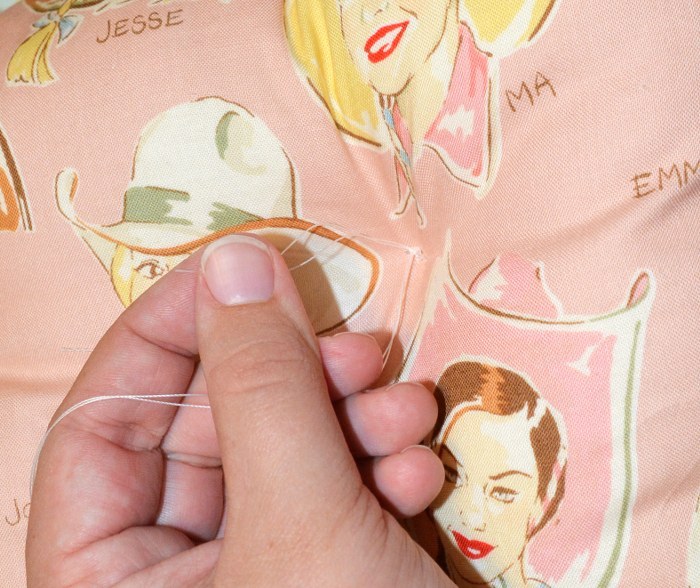
Thread the covered button, sew it in place, and repeat stitches to secure.
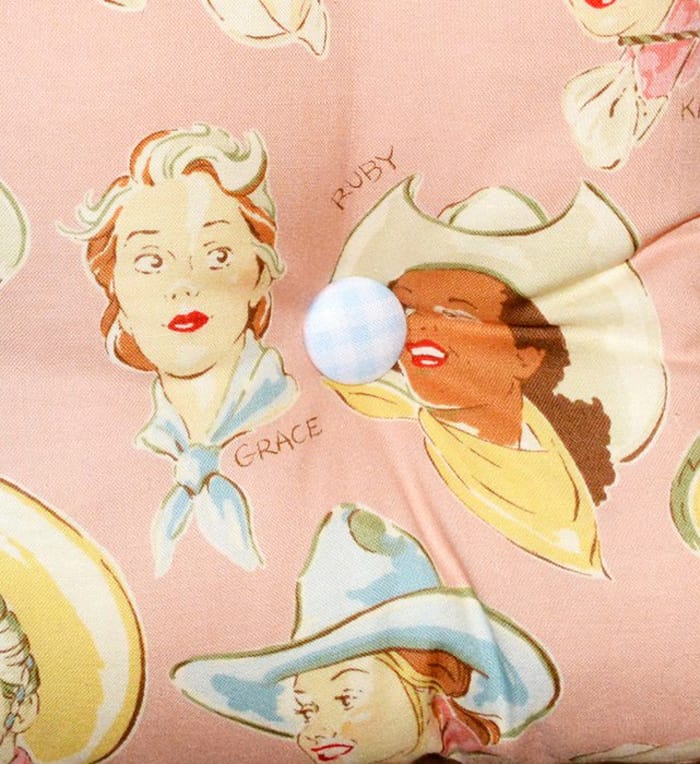
Pull the thread tight so the button sinks into the cushion and tie off securely.
14. Trim any excess thread and tie the cushion to the chair using the ties you sewed in. Adjust fullness and button placement as needed.
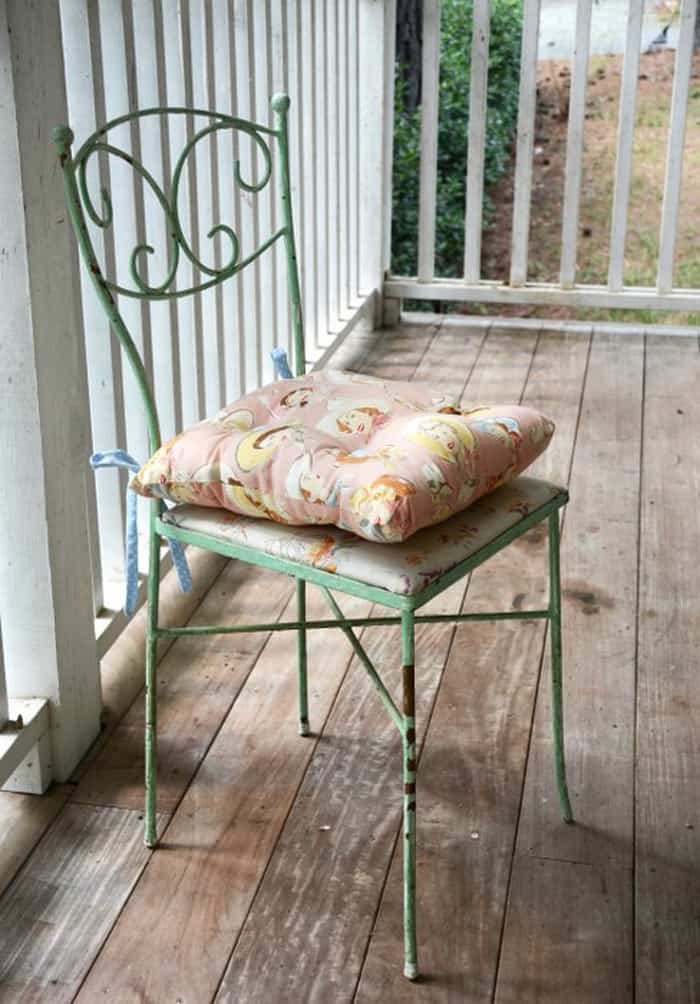
Tie the finished cushion to the chair and enjoy the added comfort.
Notes
Example: My seat was 15 x 17", so I used fabric cut to 17 x 19".
Instructions for my covered-button kit: Place the fabric right side down into the rubber cup, insert the top of the button face down into the cup, gather the fabric into the back side of the button front. Place the button back shank side up onto the gathered fabric and press the back of the button into the cup with the little plastic piece included in the kit until it snaps together. Repeat for additional buttons.