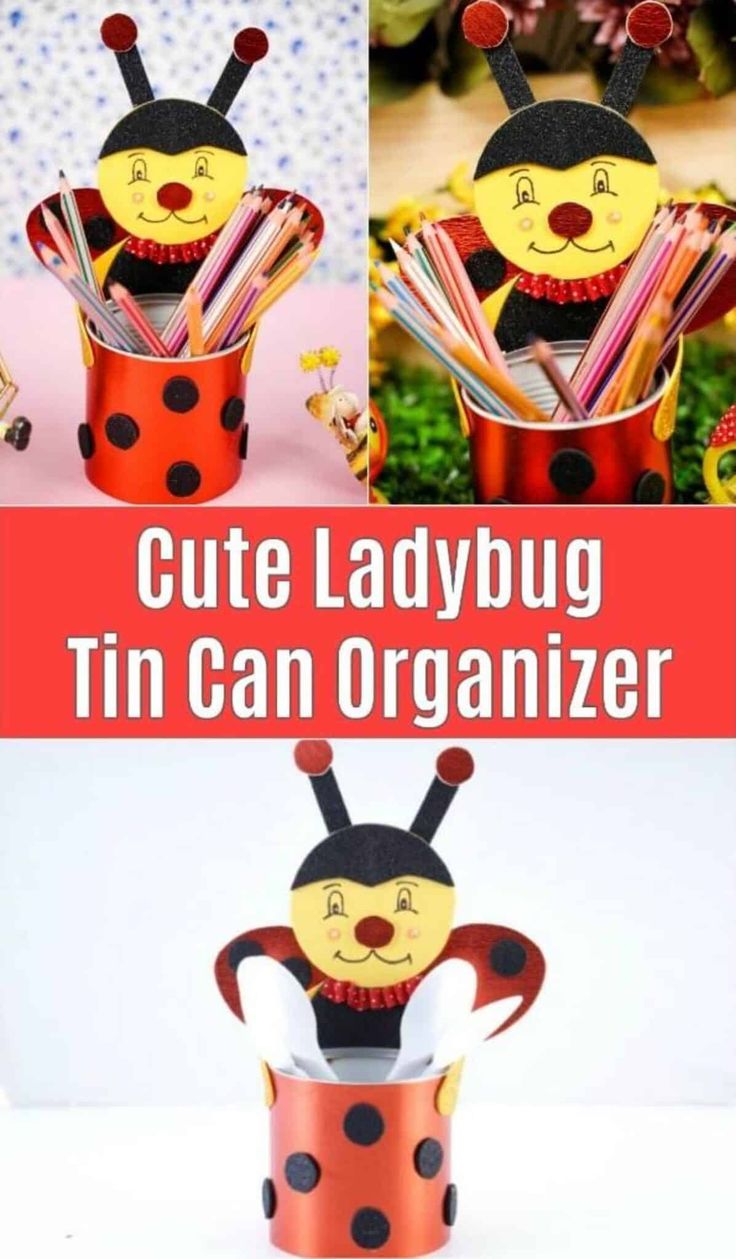
Transform Tin Cans into an Adorable Ladybug Organizer — Easy Upcycled DIY
Turn an ordinary tin can into a charming ladybug organizer with just a few simple craft supplies. This easy upcycle adds cheerful, functional decor to your desk or craft area while keeping small items tidy. Follow these step-by-step photos and instructions to create your own whimsical tin can ladybug.
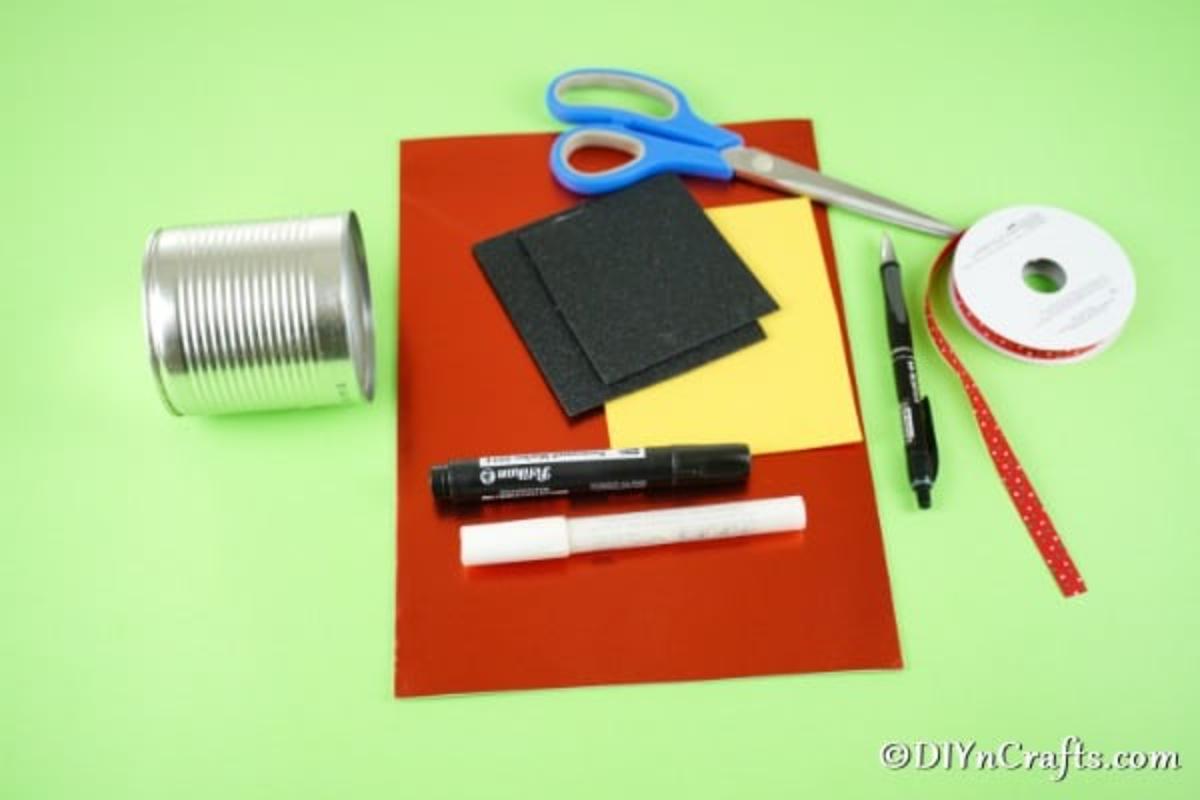
Supplies Needed
Tin can
Red foam paper (I used a shiny option)
Black foam paper
Yellow foam paper
White paint pen
Satin ribbon
Black marker
Scissors
Craft glue
How to Make an Upcycled Tin Can Ladybug Organizer
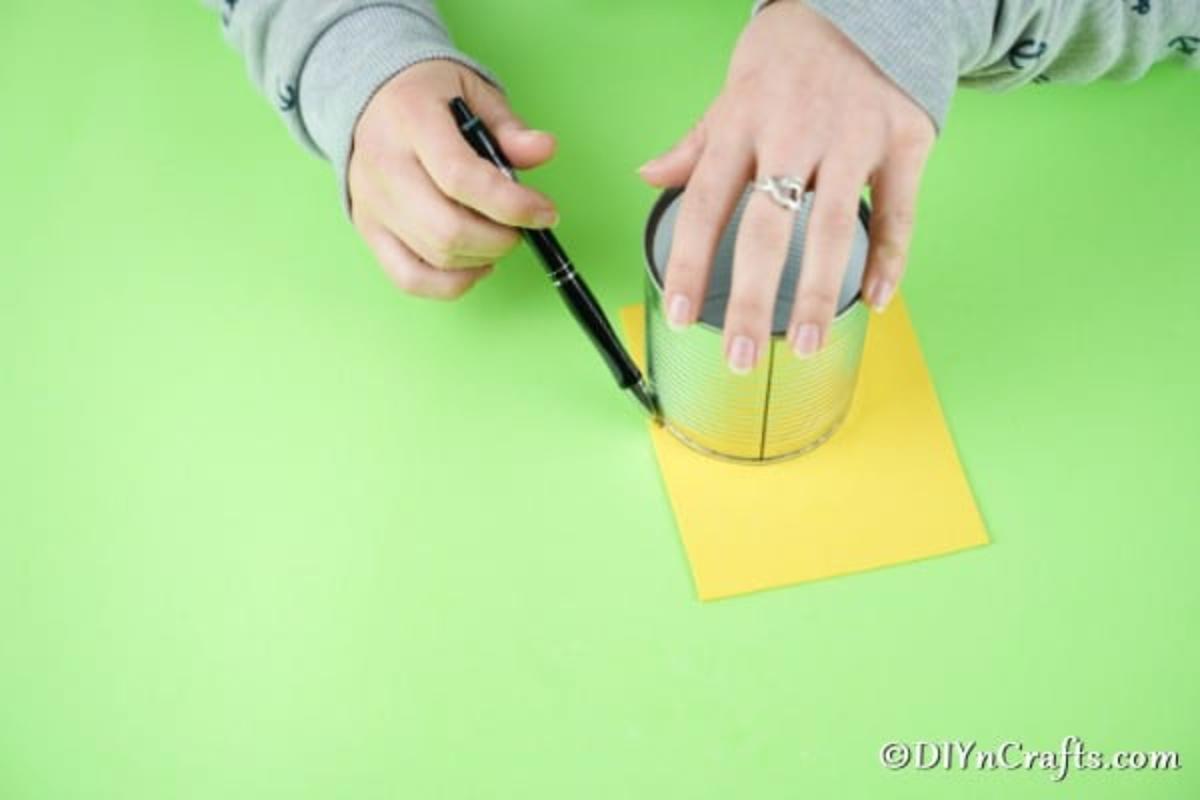
To begin, make sure your tin can is clean and free of any sharp edges. You will start by tracing a circle onto the yellow paper using the can as a guide.
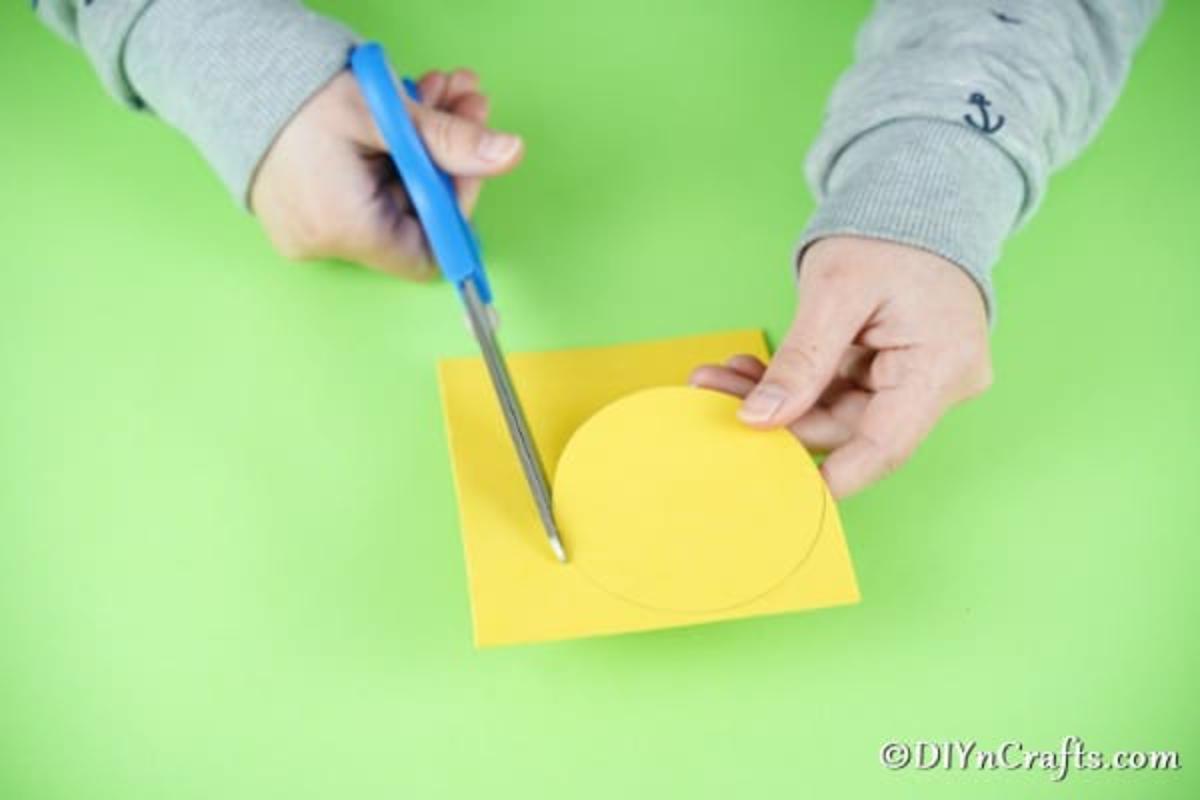
Cut out the circle and set it aside.
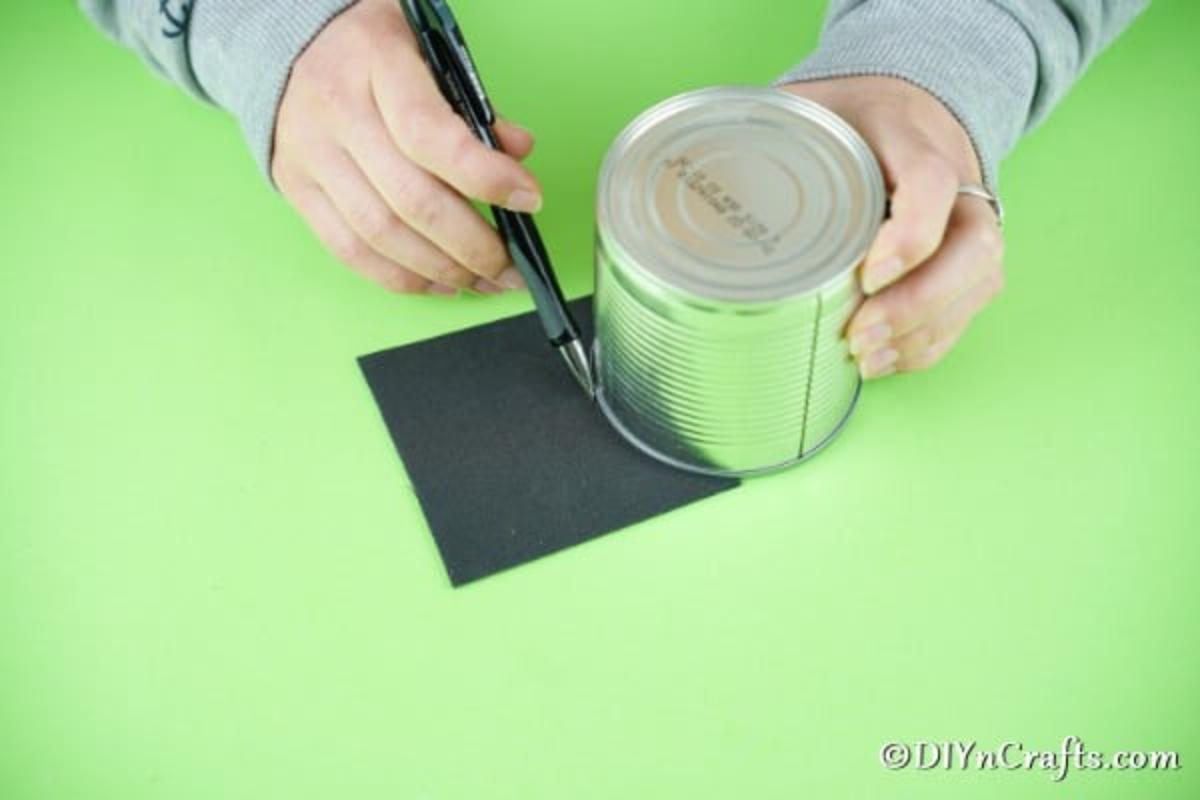
Now, use the can to trace and create a half circle on the black paper.
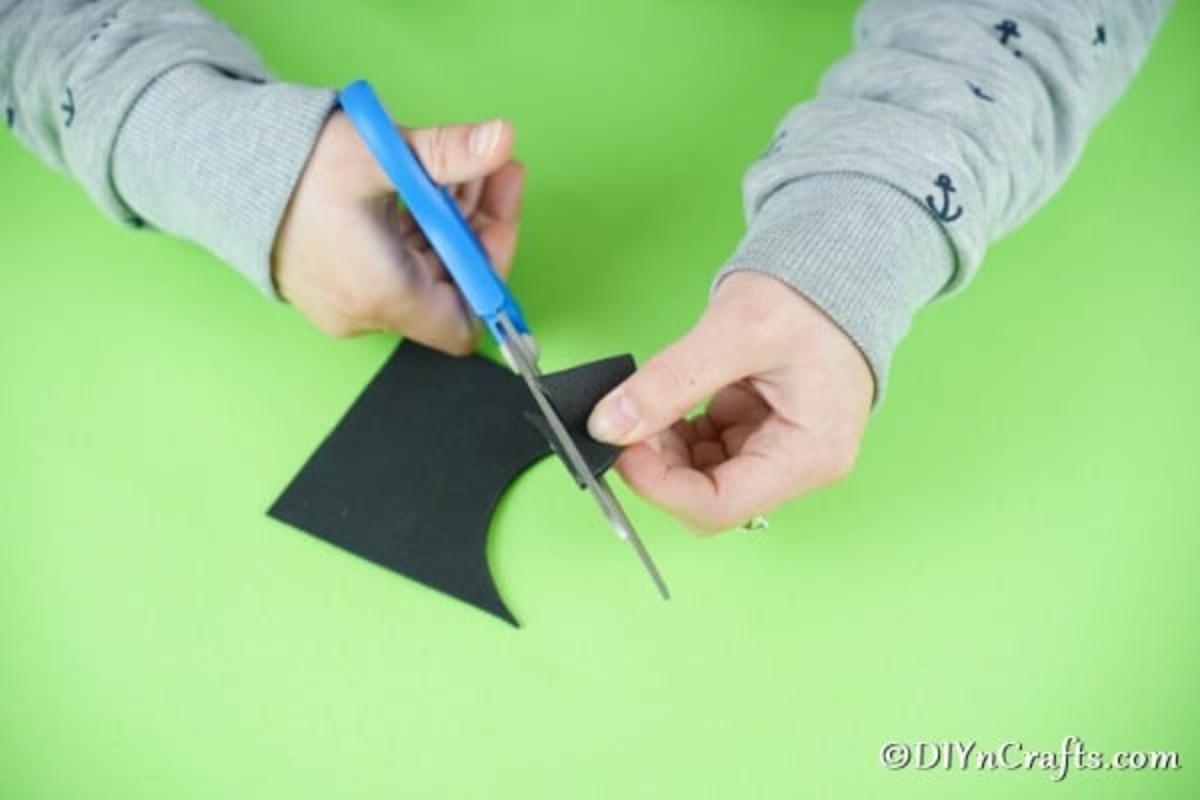
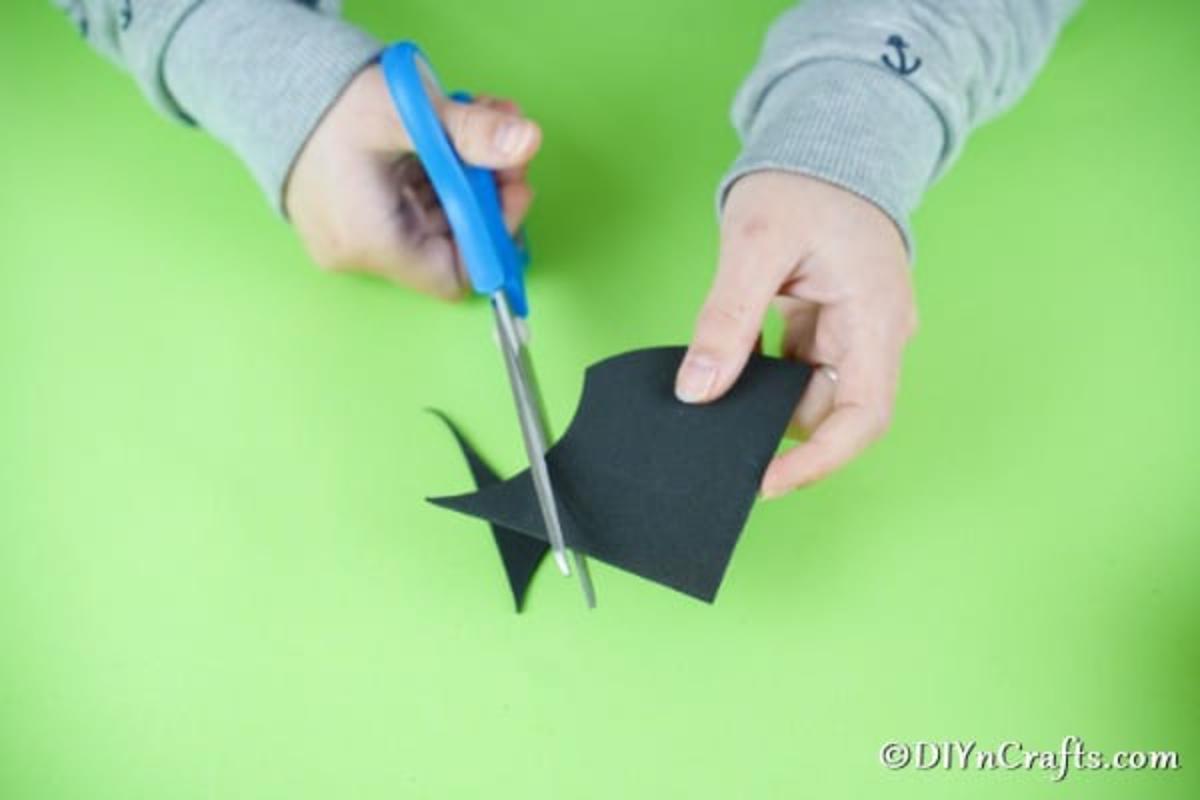
Cut out the half circle, then trim a scalloped or wavy edge along the flat side to form the top of the head detail.
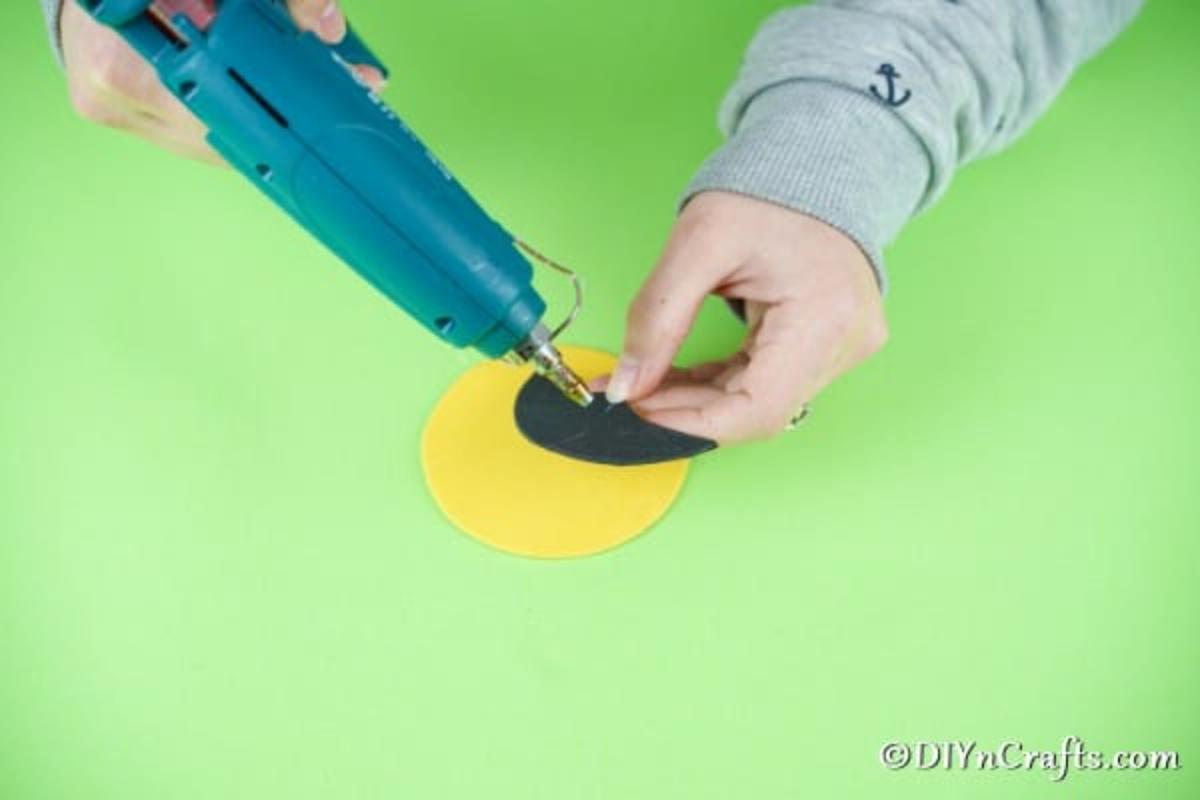
Glue this black piece onto the top of the yellow circle to create the ladybug's head accent.
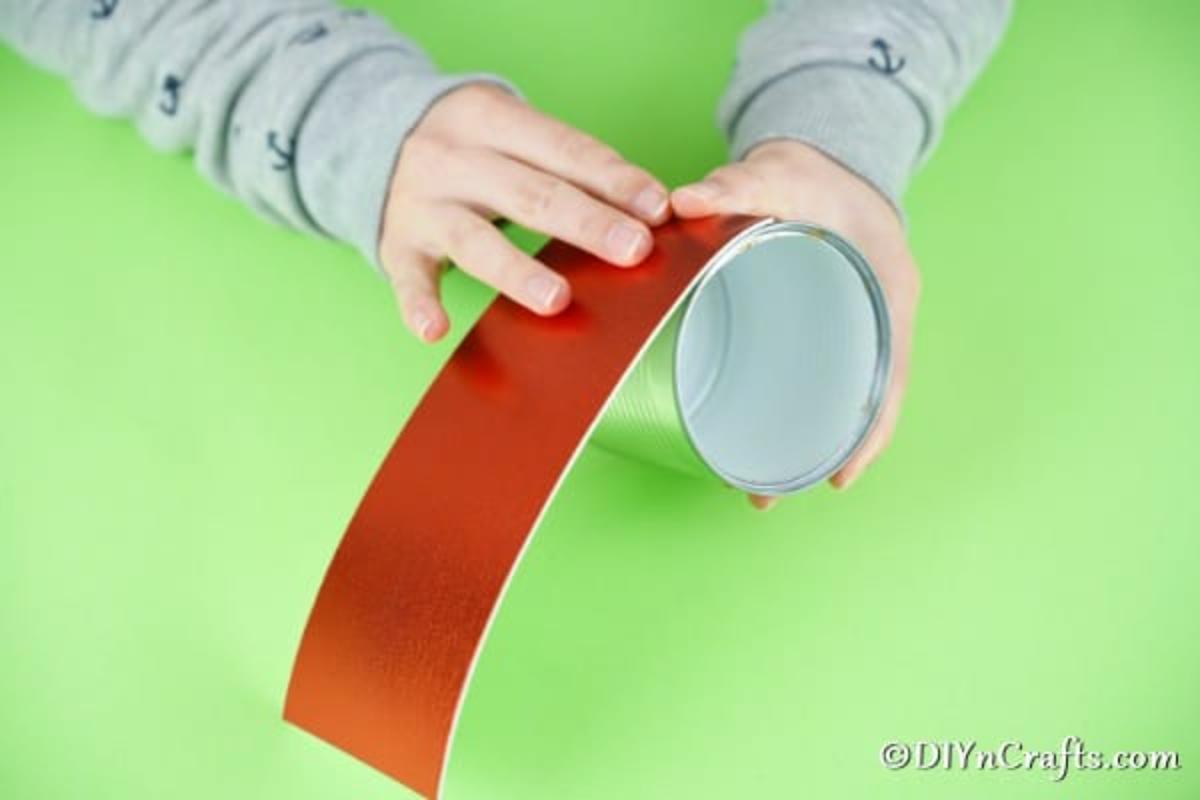
Next, measure and cut a piece of red foam to wrap around the tin can — this will become the ladybug's body shell.
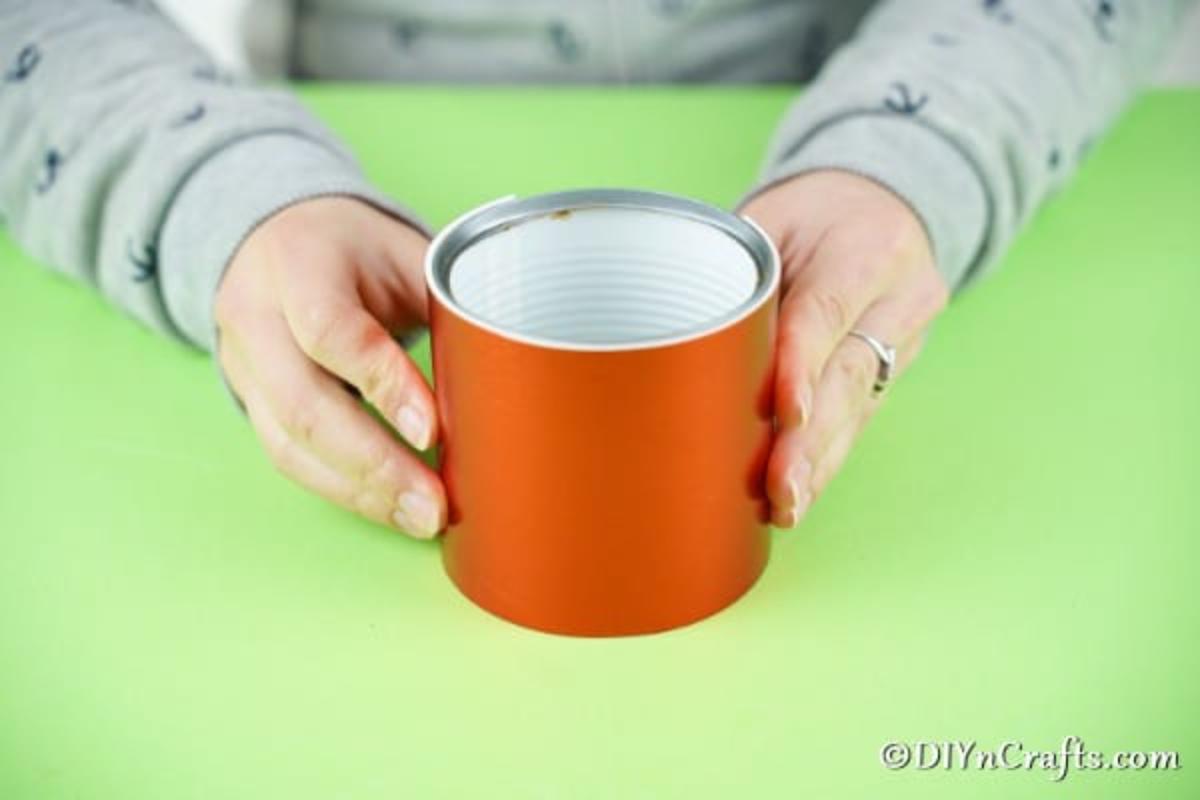
Glue the red foam in place, wrapping it completely around the can and smoothing as you go.
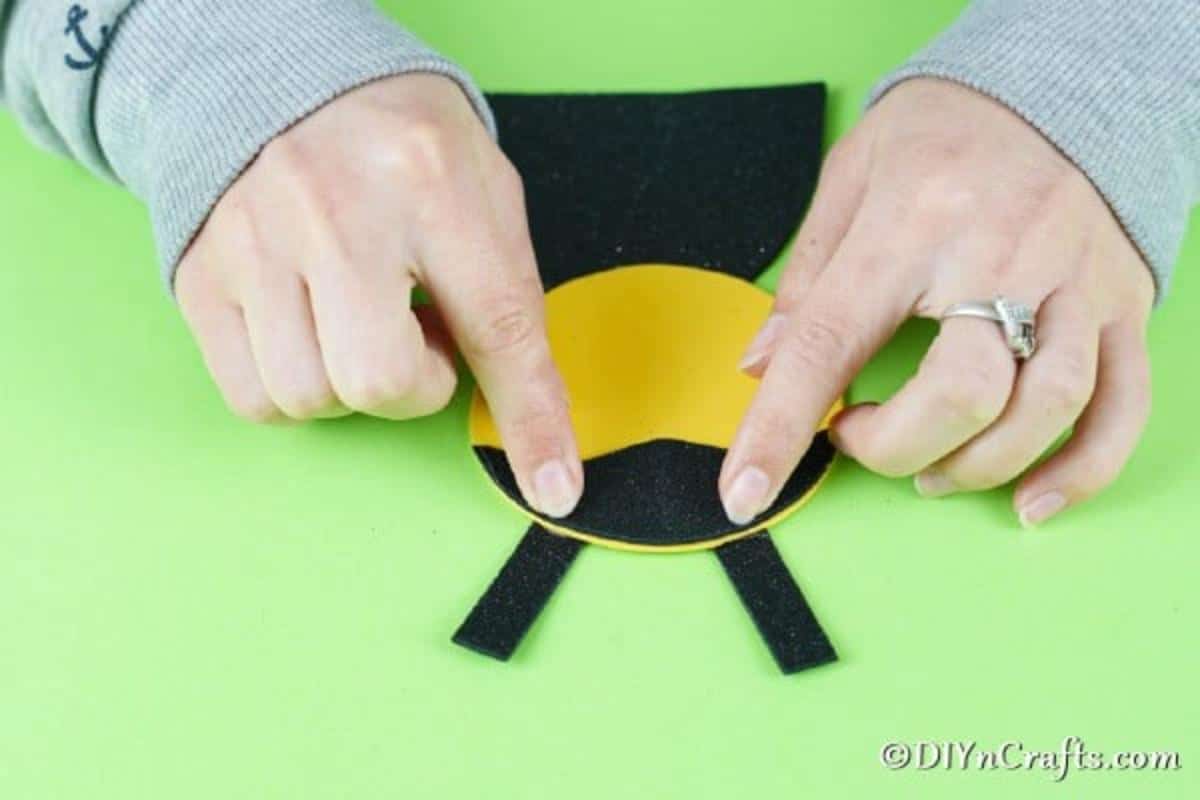
From the black foam, cut two long straight strips for the antennae and a rounded body shape (roughly half an upside-down circle) for the ladybug's torso.
Glue the yellow head piece to the top of the black body shape, then attach the antennae to the top of the head, securing them toward the back.
Trace and cut three small red circles from red foam. Add one to the tip of each antenna and save the third for the face.
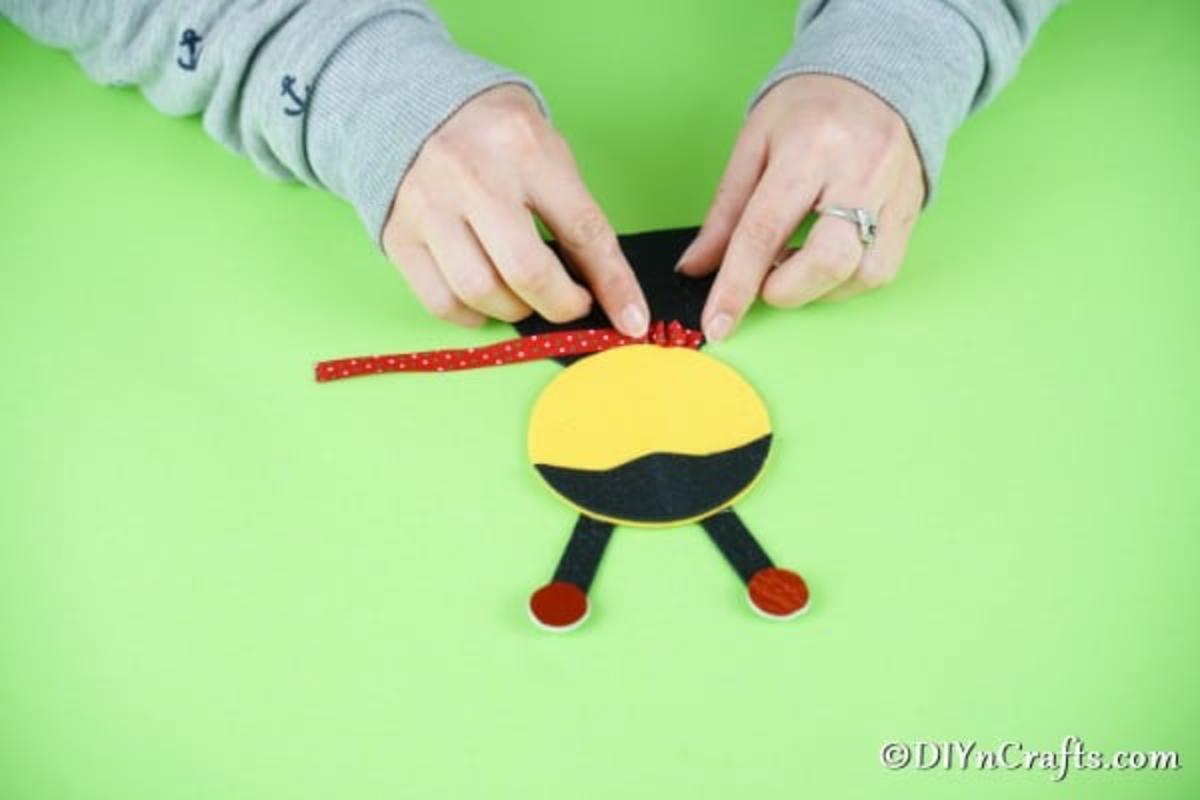
Attach a length of ribbon at the "neck" area. Bunch and glue the ribbon as you go to create a fluffy collar.
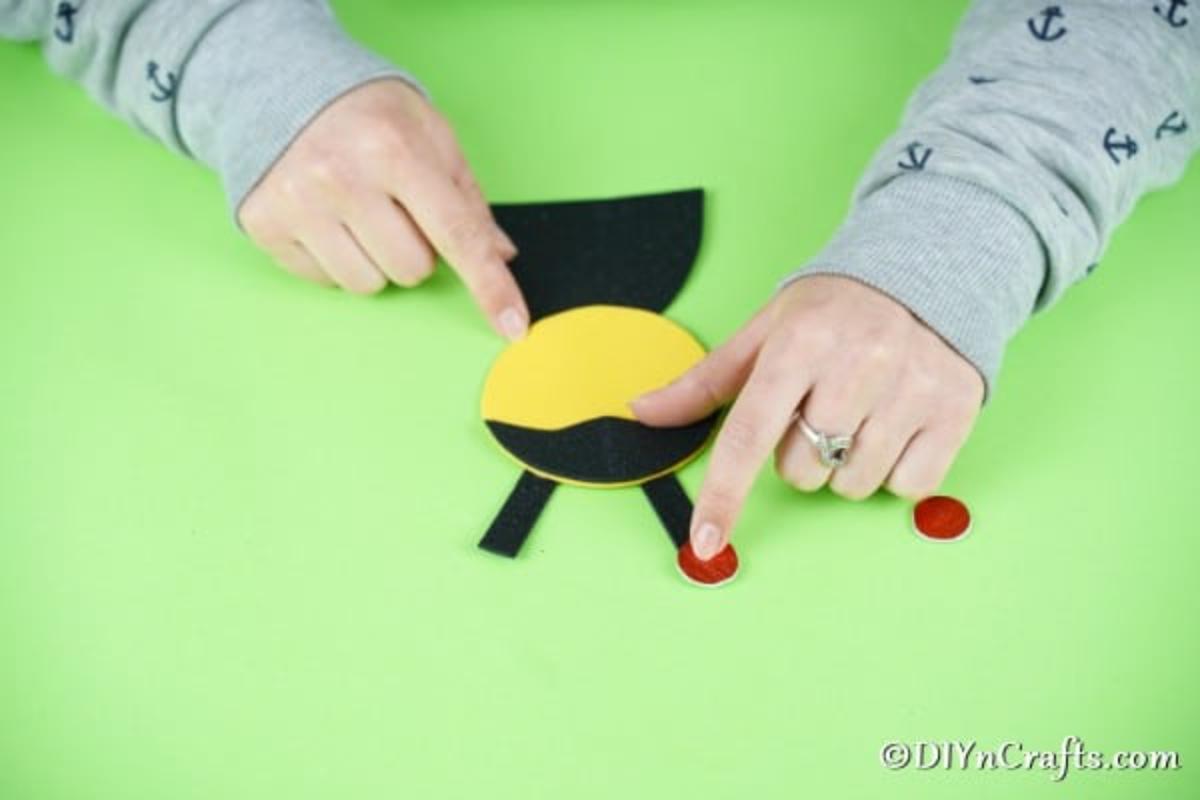
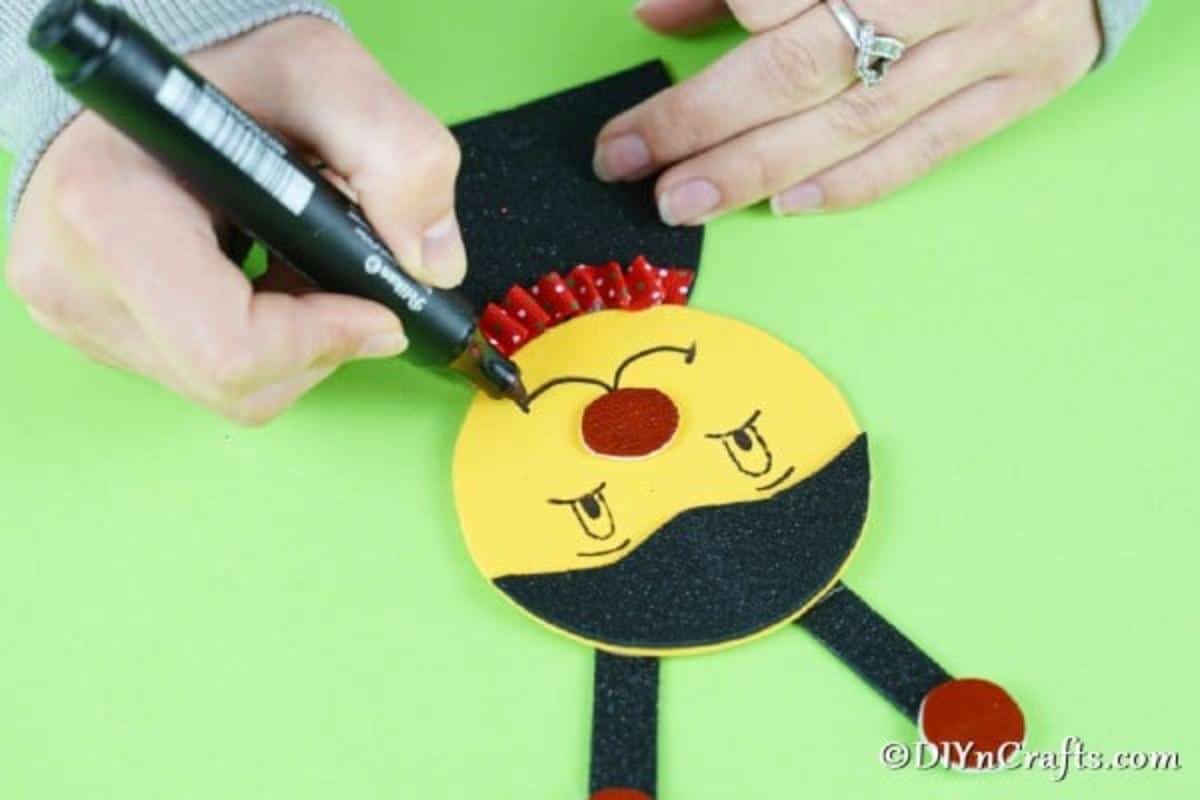
Add the remaining red circle to the center of the face, then draw eyes and a mouth with a black marker.
Use a white or pink paint pen to add cheek highlights for extra character.
Cut two arm shapes from yellow paper — a long rounded shape (like a cucumber) works well.
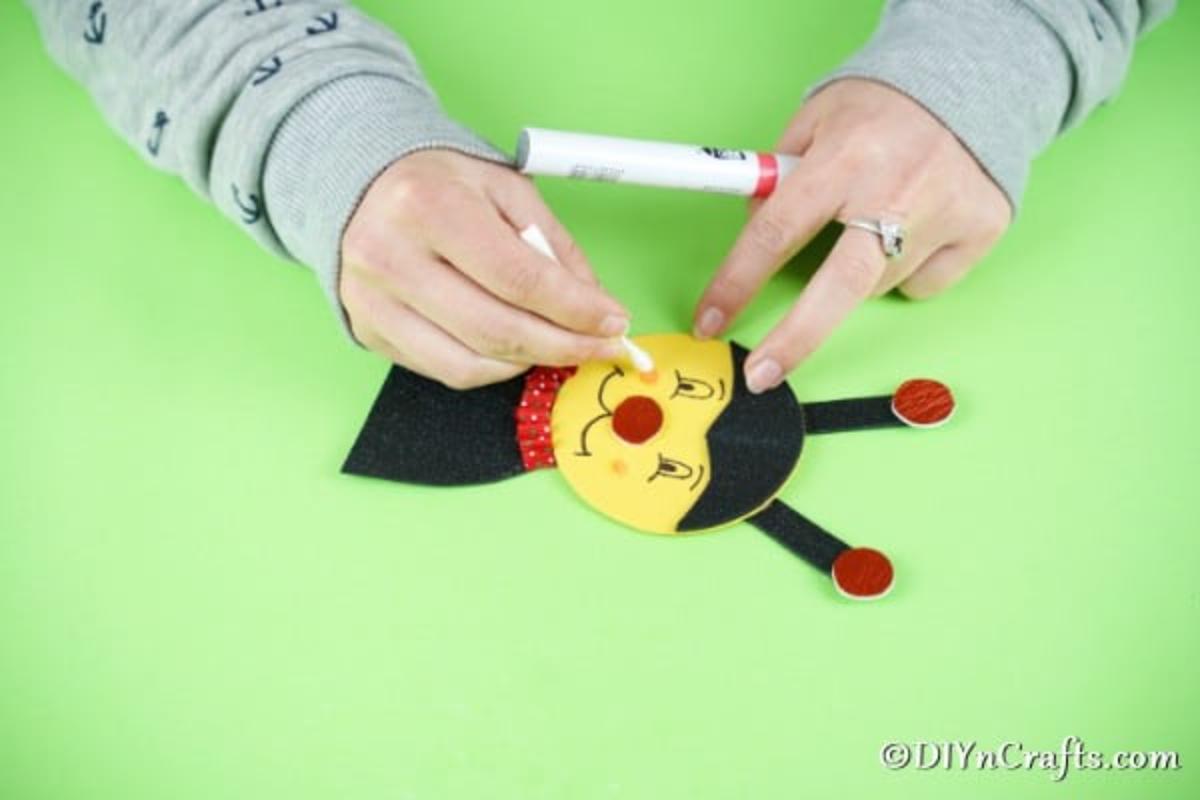
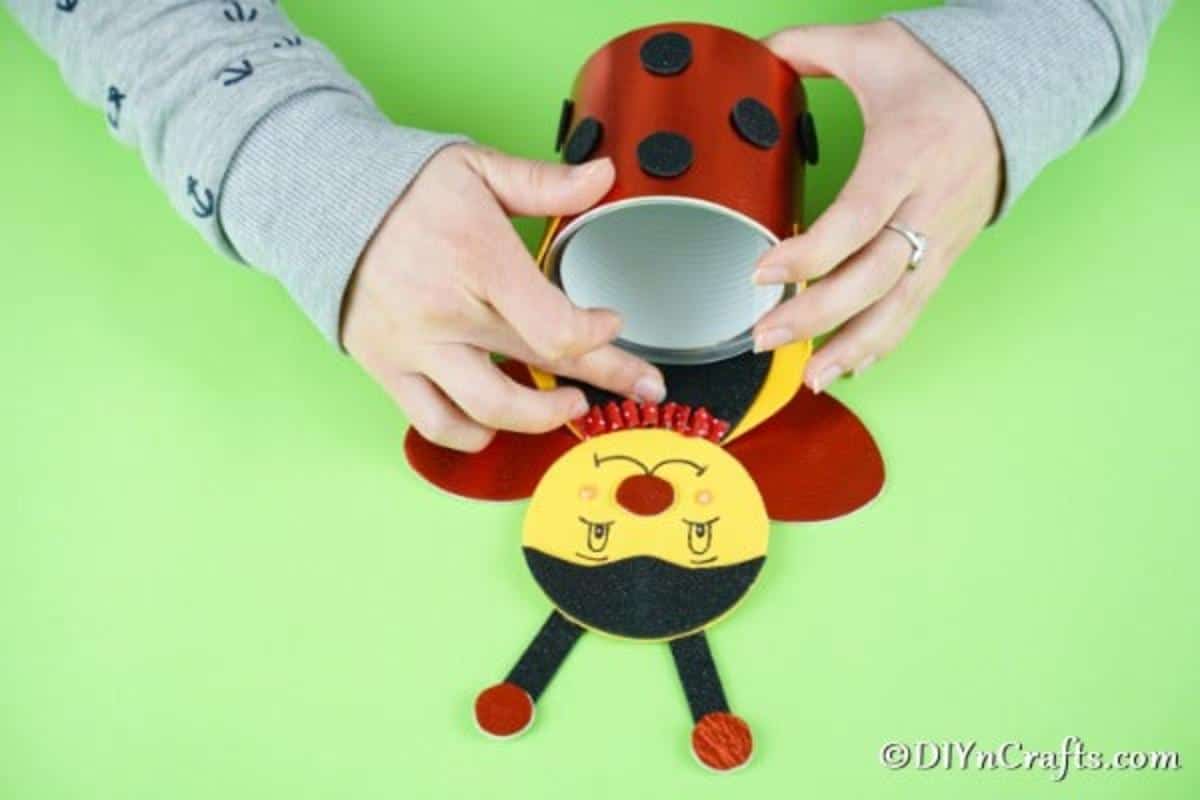
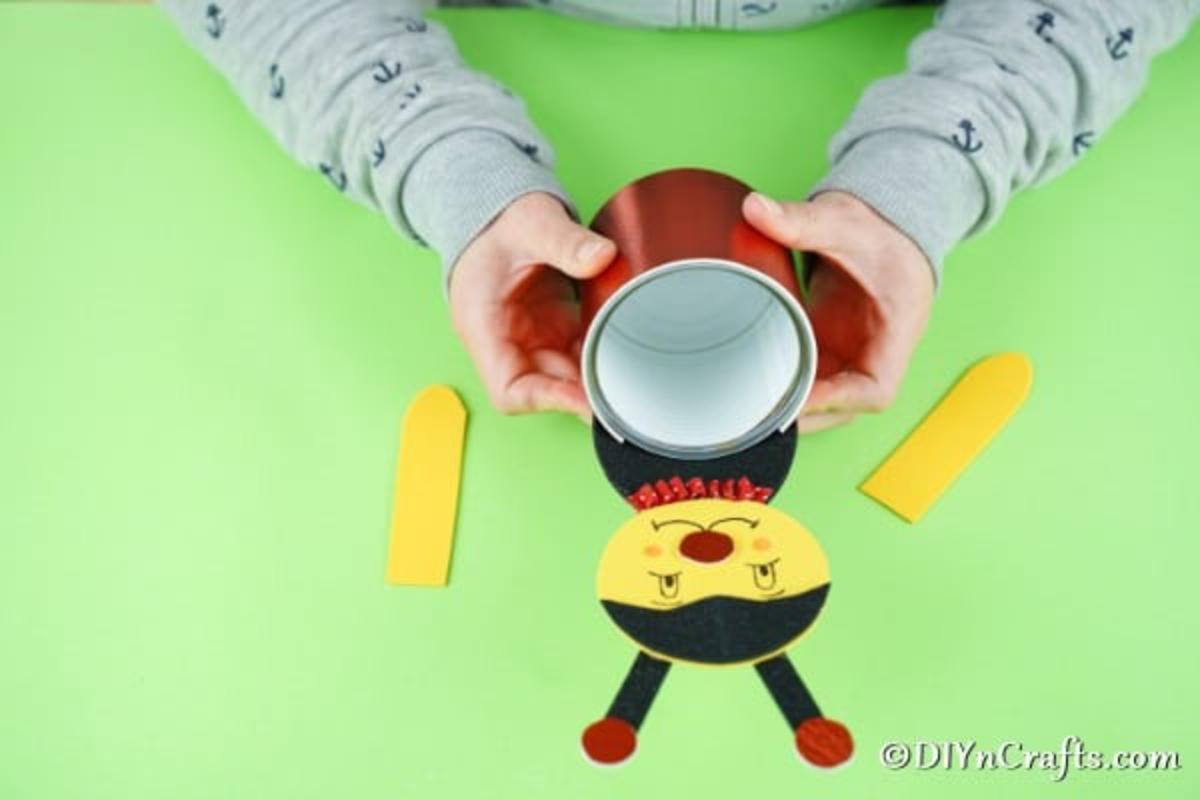
Glue the ladybug body to the top edge of the covered tin can so it sits securely at the opening.
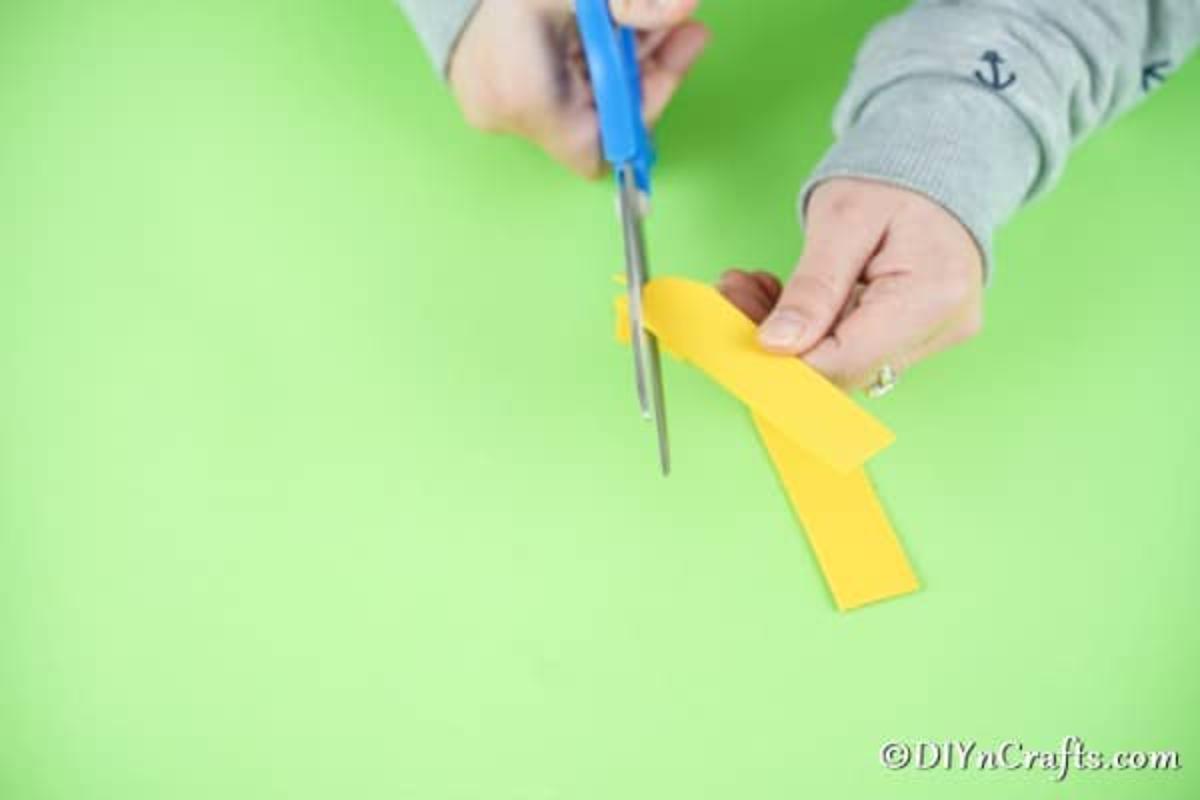
Attach the arms to the back of the ladybug body and glue the ends of the arms to the sides of the can for a natural pose.
Cut several small black circles and glue them onto the red shell to create the ladybug spots.
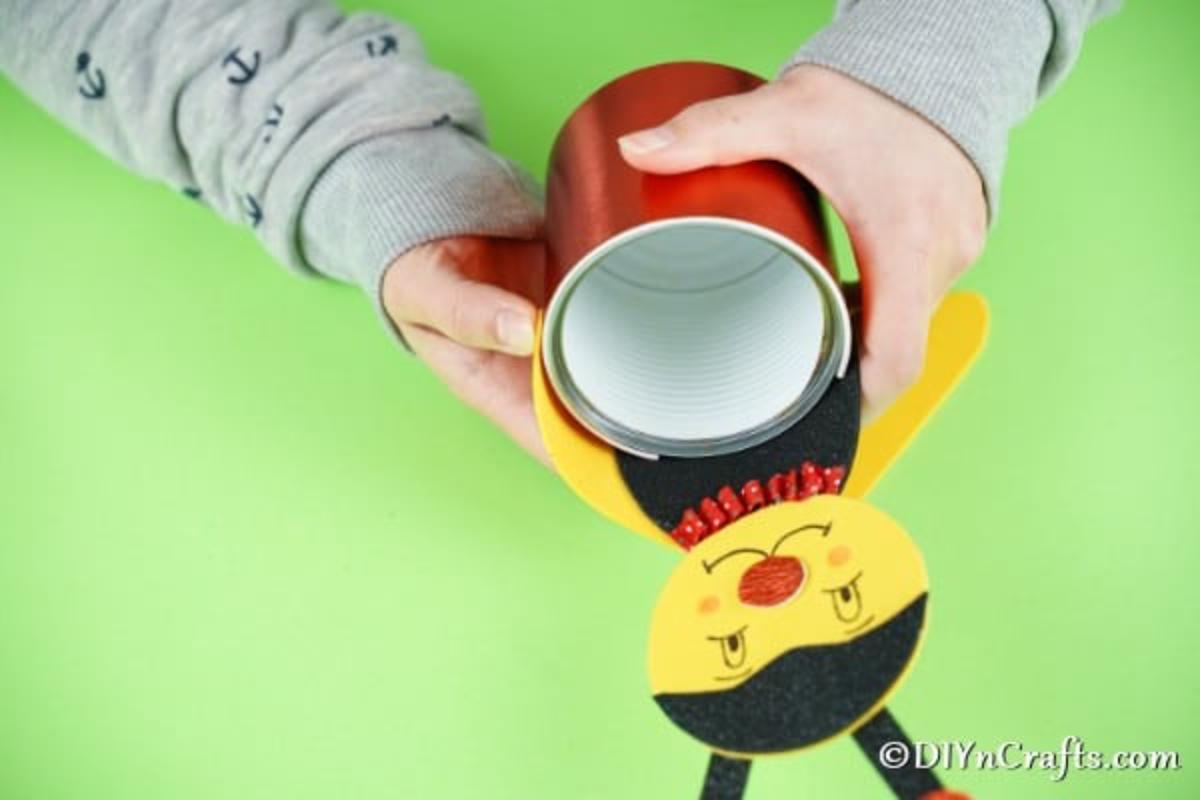
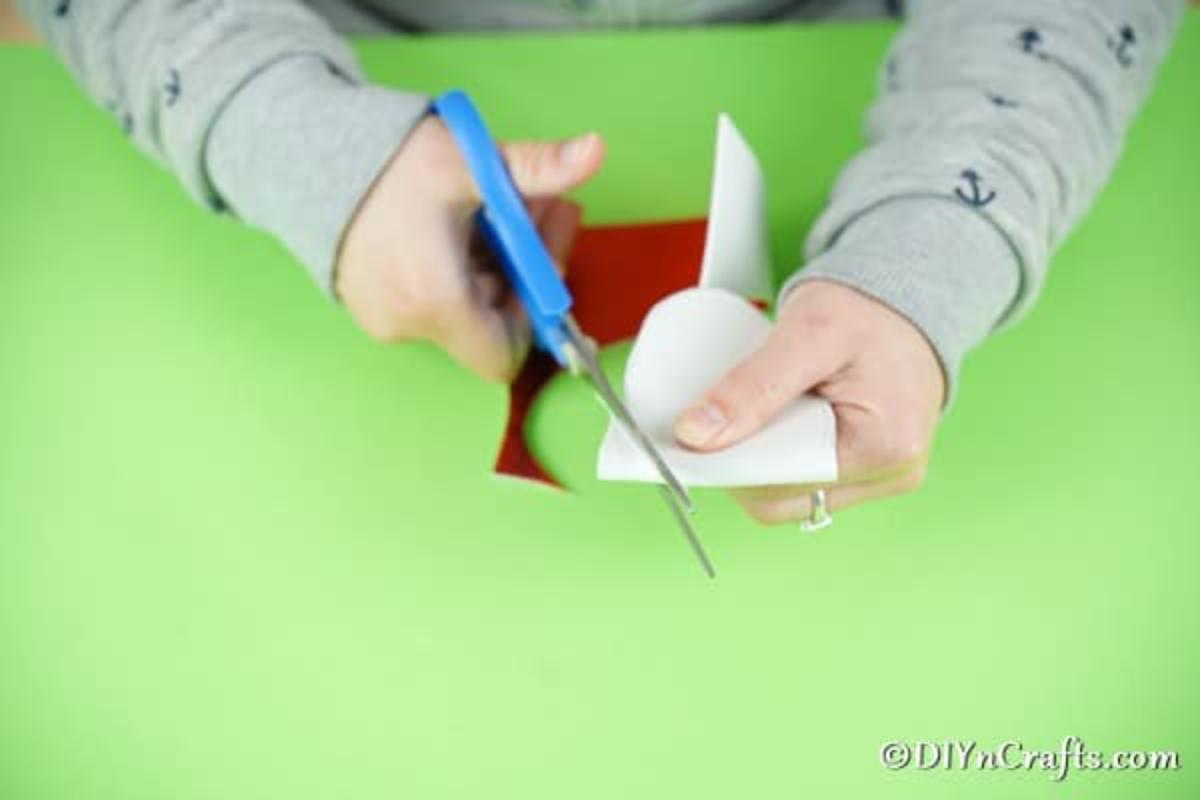
Cut two rounded wing shapes from red paper and attach them to the back so they extend up toward the face.
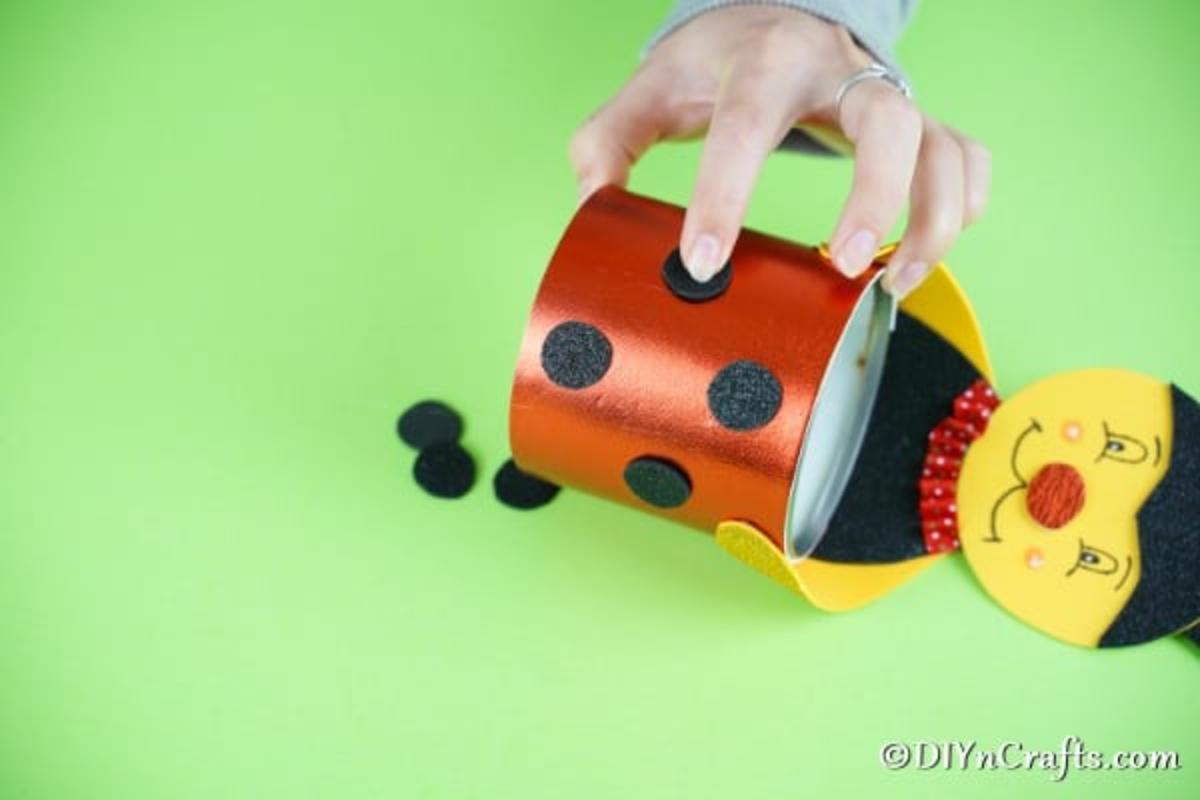
Secure the wings to the back of the body and add a few black dots to finish the look.
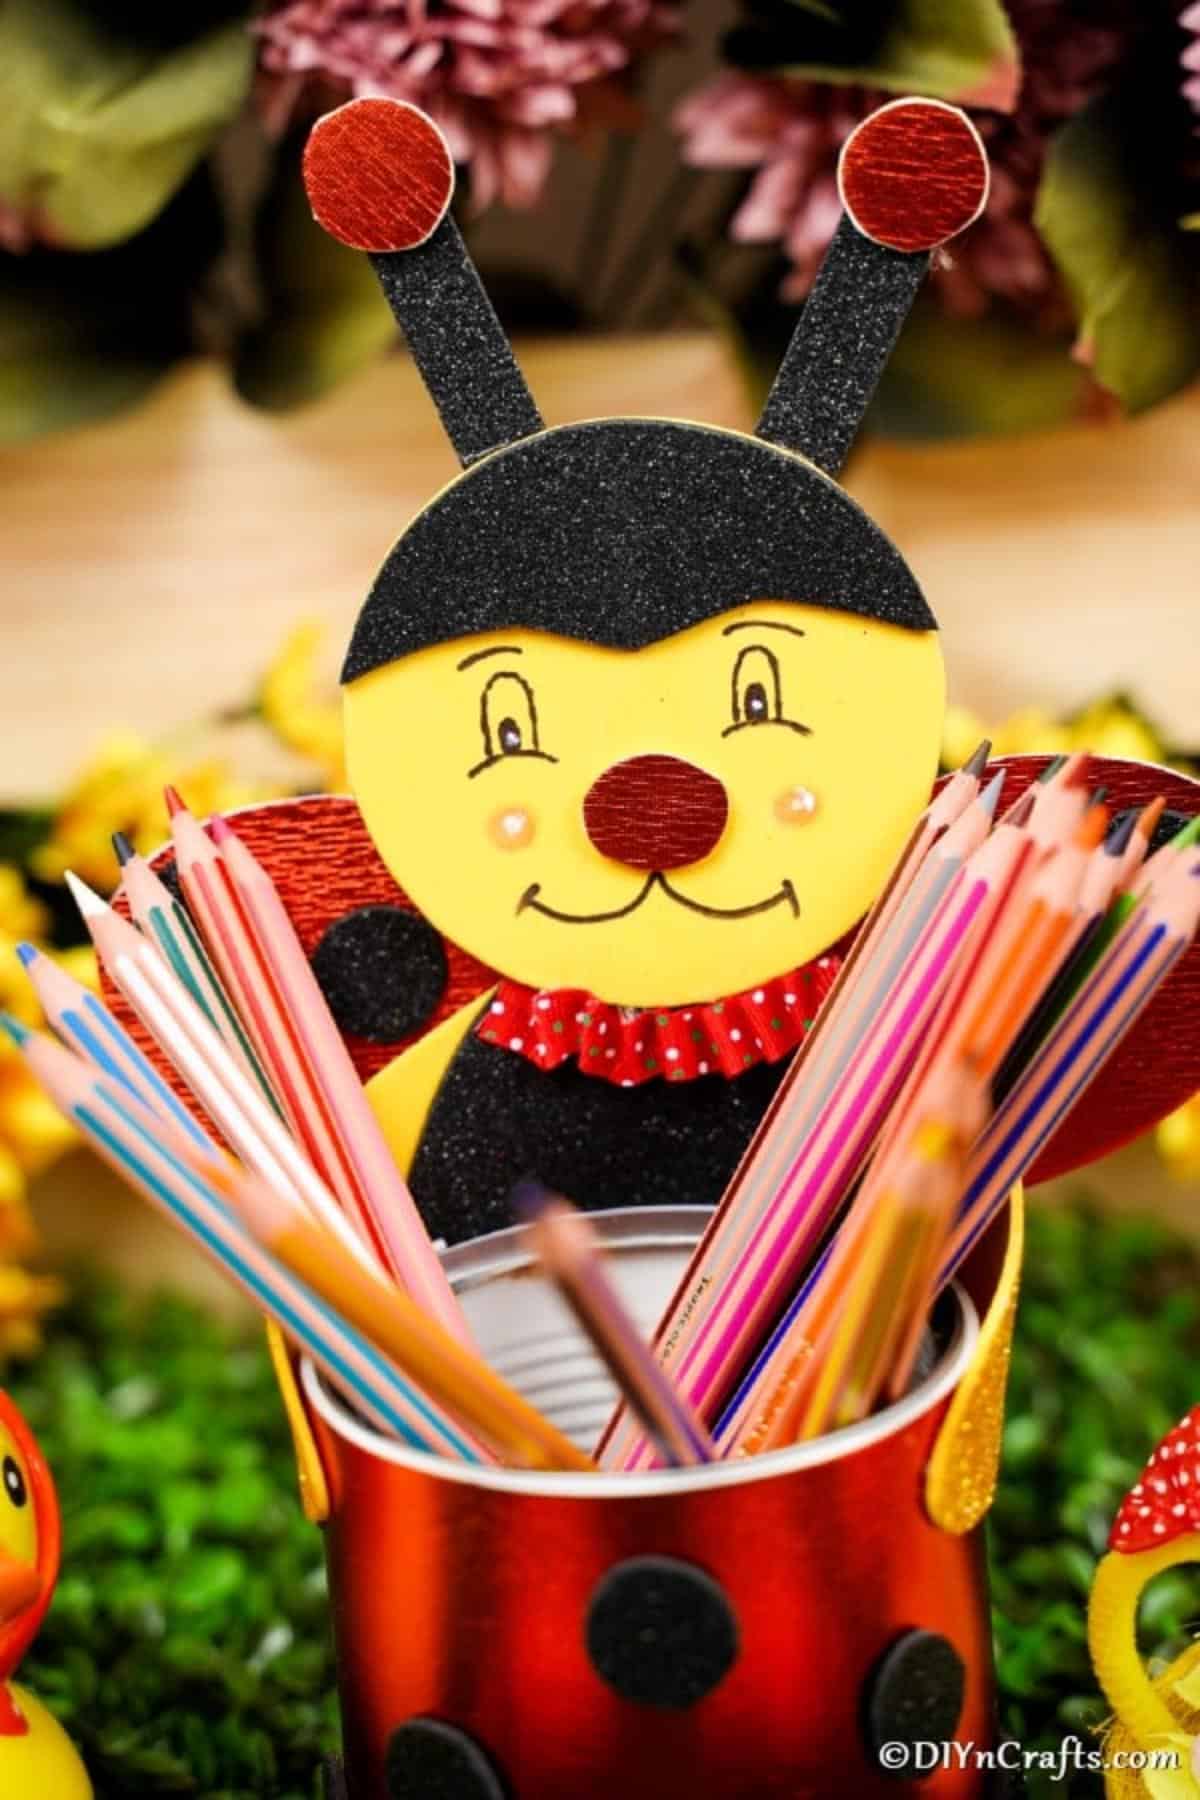
Now your ladybug organizer is ready — fill it with pencils, pens, brushes, or other small items to keep your workspace tidy.