Transform an Old Watering Can into a Charming Planter — Easy DIY Guide
Give an old watering can new life by turning it into a charming planter. This quick, low-cost DIY adds character to your porch, patio or indoor space and is perfect for shallow-rooted flowers and herbs. Below are simple supplies, step-by-step directions, and helpful tips to make a successful watering-can planter.
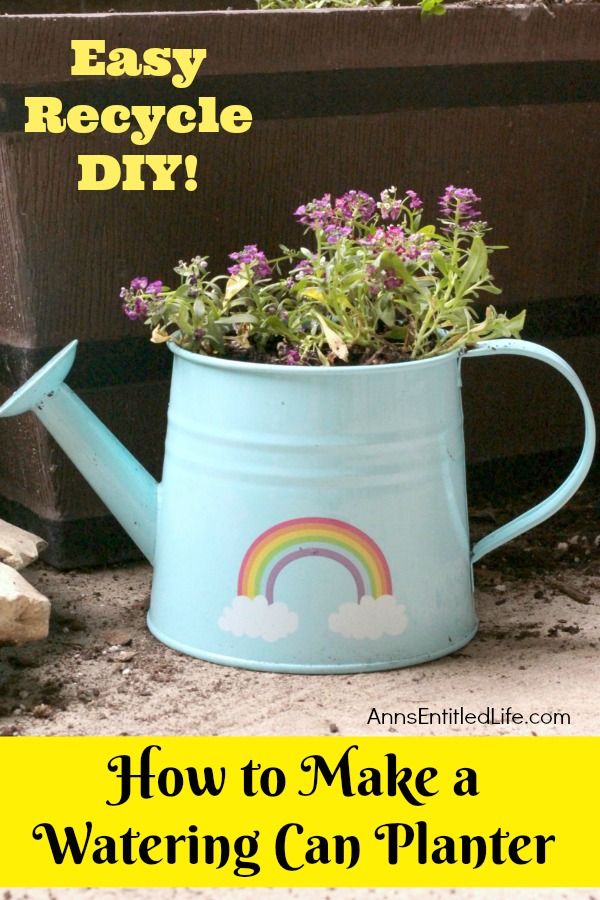
Supplies:
● 1 watering can
● Drill (with appropriate bit for the can material)
● Rocks, broken pottery or gravel (for drainage)
● Potting soil
● Gardening hand trowel
● Small plants or cuttings
● Tray (to catch excess water if the planter stays on a hard surface)
Directions
1. Clean the watering can thoroughly with soap and water to remove any residue that could harm plants. If you previously used the can for anything other than water, scrubbing and rinsing is important.
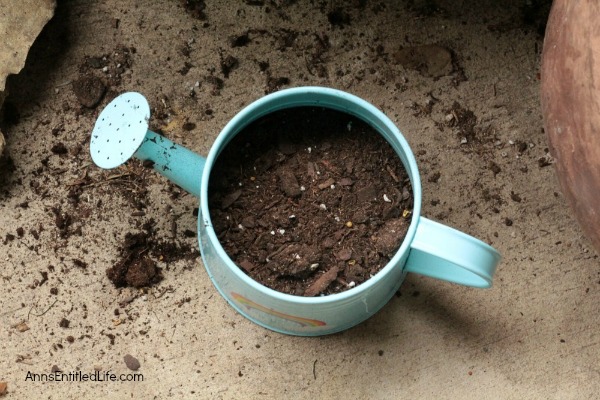
2. Make drainage: using an electric drill, carefully drill one or more drainage holes in the bottom of the can. Follow the drill manufacturer’s safety recommendations and wear eye protection. Proper drainage prevents root rot.
3. Add a layer of rocks, broken pottery or gravel to the bottom of the can, making sure not to block the drainage hole(s). This improves drainage and keeps soil from washing out.
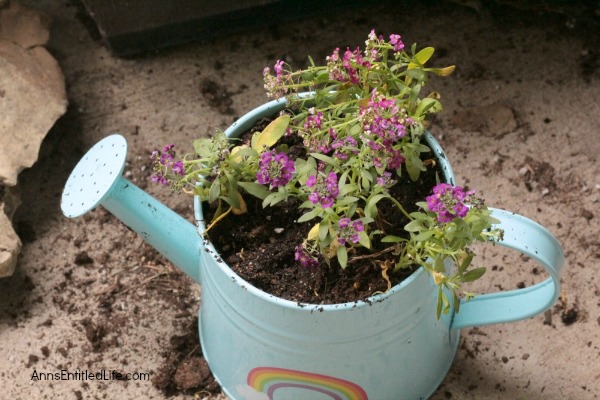
4. Fill most of the can with potting soil. Choose a quality potting mix suitable for the plants you selected. Use the trowel to make space for each plant.
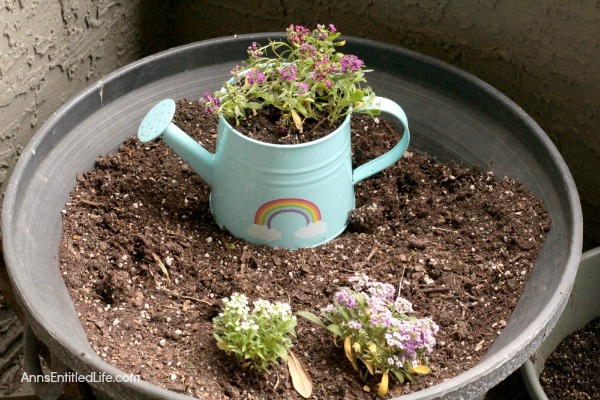
5. Plant: place small plants or broken sections of flowers into the soil and press gently to remove air pockets. Shallow-rooted flowers and compact herbs work best in a small watering can.
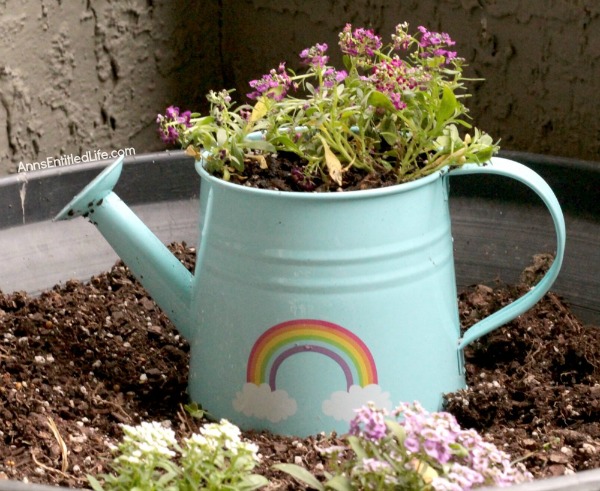
6. Place a tray beneath the watering can if it will sit on a deck, patio or indoors to catch excess water. This prevents mess and protects surfaces.
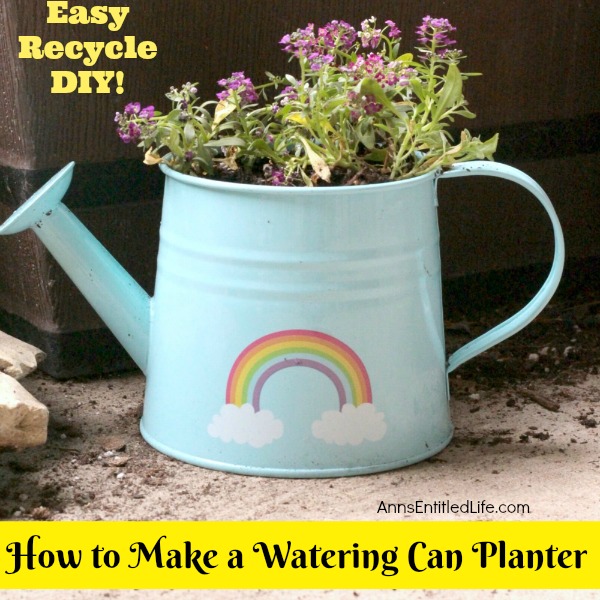
7. Water lightly and monitor moisture: water the new planter gently, taking care not to overwater—shallow containers dry out faster, so check soil regularly. When frost is forecast, bring the watering-can planter indoors to protect tender plants.
This easy project repurposes a functional object into decorative garden art while giving you a portable, attractive container for flowers or herbs.