Transform Leftover Wine Corks into Stylish Coasters — Easy DIY Guide
Wine cork coasters are a practical, eco-friendly way to protect surfaces and add rustic charm to your home. This easy DIY repurposes used wine corks into attractive coasters with a felt backing and optional braided trim. The project is straightforward and a great way to reuse materials while creating a useful finished piece.
Equipment
- Serrated knife
- Cutting board
- Hot glue gun and glue sticks
- Scissors
- Saucepan
- Craft knife and mat
Materials
- 7 wine corks per coaster
- Braided twine or ribbon (optional, for trim)
- Felt sheet(s) for the coaster backing
Instructions
1. Soften the corks: bring a pot of water to a boil and add the corks directly to the water or use a steamer basket. Leave on a low boil for ten minutes. Strain the corks and let them cool until they can be handled but are not completely cold.
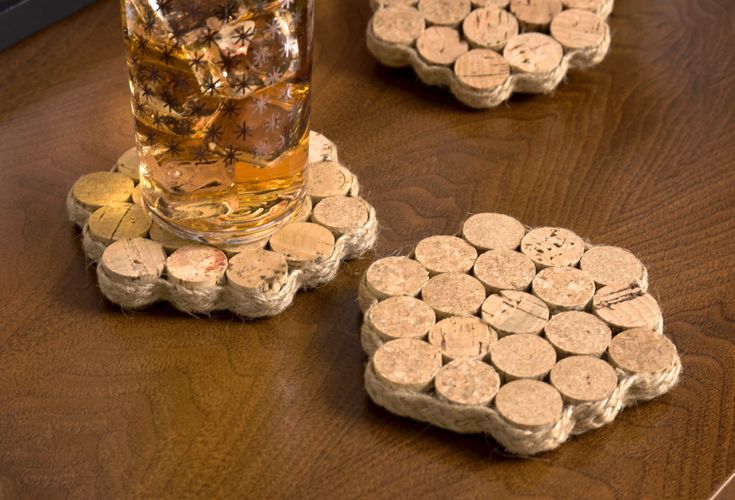
Collect at least seven corks per coaster before starting.
2. Slice the corks: using a serrated knife, cut each cork into three equal parts. You will need 19 pieces per coaster (7 corks × 3 slices = 21; a few extra pieces allow for trimming). Let the pieces dry and cool completely before gluing.
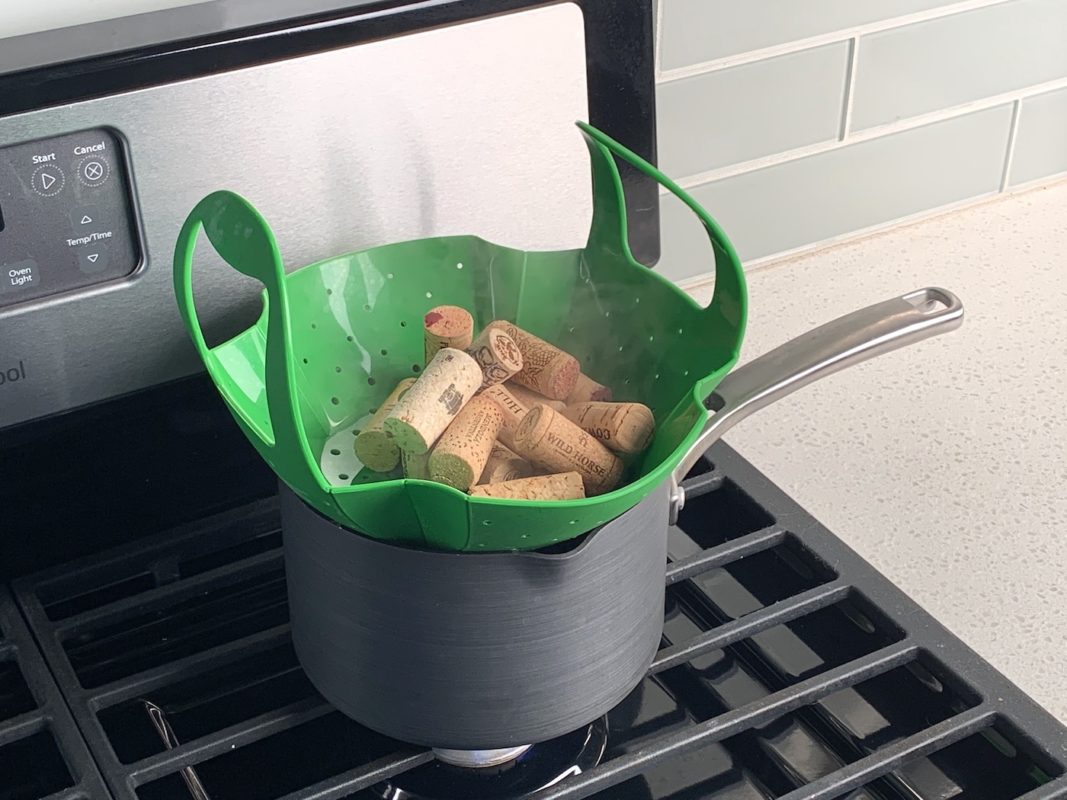
Boil the corks briefly to soften them for easier, cleaner slicing.

Use a serrated knife to slice each cork into three roughly equal sections.
3. Arrange and glue: start by gluing pieces side-by-side. Begin with a center row of five cork slices. On each side of that row, glue a row of four slices, then a row of three to form a roughly hexagonal coaster. Press pieces firmly so the seams are tight and let the glue set.
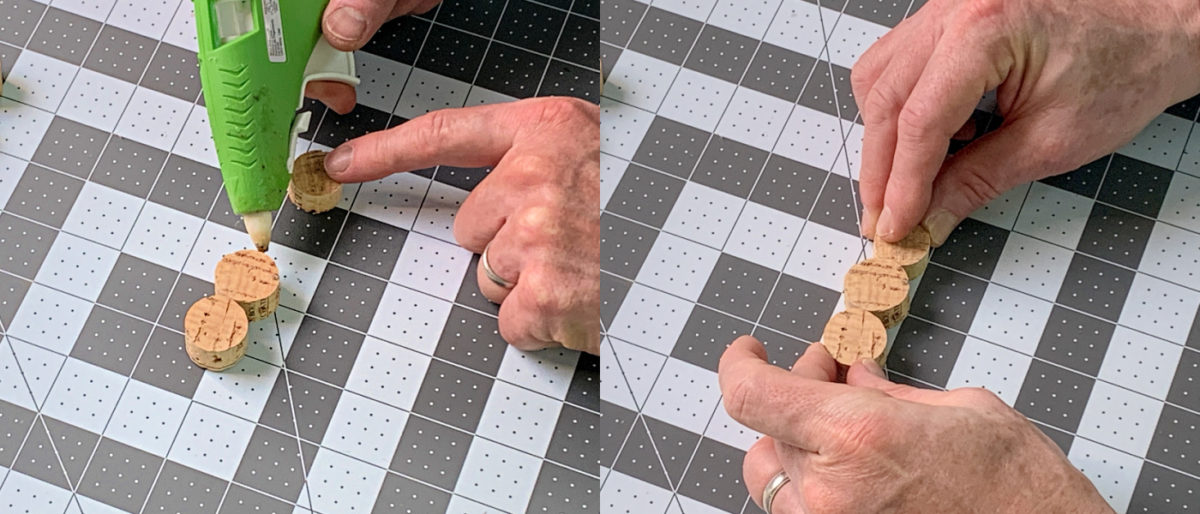
Glue a center row of five cork pieces, then add surrounding rows to form the coaster shape.
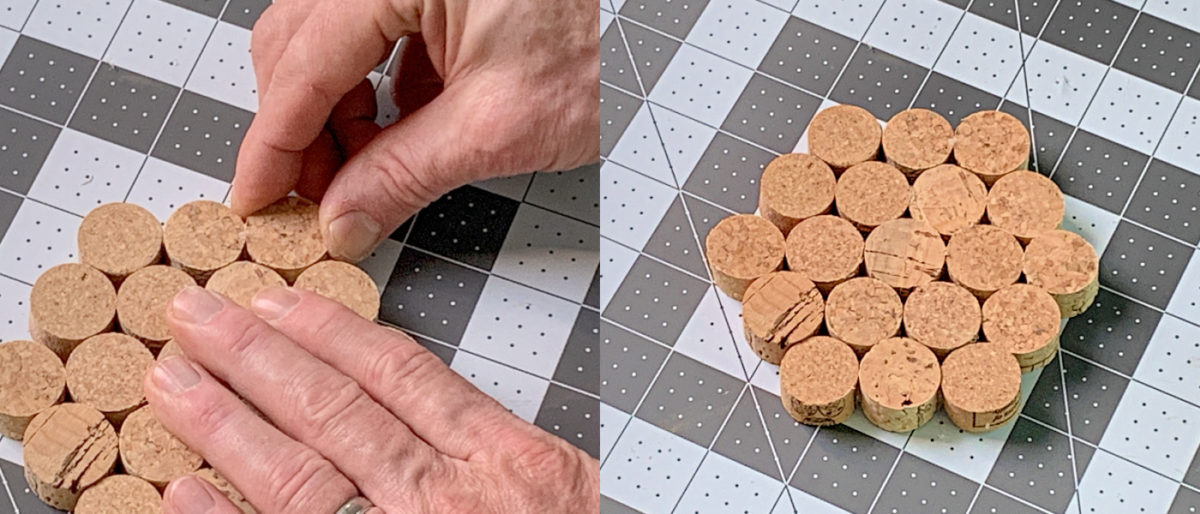
Assemble rows of five, four and three pieces to build the coaster's top surface.
4. Add a backing: choose which side will be the top, place the coaster upside-down on your work surface, and hot-glue a felt circle or shape to the bottom for a soft, non-scratch base.
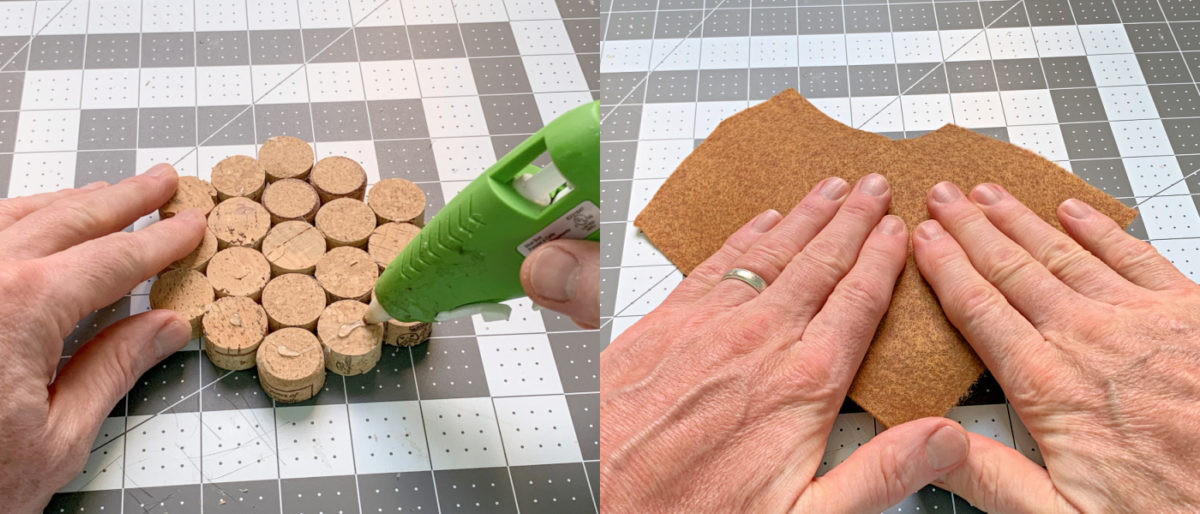
Glue a felt backing to the underside to protect surfaces.
5. Trim the felt and finish edges: once the glue has cooled, trim excess felt with scissors and use a craft knife for small, tight areas. For a polished look, hot-glue braided twine or ribbon around the coaster edge and secure the end neatly.
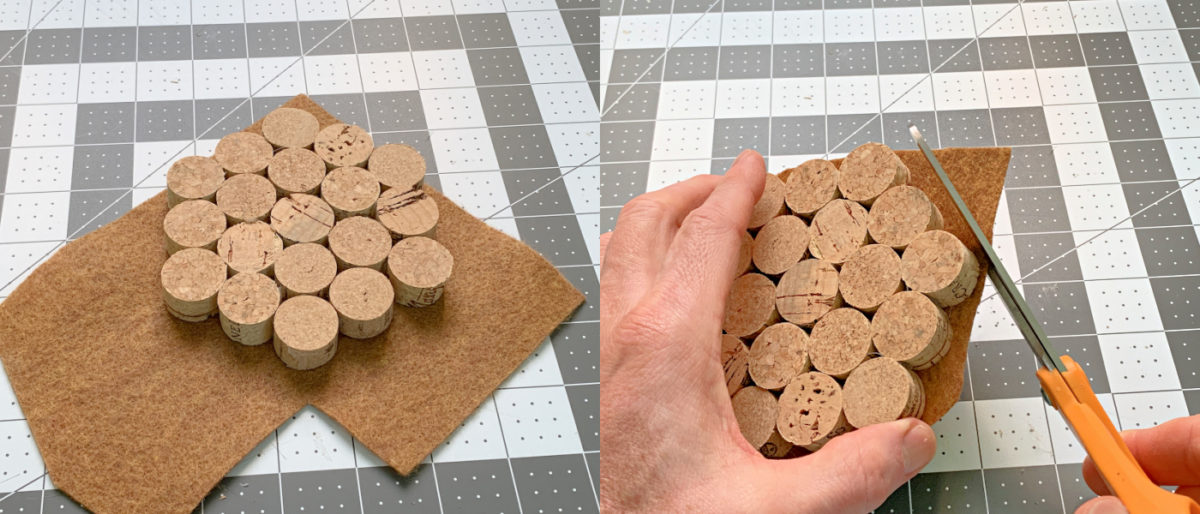
Trim excess felt carefully with scissors and a craft knife.
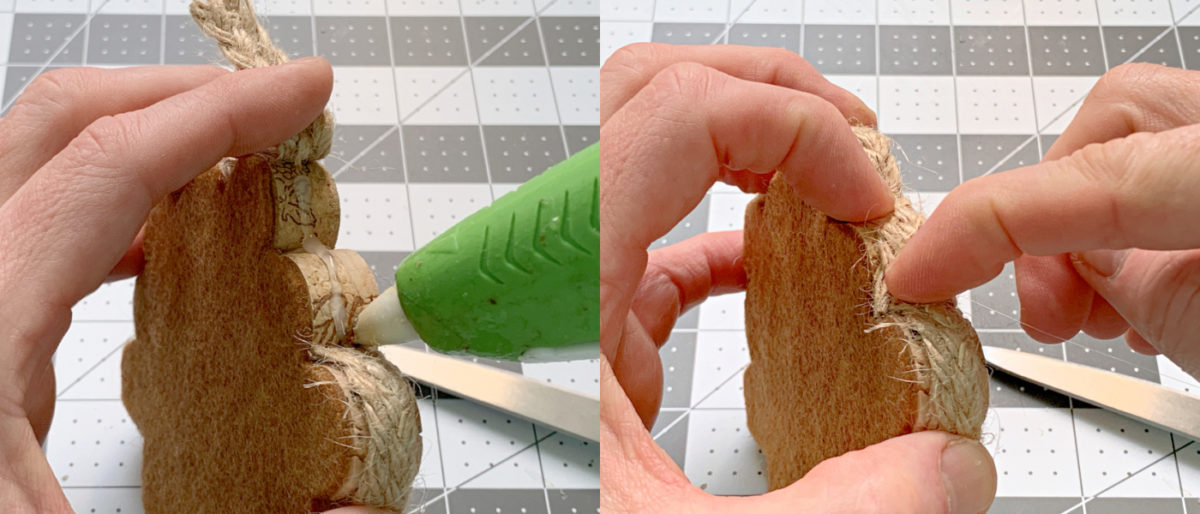
Add braided twine or ribbon around the edge for a finished, decorative look.
Notes
If you prefer perfectly even tops, measure each slice as you cut. The maker here "winged it" and the finished coasters still came out pleasantly flat and rustic-looking. These coasters make great gifts and are a useful way to upcycle leftover corks.