Upcycle Cookie Tins into Stylish, Functional Storage — Easy DIY Guide
Give your old cookie tins a second life by turning them into attractive, practical storage. This simple upcycling project uses basic craft supplies and minimal time, and results in reusable containers that tidy drawers, organize craft supplies, or add charm to any room.
Transforming your old cookie tins into stylish storage options is not just a creative idea but also an environmentally friendly choice! By giving these tins a new purpose, you're not only reducing waste but also adding a touch of personal flair to your storage solutions. Get crafty with some paint, labels, or fabric, and you'll have unique containers that you'll enjoy using every day. Embrace the fun of upcycling and enjoy the satisfaction of giving new life to everyday items in your home.
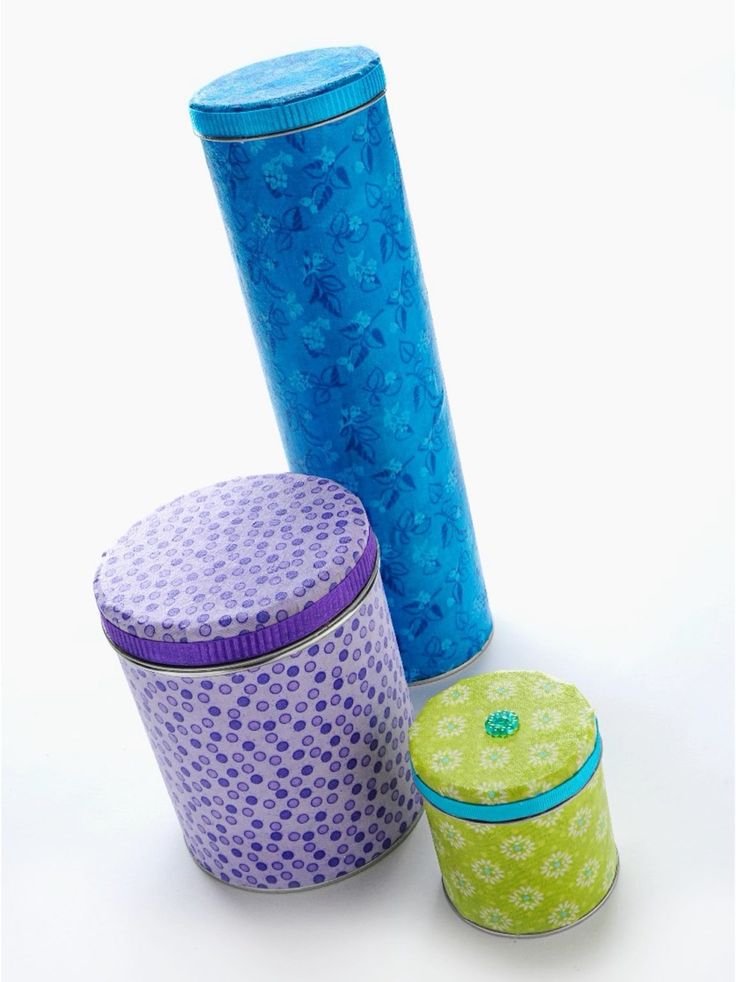
Equipment
- Paintbrush(es)
- Scissors, craft knife or rotary cutter
- Ruler
- Pencil
Materials
- 3 Metal tins
- Fabric scraps larger enough to cover the containers
- Spray paint or craft paint, white
- Mod Podge Gloss
- Ribbon
- Buttons
- Craft glue
Instructions
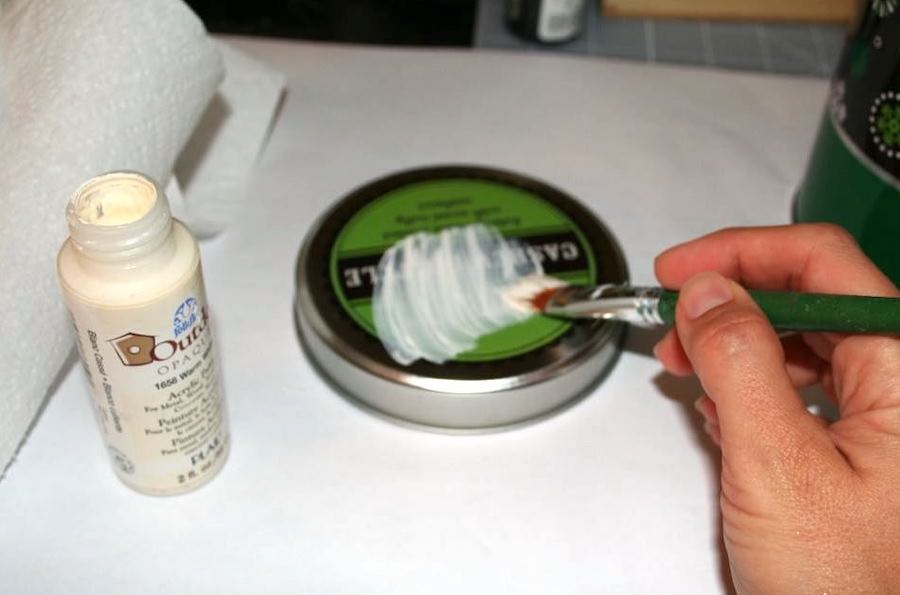
If your fabric is thin, prepare the metal tins by paint them with white craft or spray paint. This is so the tin design doesn’t show through the fabric.
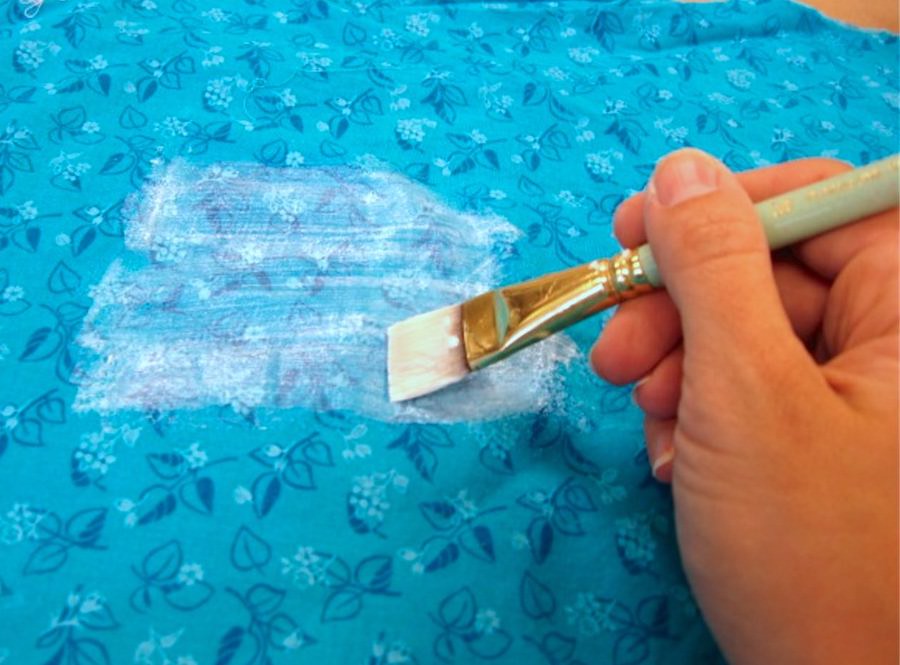
Prepare your fabric with Mod Podge. This will make it easier to cut without fraying, and easier to apply to the container smoothly. Simply paint a medium coat of Mod Podge on the fabric and let dry.
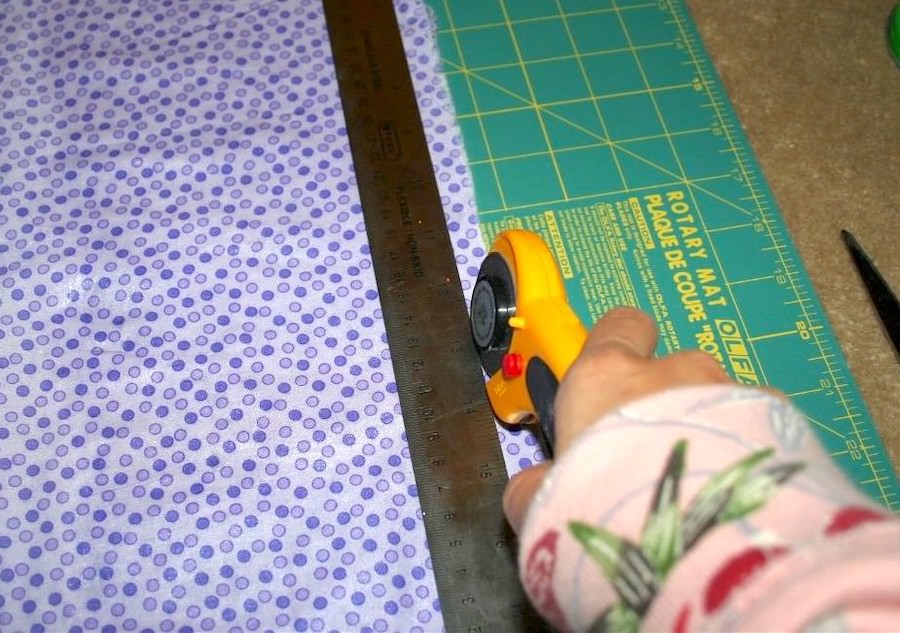
Once the fabric is dry, cut one edge to be straight. You will use this as your reference to line up with one edge of the container.
Place your fabric on the cookie tin and measure where you need to cut at the top. Use a ruler if necessary. Cut the fabric to fit the container.
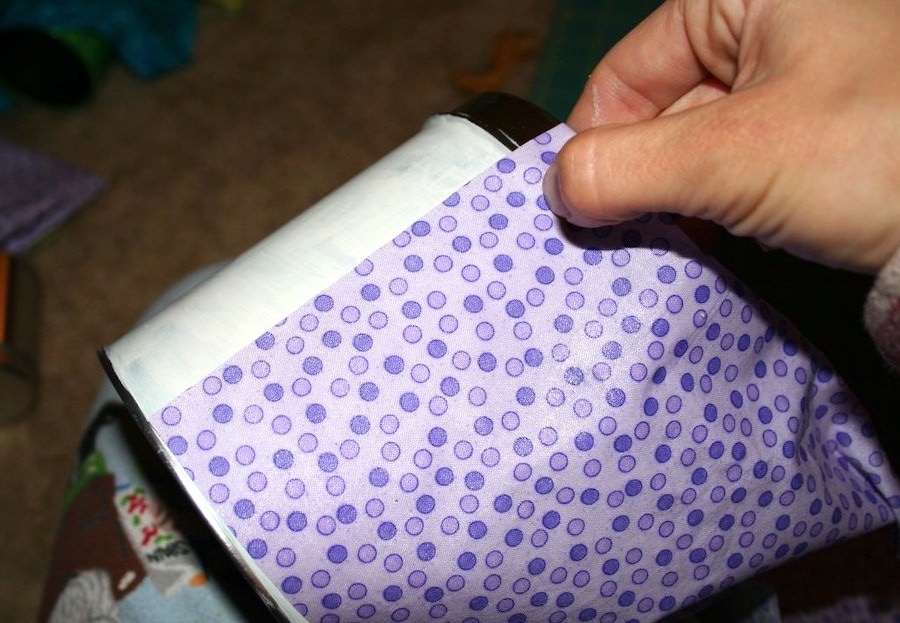
Place a medium layer of Mod Podge on the container and then carefully wrap the fabric around, smoothing as you go. Let it dry for 15 – 20 minutes.
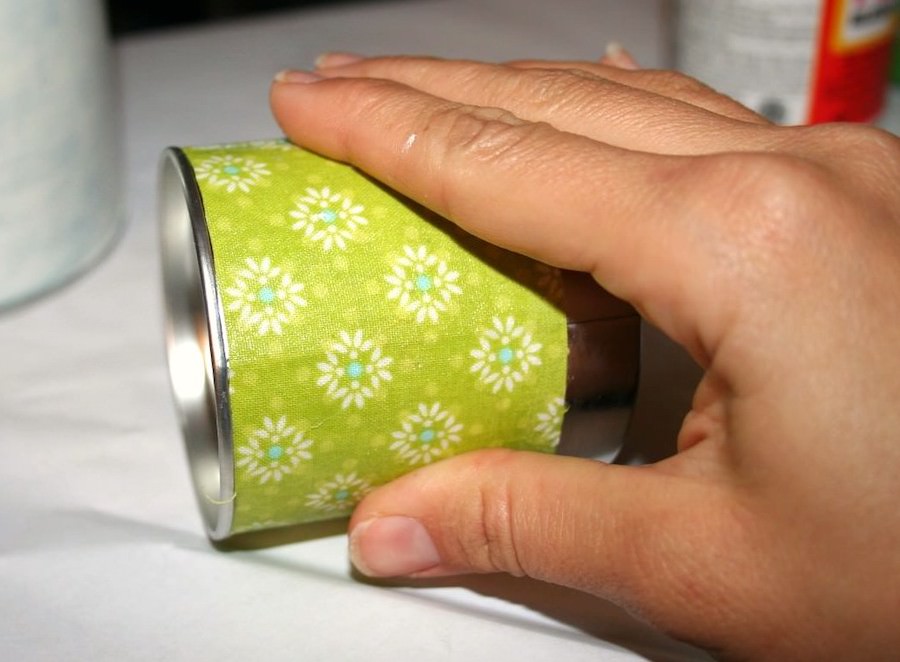
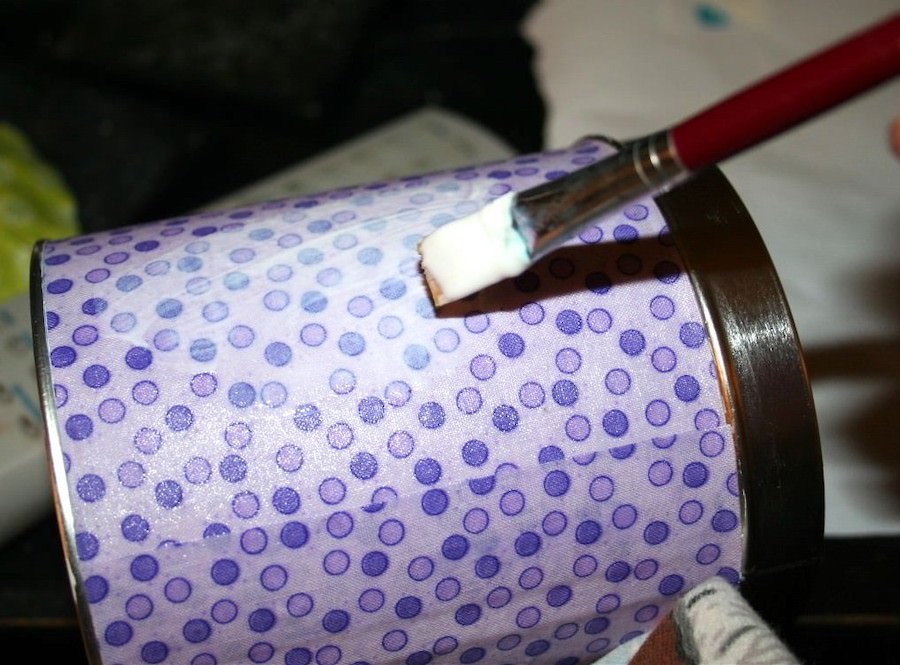
Paint several coats on the outside of the tin to seal.
Place the lid flat onto the back of the fabric and trace with a pencil. Now you have a circle on the fabric. Cut about 1/2" extra around the circle on the outside – so you are cutting a larger circle than you traced.
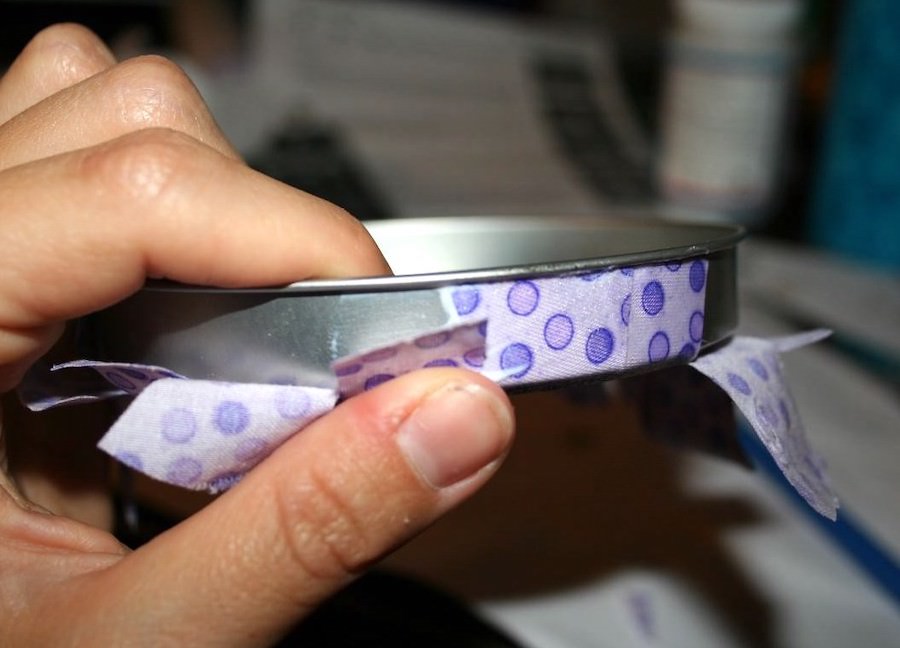
Mod Podge the circle to the top. and then cut tabs into the overhanging fabric with scissors. Fold the tabs down and Mod Podge into place. Trim as needed.
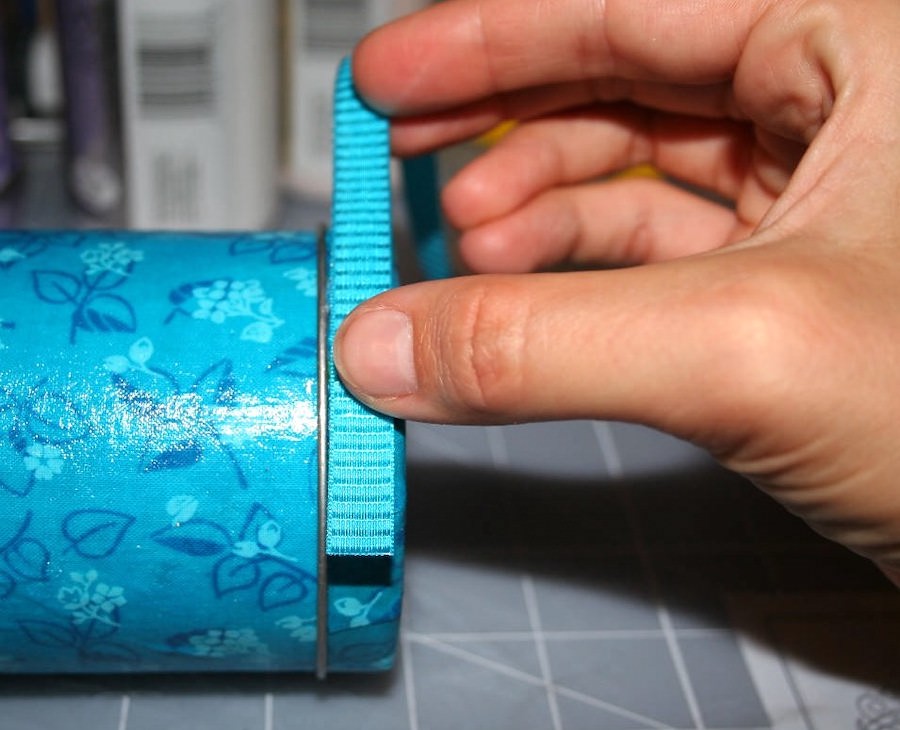
Add ribbon to the rims of the lids using craft glue. Add buttons as accents if you like. Let dry before using.
Tips & Variations
- Work on a protected surface and allow adequate drying time between coats to avoid tacky spots.
- Use heavyweight fabric or line thin fabric with interfacing for a smoother finish.
- Try decoupage paper, wallpaper samples, or washi tape instead of fabric for different looks.
- Label the tins or add clear finish spray for extra durability if they'll be handled often.
These upcycled tins make lovely gifts or organizers for jewelry, sewing supplies, office clutter, and more — a small project that delivers big style.