Turn a Picture Frame into a Custom Office Whiteboard — Easy DIY
Making your own office whiteboard from a picture frame is an inexpensive, quick, and customizable way to add a functional planning surface to your workspace. This project lets you select the exact size and background pattern you want, and uses simple materials you may already have at home or in the office.
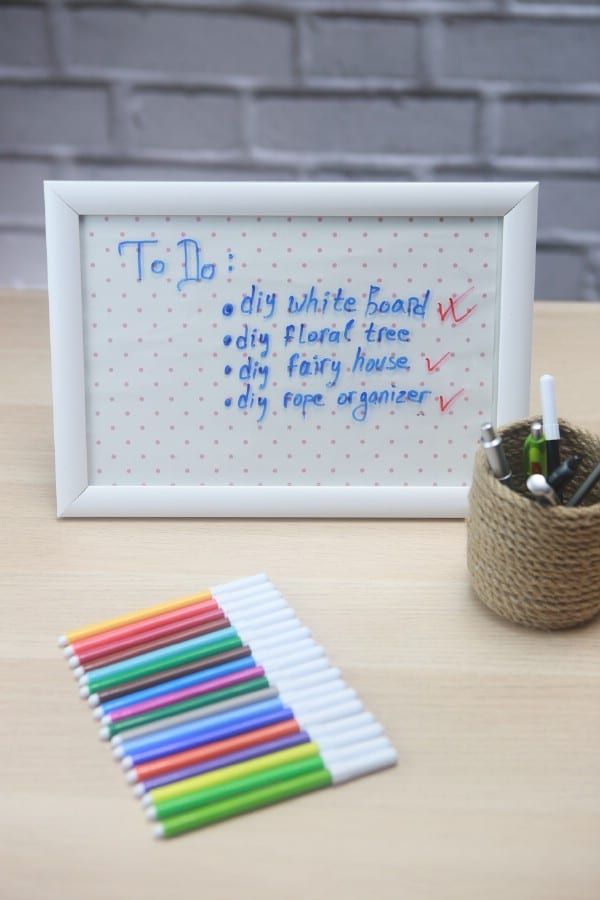
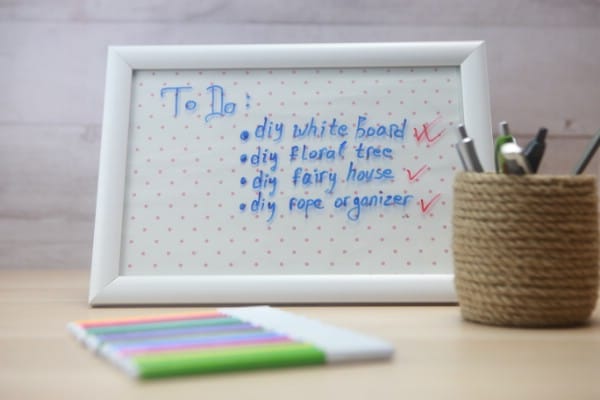
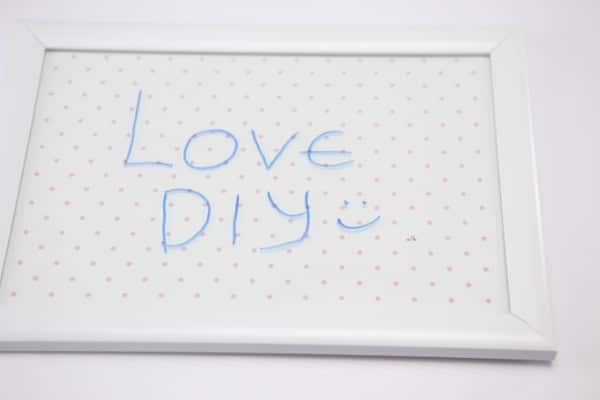
What you’ll end up with is a decorative dry-erase surface: the decorative paper provides an attractive background behind the glass, while the glass itself becomes the erasable writing surface.
Materials
- Picture frame (any size)
- Decorative paper or patterned cardstock (cut to fit frame)
Tools / Supplies
- Pair of scissors
- Dry-erase marker
- Eraser or soft cloth
Instructions
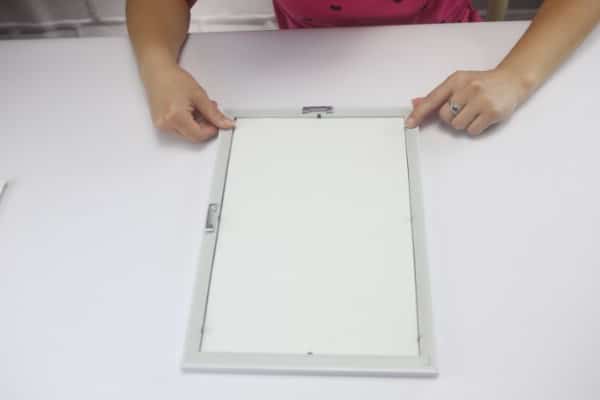
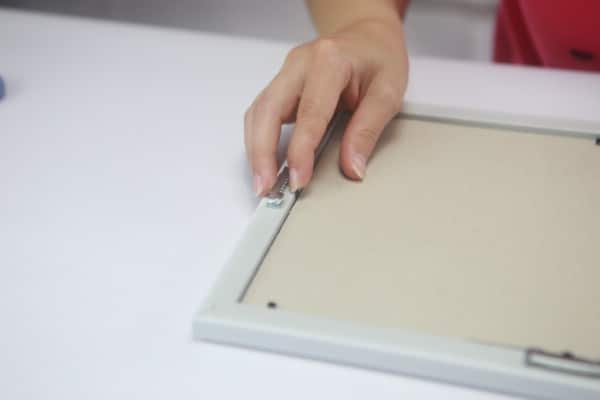
- Prepare the frame: Turn the picture frame over and open the back. Remove the existing backing and any inserts or photos so the interior is empty.
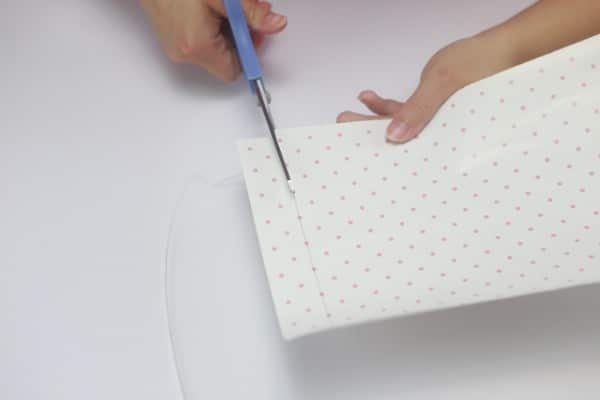
- Trim the decorative paper: Use scissors to cut your decorative paper to the exact size of the frame insert so it fills the frame completely.
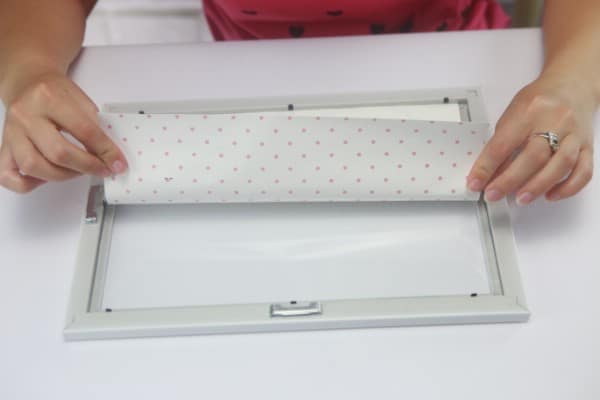
- Install the paper: Lay the trimmed decorative paper inside the frame with the patterned side against the glass (so the glass will be the writable surface).
- Reassemble the frame: Replace the backing and secure it so the paper and glass are held firmly in place.
- Finish and use: Turn the frame over. The glass is now your dry-erase surface — write on it with a dry-erase marker and erase when needed. Stand it on your desk or hang it on the wall as desired.
Tips
- Write with a dry-erase marker directly on the glass and erase with a soft cloth or eraser; avoid permanent markers.
- Choose a background pattern with light colors or subtle patterns so writing remains easy to read.
- If you want a magnetic surface, look for thin magnetic sheets sized to fit behind the glass (optional).
This simple frame-based whiteboard is an affordable, attractive solution for jotting quick notes, planning your day, or organizing tasks at your desk.
No comments
Write a comment