Create an Elegant DIY Hydrangea Wreath (Step-by-Step with Hat & Tulle)
Make a charming hydrangea wreath to brighten your front door or serve as a centerpiece. This easy craft uses a simple straw wreath base, faux or fresh hydrangea stems, a small decorative hat, and tulle for a soft, cottage-style look. Follow the step-by-step instructions below — no advanced skills required.
Materials
- Straw wreath (flat-backed)
- Hydrangea flower bunches (enough to cover the wreath)
- Sprig/long-flower accents (optional)
- Small decorative hat
- Tulle (used for a large bow and hanger; approx. 4½' x 15' used here)
Tools
- Scissors
- Hot glue sticks
- Glue gun
- Wire cutters
Preparation
Cover your work surface to protect it from hot-glue drips and burns. Remove any plastic packaging and tags from the wreath, flowers, and hat before starting.
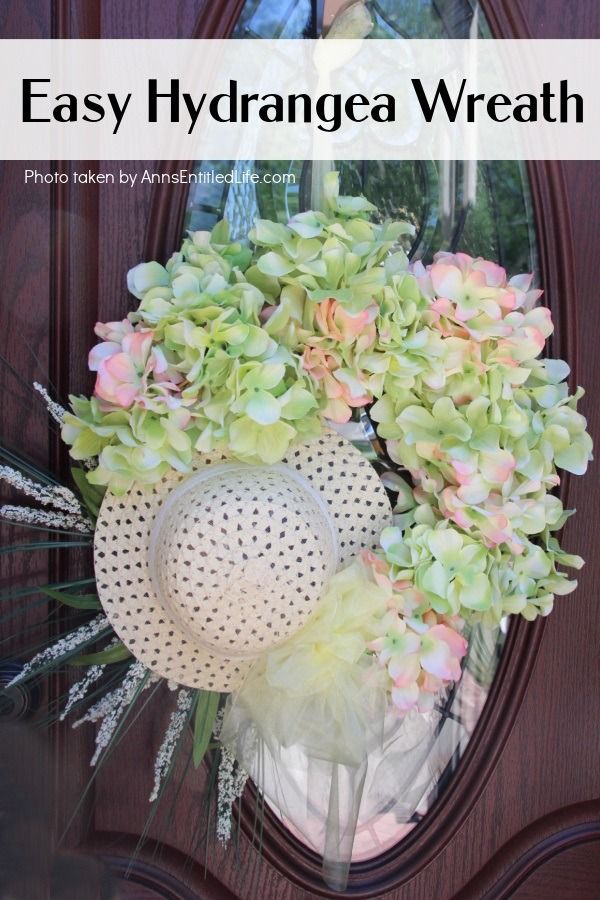
Finished hydrangea wreath decorated with a small hat and a tulle bow — a ready-to-hang front-door accent.
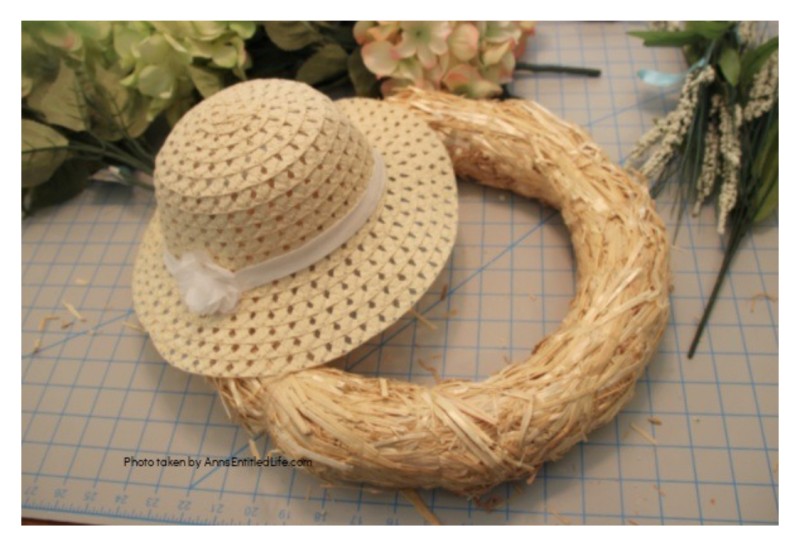
Position the decorative hat on the straw wreath and secure it with hot glue.
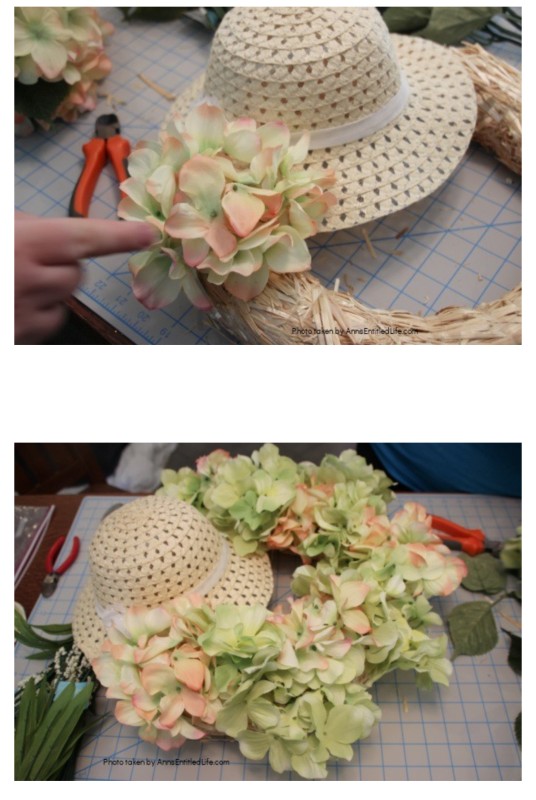
Insert hydrangea stems into the straw base to plan placement, then secure each stem with a dab of hot glue.
Step-by-step Instructions
- Place the decorative hat on the wreath to decide the best position. When you’re happy with the placement, hot-glue the hat in place and hold until set.
- Clip hydrangea stems from the bunches. You can include leaves or remove them depending on the look you prefer.
- Work around the wreath inserting stems into the straw base to map out coverage. When you like the arrangement, remove each stem one at a time, add a small dot of hot glue to the stem end, and reinsert it into the wreath. Hold briefly until the glue sets.
- Continue gluing stems until the wreath is evenly covered. Add sprigs or long-flower accents behind or around the hat to add balance and volume.
- Tie a tulle bow and attach it to the hat. Use the same tulle for a hanger, or substitute a stiffer ribbon if you prefer.
- Give the wreath a gentle jiggle and inspect for any loose pieces; add extra glue where needed.
- Hang the wreath on your door or display it flat as a centerpiece.
Tips: Arrange stems and accents without glue first so you can tweak the composition. If you skip sprigs behind the hat, consider making a larger outward-facing bow for more visual balance.