DIY Wavy Air-Dry Clay Bowl — Easy Step-by-Step Painted Trinket Dish
Make a stylish, wavy bowl from air-dry clay in just a few simple steps. This beginner-friendly project yields a decorative trinket dish or jewelry bowl that you can personalize with paint and varnish. Follow the step-by-step instructions below and use the helpful tips to get a smooth, professional-looking finish.
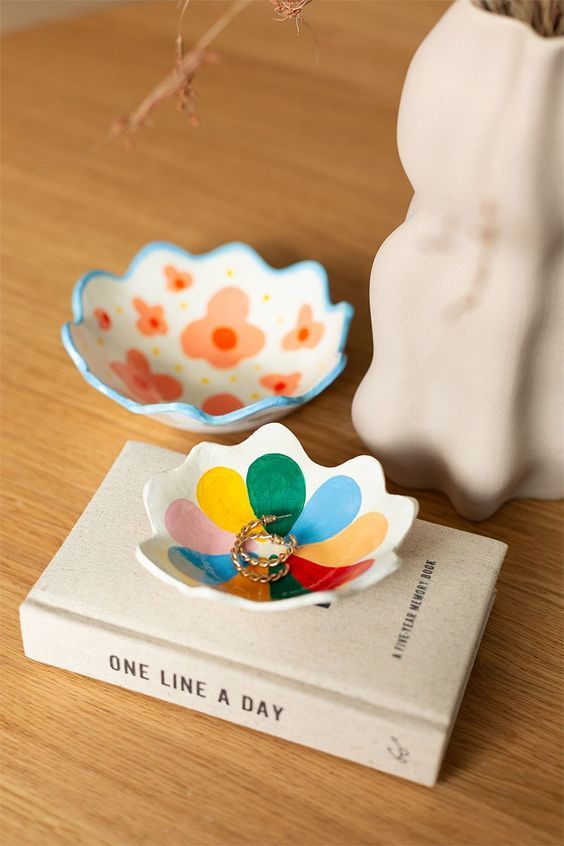
Materials:
- Air dry clay
- roller
- Craft knife
- Round bottom bowls (to shape over)
- Cling film
- Sand paper (fine grit)
- Acrylic paint
- Paint brushes
- Clear varnish (optional)
Step-by-step:
- Weigh and cut: Remove about 250 g (approximately 1/4 block) of air-dry clay. Roll it out into an even circle. Use a small side plate or similar round object to cut a neat circle from the rolled clay.
- Create the wavy edge: With a craft knife, cut a wavy line around the outer edge of the circle. To make shaping easier, cut a triangular wedge out of the circle about 1/6 of the way around.
- Smooth seams: Use a little water on your fingers or a small brush to smooth the wavy edges and any surface cracks. Keep the clay slightly damp while working to avoid tearing.
- Shape over a form: Cover the round-bottom bowl with cling film, then lay your clay circle over the upturned bowl to form the curved shape. Overlap any excess clay and trim off the surplus. Gently blend overlapped edges with water until the join looks seamless.
- Drying: Leave the shaped clay to dry for several hours so it firms up. Once the top side is partly set, carefully turn the piece upside down and remove the bowl and cling film. Blend the inner join with a little water if needed, then leave the piece to dry fully until it is set to the touch. Drying time depends on thickness and humidity; allow more time for thicker areas.
- Sanding: When the bowl is completely dry, smooth any rough edges and surfaces with fine-grit sandpaper for a clean finish.
- Paint and seal: Paint your design using acrylic paints. Apply 2–3 thin coats for even coverage, allowing each coat to dry before adding the next. When paint is fully dry, optionally protect the surface with a clear varnish for durability and a finished sheen.
Tips:
- Work on a non-stick surface and keep a small bowl of water handy to smooth joins and edges.
- Cover the shaping bowl with cling film so the clay won’t stick and you can remove it cleanly.
- If cracks appear while drying, moisten and smooth them quickly; for larger gaps use a thin slip of clay to fill and blend.
- Paint in thin layers to avoid obscuring the wavy texture; sanding lightly between coats can improve adhesion.
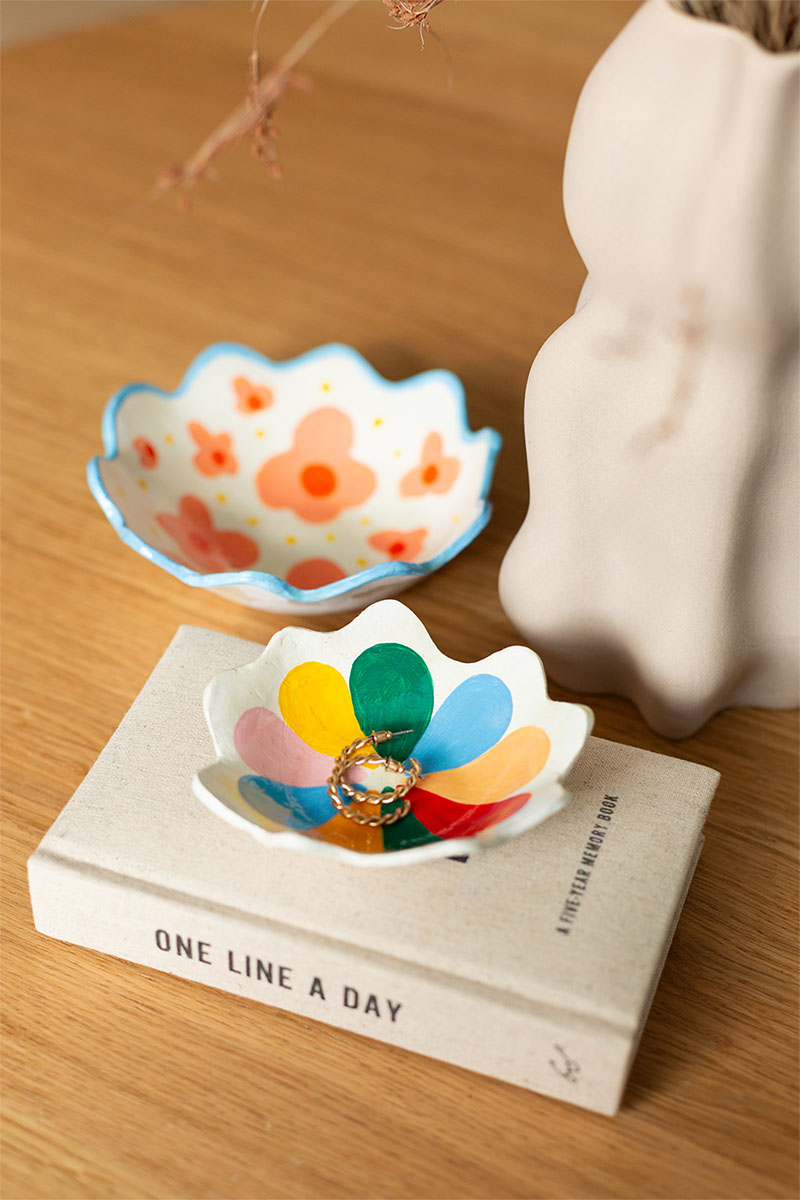
Your DIY wavy painted bowl is now ready to use as a decorative piece or a small storage dish for jewelry, keys, or other small items. Enjoy customizing it with colors and patterns that suit your style!
No comments
Write a comment