DIY Cherry Blossom Air-Dry Clay Trinket Dishes — Easy Step-by-Step Tutorial
Create delicate, custom trinket dishes using non-toxic air-dry clay and a simple cherry blossom template. This beginner-friendly DIY makes lovely organizers for rings and jewelry or thoughtful handmade gifts. Follow these clear steps — from rolling and cutting to painting and glazing — to craft your own unique dishes.
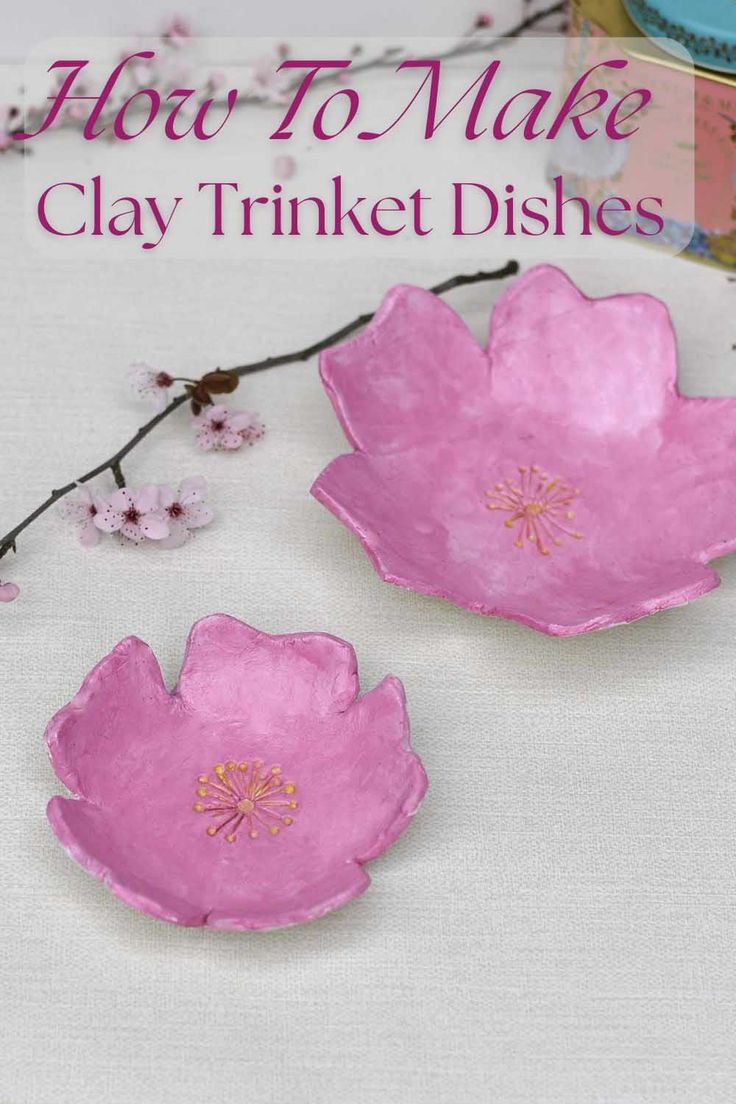
Finished cherry blossom trinket dish, painted and glazed.
Materials:
Non-toxic white air-dry clay
Acrylic paint or watercolour inks (in your choice of colours for the cherry blossoms)
A generous amount of glaze (to seal and protect your dish)
A small bowl of water and a small amount of water (for smoothing surfaces and edges)
Regular wooden rolling pin
Sandpaper
Hand-drawn cherry blossom template (available for download with this tutorial)
Paper clip and round drawing pin
Small bowls or ring dishes (as moulds or inspiration)
Work surface (protected with parchment paper or a silicone mat)
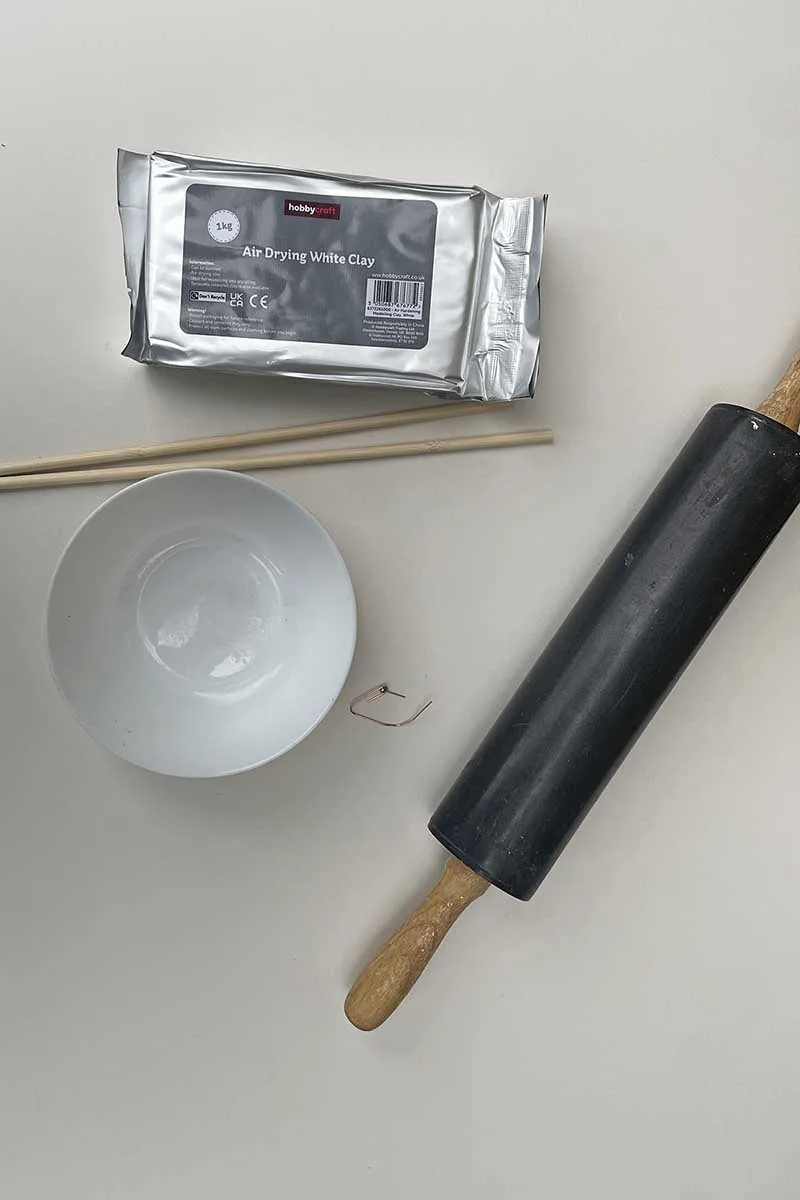
Materials and tools laid out for the project.
The Cherry Blossom Template
The template technique makes it simple to achieve consistent shapes. I chose a cherry blossom for its simple, pretty silhouette, but you can use any template you like — leaves, fruit shapes, mushrooms, etc.
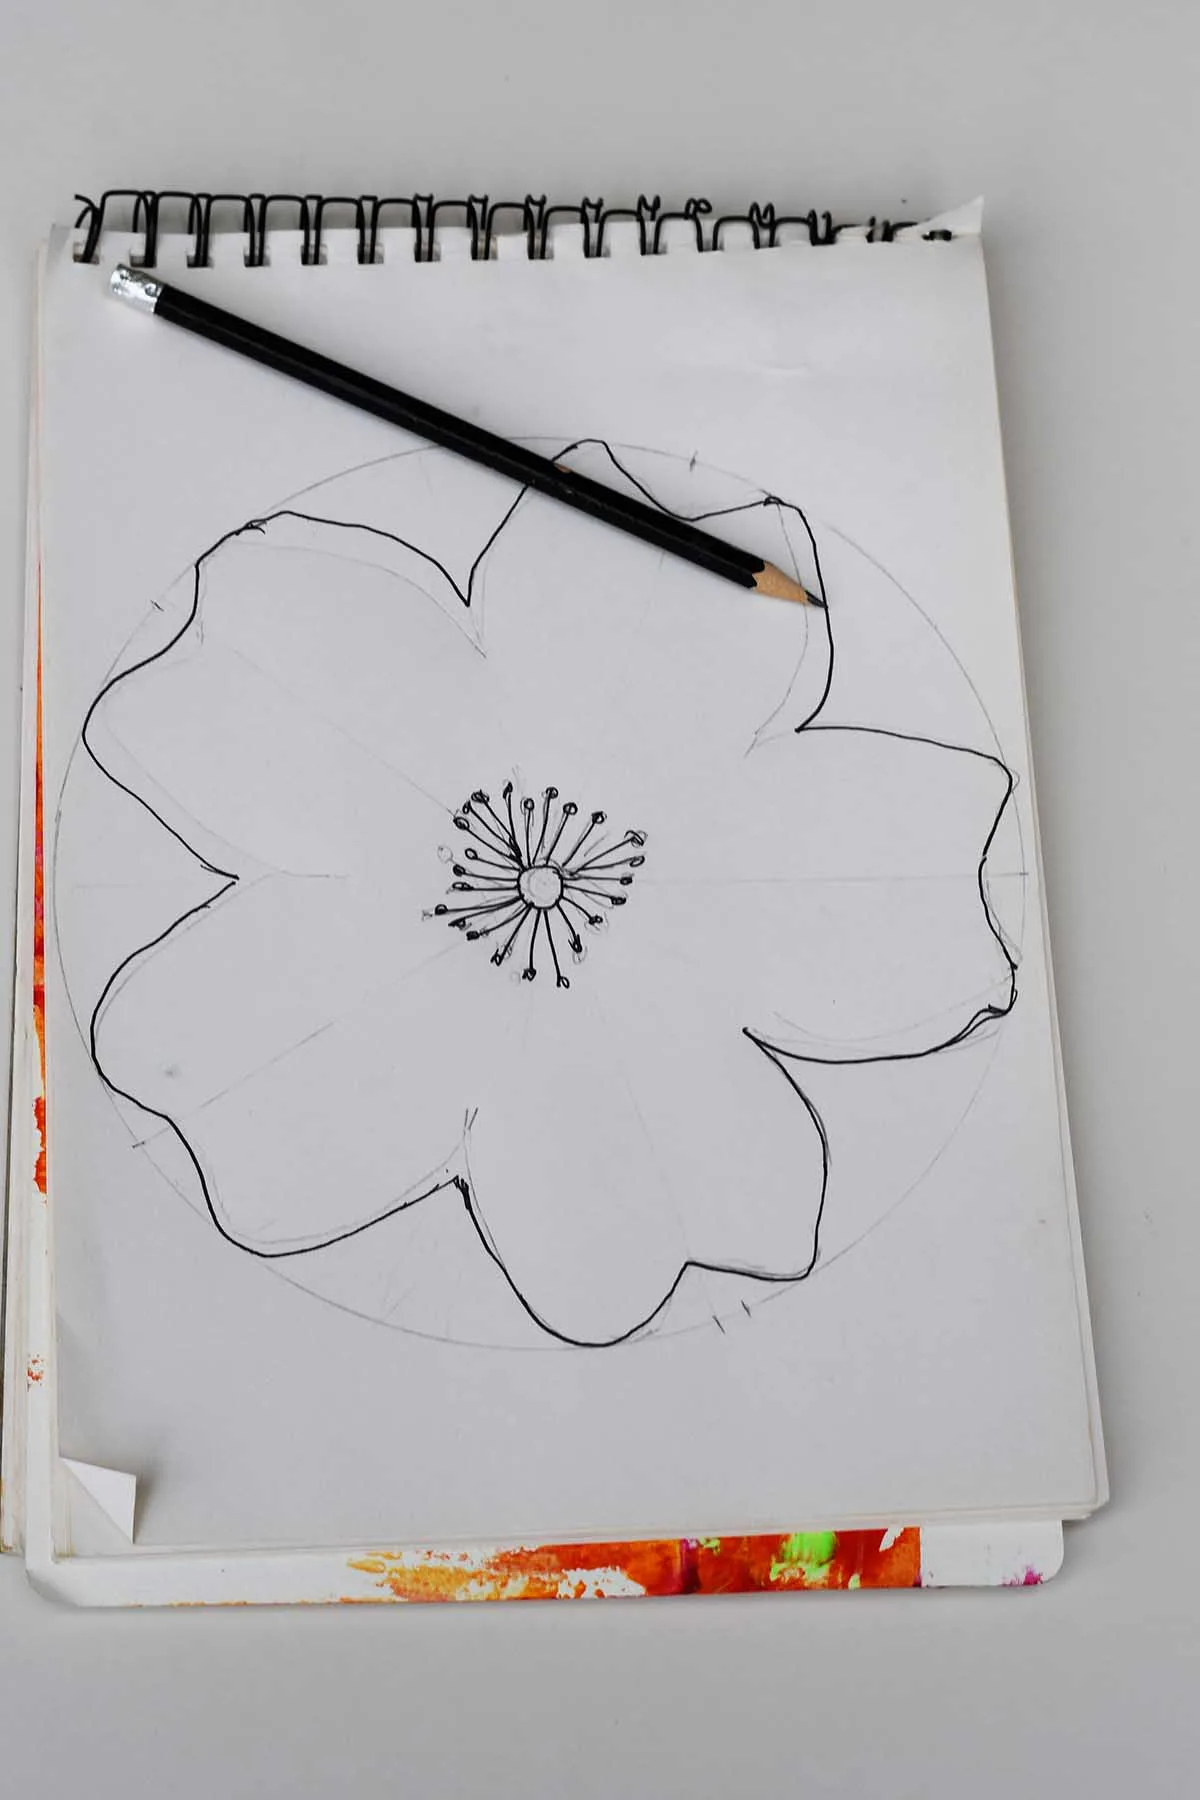
Hand-drawn cherry blossom template used to cut shapes from rolled clay.
I used an easy cherry blossom drawing tutorial to make the template. You can draw blossoms of any size with the same method or print the template provided with this guide.
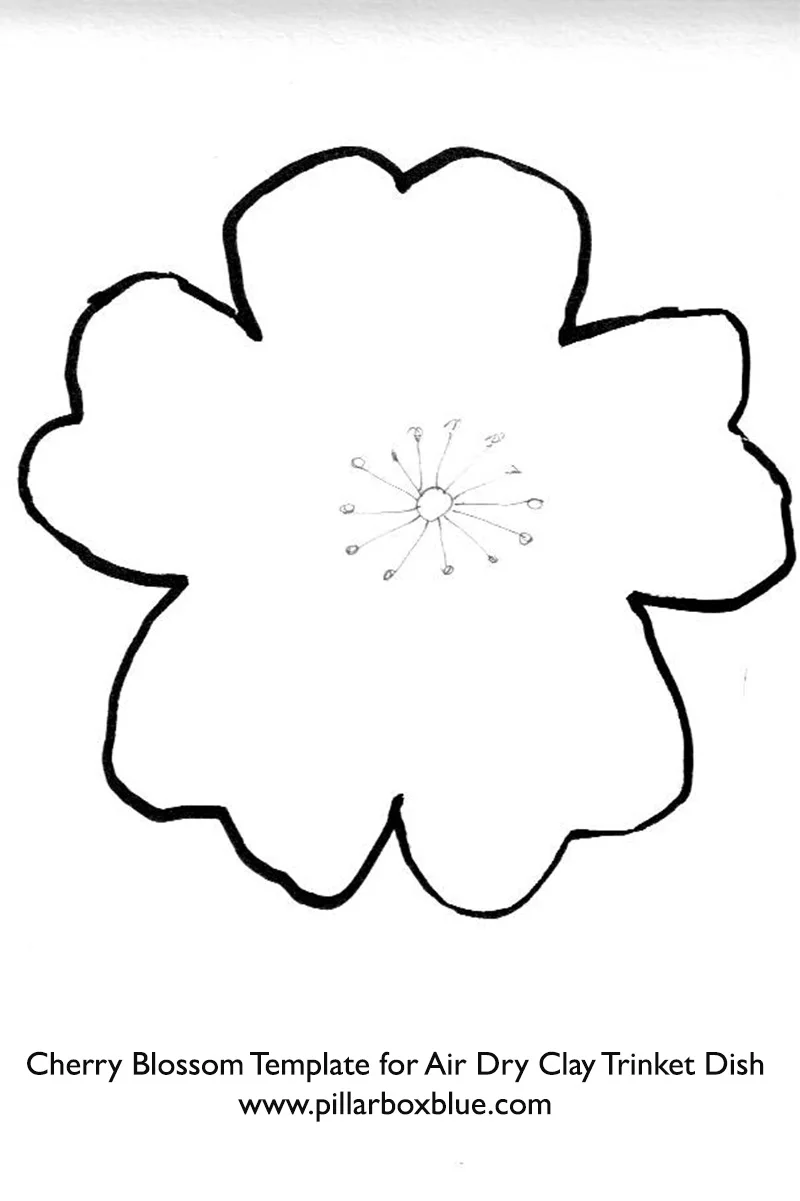
Cherry blossom templates in different sizes for varied trinket dish dimensions.
Preparing Your Clay
Step 1: Start with a Handful of Clay — Knead a small amount of white clay until soft and pliable. Add a tiny bit of water only if you see small cracks.
Step 2: Roll Out the Clay — Roll the clay to about 1/4 inch (6 mm) thickness. Rolling between two thin wooden sticks helps ensure an even thickness and avoids thin weak spots.
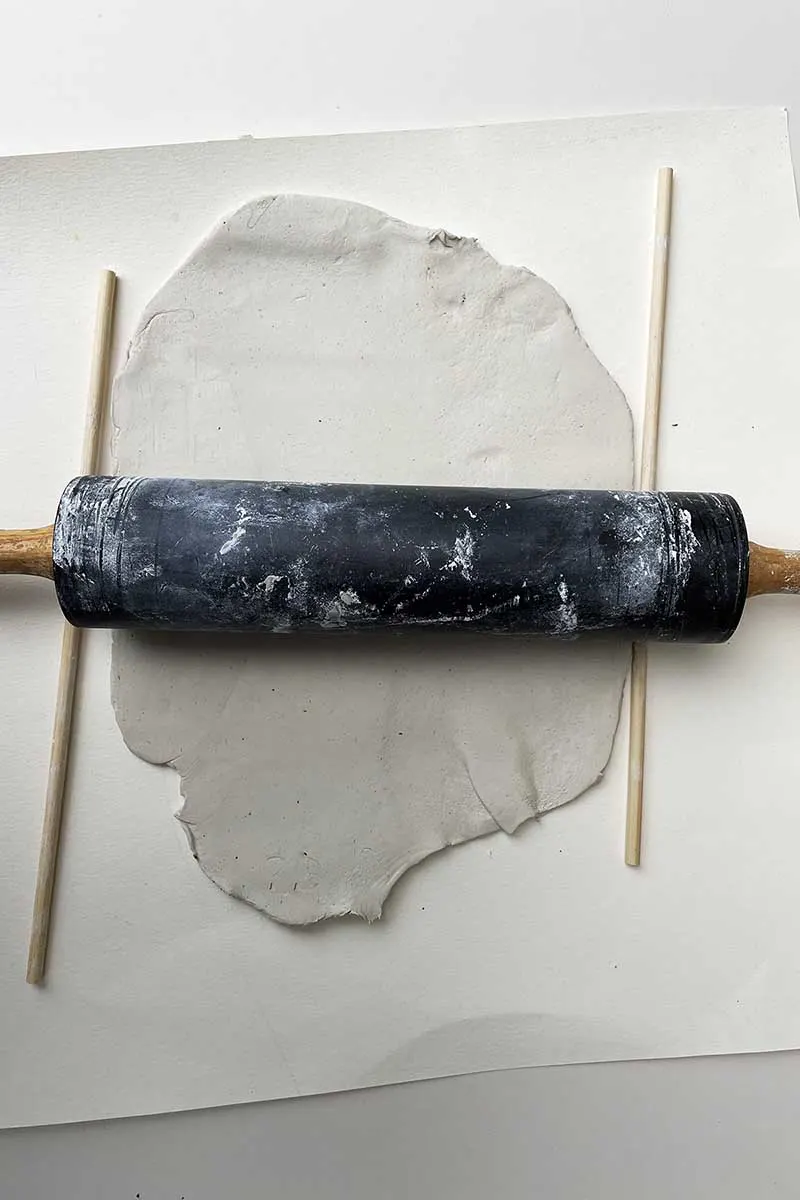
Rolling out white air-dry clay to an even 1/4 inch thickness using guide sticks.
Shaping the Dish
Step 3: Cut Out the Cherry Blossom Shape — Place your template over the rolled clay and carefully cut around it to get a clean outline for your dish.
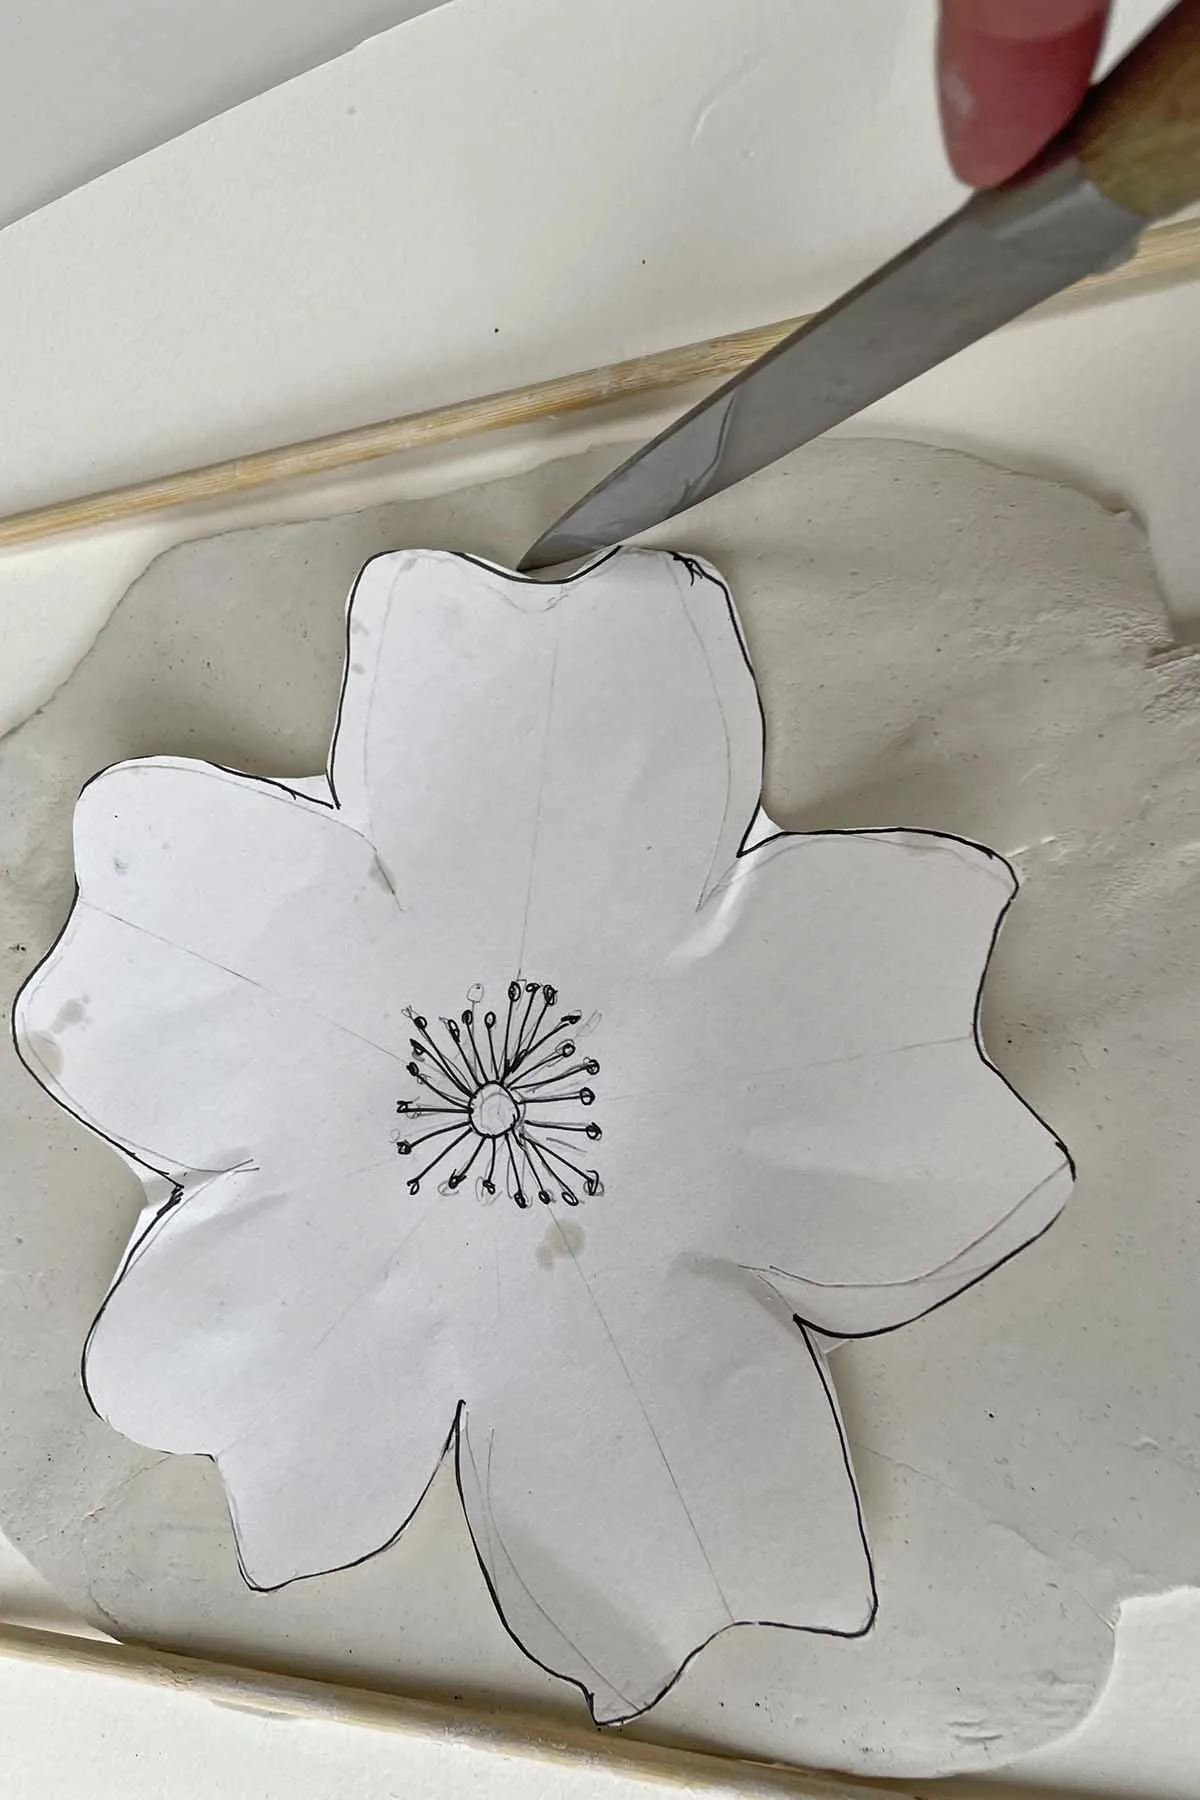
Cutting the cherry blossom shape from rolled clay using a template.
Step 4: Stamp in the Stamen — Use a bent paper clip and the head of a round drawing pin to press small circular impressions into the center of the flower to represent the stamen.
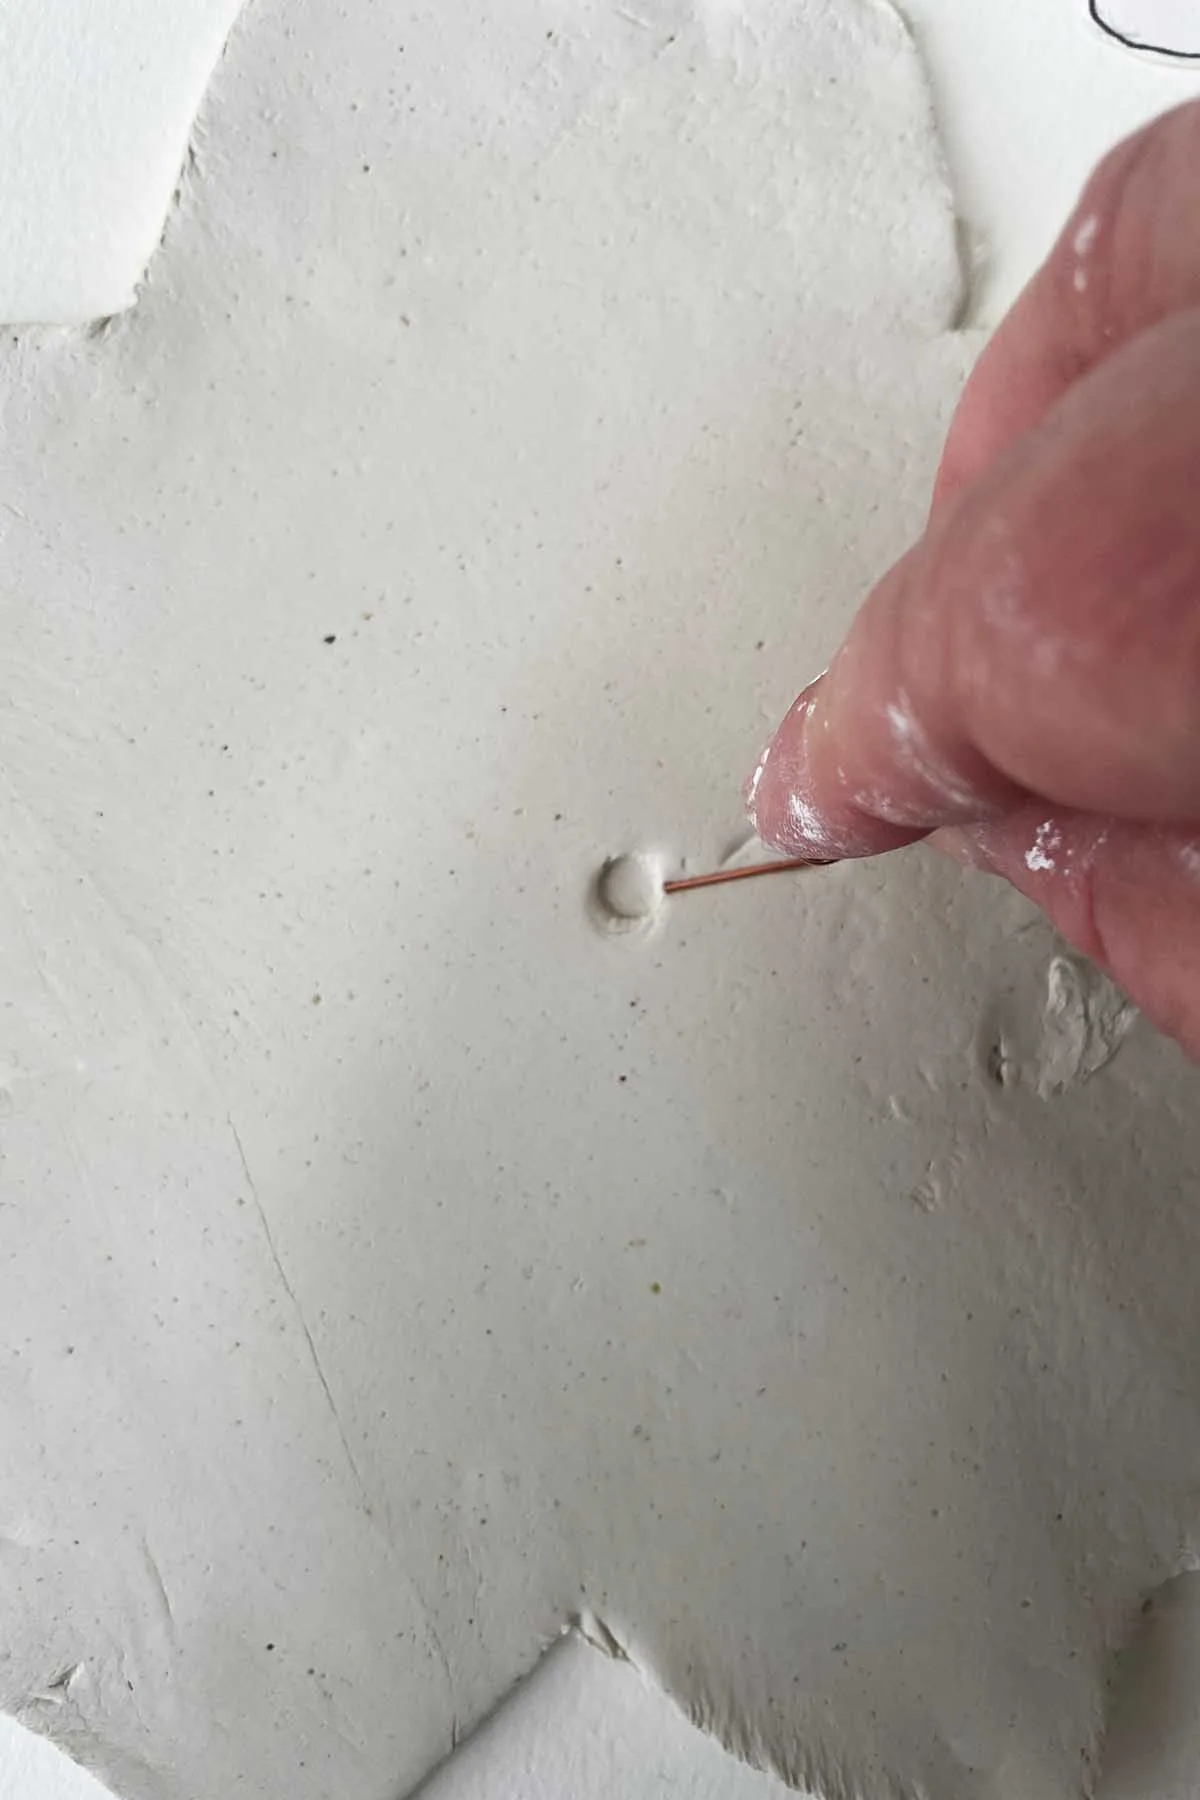
Stamping the stamen with a bent paperclip and drawing pin for a delicate centre detail.
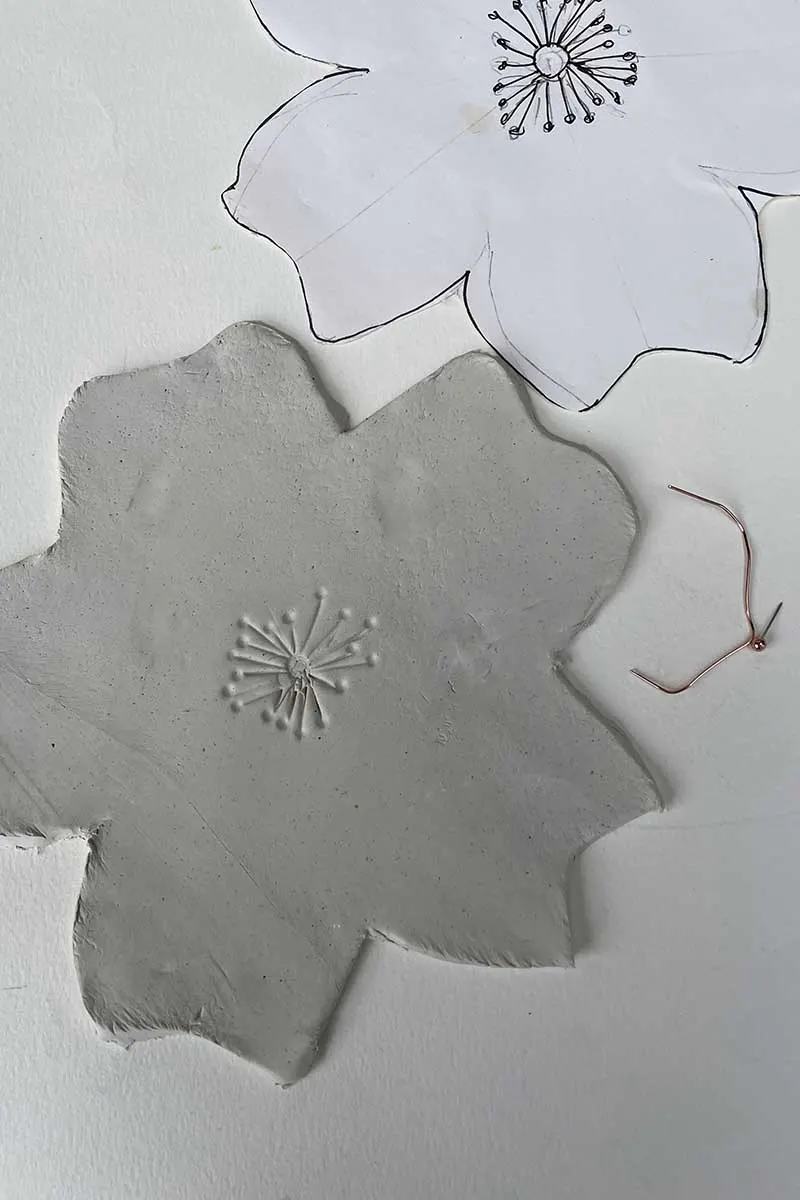
Close-up of the center imprint showing multiple small impressions for the stamen.
Step 5: Form the Dish — Gently lift the cut blossom and set it into a small bowl or ring dish to give it a shallow, curved shape. Use a little water on your finger to smooth edges and remove fingerprints.
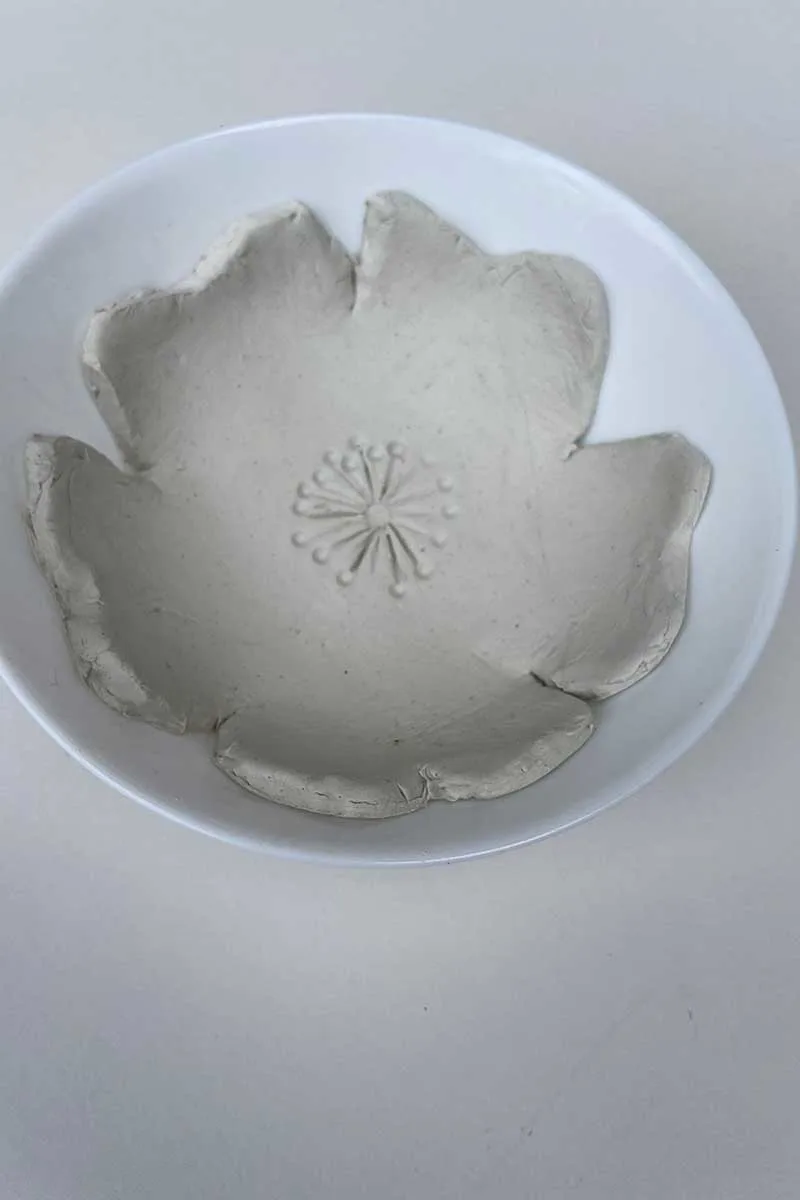
Shaping the clay blossom inside a bowl to create a shallow dish form.
Step 6: Allow It to Dry — Dry times vary by climate. Place in a warm, dry area. Because clay can take longer to dry when nestled in a bowl, you can remove it once it holds its shape and let it finish drying in open air to speed the process.
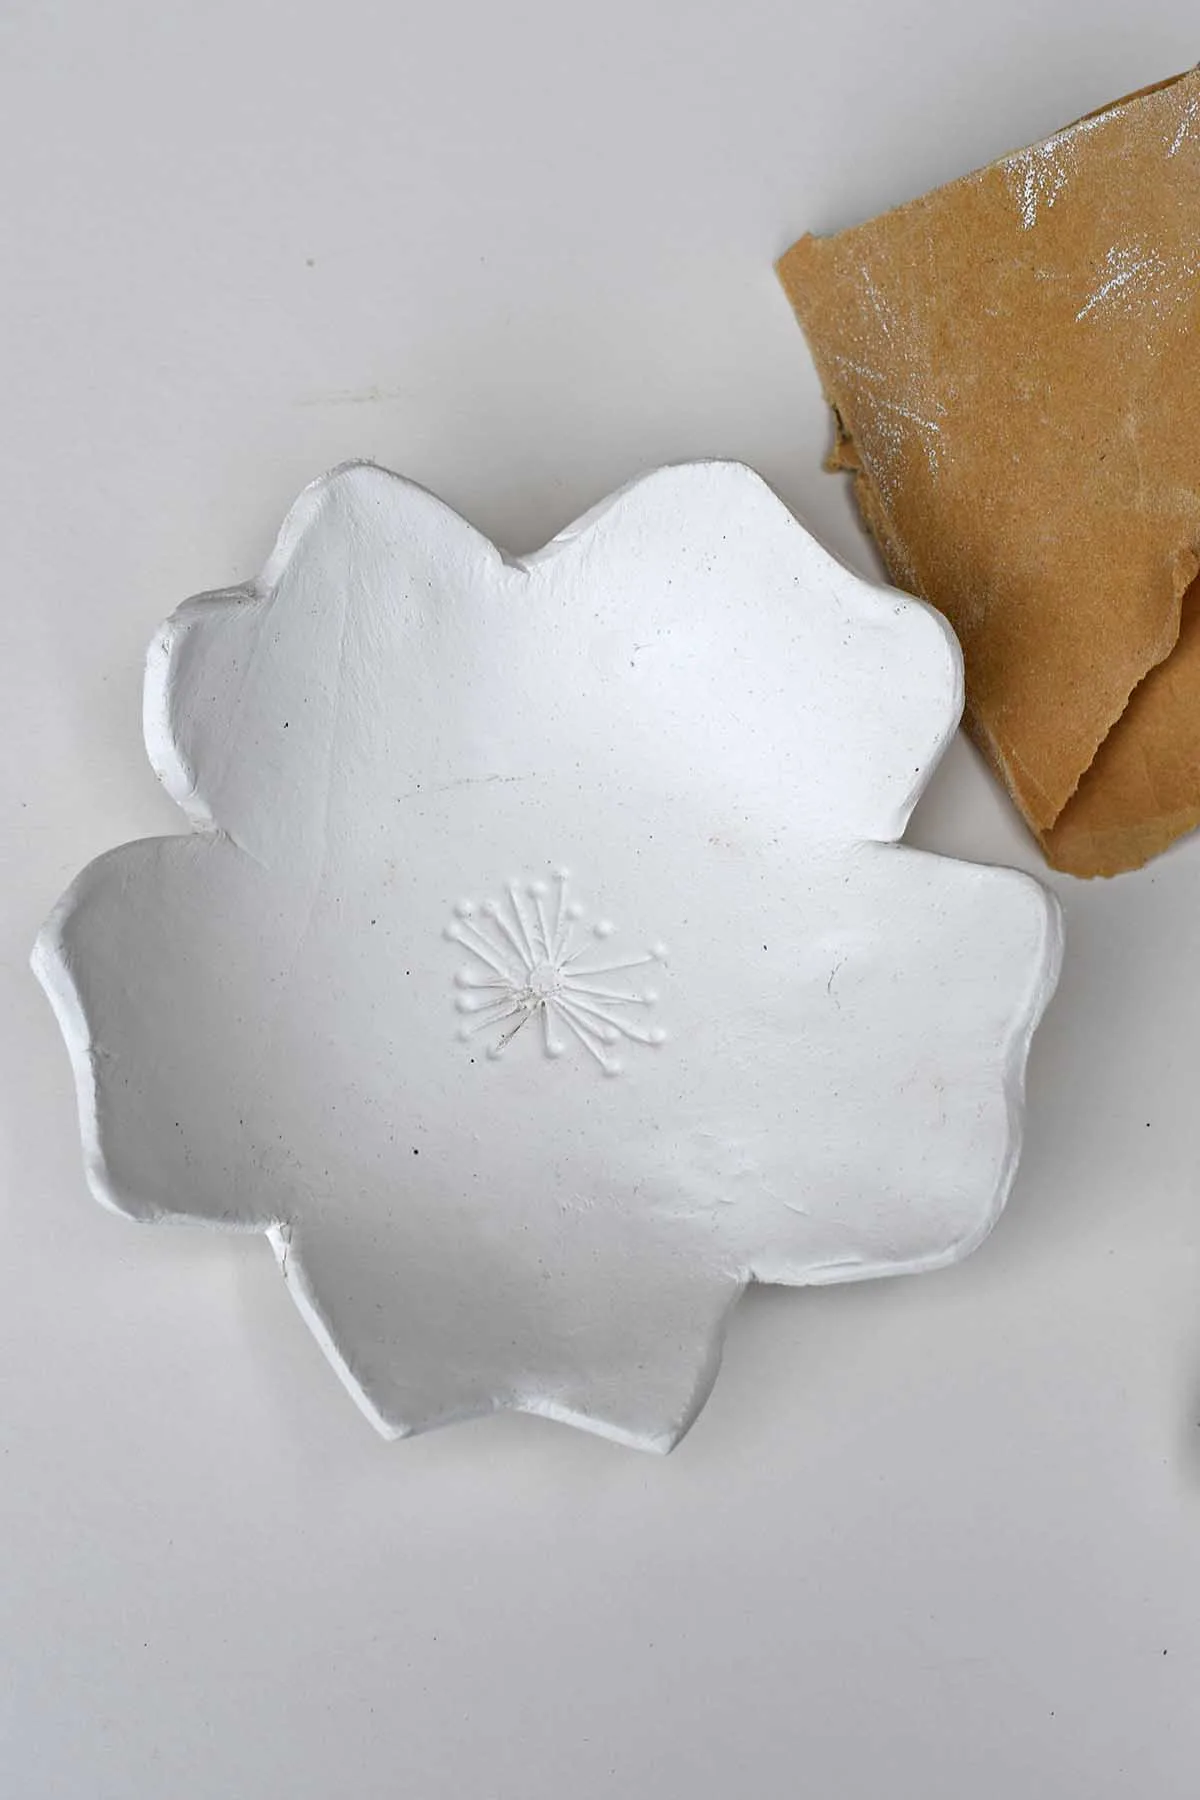
Trinket dish drying on a flat surface after initial shaping.
Sanding, Painting and Glazing
Step 7: Sanding — After the clay is completely dry, smooth edges and any rough spots with fine-grade sandpaper.
Step 8: Painting — Paint your dish once it is fully dry. You can use acrylics, spray paints, or watercolour inks. I used pink watercolour ink for the petals and a gold marker for the stamen centre.
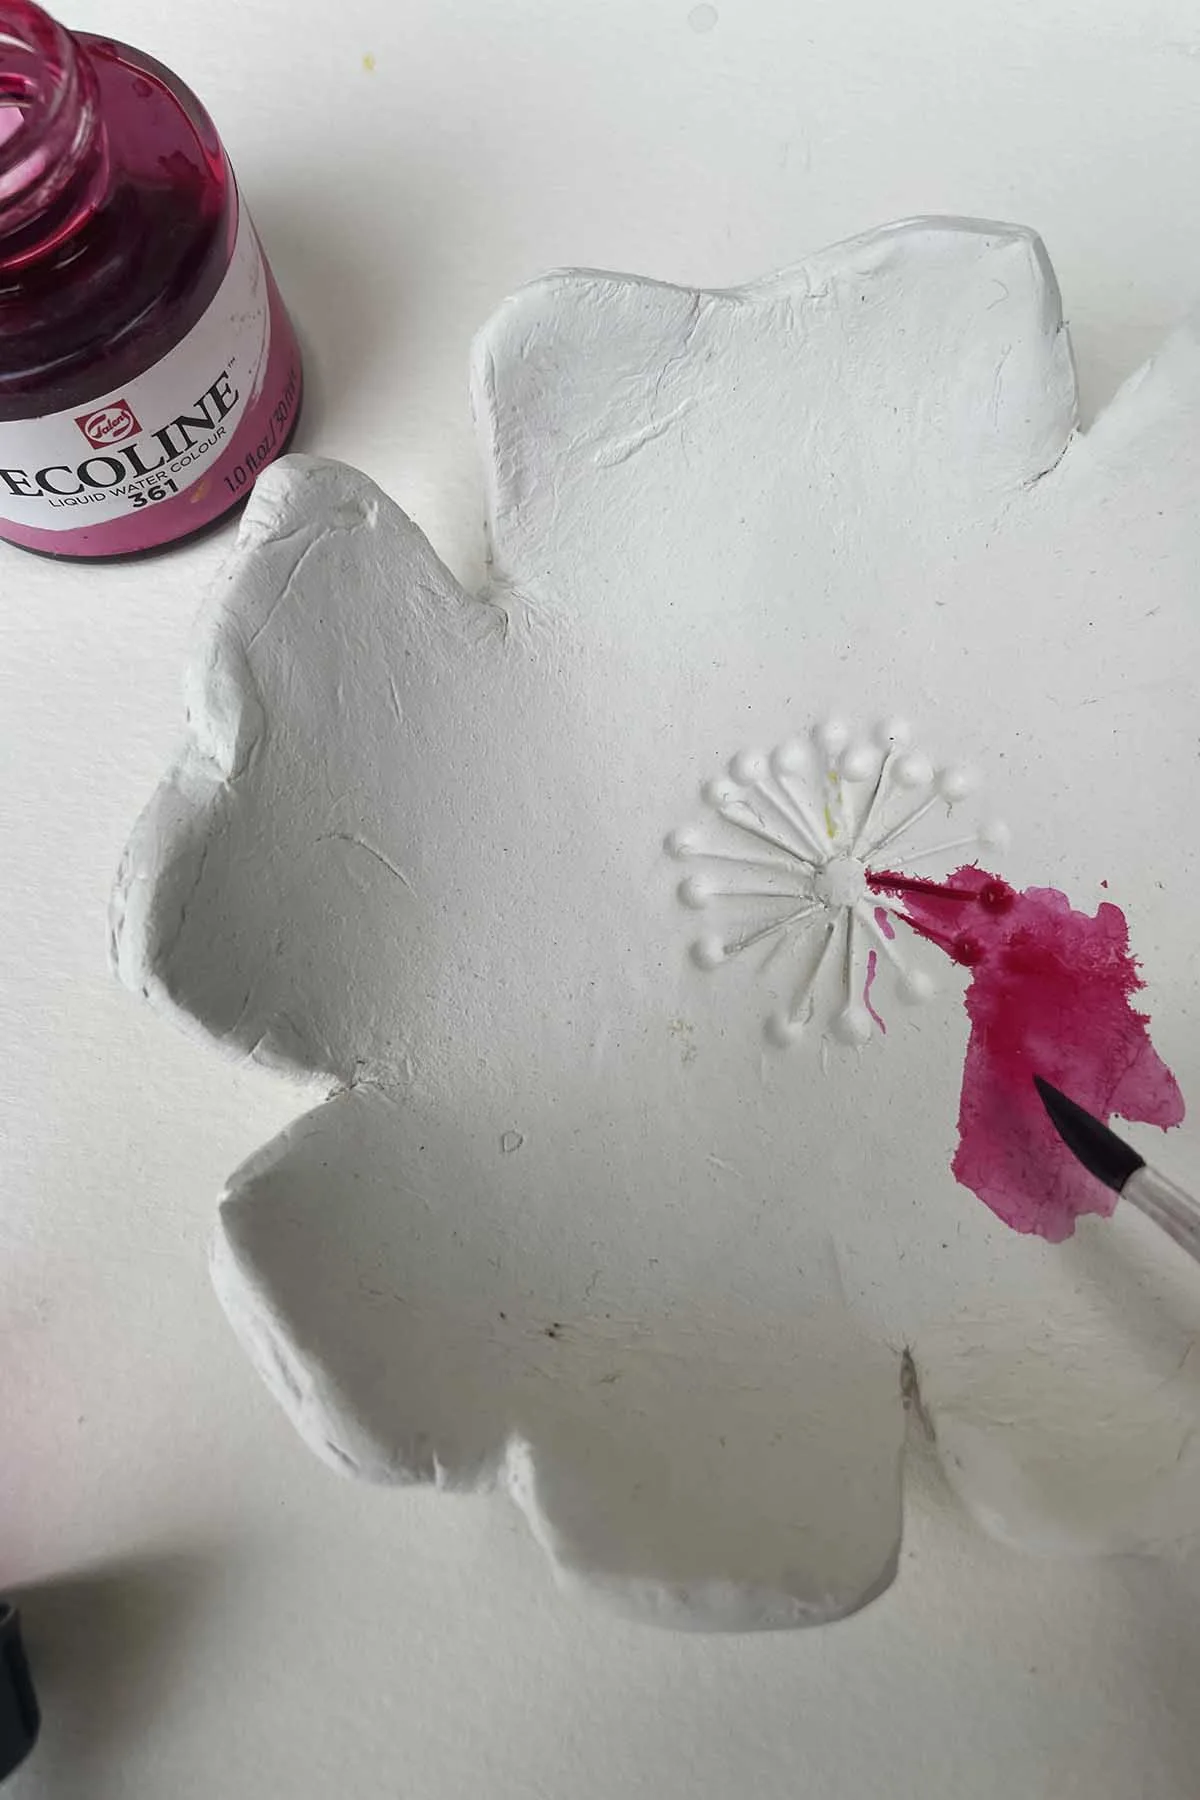
Painting the petals soft pink and adding gold detail to the center stamen.
Step 9: Glazing — When the paint is dry, apply a generous coat of glaze to seal the paint, add durability, and give a glossy finish.
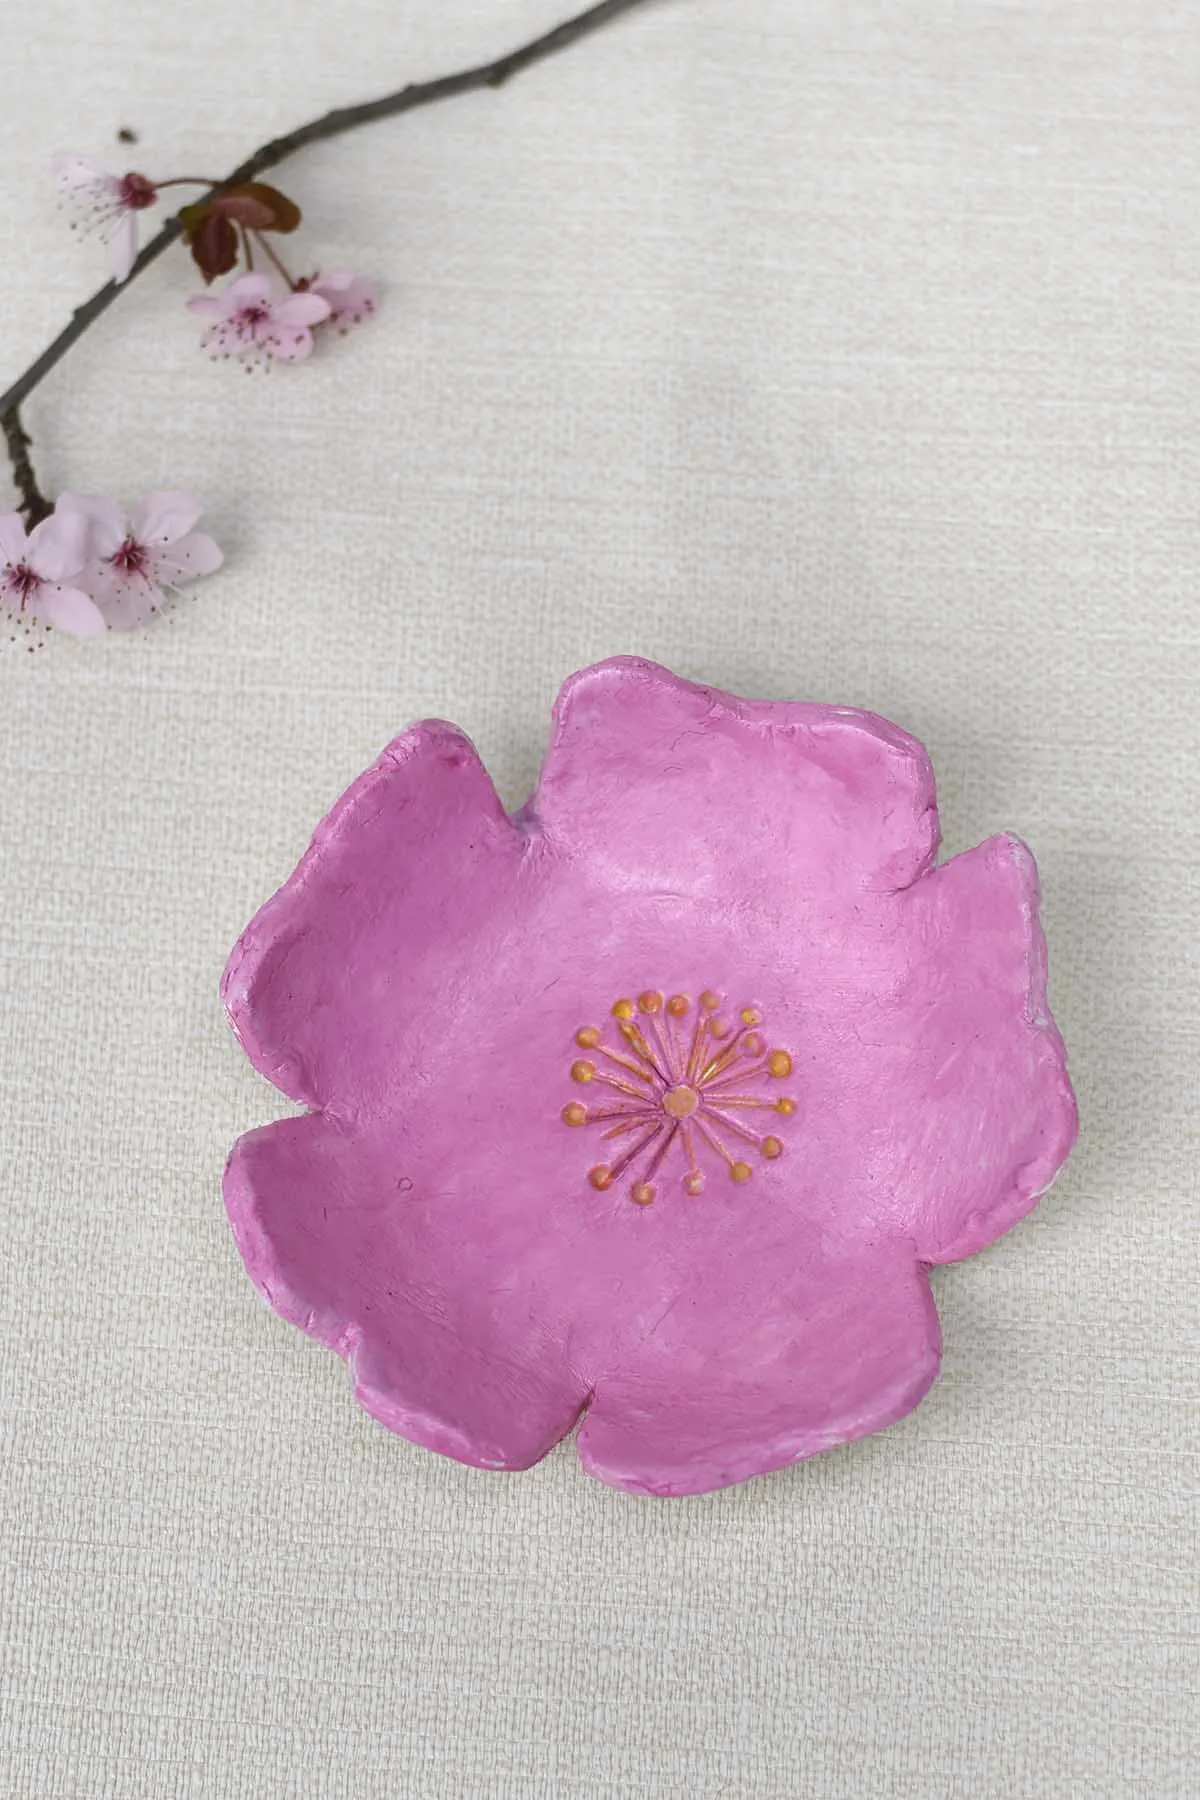
Applying a glossy glaze to protect the paint and give a durable finish.
Step 10: Final Drying — Allow the glaze to dry thoroughly according to the manufacturer's instructions, usually several hours to a day.
Step 11: Finishing Touches — Add any extra painted accents, touch up the edges, or apply a second glaze coat if desired.
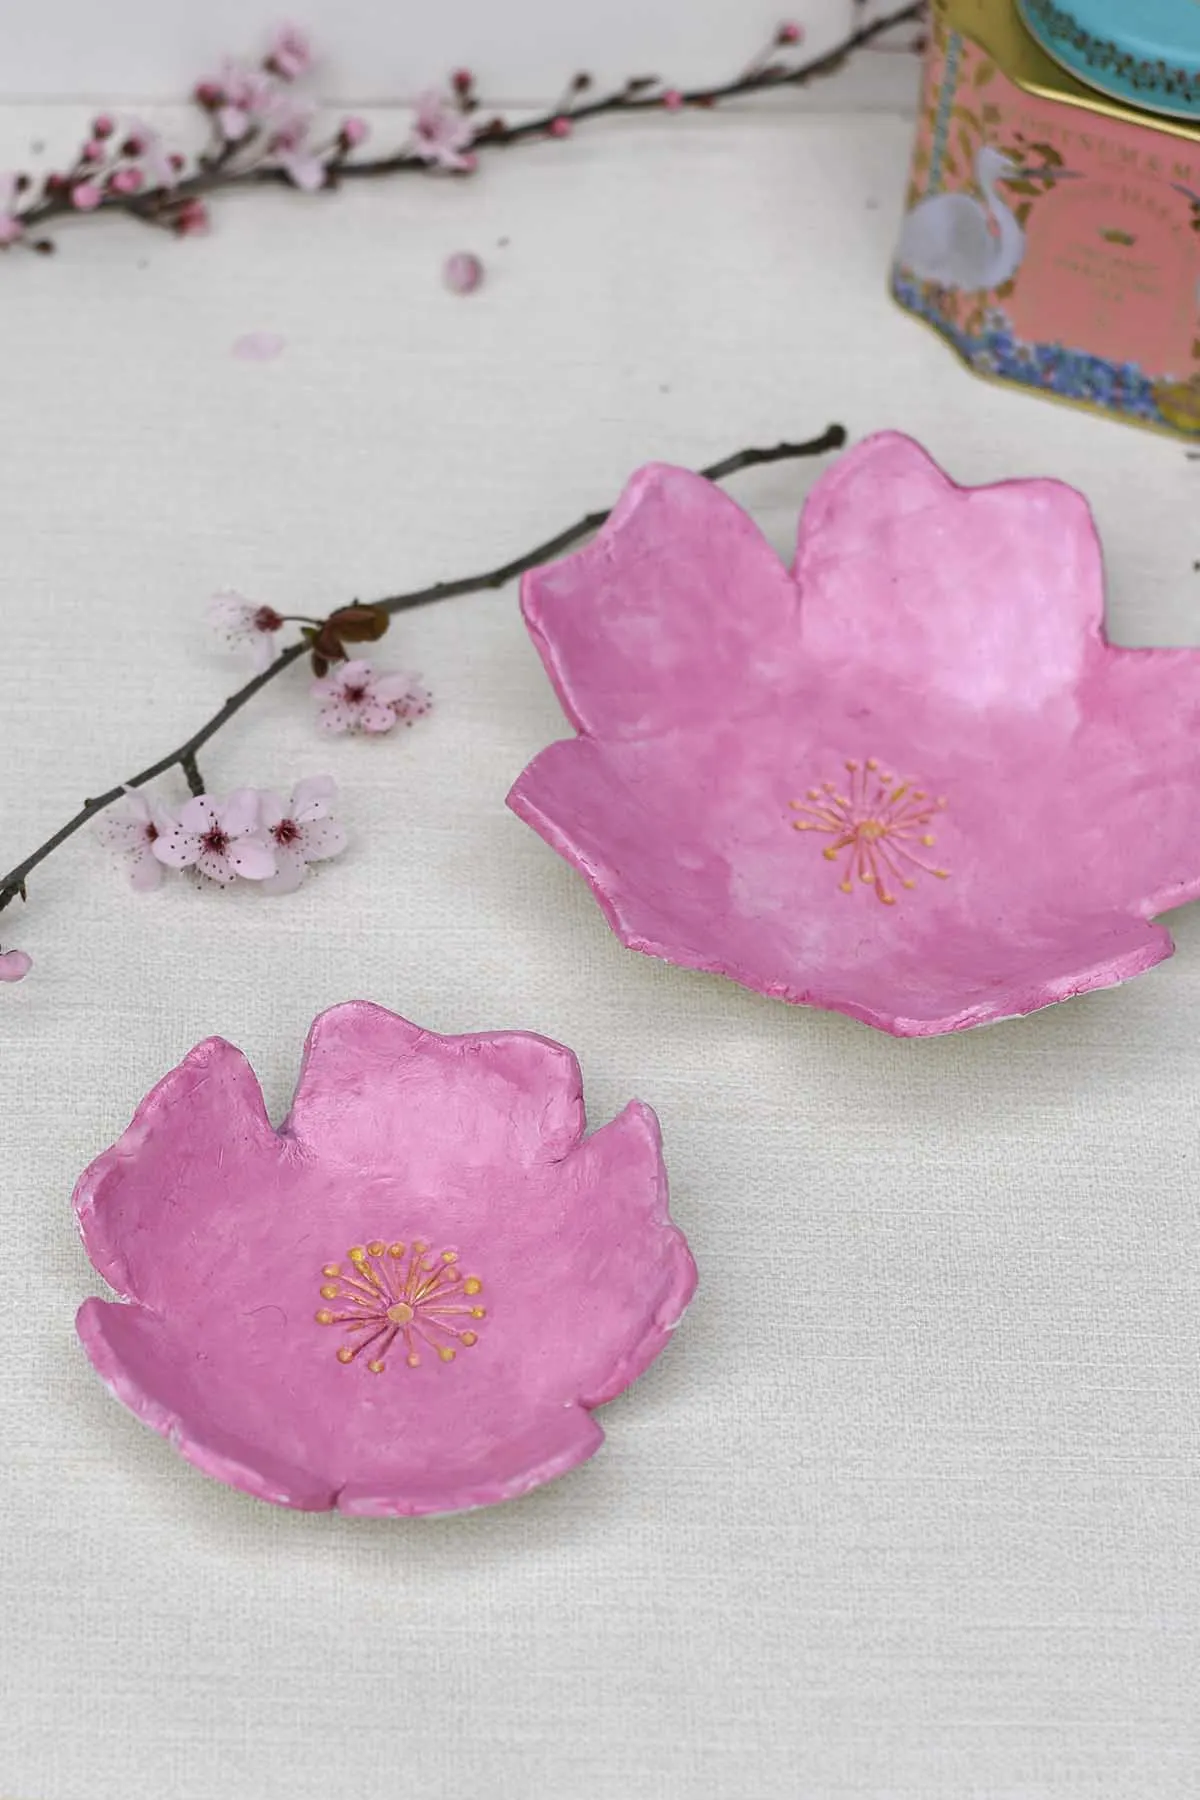
Finished cherry blossom trinket dishes, ready to use or gift.
Tips:
- Work on a protected surface and keep a small bowl of water handy for smoothing.
- If your clay cracks while drying, a little water can help smooth and re-blend the clay before re-drying.
- Experiment with different templates and colour combinations to create a set that suits your decor.