Transform Your Garden with a Charming DIY Paper Gnome House — Easy Step-by-Step
Add a touch of whimsy to your outdoor space with a simple, budget-friendly DIY Paper Gnome House. This quick project uses basic craft supplies and can be hung from a tree, shrub, or garden hook to create a playful accent that brings your garden to life.
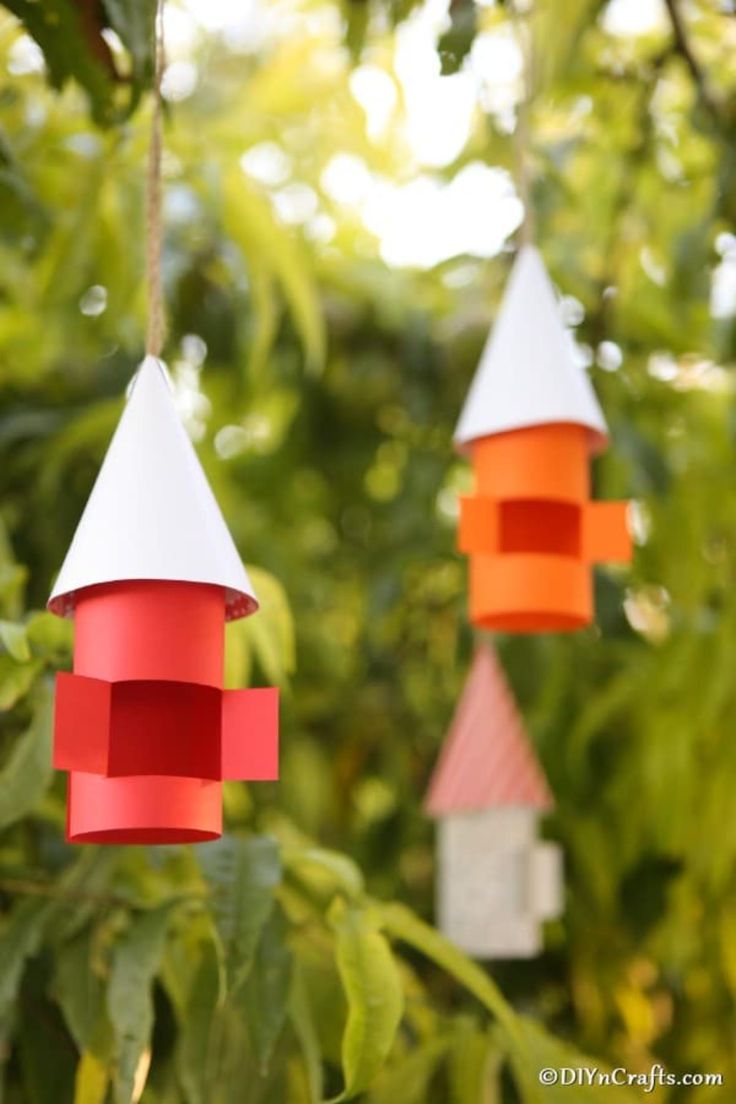
Whimsical paper gnome house adding charm to a garden.
Supplies Needed
- Printed or colored paper
- Glue
- Thread, ribbon, or fishing line (for hanging)
- Scissors
- Craft knife
- Ruler
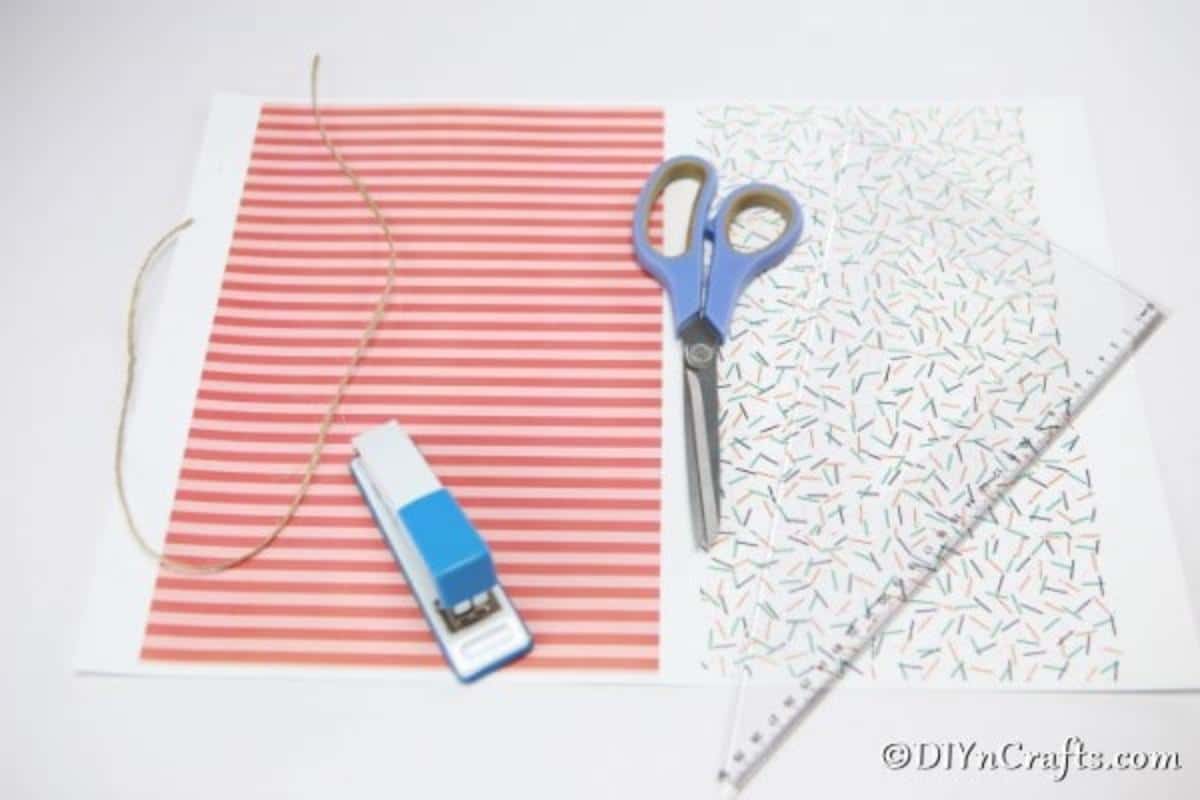
Basic supplies laid out: colored paper, glue, thread and cutting tools.
How to Make a Paper Gnome House
- Gather your supplies and set them within easy reach.
- Choose the paper color or pattern for the house base. Cut a strip of paper to the width you want the house to be tall.
- Fold the strip in half and, at the halfway mark, cut 1"–2" up into the paper to create a little house door.
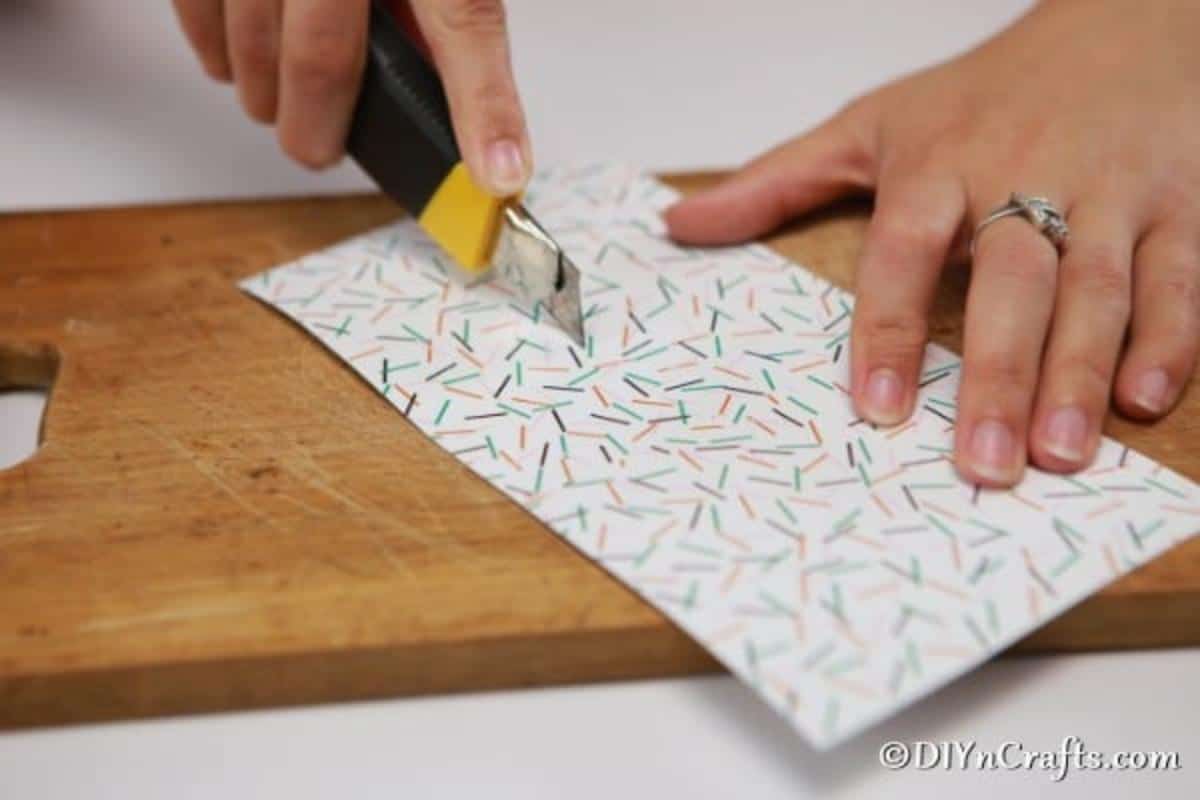
Cutting and forming the house base into a tube with a small door cut at the fold.
- Attach the ends of the base strip to form a tube. Use glue or staples to secure the seam.
- For the roof, cut a half-circle from a different colored or patterned paper. Roll it into a cone so the pointed end is at the top, then glue or staple the seam.
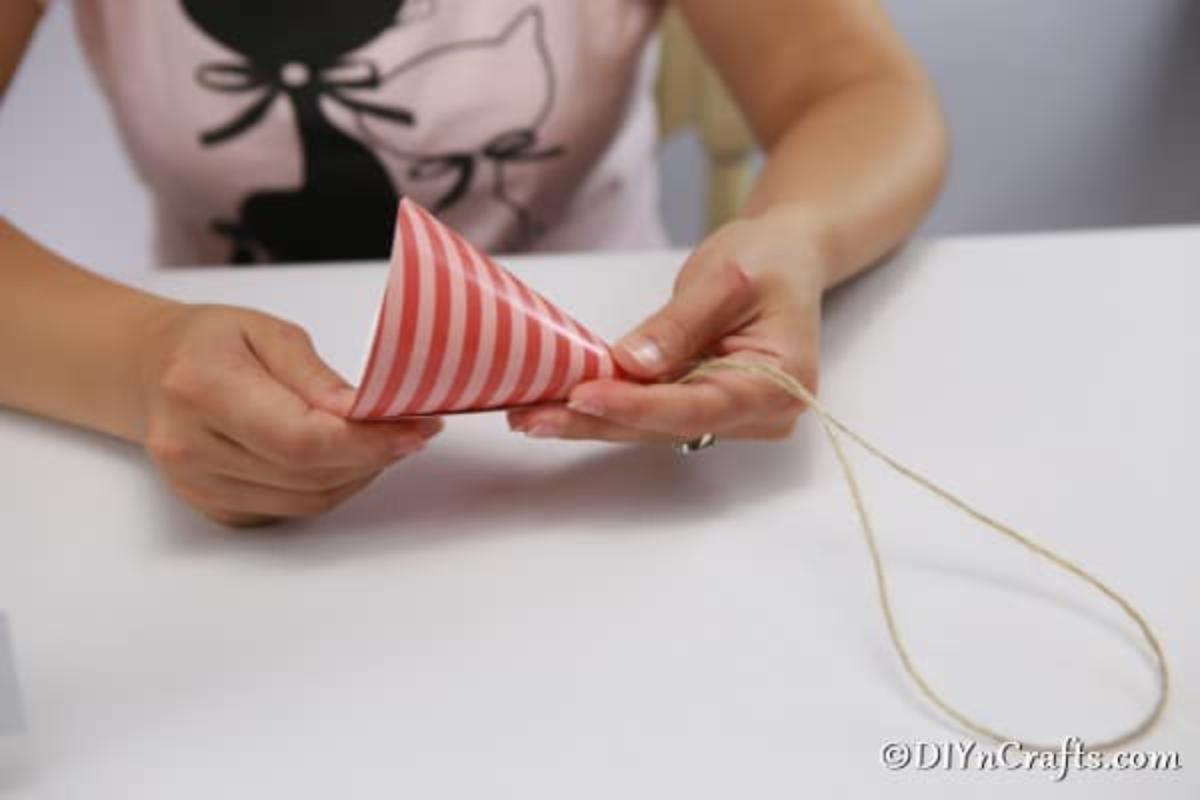
Cutting and rolling a half-circle of paper into a cone-shaped roof.
- Thread a length of thread or ribbon and tie a small knot at one end. Push the knotted end through the point of the cone so the knot sits inside the roof.
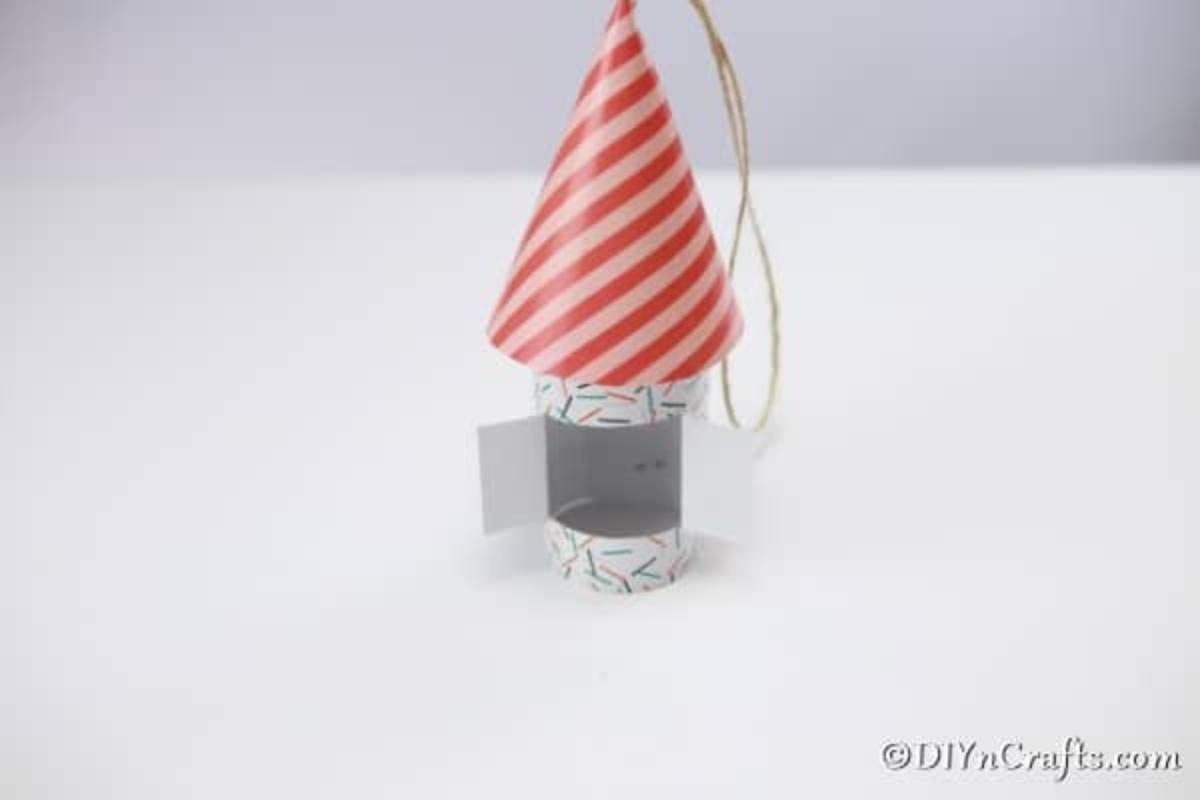
Knot placed inside the cone point and a loop created for hanging.
- Glue the cone (roof) to the top of the tube (house base). Smooth and hold in place until secure.
- Allow the glue to dry completely before hanging the finished gnome house from a tree branch, shrub, or hook.
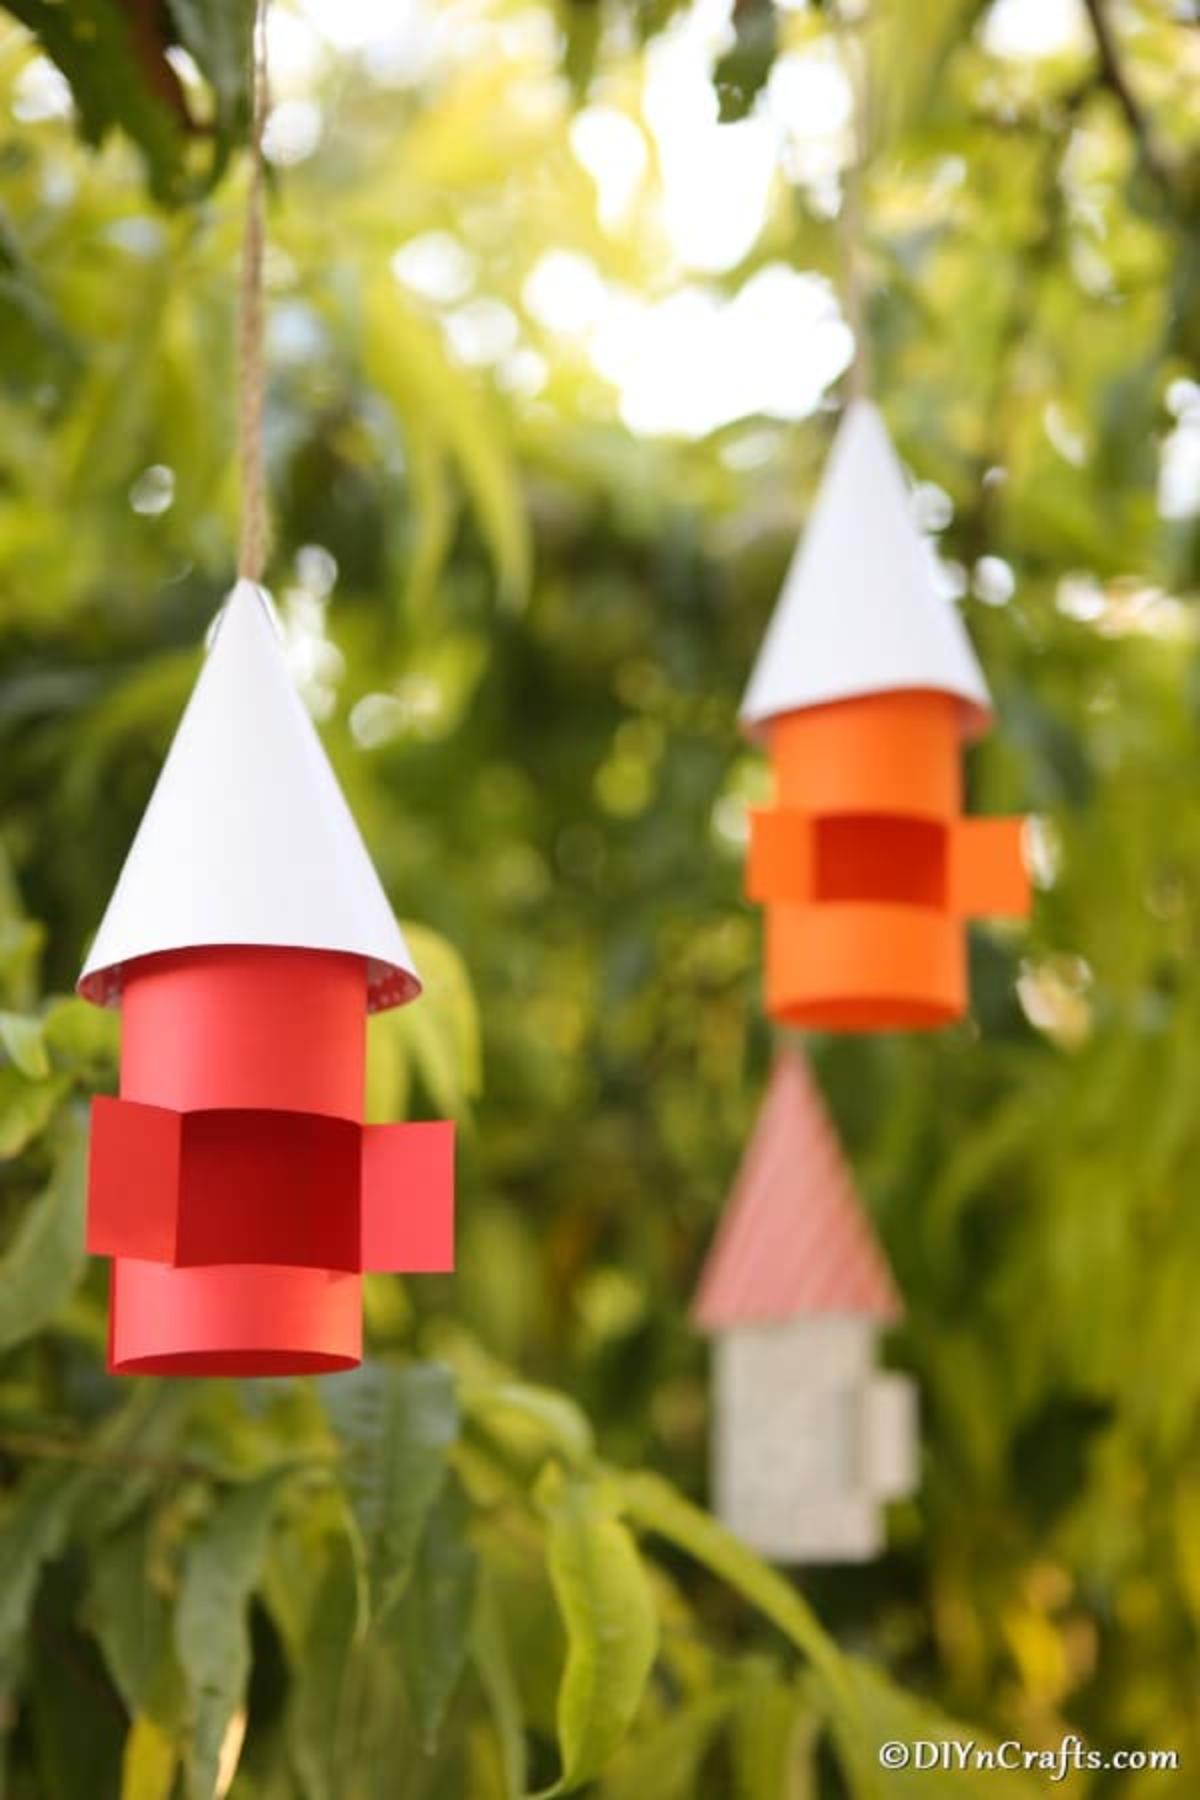
Completed paper gnome house ready to hang in the garden for a playful accent.
Tips
- Use heavier cardstock for outdoor durability, or laminate the finished house if you plan to leave it outside.
- Personalize with stickers, small paper windows, or a little paper porch for extra charm.
No comments
Write a comment