Easy DIY Origami Butterfly: Step-by-Step Folding Guide
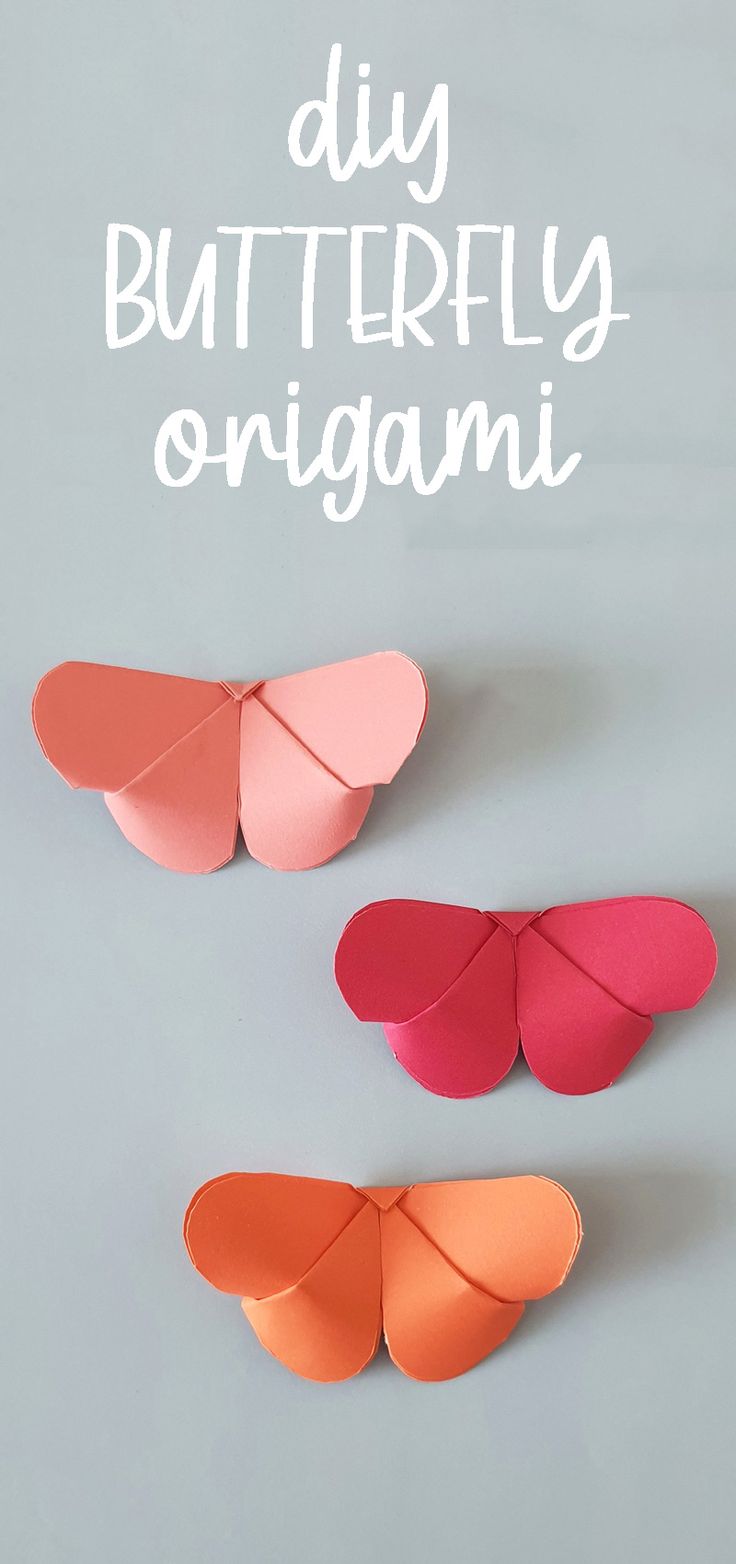
Make a charming origami butterfly in just a few folds. This step-by-step guide walks you through the simple creases and shaping to create a delicate paper butterfly you can use for decorations, cards, or a cheerful craft project. Grab a square of lightweight paper and follow along—no prior origami experience required.
What you need
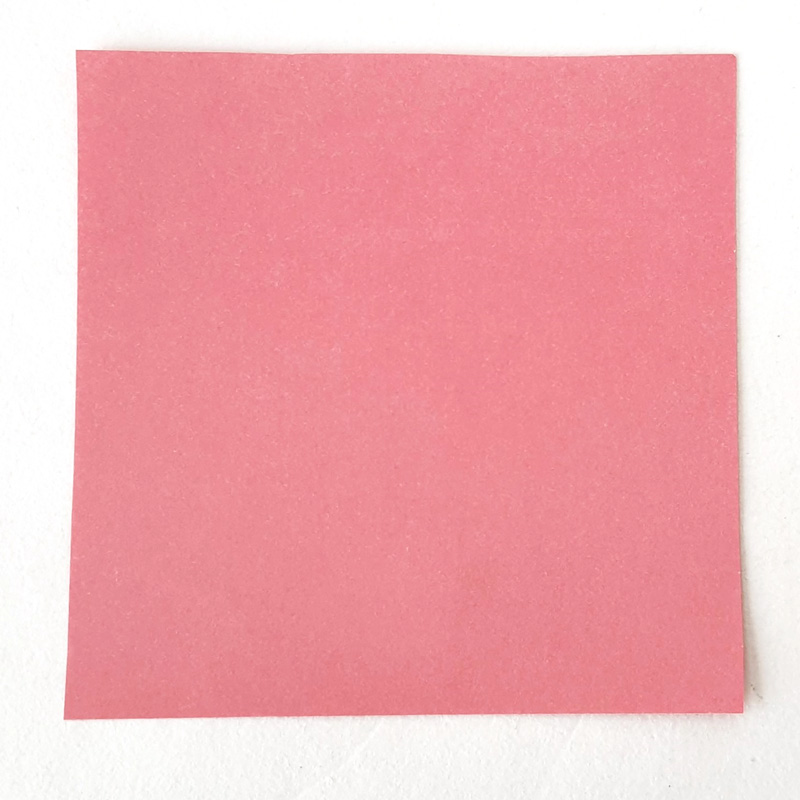
Origami or copy paper (any lightweight paper will work), cut into a square
Glue (optional, to secure the body)
Scissors (for rounding the wing corner)
Optional: Bone folder or a hard edge (ruler) to sharpen creases
How to Make an Origami Butterfly
1. Fold the paper in half diagonally by bringing the top left corner down to the bottom right (or bottom edge). If your paper is square, edges will align to form a triangle. Unfold so you can see a diagonal crease across the square.
2. Fold diagonally the other way by bringing the top right corner down to the bottom left. Unfold so you now have two diagonal creases that form an X.
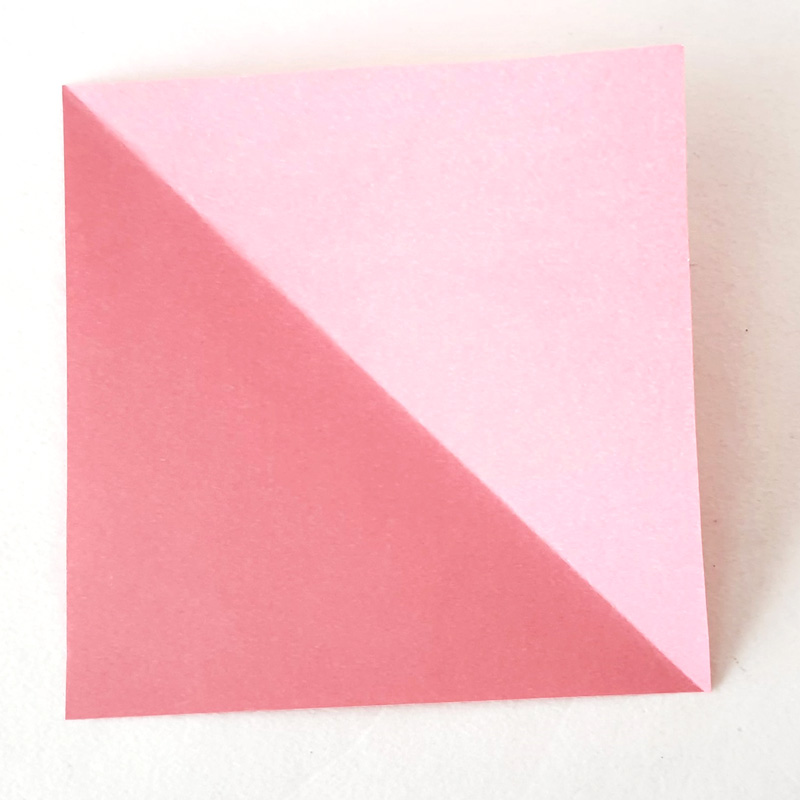
3. Flip the paper over so the creases pop up toward you (valley creases facing down).
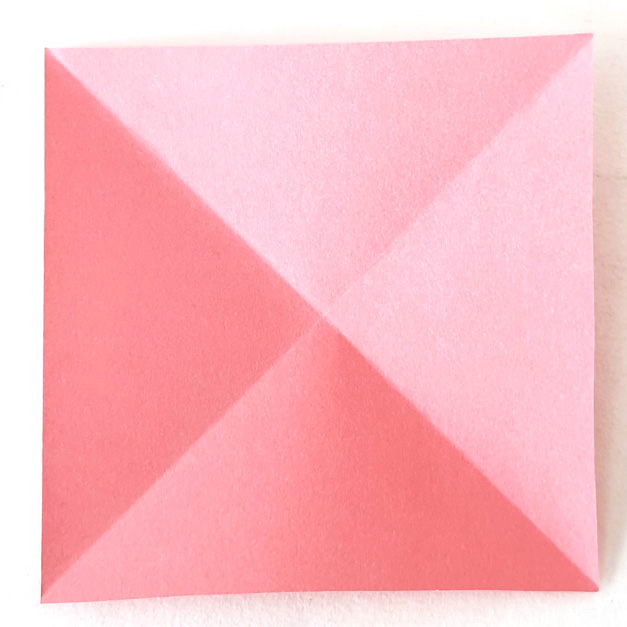
4. Fold the paper in half horizontally (top edge down to bottom), crease well, then unfold. Fold it in half vertically (left to right), crease and unfold. You should now have diagonal and straight creases that intersect in the center.
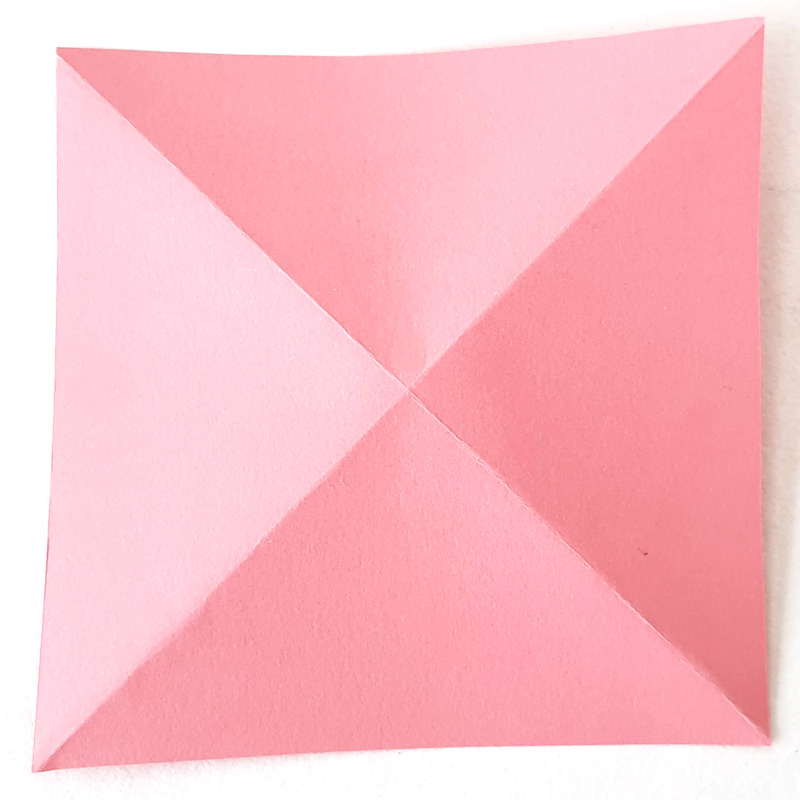
5. Collapse the paper into a preliminary base: press the side creases so they bend away from you and let the diagonal creases pop up. Guide the paper so it folds down into a layered, thick triangle shape.
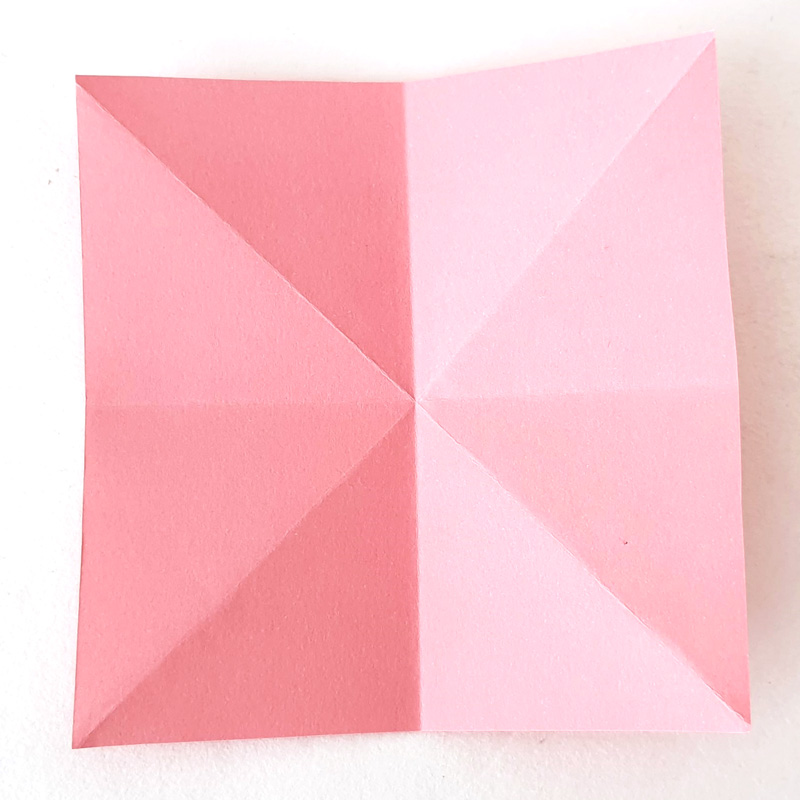
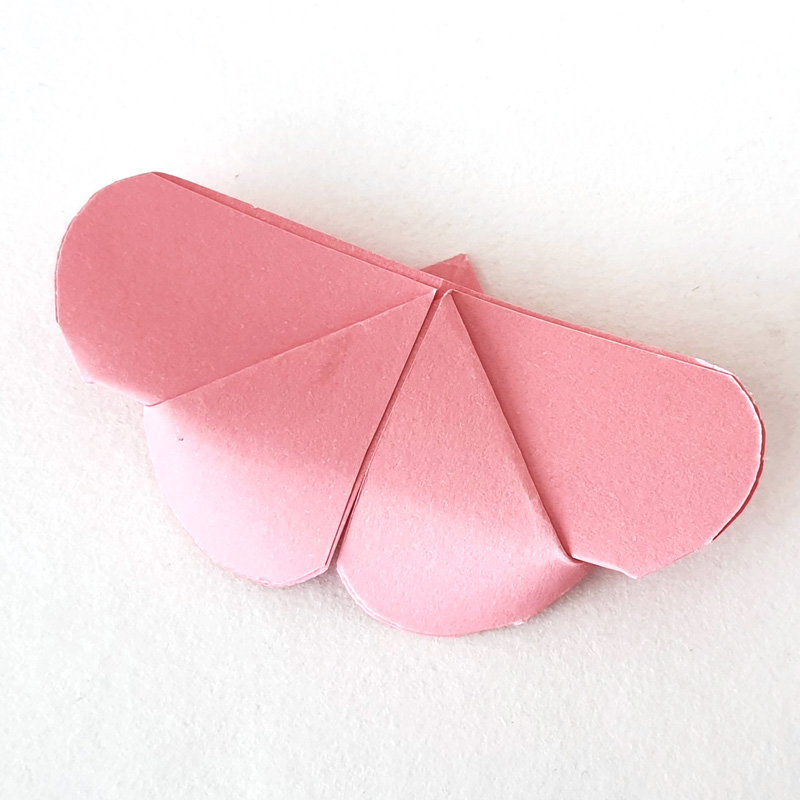
You will be able to flatten the paper into a triangle with multiple layers, as shown below.
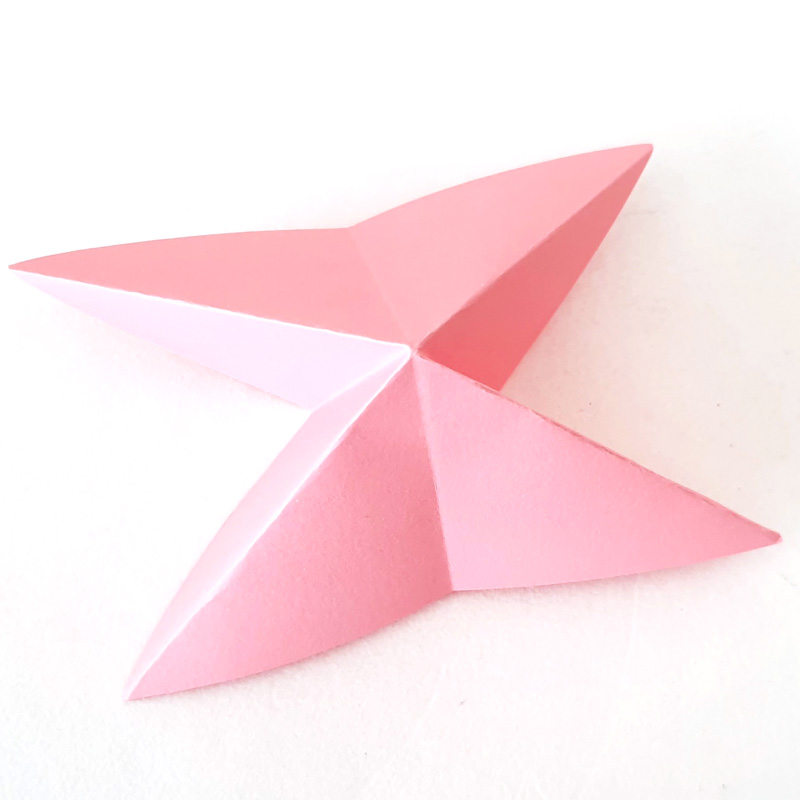
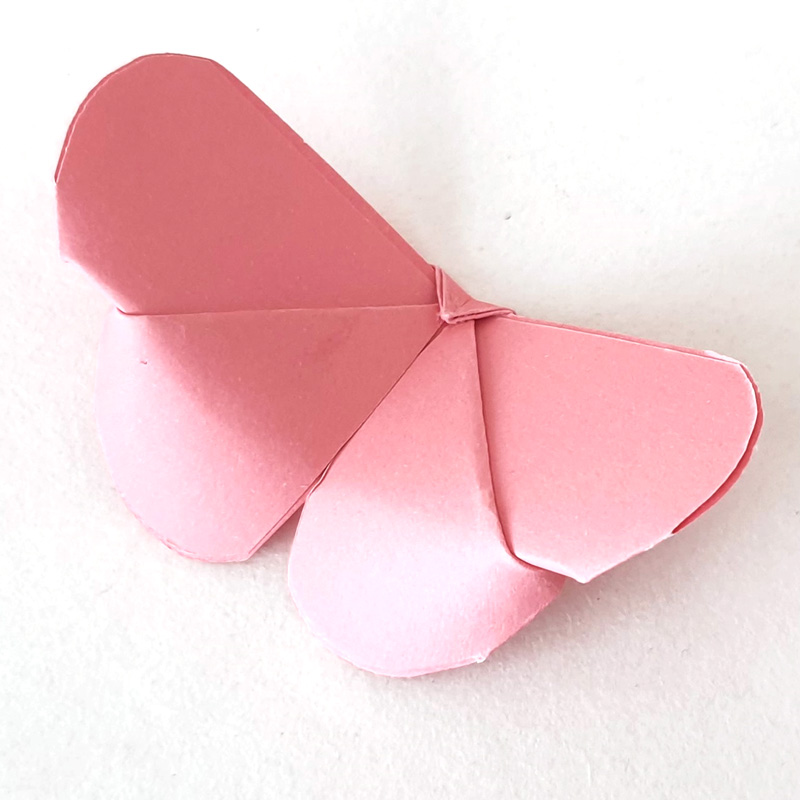
6. Fold the triangle in half along the center line so all triangle flaps are together.
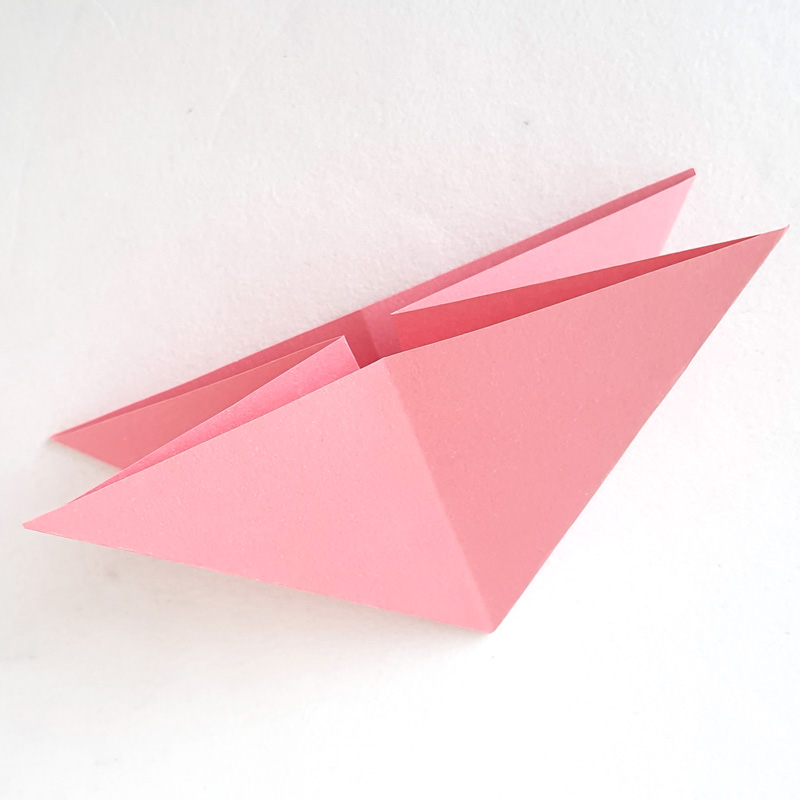
7. Locate the corner with four layers of paper and trim that corner into a rounded shape with scissors. This rounded corner will become the top edge of the wings.
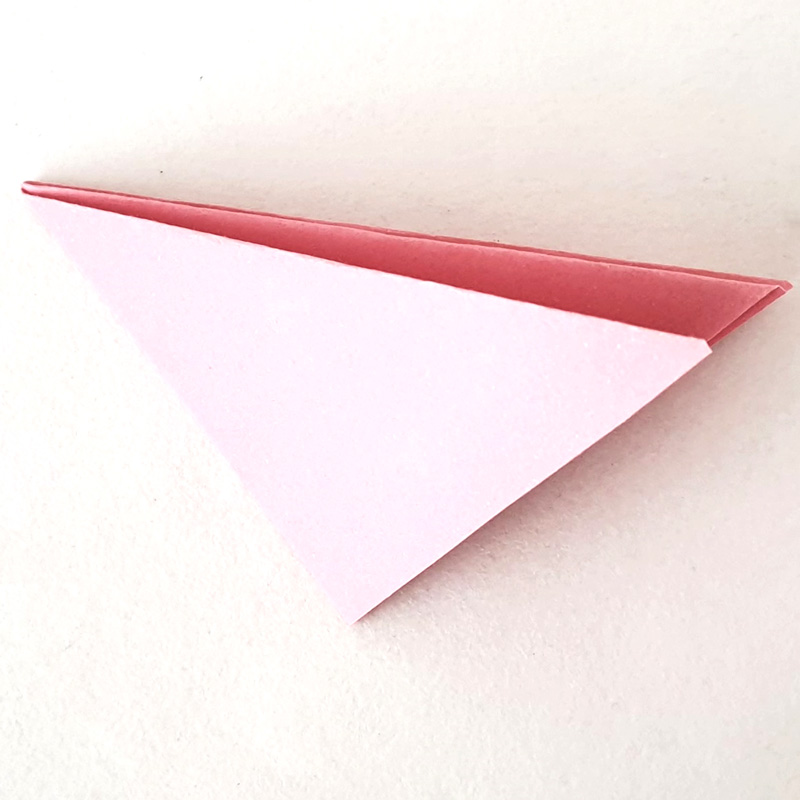
8. Unfold that last fold so you again see a center crease with two layered triangles on each side.
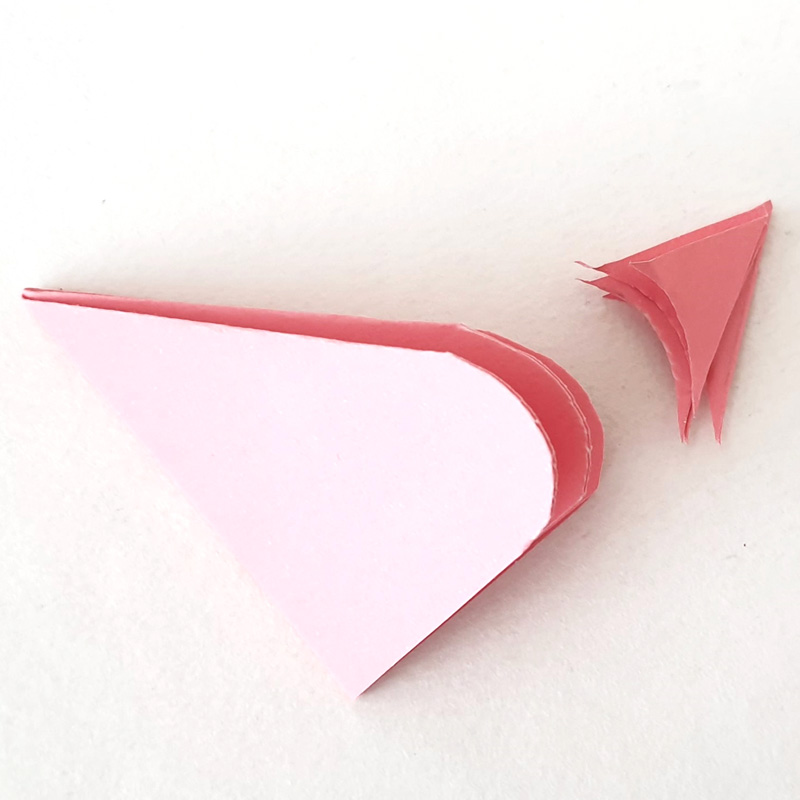
9. Take the rounded corner on the left (two layers) and fold the edge up to meet the center crease. This shapes one wing.
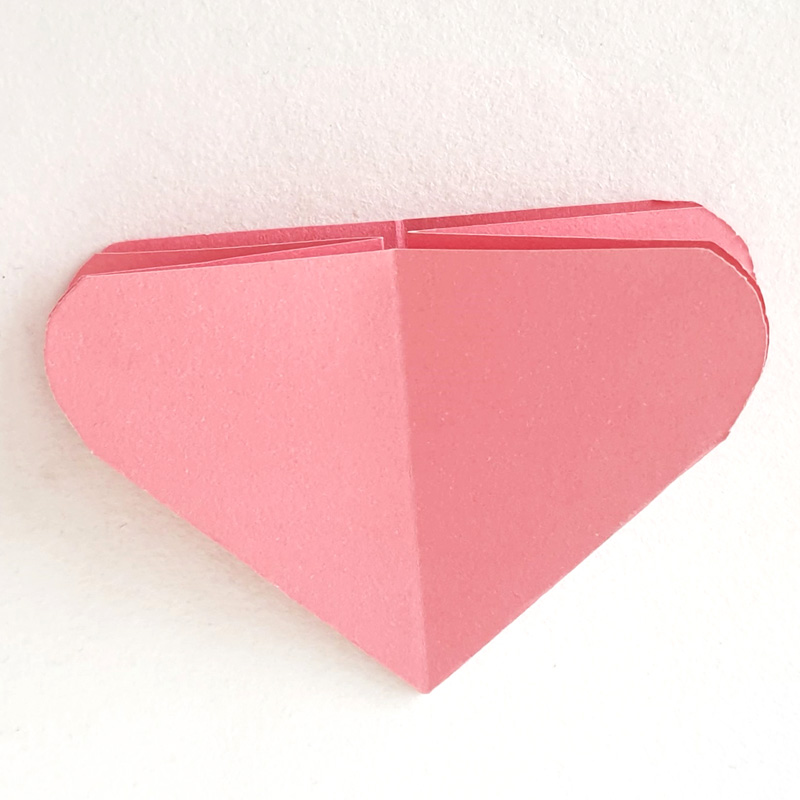
10. Repeat the same fold with the right side so both wings are symmetric.
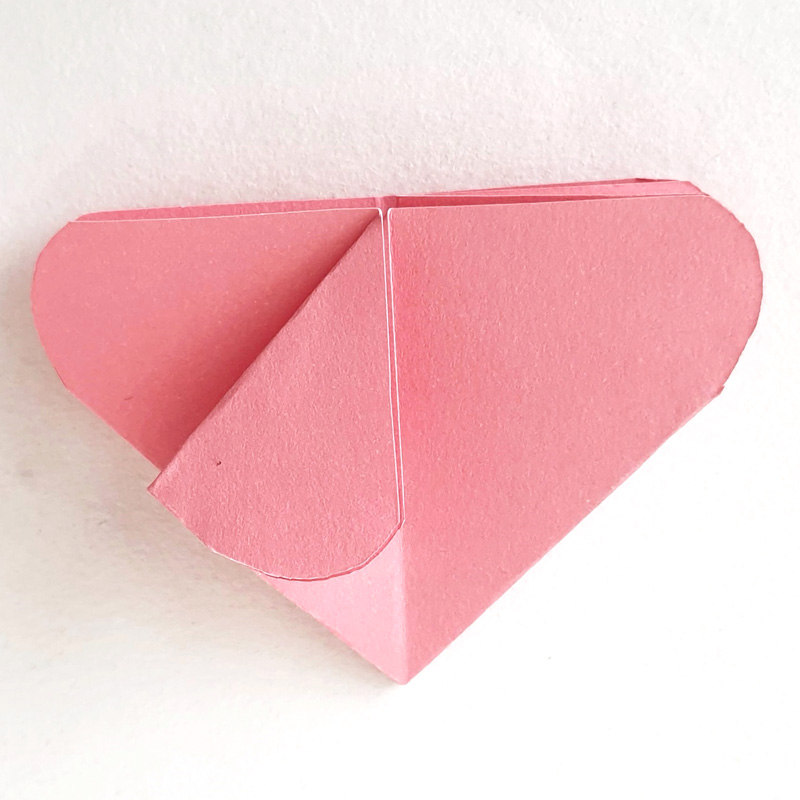
11. Flip the project over to the other side.
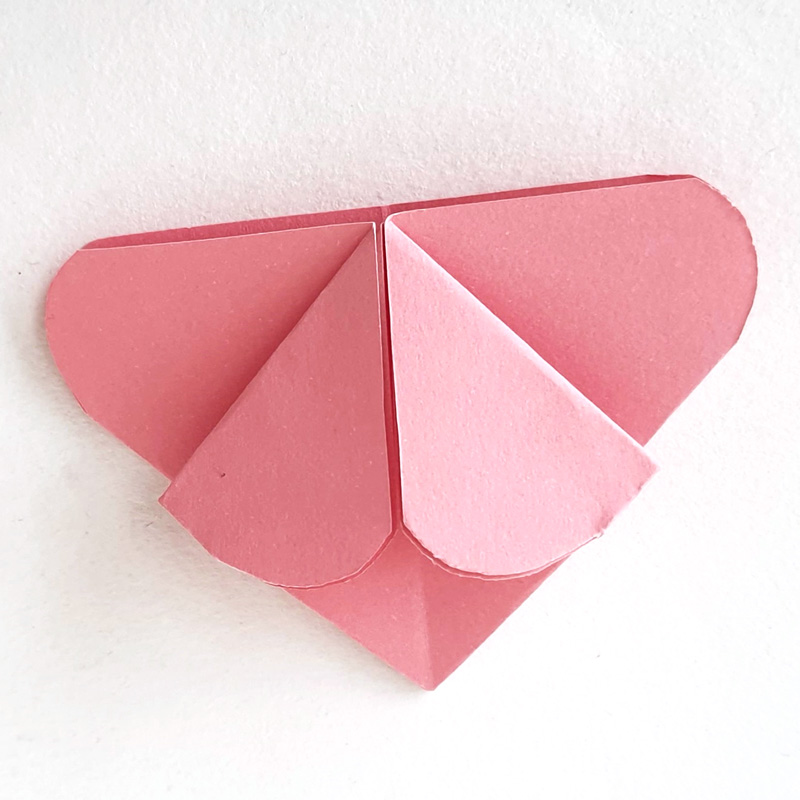
12. Take the still-pointy tip of the triangle and fold it up so it sticks out slightly past the opposite edge. The rounded wing edges may lift—don’t flatten them yet if you want a curved wing look.
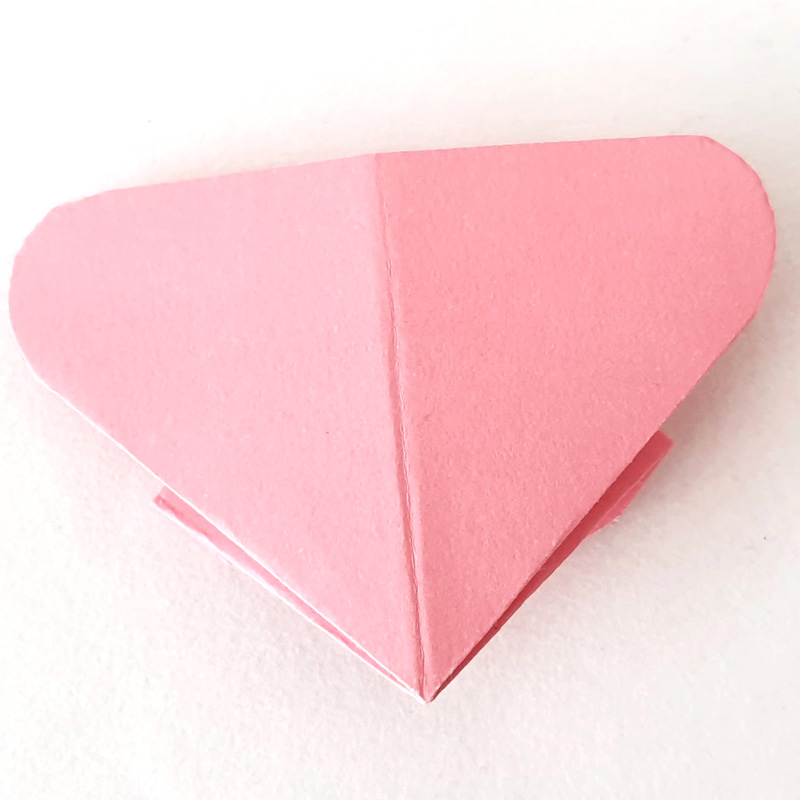
13. Flip the butterfly over again and fold that small tip you left sticking out over to the front. Apply a small drop of glue here to secure the layers (optional).
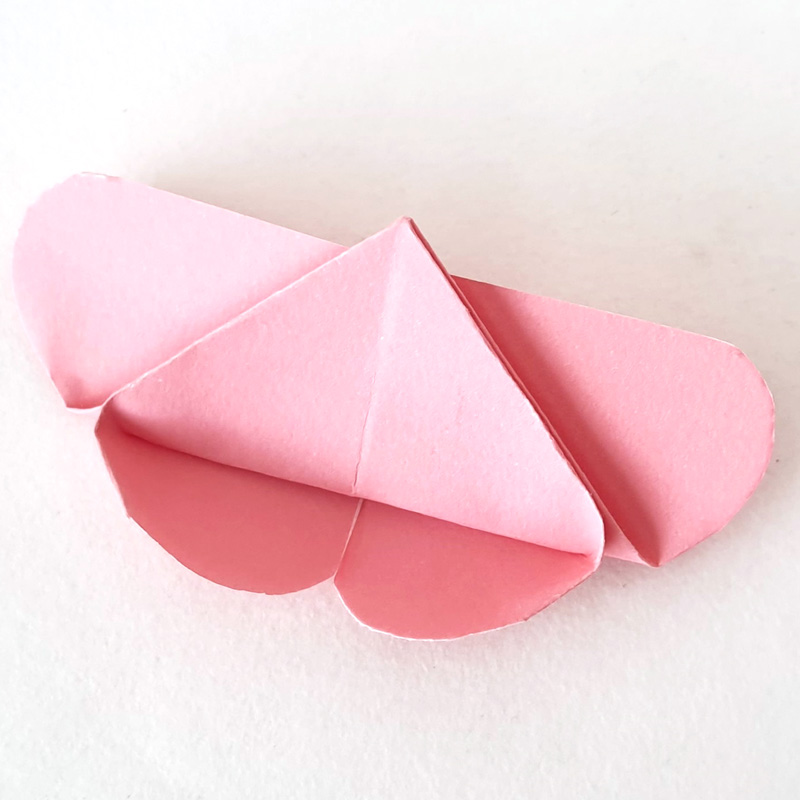
14. Shape the wings as desired—leave them curved for a natural look or press them flatter for a sleeker shape. Your origami butterfly is complete and ready to decorate cards, walls, or gift packages.