Easy DIY Salt Dough Easter Ornaments — Step-by-Step Guide
Making salt dough Easter ornaments is an easy, inexpensive way to create personalized decorations with kids or as a weekend craft. This step-by-step guide walks you through the simple recipe, shaping, drying options, and finishing touches so you can hang or gift charming, handmade ornaments this Easter.
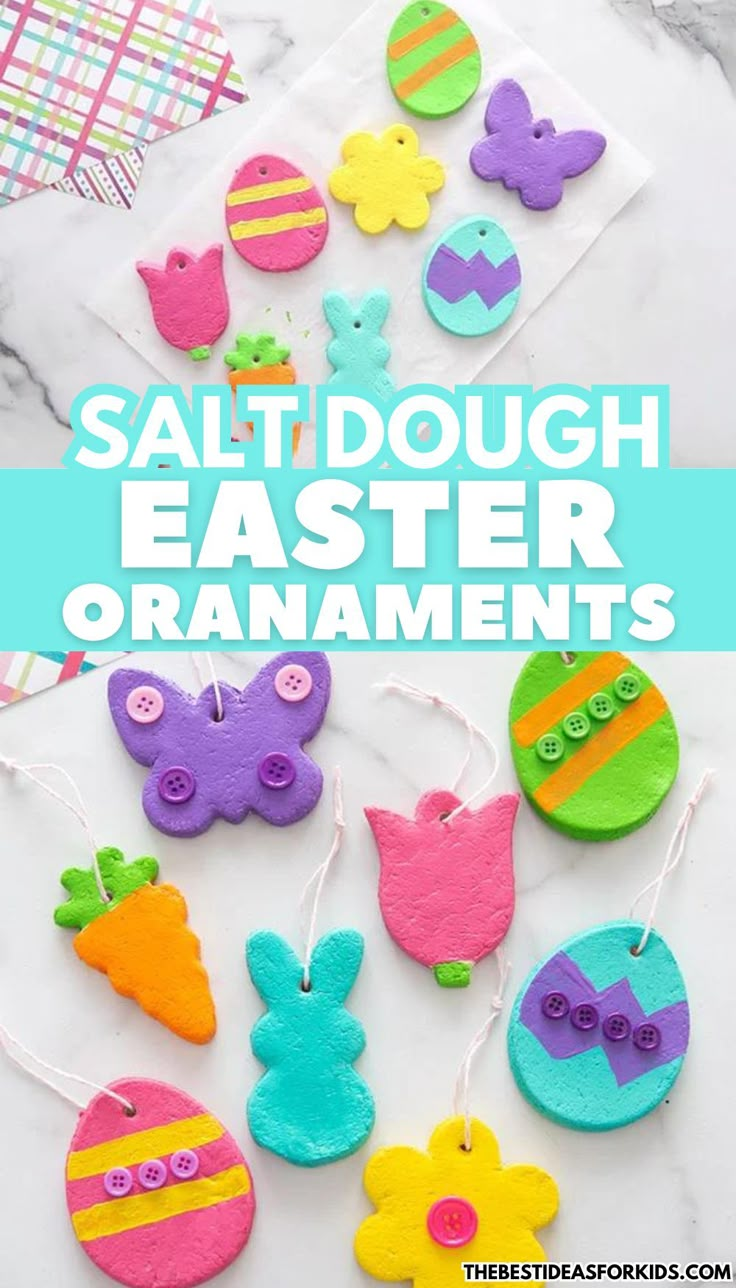
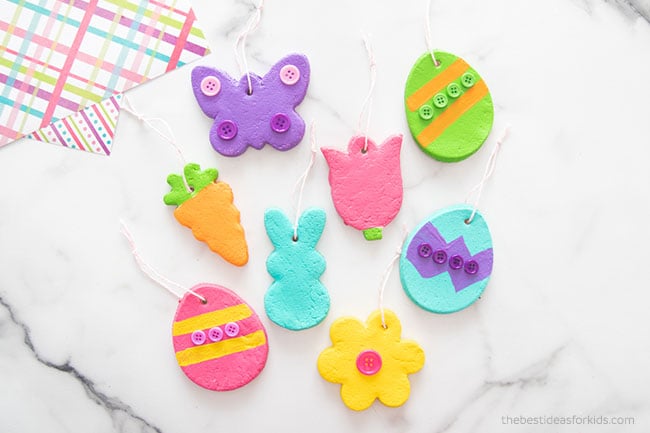
Assorted finished salt dough Easter ornaments, painted and ready to hang.
Supplies Needed
Flour
Salt
Water
Easter cookie cutters
Acrylic paint
Buttons (optional)
Twine
Mod Podge (glossy) or a clear spray sealer for a durable finish
Note: Please remember to keep salt dough out of reach of pets.
Basic supplies laid out before you begin.
Directions
Begin by mixing 4 cups of all-purpose flour with 1 cup of salt. If you want a smaller batch, halve the recipe.
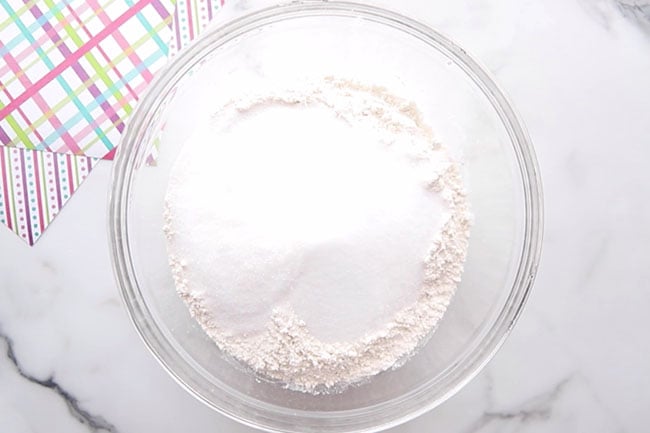
Mix the dry ingredients first: flour and salt.
Add about 1.5 cups warm water and stir until the mixture begins to come together into a dough. If it feels dry, add water one tablespoon at a time. If it becomes too sticky, sprinkle in a little more flour.
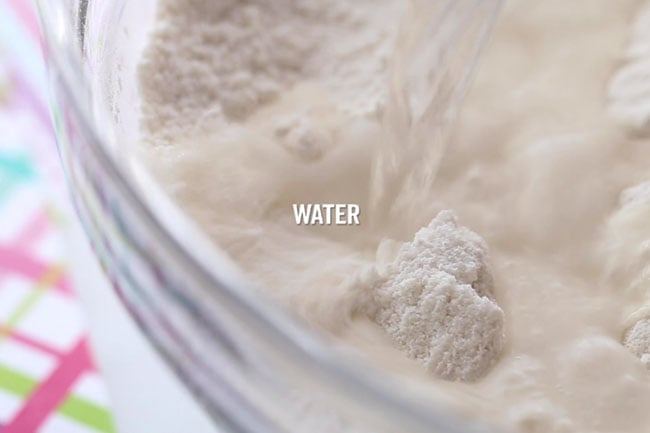
Add warm water gradually until the dough forms.
Knead the dough for 5–10 minutes until it forms a soft, smooth ball. Roll it out on a lightly floured surface to about 1/4-inch thickness. If you notice cracks while rolling, brush a little water on the dough and roll again — cracks will remain if not smoothed now.
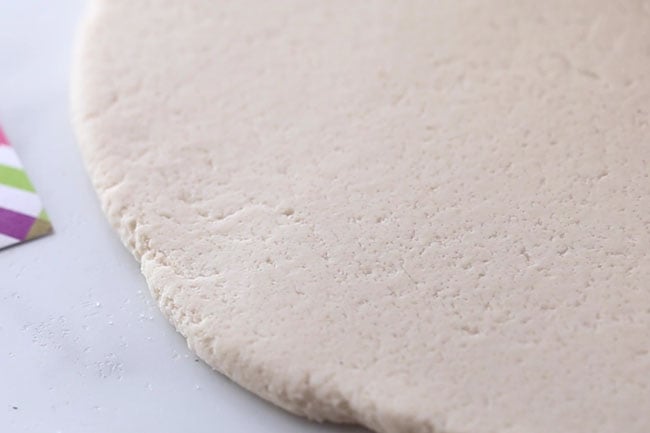
Knead until smooth, then roll out for cutting.
Use Easter-themed cookie cutters to cut shapes from the rolled dough. Transfer shapes to a baking sheet or drying surface.
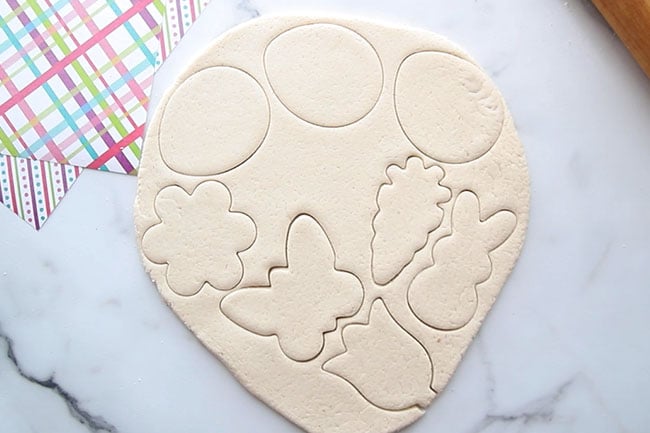
Cut shapes with cookie cutters for bunnies, eggs, flowers and more.
Make a small hole near the top of each ornament for hanging—using a straw works well to form a clean hole.
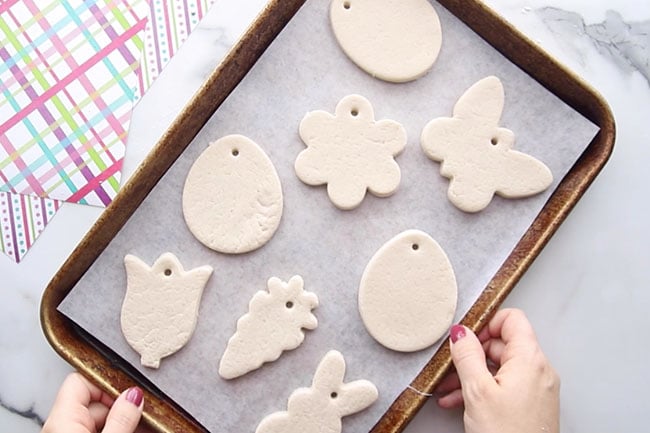
Create a hanger hole with a straw so twine can be threaded through later.
Drying options:
- Air-dry: For small ornaments you can let them air dry completely. Be sure to flip them after a day so the underside dries as well.
- Bake: Alternatively, after air-drying for a day you can bake them at 200°F (93°C) for 1–2 hours until fully hardened.

Lay ornaments out to air-dry or prepare them for a low-temperature bake.
Once the ornaments are hard and cool, paint them with acrylic paints. When the paint is fully dry, seal each ornament with a coat of Mod Podge (glossy) or a clear spray sealer to protect against moisture.
Glue on buttons or other small decorations for extra detail. Add a length of twine through the hole to hang them. If you prefer, attach a small magnet to the back to turn ornaments into fridge magnets.
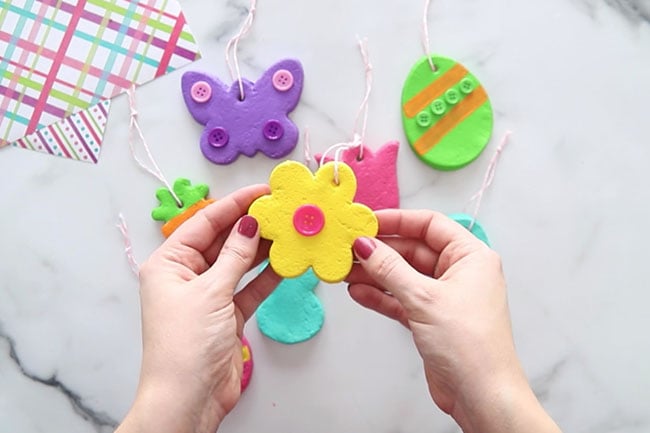
Painted and decorated ornaments with buttons and twine — ready to display or gift.
Your kids will enjoy helping with nearly every step, from cutting shapes to painting. These salt dough ornaments make lovely handmade decorations, keepsakes, or gifts for family and friends.