How to Make Stylish DIY Polymer Clay Earrings — Step-by-Step Guide
Make your own unique polymer clay earrings with a few basic tools and supplies. This step-by-step guide walks you through molding, trimming, baking, painting, and finishing small studs or statement dangles so you can create wearable, one-of-a-kind jewelry.
You'll need some patience and creativity — follow the simple instructions below and customize colors and shapes to match your style.
Equipment
- Paintbrush(es)
- X-Acto knife or box knife
- 1 silicone mold(s)
Materials
- Baby powder or cornstarch
- Polymer clay
- Earring posts
- Mod Podge Dimensional Magic (or similar clear resin/gloss)
- Acrylic paint
- Floral foam (for drying/holding pieces)
- E-6000 (or other strong jewelry glue)
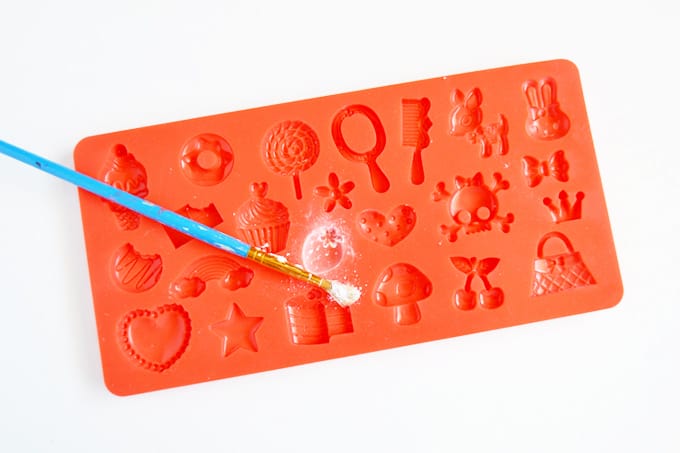
Dust the silicone mold lightly with cornstarch or baby powder so the clay releases cleanly. Press softened clay into the mold, making sure it reaches into smaller grooves.
Knead your polymer clay until soft, roll into a small ball, and press into the mold shape of your choice. Release the clay shapes and chill them in the refrigerator for about 20 minutes to firm up for cleaner trimming.
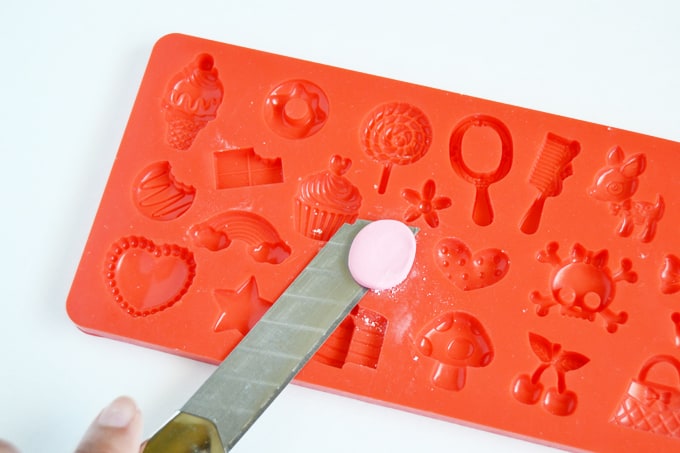
After chilling, return the piece to the mold and use a box cutter or X-Acto knife (lightly dusted with cornstarch so the clay doesn't stick) to trim away excess clay around the edges.
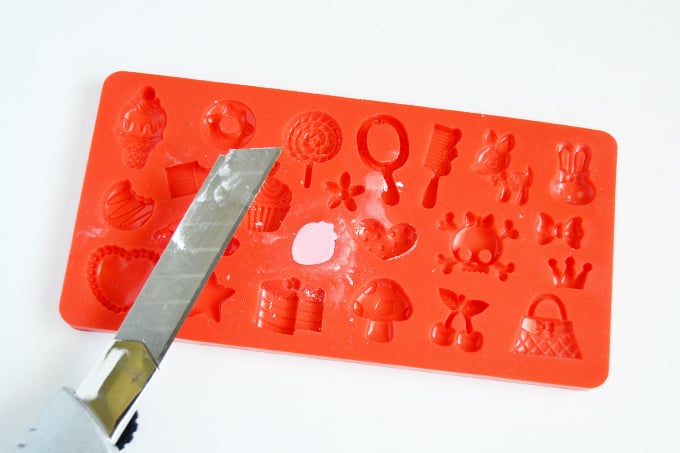
After removing excess clay, press the clay once more into the mold to flatten and smooth the back surface.
Poke small holes in the back where you plan to attach the earring posts. These holes give glue more surface area to grip for a stronger bond.
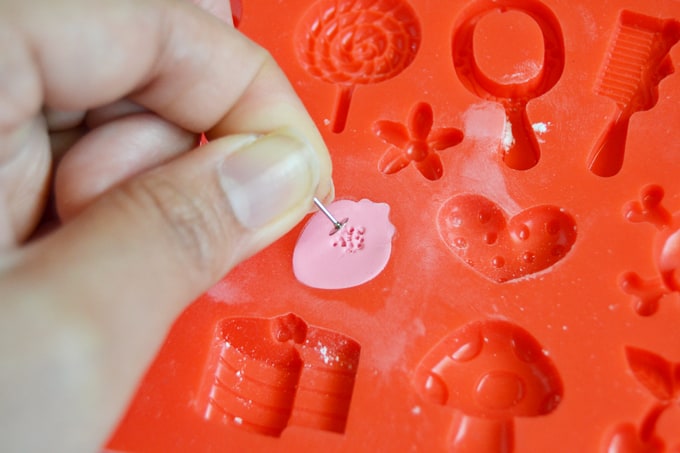
Release the clay pieces from the mold and bake according to your polymer clay manufacturer's directions. Allow pieces to cool completely before painting or gluing.
Start painting details on your cooled clay shapes. Use a fine tool or pin for tiny details and let the paint dry thoroughly.
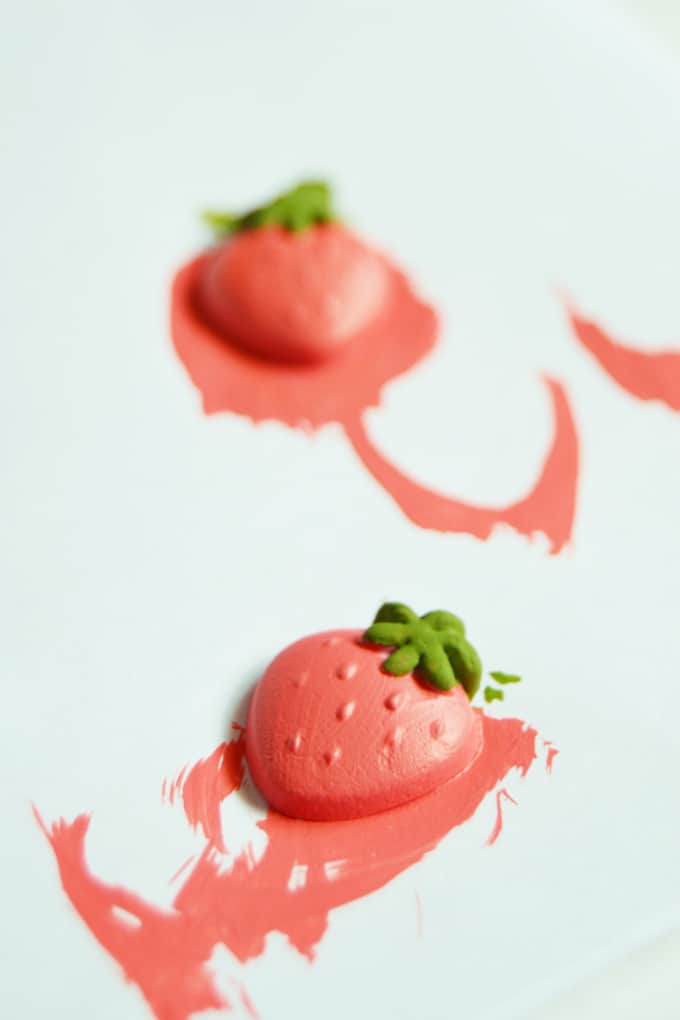
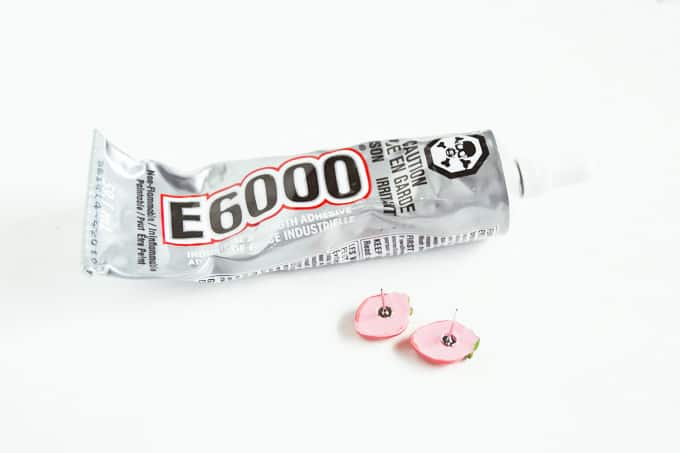
Attach the earring posts to the back using E-6000 or another strong jewelry adhesive. Press and hold as recommended by the glue instructions, then allow ample drying time for a secure bond.
Coat the painted areas with Mod Podge Dimensional Magic or a similar clear gloss to protect the paint and give a professional-looking finish. Let dry for several hours or as directed.
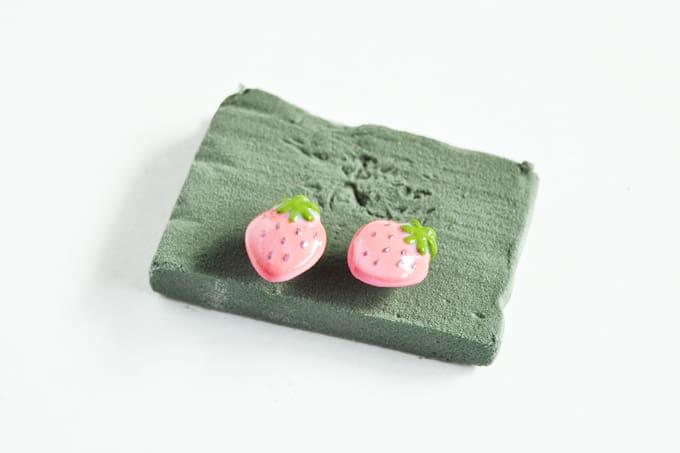
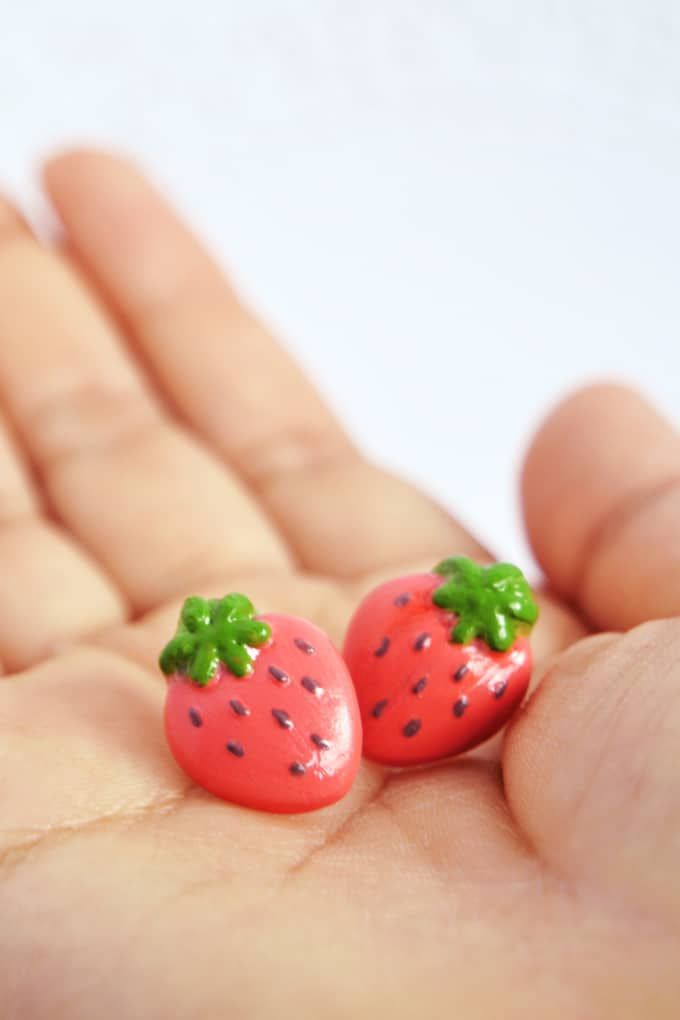
Once fully dry, pair your finished polymer clay earrings and enjoy—or package them as handmade gifts. Experiment with different molds, colors, and gloss levels to create varied looks.