DIY Galaxy Polymer Clay Jewelry Bowl — Easy Step-by-Step Guide
Make a shimmering galaxy jewelry bowl from polymer clay to store rings, earrings, and other small treasures. This easy craft blends colorful polymer clay to create a marbled galaxy effect, then bakes it inside an oven-safe glass bowl and finishes with painted stars and a gold rim.
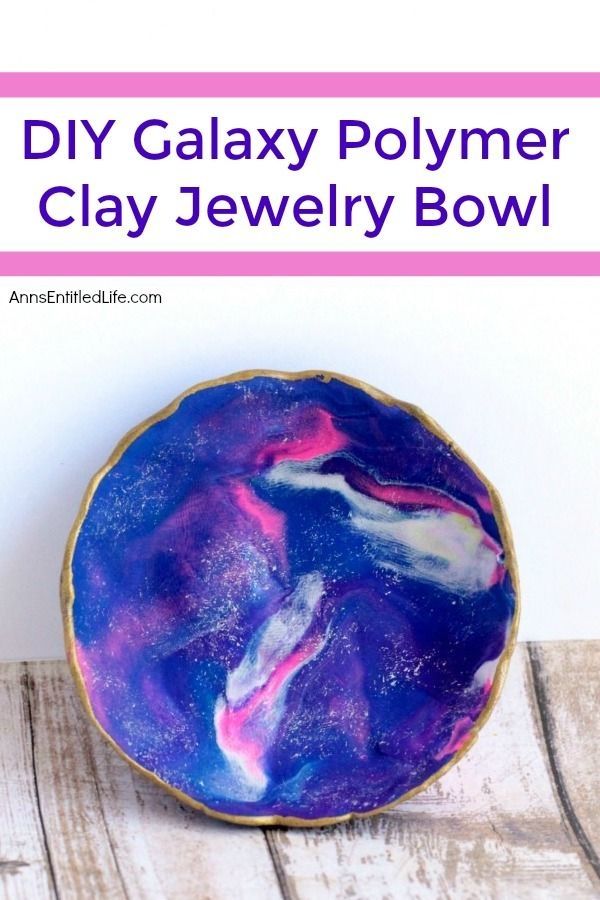
Overview of the finished galaxy polymer clay jewelry bowl.
Materials
- Polymer clay in blue, pink, purple, and white
- Clear glass bowl that can be baked at 275°F
- Gold acrylic paint
- White acrylic paint
- Fine-tip artist paintbrush
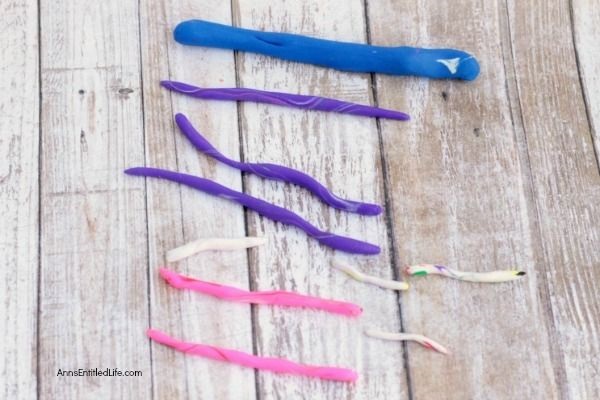
Choose vibrant clay colors to create the galaxy palette.
Directions — make the galaxy print
1. Start with mostly blue clay and small accents of purple, pink, and white to build depth.
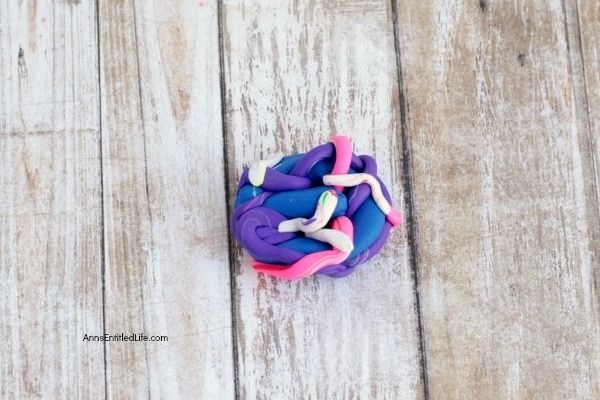
Roll clay into long snakes and twist colors together for a marbled effect.
2. Roll the clay into snakes and wind them around each other to create a marbled galaxy pattern. Curl the combined snakes into a loose ball and gently press to keep the layered look. Work slowly — avoid overmixing or you'll lose the distinct swirls.
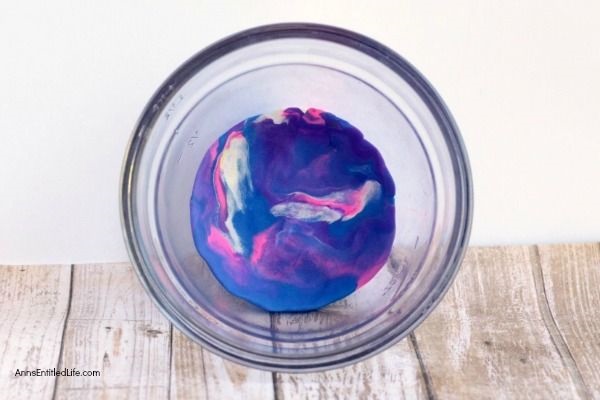
Curl the twisted clay into a ball and adjust the design without overworking it.
Form the bowl lining
3. Press the shaped clay into the bottom of your clear glass bowl. Aim for about 1/4 inch (roughly 6 mm) thickness on the base and about 2 inches (5 cm) up the sides so it forms a stable jewelry dish.
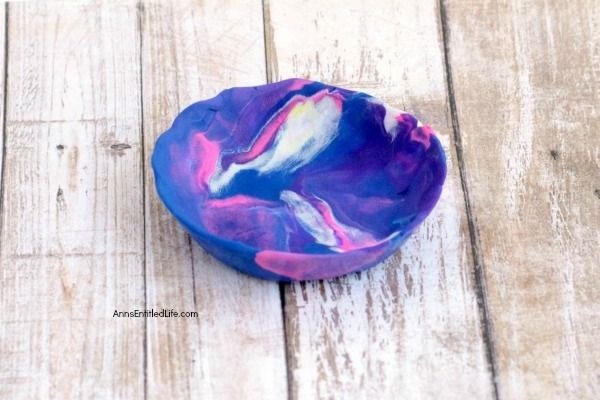
Press the galaxy clay into the bowl to form the base and sides.
Bake and cool
4. Only use a bowl that is safe to bake at 275°F. Place the glass bowl in the oven at 275°F for 15–20 minutes to cure the clay. Let the bowl cool completely in the oven or on a heatproof surface before attempting to remove the clay—this prevents cracking and makes removal easier.
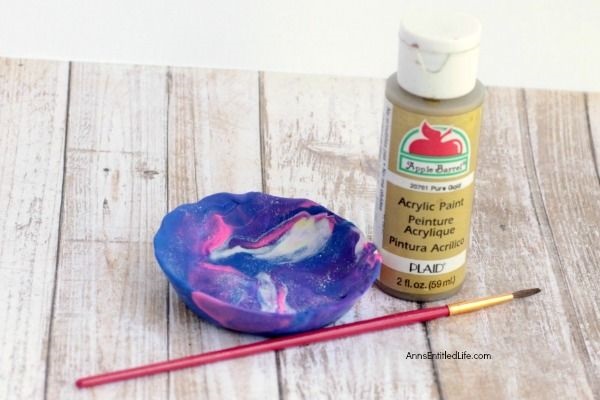
Baked clay set inside the glass bowl — allow it to cool fully before removing.
Finishing touches
5. Once cooled and removed, dab small white paint spots over the clay surface to simulate stars. Use a fine-tip brush or a toothpick for tiny dots.
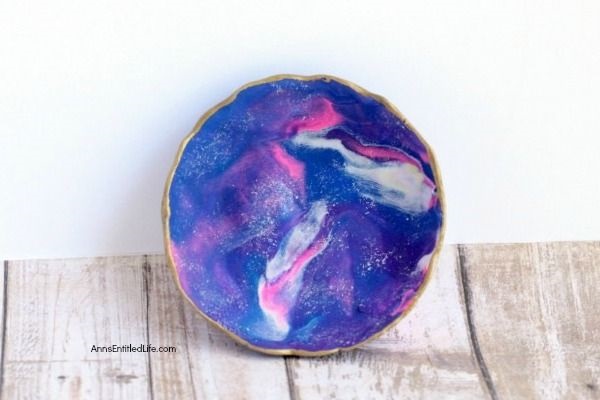
Add tiny white paint dots across the surface to create stars.
6. Paint a gold edge around the rim of the glass bowl for a polished finish. Allow the acrylic paint to dry completely before using your jewelry bowl.
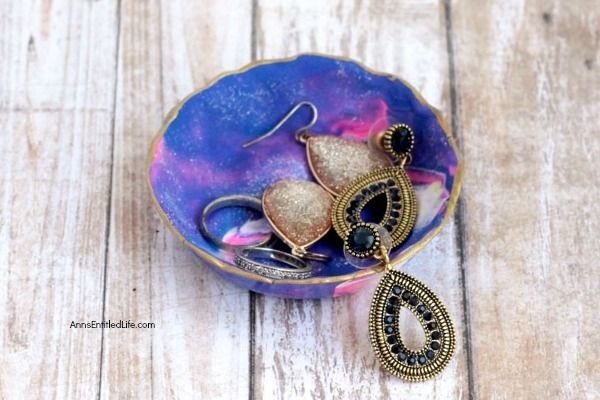
A gold-painted rim gives the galaxy jewelry bowl a finished, elegant look.
Now your DIY galaxy polymer clay jewelry bowl is ready to display! Use it to hold rings, earrings, or other small keepsakes.